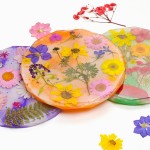
How to Make Resin Coasters
Make DIY resin coasters with pressed flowers in your favourite colour. These DIY coasters are really easy and fun to make!
Yield: 1 resin coaster
Cost: $5
Equipment
- Jumbo popsicle stick (or silicone stir stick)
- Rubbing alcohol (in spray bottle; optional)
- 2 Dixie cups (or small silicone measuring cups)
Materials
- Casting resin
- Pressed flowers
- Mica powder (colour of choice)
- White acrylic paint
Instructions
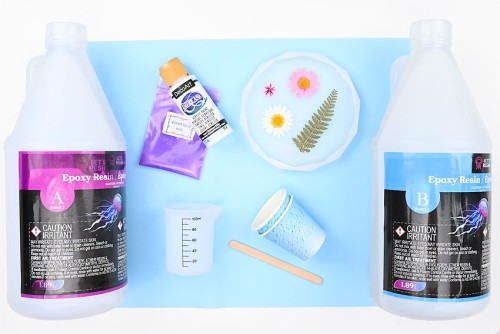
Step 1: Find what you need
- Gather your supplies and materials.
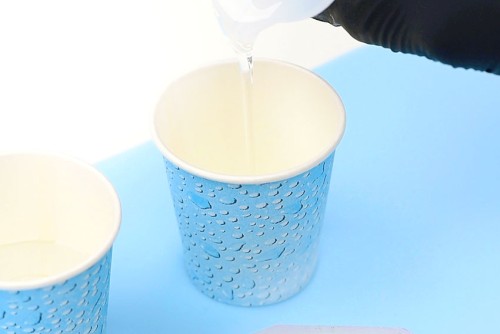
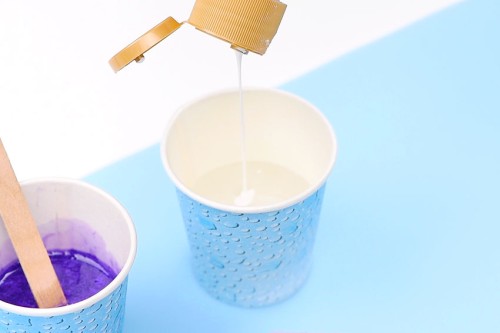
Step 2: Mix the resin
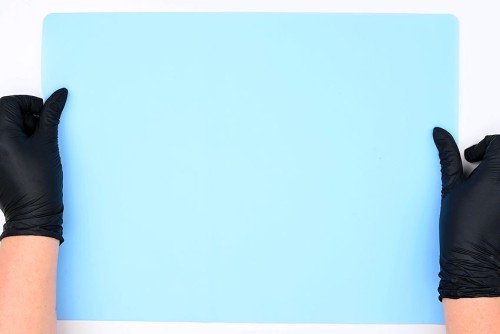
- Make sure you protect your working surface with a silicone mat, wear protective nitrile gloves, and eye protection.Depending on the resin you may also need to wear a respirator.
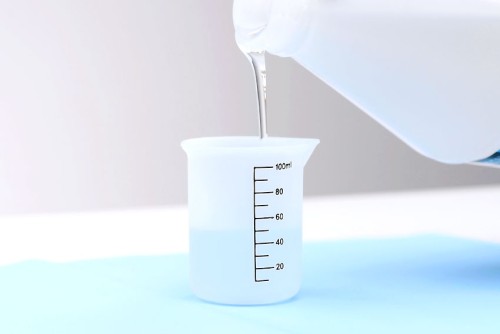
- First, mix enough resin to fill about 1/2 of your mold.Start by adding 1 part of Part A to the silicone measuring cup.Follow your specific resin's instructions for ratios, drying times, and curing times.
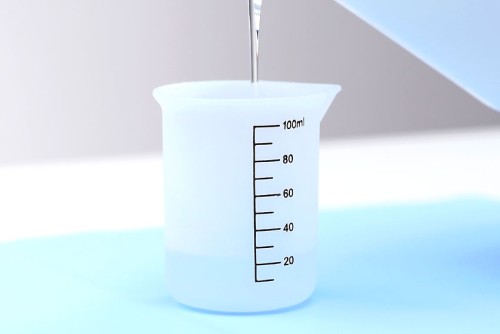
- Add an equal amount of Part B to the measuring cup. (Or whatever ratio your brand of resin suggests.)
- Mix the resin and hardener together with a popsicle stick or a reusable resin stir stick.Stir slowly, scraping down the sides and bottom of the measuring cup. Continue mixing for 3 minutes or until the mixture is clear.
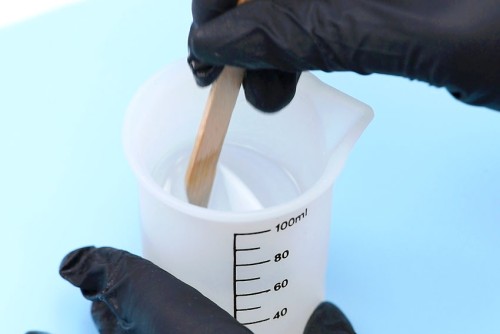
- Allow the resin to sit for 5 to 10 minutes.
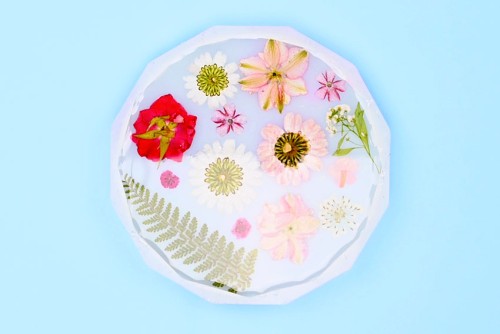
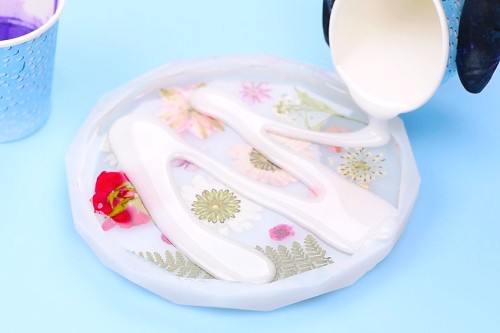
Step 3: Pour the resin and add flowers
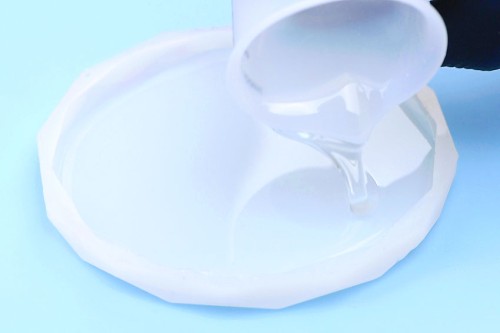
- Pour about 3/4 of the resin into the silicone coaster mold.
- Add a pressed flower or piece of dried greenery into the resin, face down, pushing it down below the surface.To do this you can use tweezers, or you can wet a popsicle stick with resin to pick it up.
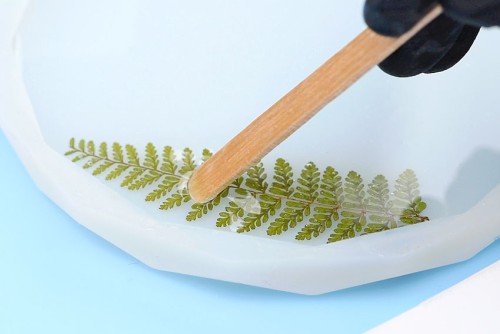
- Repeat until you're happy with the amount of flowers added and their arrangement.
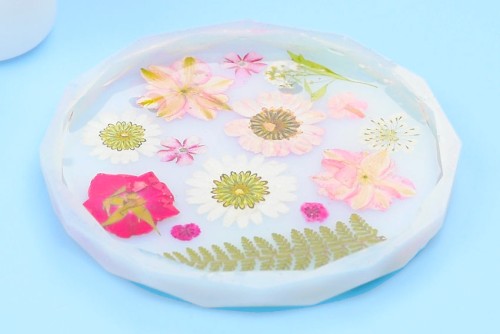
- Pour the last 1/4 of the resin on top.
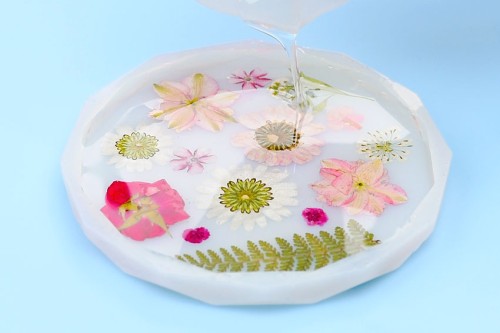
- If any bubbles surface, spritz the resin with rubbing alcohol to remove them.
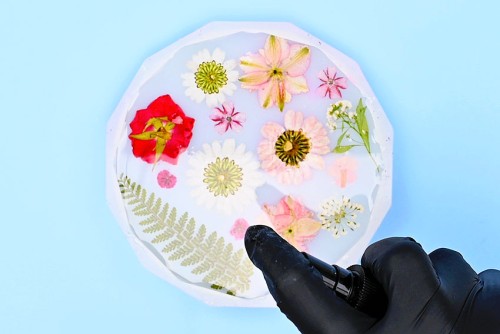
- Allow the resin to sit for the recommended layering time. Our resin suggests 5 hours.Keep an eye on the flowers for the first 1 - 2 hours, as they can float up or drift out of position. Use the popsicle stick to put them back in place.
Step 4: Add a second layer of coloured resin
- Mix another batch of resin to fill the remaining 1/2 of the mold, following the instructions above.Pour an equal amount of resin into two Dixie cups (or small silicone measuring cups).
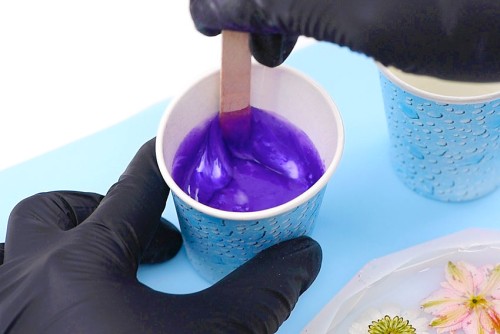
- Add coloured mica powder into one of the cups. Start with a small amount and continue to add pigment until you reach the colour you're looking for.It's recommended that your pigment is less than 6% of the volume of your resin.
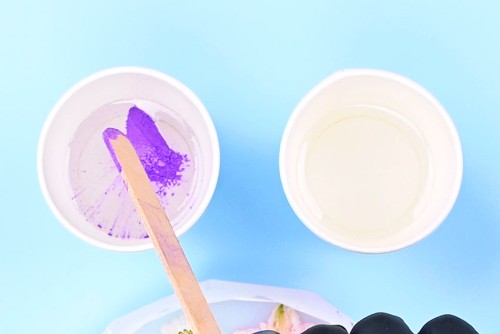
- Stir, mixing well to combine the pigment and resin.
- To make a white colour we added acrylic paint to the second cup. Again, stir well until combined.
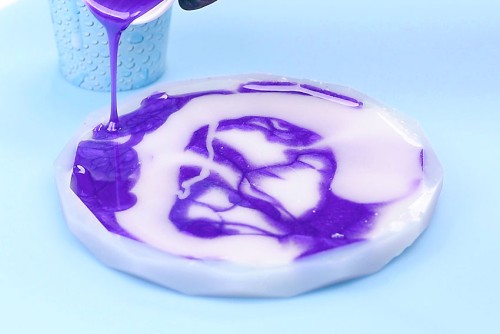
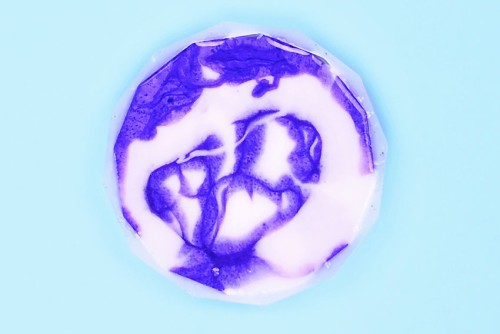
- Drizzle the white resin into the coaster mold.
- Add the coloured resin in the areas where the white resin hasn't spread.
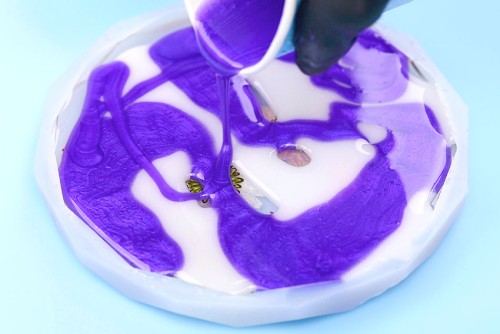
- Pour more white, and then coloured resin, continuing until you reach the top of the mold.Deal with any bubbles on the top, if necessary.
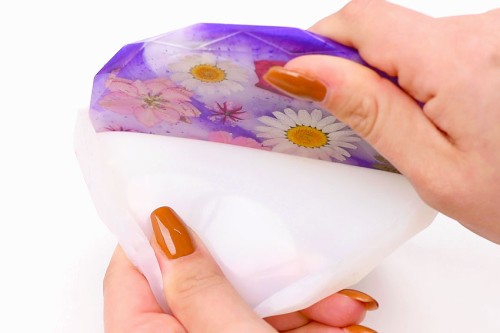
Step 5: Allow to dry and demold
- Let the resin coaster sit, untouched, for the recommended dry (or demold) time.Our resin's dry time is 8 to 12 hours, but we recommend waiting 24 hours.
- Once your resin coaster is dry you can unmold it.Grab the side of the mold and stretch it a bit as you pull it back. The coaster should come out easily.
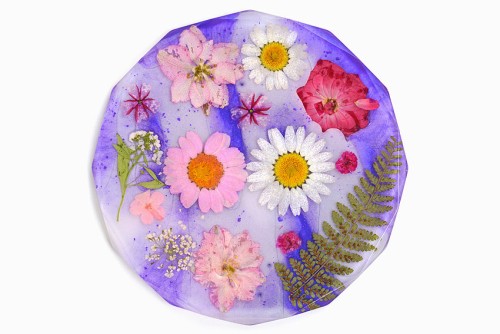
- Your resin coasters are complete!You can use the coasters after the recommended cure time is over (72 hours for our resin). Sand off any rough edges from the bottom of the coaster, and enjoy!
Video
Notes
Looking for more flower crafts? Here's a few of our favourites:
How to Preserve Flowers in Resin
How to Press Flowers
Pressed Flower Lanterns