
DIY Fall Bean Mosaics
Use dried beans and lentils from your pantry to make these fall bean mosaics! It's a fun fall craft for kids of all ages!
Yield: 1 bean mosaic
Cost: $1
Equipment
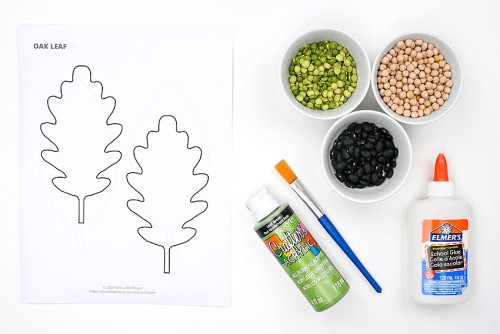
Materials
- Free Printable Leaf template
- Thin cardboard
- Acrylic paint (colour that matches your beans)
- White glue
- Dried beans (assorted)
Instructions
Step 1: Find what you need
- Gather your supplies and materials.
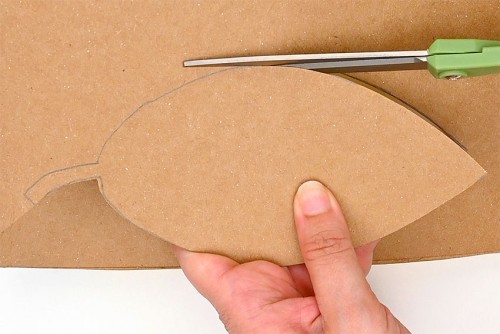
Step 2: Prepare the cardboard base
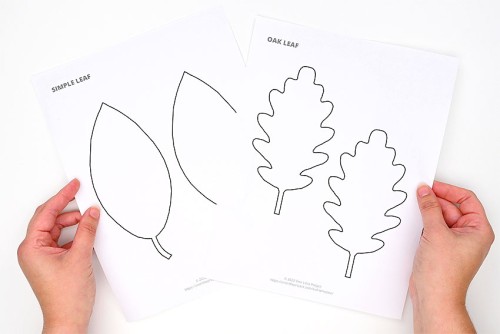
- Print out a free leaf or pumpkin template.See below for more template links.
- Cut out the shape of your choice.
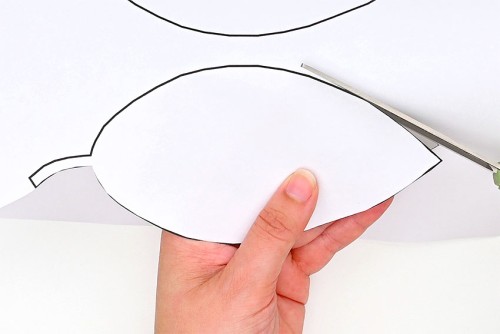
- Trace the template onto a thin piece of cardboard. (We used a cereal box.)
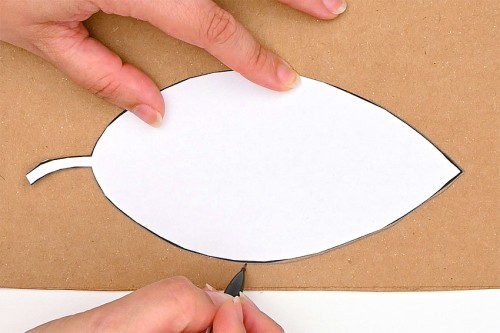
- Cut out the cardboard shape.
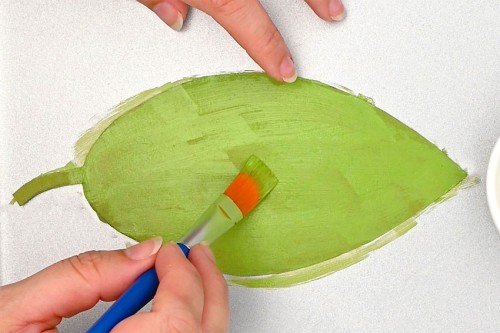
- Optional: Paint the cardboard with a thin layer of paint to match whatever beans or lentils you're going to use.This will give the final mosaic a clean look, with no plain cardboard showing through.Allow to dry.
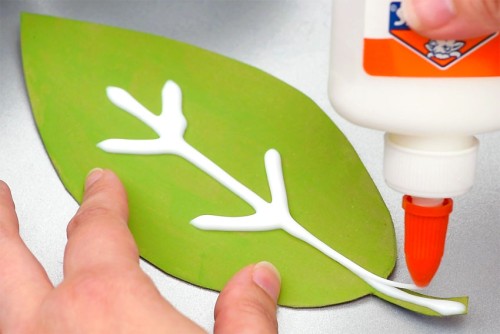
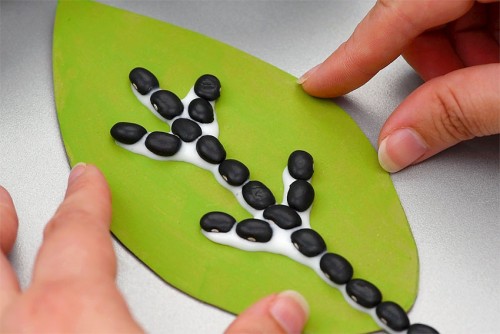
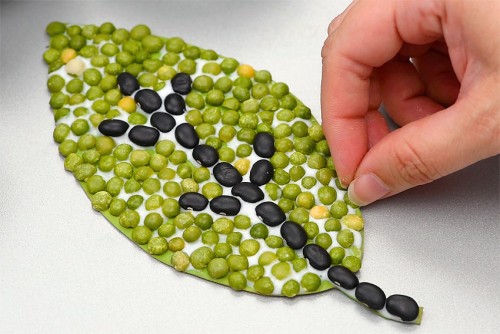
Step 3: Glue down the leaf details
- Add a line of glue where you want to add your first beans.If you'd like to add vein details to a leaf, or lines on a pumpkin, it's best to do these areas first.
- Add larger beans one by one into the glue, pressing them down into place.Start by adding beans to the stem of the leaf. We used black turtle beans.
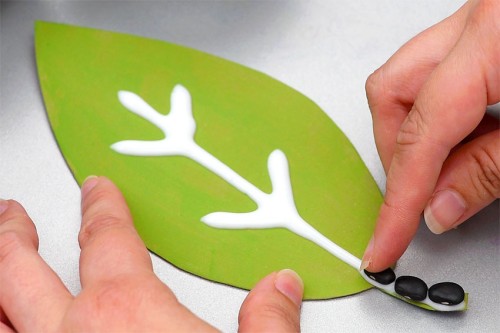
- Continue adding beans to the leaf vein, one by one, until you've covered all the glue.
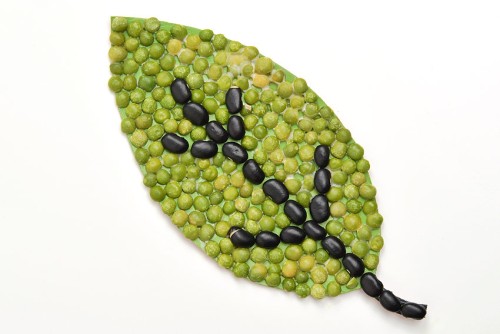
Step 4: Fill in the rest of the leaf
- Add glue to a new section of the leaf. It's best to only add glue to a small area at a time.This way the glue won't dry out while you're working.
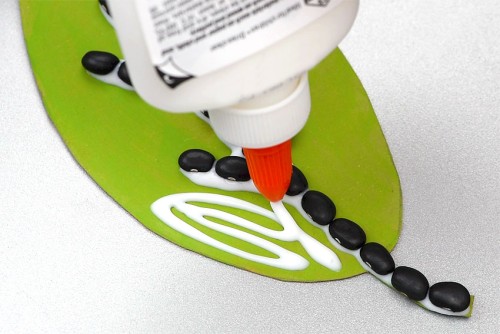
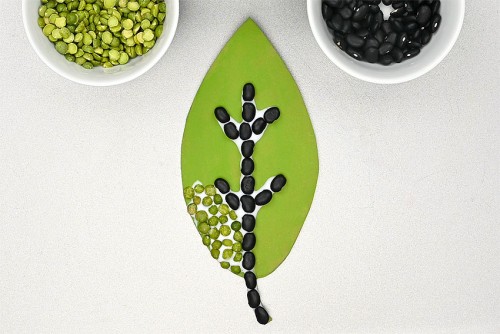
- Fill this section with different beans, to match the paint colour. We used green split peas to make this leaf.You can add smaller beans one by one, or sprinkle a small handful at a time, spreading them out in the glue.
- Continue adding beans, working in one small area at a time.
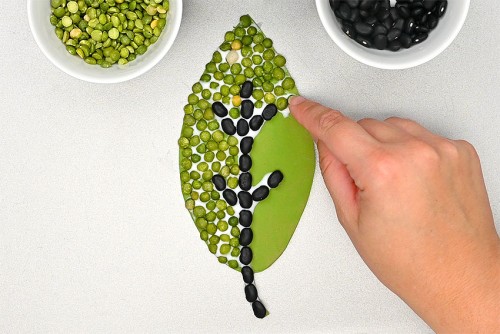
- Repeat until the whole leaf is covered. Allow to dry.
- Your fall leaf bean mosaic is complete!
Video
Notes
Looking for more fun crafts? Here's a few of our favourites:
Bean Mosaic Art
How to Dye Pumpkin Seeds
Marbled Fall Leaves