It’s so fun and easy to make a beautiful bean mosaic! Get creative and use pantry items to create a work of art that explores texture and shapes. Make an abstract design, or create a picture or pattern – it’s all up to you!
It can take awhile for the bean mosaic art to come together, but it’s a very tactile and relaxing process. Experiment with different colours and designs for a cool indoor activity that both kids and adults will enjoy!

This post contains affiliate links. If you use these links to buy something we may earn a small commission which helps us run this website.
How to Make Bean Mosaic Art
Materials:
- Dollar store canvas (5 x 7, or size of choice)
- White glue
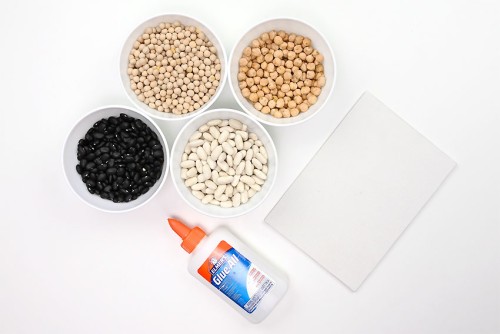
- Dried beans (romano, yellow whole peas, chickpeas, white kidney beans, black eyed peas, black turtle beans)
Watch the step-by-step video tutorial:
Instructions:
Step 1: Find what you need
- Gather your supplies. All you need is a canvas, white glue, and various dried beans!

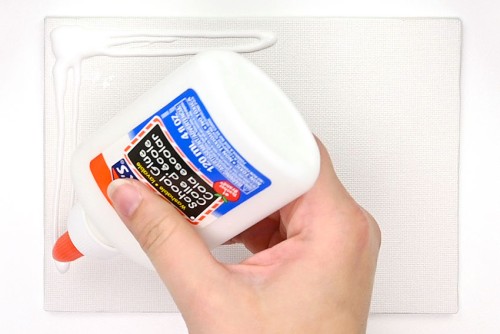
Step 2: Add the first few beans to the canvas
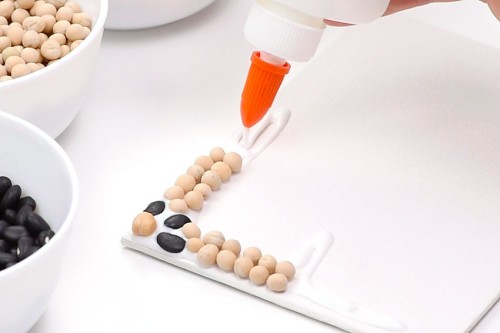
- Add a generous amount of glue to the first part of the canvas, wherever you’d like to add your first beans.
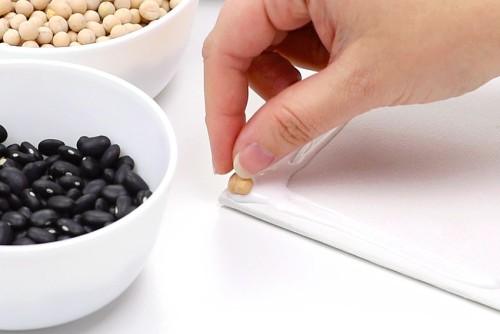
- Place your first bean in the glue and press it down to help it stick.We found it best to start in either the corner or the center of the canvas.
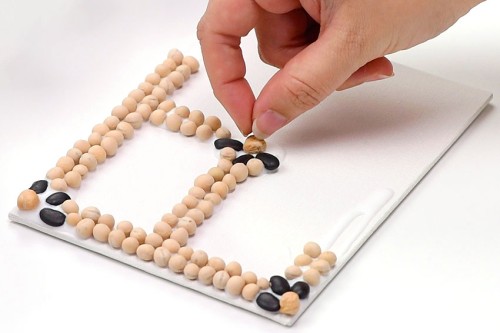
- Add your next few beans, making your pattern as you go. We created a flower shape on the corner.
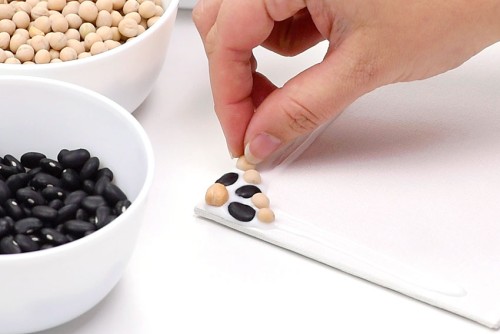
Step 3: Continue adding beans to create a pattern
- Continue adding beans into the glue. Work your way along the edge of the canvas, lining up the beans neatly as you place them. Add more glue to the canvas when necessary. It’s best to work in small sections so the glue doesn’t dry out while you’re adding beans.

- Continue adding glue and pressing the beans into it, working your way towards the center of the canvas.
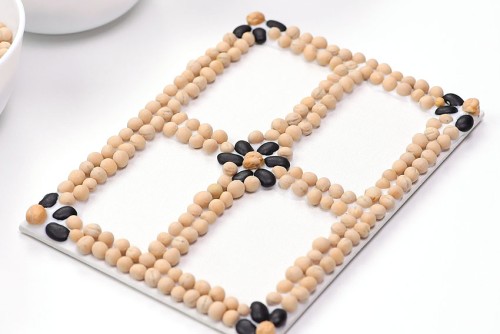
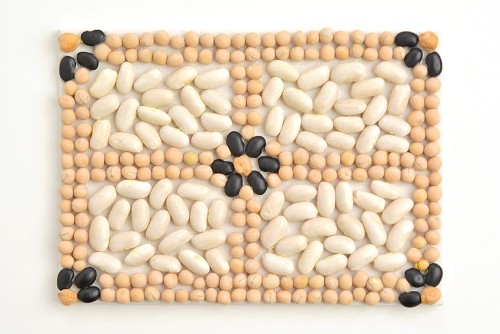
- For our design, we created a frame where the corners match and the lines lead to a flower in the center of the canvas.
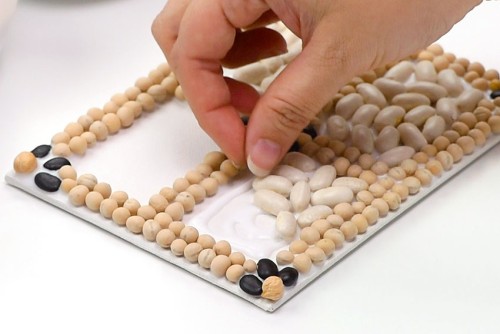
- Then we added more glue and beans to the empty sections. We placed our beans randomly, but you could also place them all in the same direction.
- Continue pressing the beans into the glue until you have filled the entire canvas. Allow to dry.Your bean mosaic is complete!
Helpful Tips:
- It’s best to add larger beans one at a time, so they face the direction you want them to, but smaller lentils can be sprinkled and pressed down into place.
- Use a pencil to sketch out lines or divide sections on the canvas before adding your beans. If you’re making a circular pattern it’s also helpful to measure and find the center point before you begin.

What is the best glue for bean mosaics?
We used white school glue to make our bean mosaic. It dries nice and clear, and it takes long enough to dry that you can add your design without rushing.
Tacky glue is another great option. It’s a bit thicker and may help keep the beans in place once added to the canvas.
What beans can I use to make bean mosaic art?
There are so many varieties of dried beans and legumes that look great on these works of art!
In our bean mosaics we used:
- romano beans
- yellow whole peas
- chickpeas
- white kidney beans
- black eyed peas
- black turtle beans
You could also use:
- split peas
- lentils
- pumpkin seeds
- sunflower seeds
- popcorn kernels
- navy beans
- lima beans
- great northern beans
- pinto beans
You can also buy a bean mix, meant for soup, to get a bunch of options in one bag!

What makes the best base for a bean mosaic?
We used a 5 x 7 dollar store art canvas to create our bean mosaic art. It’s a nice, sturdy base for the mosaic, and it doesn’t warp under the glue.
You can also use a tile, wooden board, cardboard, a sturdy paper plate, or cardstock. We used cardstock to test some of our mosaic patterns, and while it did warp a bit, it actually became quite hard and sturdy after it dried.

What type of bean mosaic can I make?
There are so many different kinds of mosaic art you can makes with beans, legumes, and seeds. Try one of the following options:
- Make an abstract design with lines and shapes
- Create a geometric pattern or a mandala
- Make a landscape picture including grass, the sky, and the sun
- Fill in nature themed shapes, like flowers, leaves, or a rainbow
- Create a portrait of a person or an animal

Use up those ancient beans from the back of your cupboard and create a fun bean mosaic! Leave the beans their natural colours, or dye them with food colouring beforehand. You could even paint the beans with acrylic paint after they’re glued in place for a fun rainbow look!

Here’s even more fun craft ideas:


Our book Low-Mess Crafts for Kids is loaded with 72 fun and simple craft ideas for kids! The projects are fun, easy and most importantly low-mess, so the clean up is simple!

Where to buy:
You can purchase Low-Mess Crafts for Kids from Amazon, or wherever books are sold:
Amazon | Barnes and Noble | Books-A-Million | Indiebound | Amazon Canada


Leave a Reply