
There’s something so magical about handmade Christmas ornaments, and this wire wrapped snowflake might be one of the prettiest you’ll ever make! With just a bit of wire and a handful of sparkly beads, you can create delicate snowflakes that shimmer beautifully on the tree.
They’re simple to customize, surprisingly beginner-friendly, and a lovely craft to make during the holiday season. Whether you’re decorating, gifting, or planning a cozy craft night, these beaded snowflakes add the perfect touch of winter sparkle!

This post contains affiliate links. If you use these links to buy something, we may earn a small commission at no extra cost to you. This helps support our website and allows us to keep creating fun, free content.
How to Make a Wire Wrapped Snowflake
Materials:
See the craft in action:
Instructions:
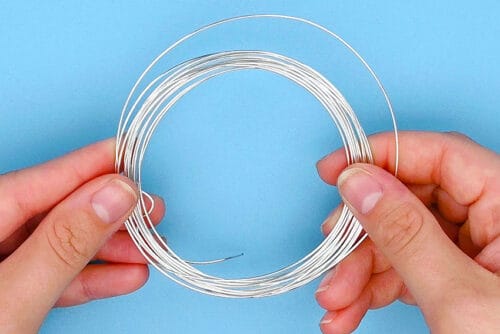
Step 1: Find what you need
- Gather your supplies and materials.


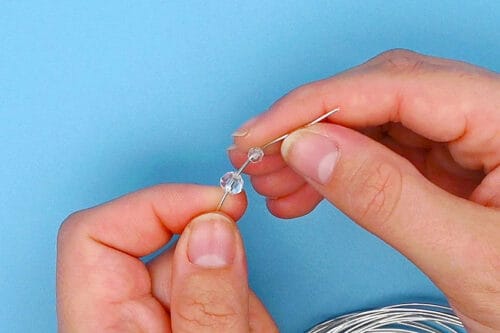
Step 2: Add beads to the wire
- For this craft we’ll be working with the wire attached to the spool. This ensures you have exactly the right amount of wire for the snowflake you’d like to make.
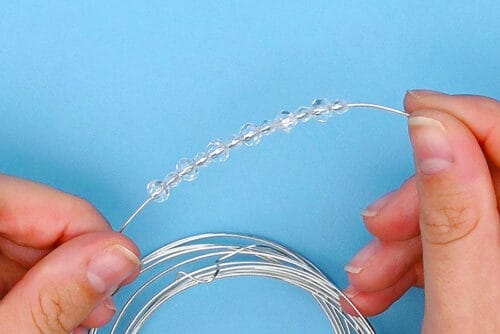
- Begin by adding a 6mm bead to the wire, and then a 2mm bead.

- Repeat until you have 6 of each size bead on the wire.
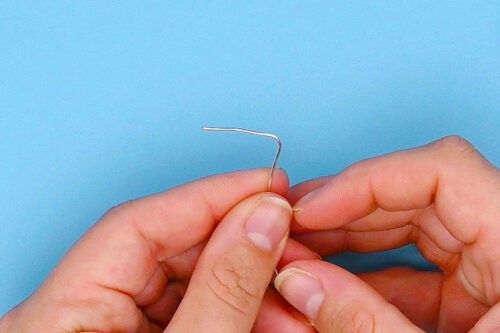
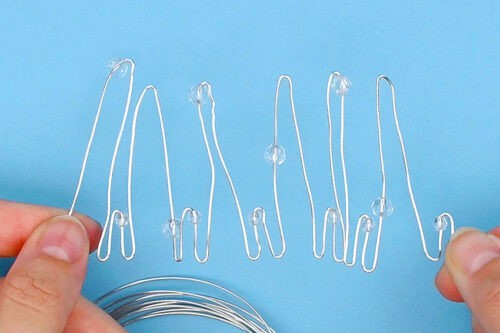
Step 3: Create the first 2 sections of the snowflake
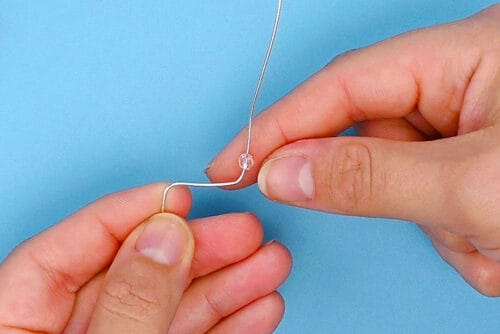
- Let the beads fall farther down the wire and fold the end of the wire, at about the 1 inch mark.
- From the first fold, bend the wire again, going down about 3/4 inch.
- Bring the last bead (a 2mm one) back to this point.
- Fold the wire down, trapping the bead in the fold, and then back up again at the 3/4 inch mark.
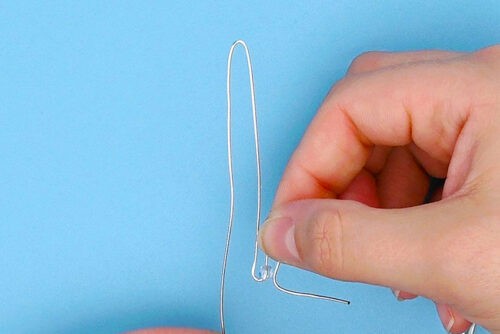
- From the last fold, measure 2-1/2 inches up. Bend back down again, creating a longer section of the snowflake.
- Push a 6mm bead up to the top of this section.
- Again, bend the wire back up at the 2-1/2 inch point, so it matches the bottom of the rest of the folds.


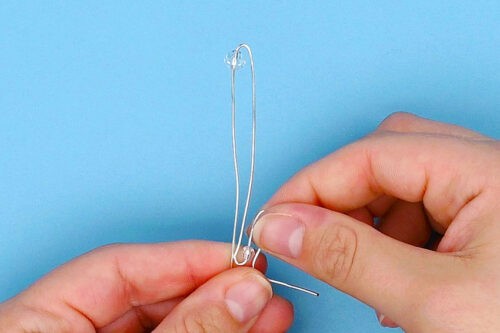
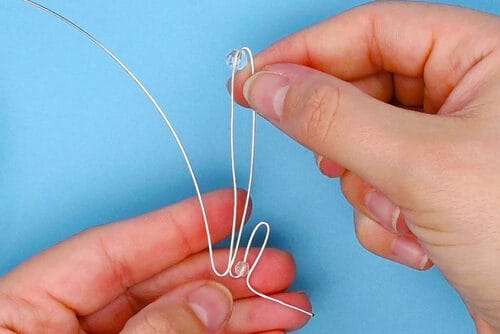
Step 4: Make the rest of the snowflake sections
- Repeat Step 3, using all the beads to create 12 total sections for the snowflake.Make the last tall section about 1/4 inch longer than the rest.
- Then cut the end of the wire about 1 inch away from the last fold.

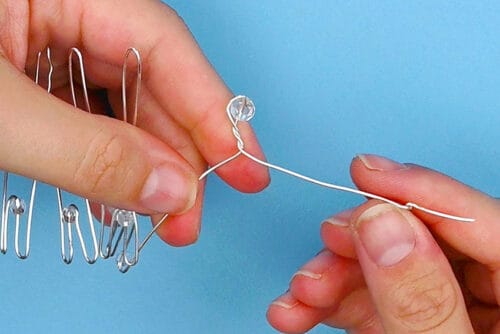
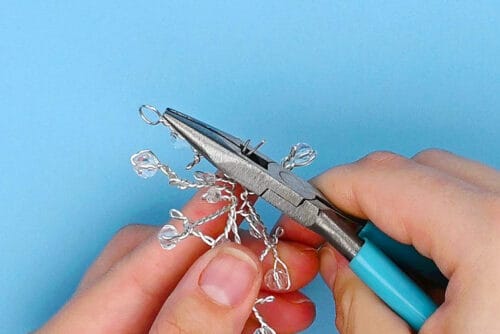
Step 5: Twist the first snowflake sections
- Starting back at the first section, make sure the bead is at the top (near the “loop”) and use pliers to twist the section together at least 4 times. This will create texture on the snowflake and keep the bead in place.
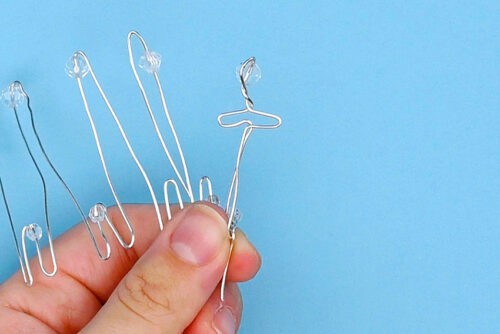
- Move on to the next section, the first long one. Push the bead to the top and secure it in place with just a couple twists. Then separate the wires so they’re going straight out, in opposite directions.
- Hold the wire with pliers on one side, right next to the twists. Then fold the wire down.
- Repeat on the other side.
- Fold the wires back in to the center, and then back down below the bead. It should look like a cross or a “t”.
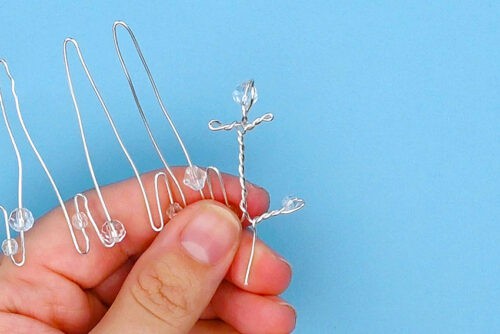
- Use pliers to twist each side section a couple of times. Then twist the rest of the section together.

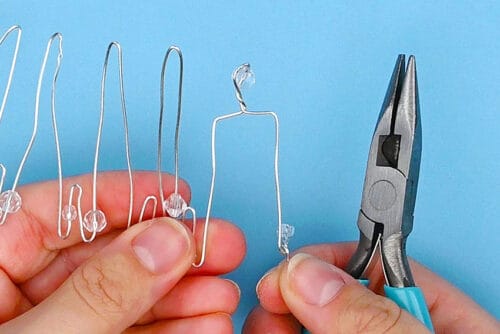
Step 6: Form the rest of the sections
- Repeat Step 5 until you reach the last section.
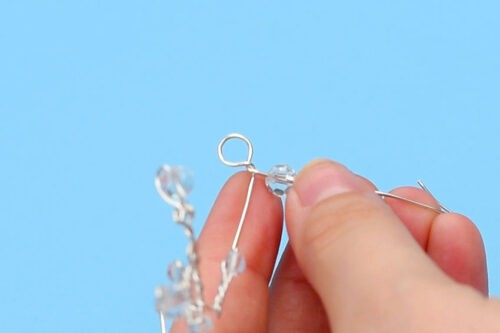
- Before pushing the bead to the top of the section, use round nose pliers to create a loop at the top. This is where you’ll attach an ornament hanger.
- Then push the bead up next to the loop and secure it with a couple of twists.
- Complete the last section, making the same twisted ‘t’ that the rest of the long sections have.


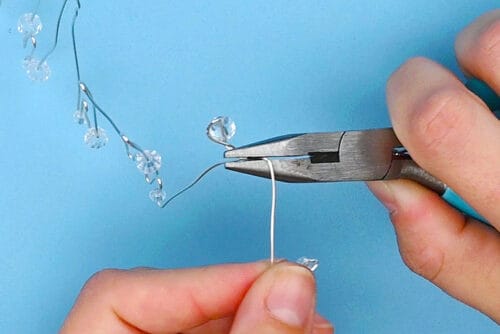
Step 7: Finish the snowflake ornament
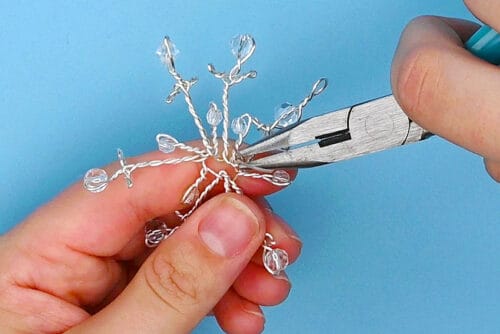
- Bring the two ends together, connecting the snowflake. Use pliers to twist the ends together, as close to the base of the sections as possible.
- Then cut off the excess wire. Push the twisted ends up against one of the sections so they blend in.
- Now bend the snowflake into shape, so all the sections are evenly spaced and facing the right way.
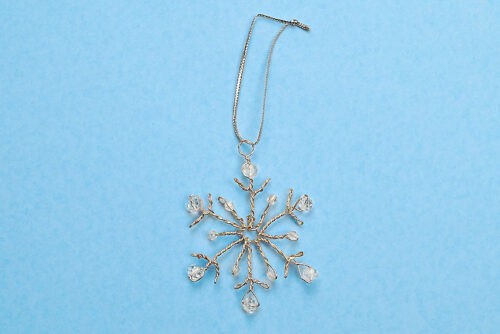
- Finally, cut an 8 inch piece of metallic cord. Put it through the looped end and tie it into a knot, creating an ornament hanger.
- Your wire wrapped snowflake is complete!


Helpful Tips:
- Keep the wire attached to the spool: Leave your wire connected while you work, so you never run short or cut too much.
- Use smooth, gentle twists: Twist the wire slowly and evenly to help the snowflake look delicate and symmetrical. Sharp twists can kink the wire or make the design look uneven.
- Use pliers for tiny bends: Chain-nose or needle-nose pliers help create tight little loops and clean angles, especially at the ends of the snowflake arms.

What wire is best for making a snowflake ornament?
We recommend using 20 gauge jewelry wire. It’s thin enough to twist easily and gives that delicate, dainty look, but still strong enough to hold its shape. 18 gauge wire would also work, giving you an even sturdier snowflake.

What beads work best for this wire wrapped snowflake?
We used clear faceted bicone beads, which catch the light beautifully.
Round beads also work well, but anything lightweight and sparkly will look great on the finished ornament. You can also use transparent coloured beads to personalize the snowflake.

How can I display my wire wrapped snowflake ornament?
There are so many ways to use these delicate snowflakes! Try displaying it as a:
- Christmas ornament in the tree
- Gift tag/topper on a present
- Suncatcher in the window
- Decoration for a handmade garland
- Part of a winter vignette or decorative display

Making your own wire wrapped snowflake is such a lovely way to add a little handmade sparkle to the season. Each one turns out slightly unique, and that’s part of the charm. Just like real snowflakes, no two wire snowflakes are ever the exact same!
Once you’ve finished adding your beads and twisting the wire, you’ll have a delicate winter decoration that shines beautifully wherever you hang it. Give your DIY snowflake ornaments as Christmas gifts to friends and neighbours, or display them with pride, enjoying the festive touch they bring to your holiday decor.
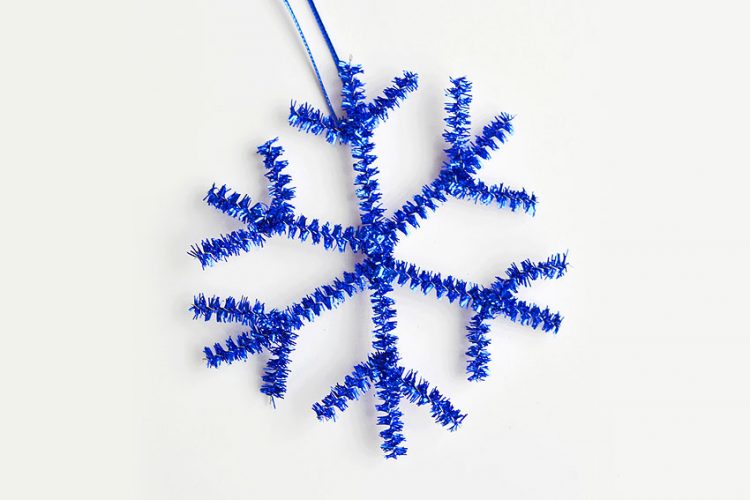
Here’s even more snowflake craft ideas:


Now available
Low-Mess Crafts for Kids Book
72 cute and fun crafts that kids and parents alike can enjoy. All with as little mess as possible!
Where to buy:
You can purchase Low-Mess Crafts for Kids from Amazon, or wherever books are sold:
Amazon | Barnes and Noble | Books-A-Million | Indiebound | Amazon Canada


Leave a Reply