

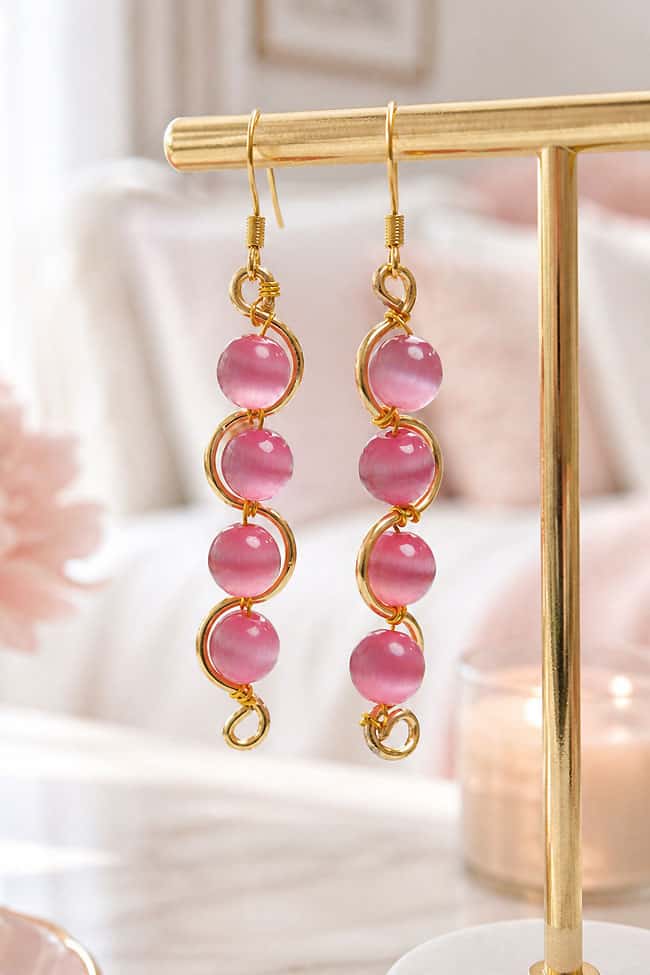
These wire wrapped earrings are such a fun way to make your own custom jewelry! With gold wire, pretty beads, and a few simple jewelry-making supplies, you can create earrings that look polished, colourful, and completely unique to your style.
This tutorial includes step-by-step instructions for 3 different beaded earrings, from a simple wrapped design to a spiral wire earring with a cute charm at the bottom. Customize them with beads that match your favourite outfits, use birthstone-inspired colours, or choose a mix of shapes and finishes to create a pair for every outfit. These DIY earrings are perfect for homemade gifts, handmade accessories, or adding a little extra personality to your own jewelry collection.
This post contains affiliate links. If you use these links to buy something, we may earn a small commission at no extra cost to you. This helps support our website and allows us to keep creating fun, free content.
How to Make Wire Wrapped Earrings
Materials:
Equipment:
- Pen (or pencil, or thin dowel)
See the craft in action:
Instructions:
Find what you need:
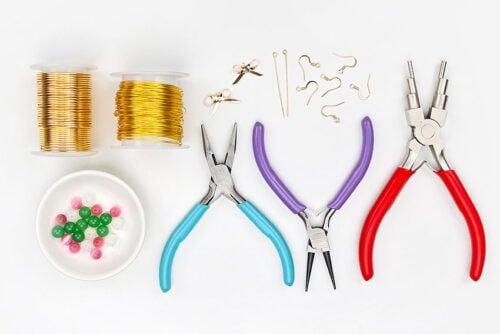
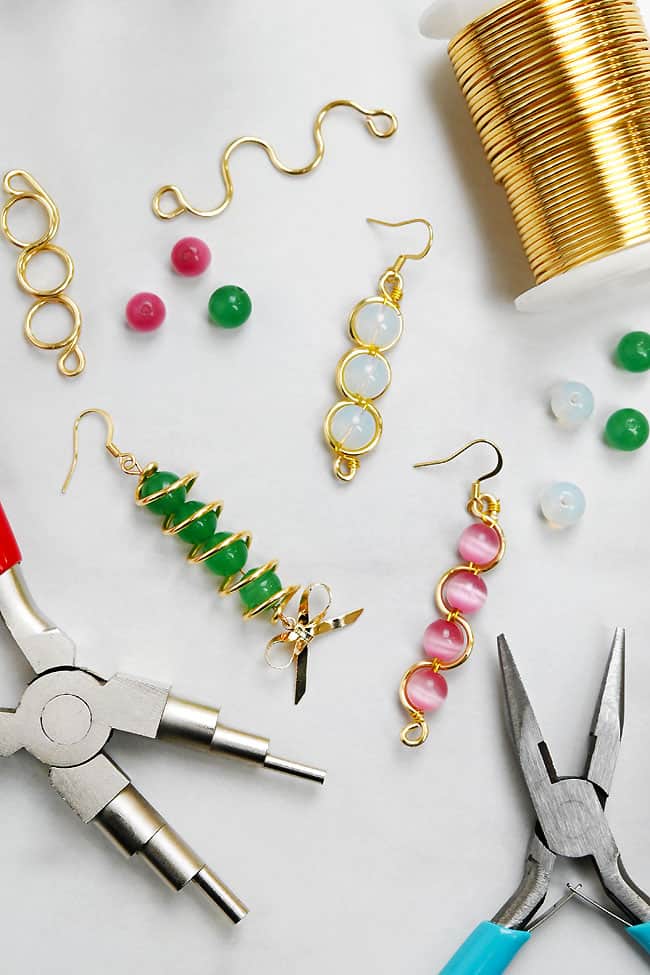
- Gather your supplies and materials.This shows what you’ll need for all 3 pairs of earrings.

Make beaded wave earrings:
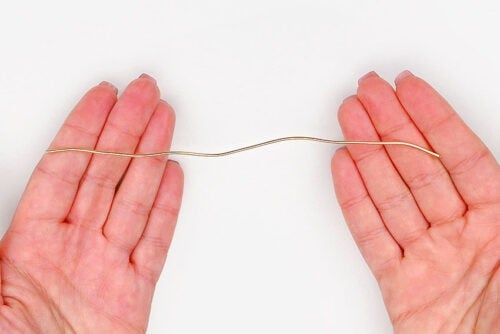
- Cut a 6 inch piece of 16 gauge wire.
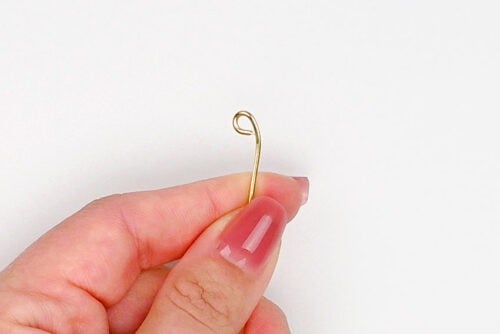
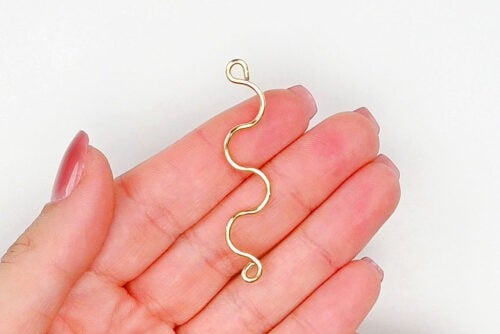
- Use bail making pliers to create a small loop (or “bail”) on the end of the wire.
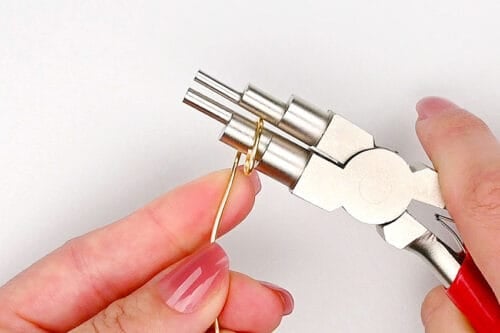
- Hold the wire at the 8mm section of the bail makers, just below the small loop you made. Wrap the wire around the pliers, creating a partial circle.

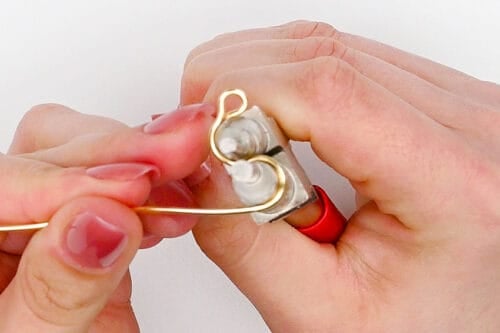
- Grip the partial circle with the other side of the pliers, so the bail is on the outside of the pliers and the wire comes up through the middle.Now wrap the wire down around the same 8mm section. This should create another partial circle that goes in the opposite direction.
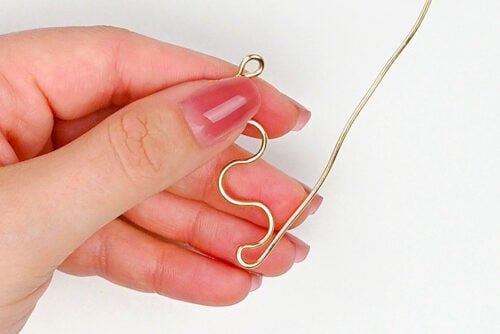
- Repeat this 2 more times for a total of 4 curves
- Cut off any excess wire, leaving about 3/8 inch extra. Use the bail making pliers to create another small loop at the bottom.Curl this bail in the opposite direction from the top one.
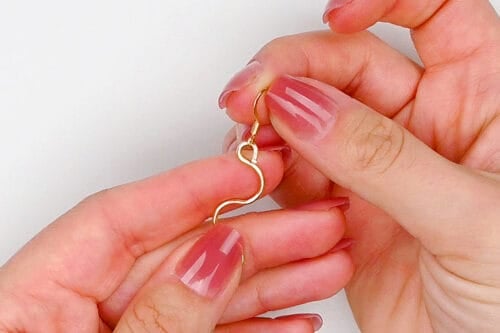
- Attach an earring hook to the top bail. You can use pliers to open up the loop so the hook slips on, and then close it tightly again.
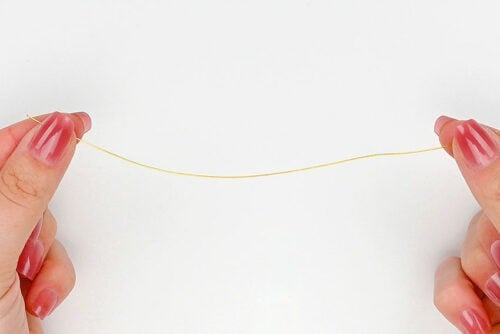
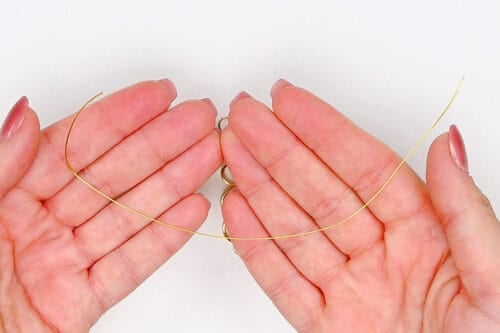
- Cut a 6 inch piece of 24 gauge wrapping wire.
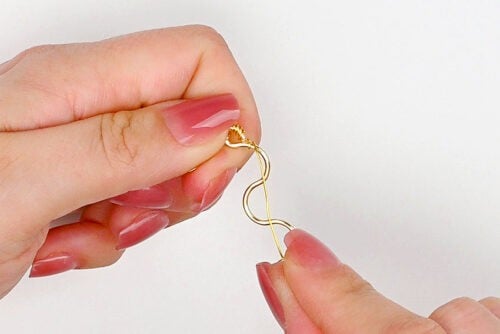
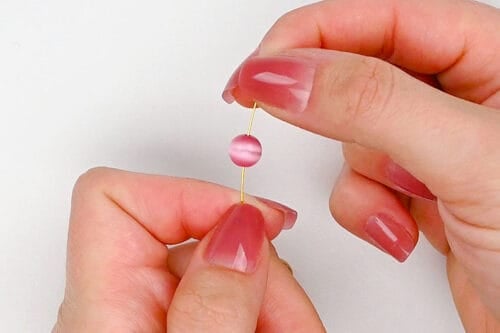
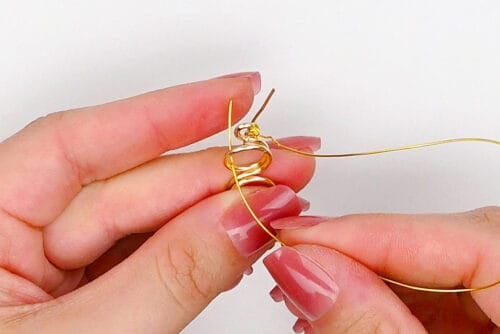
- Attach the thin wire by wrapping it around the bottom of the top bail several times.(Use needle nose pliers to help you pull it through.)
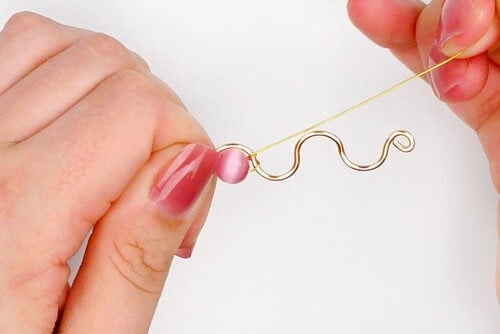
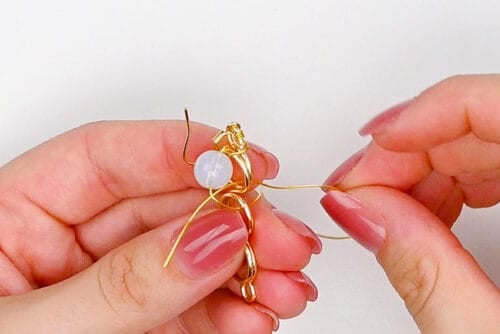
- Add an 8mm bead to the thin wire.
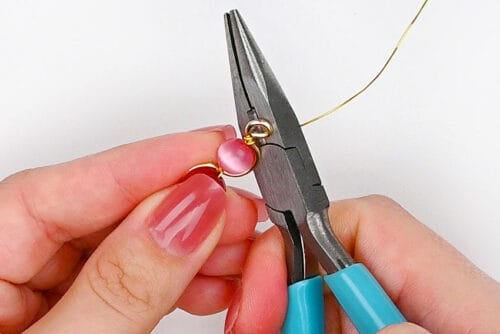
- Let the bead fall down so it fits in the first curve. Wrap the wire around the top of the next curve several times to keep it in place.Use your pliers to pinch the wraps together neatly.
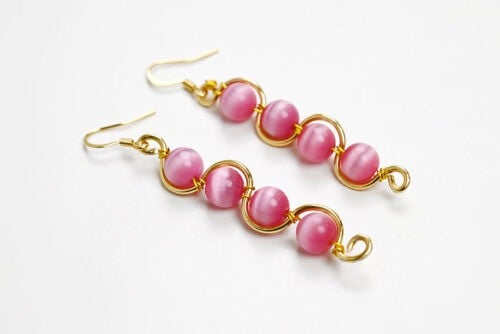
- Repeat, adding 3 more beads. Fit 1 in each curve and secure them in place with a few wraps each time.Then wrap the wire below the last bead (above the bottom bail) and cut off the excess. Use pliers to pinch the wire in, so it doesn’t stick out.
- Repeat, making a second earring.Your beaded wave wire wrapped earrings are complete!
Make spiral bead earrings:
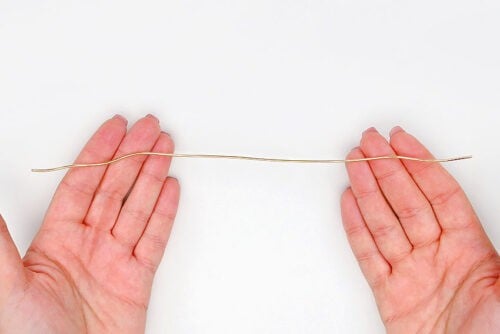
- Cut an 8 inch piece of 16 gauge wire.
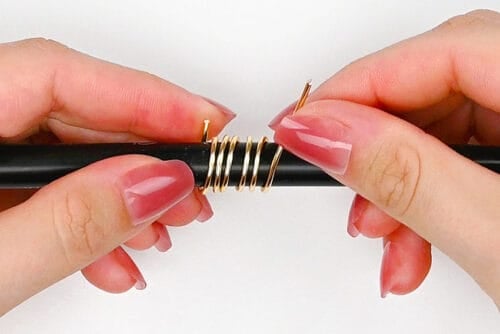
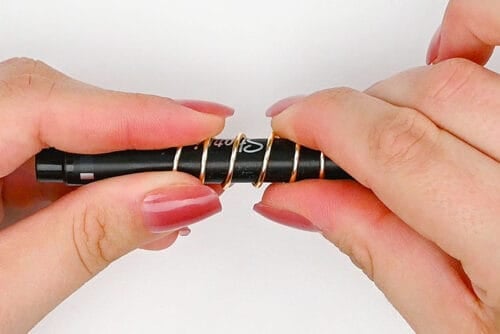
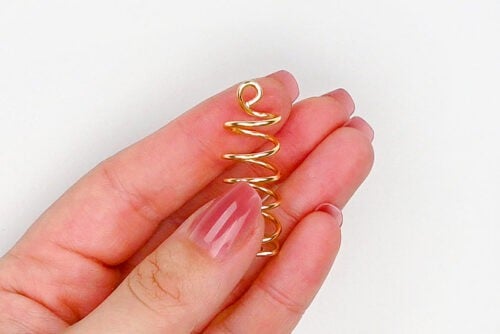
- Wrap the wire around a pen, pencil, or thin dowel (about 3/8 inch wide) 5 times.
- Stretch out the spiral a bit while the wire is still on the pen, so the coils are about 1/4 inch apart.Then remove the coil from the pen.
- Use the smallest spot on the bail making pliers to create a small bail on both ends of the wire.
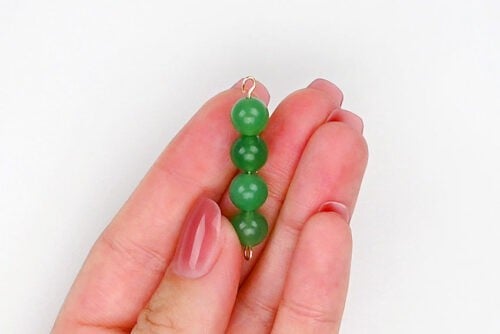
- Add four 8mm beads onto a 40mm eye pin. Then use the bail makers to create a matching bail at the top, keeping the beads in place.
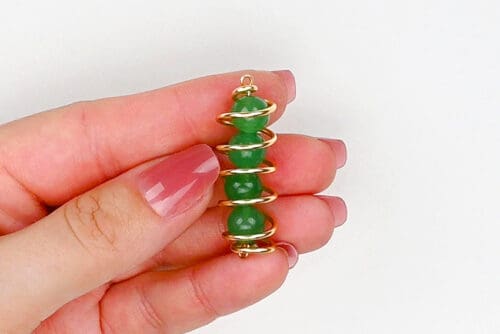
- Use pliers to bend the top bail of the coil up so it’s perpendicular to the spiral.
- Slide the beaded pin down through the middle of the coil. Push it down until the eye goes through the bottom bail.Then use your pliers to push the top bail back down, over the top eye of the pin.
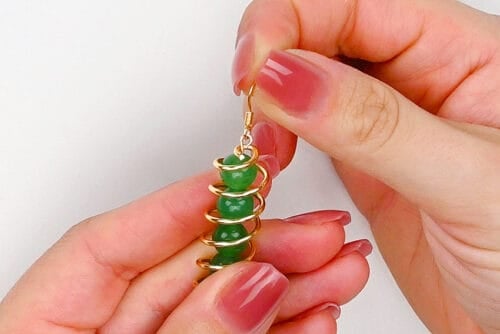
- Open the top eye of the pin enough so you can attach an earring hook. Then use pliers to close it tightly again.
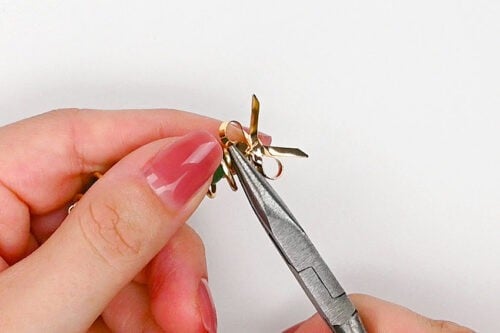
- Connect a charm to the bottom eye in the same way.
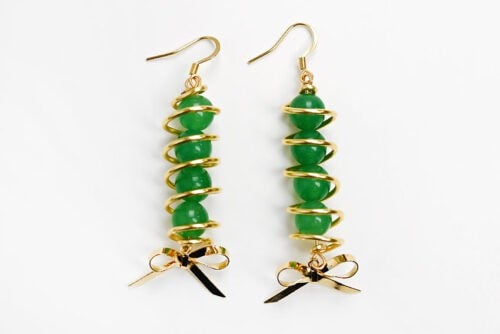
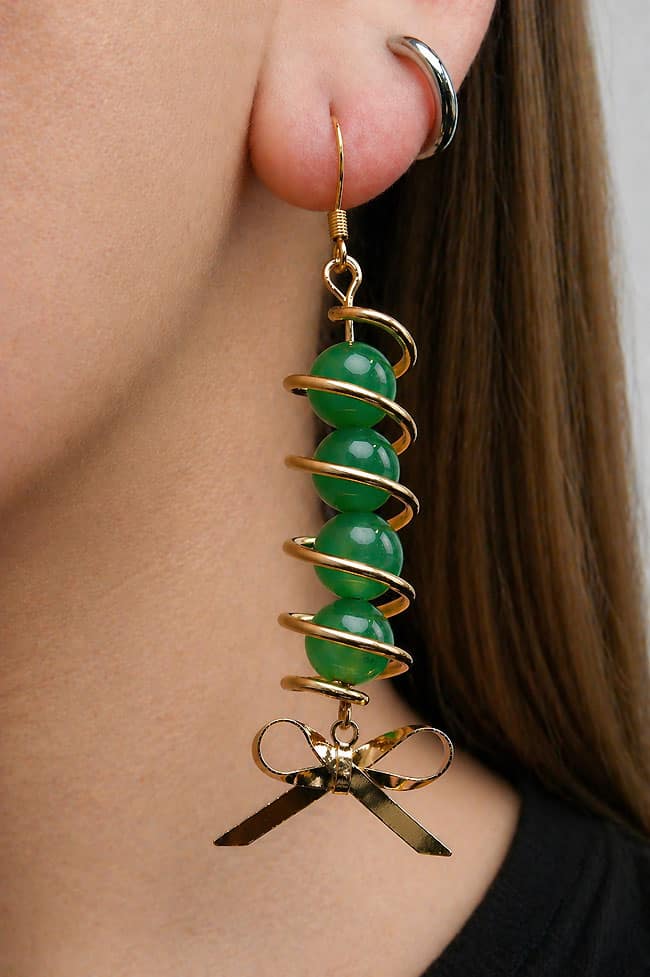
- Repeat, making a second earring.Your spiral wire wrap earrings are complete!
Make looped bead earrings:
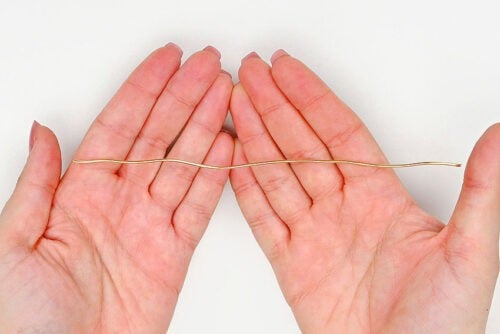
- Cut a 6 inch piece of 16 gauge wire.
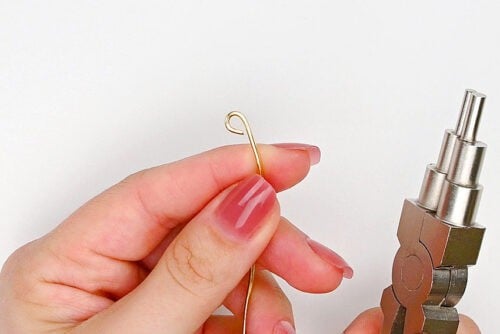
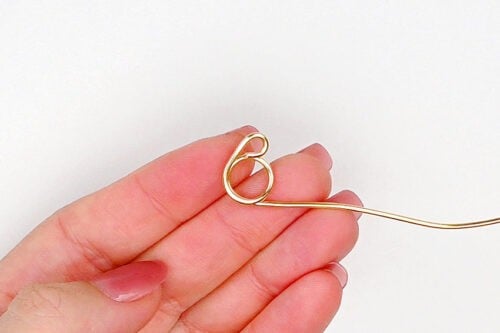
- Use the smallest part of the bail making pliers to create a loop (bail) on one end of the wire.
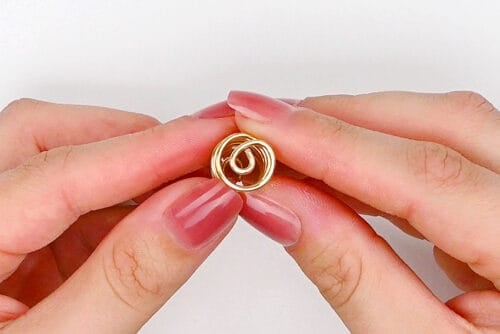
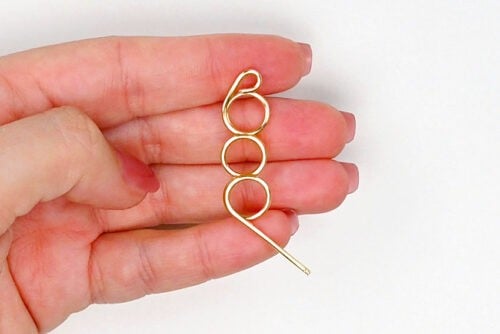
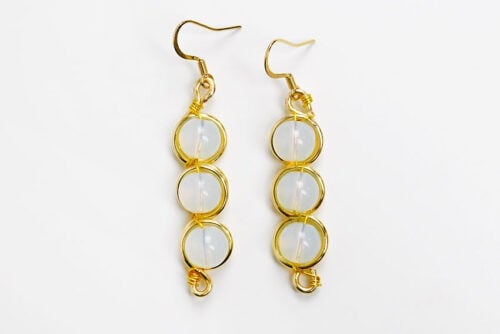
- Use the 8mm section of the bail makers to create a circle directly under the small bail.To create a full circle the wire should overlap on one side, with the circle finishing in the center.
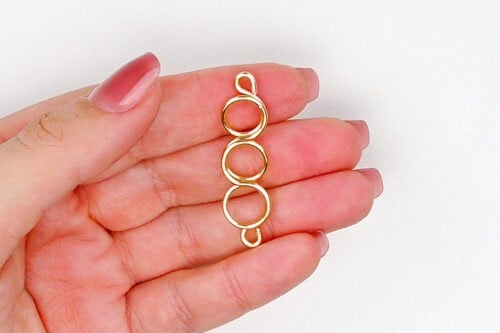
- Repeat, making 2 more circles, each one below the last, with the circles starting and ending in the center.
- Trim off any excess wire, leaving about 3/8 inch. Make another small bail at the bottom of the earring.
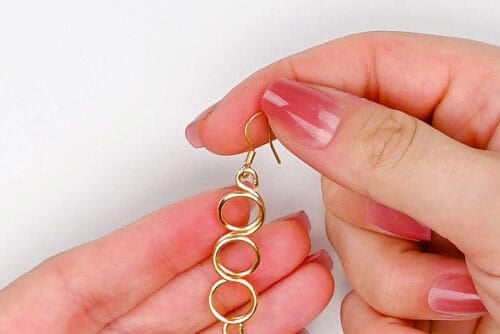
- Use pliers to open up the top bail just enough to attach an earring hook. Then close it again so the hook can’t fall off.
- Cut a 6 inch piece of 24 gauge wire.
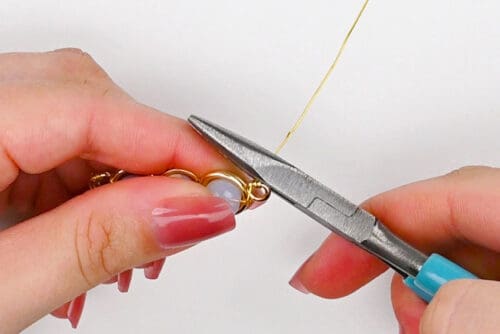
- Connect the wire to the earring by wrapping it around the first bail a few times. Then wrap it around the top of the first circle so it points towards the bottom of the earring.
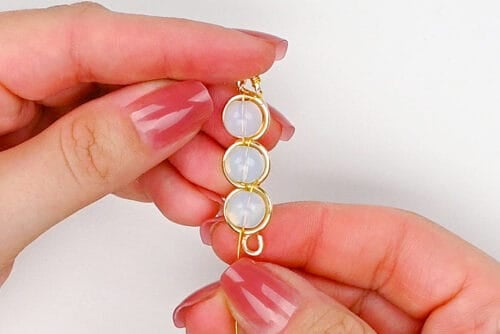
- Add a 10mm bead to the wire. Set the bead on top of the first circle. Then wrap the wire through the second circle and back up around the bottom of the circle to keep the bead in place.
- Repeat, adding 2 more beads in the same way.
- Secure the bottom of the wire by wrapping it around the bottom bail. Cut off any excess wire.
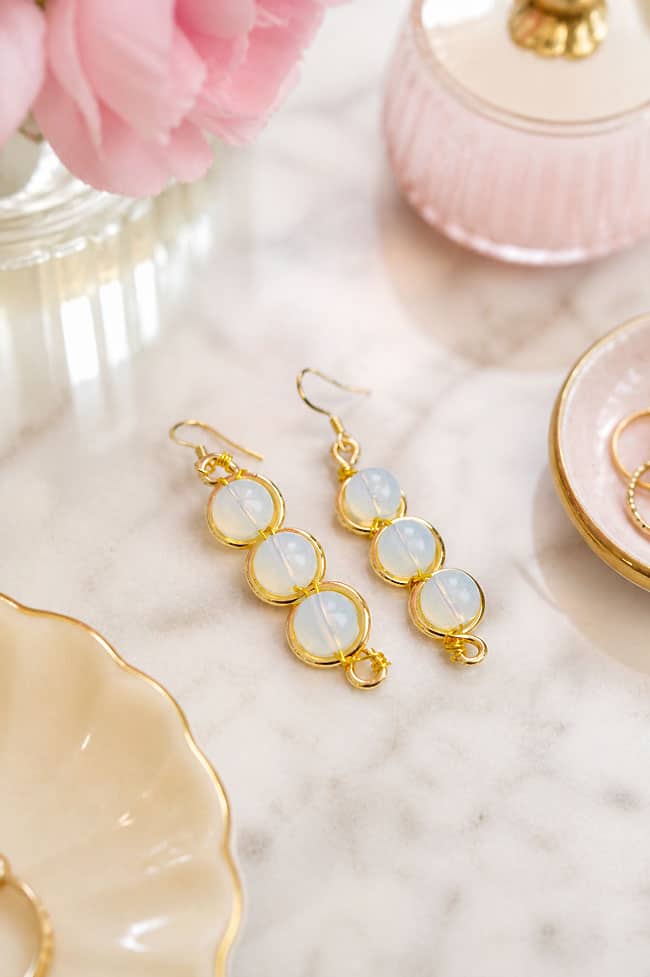
- Repeat, making a second earring.Your looped wire and bead earrings are complete!
Helpful Tips:
- Have fun with different shapes and charms: Once you get the hang of bending the wire, try creating different shapes for your earrings. You can also add a small charm to the bottom of any pair for extra movement and detail. We added a charm to one of our designs, but it would look cute on any of the earrings!
- Use the same tools and measurements for each earring: To make a matching pair, use the same pliers, dowel, pen, or round object for both earrings. Try to match your wire lengths and bead placement as closely as possible so the finished earrings are the same size and shape.
What tools do I need to make wire wrapped earrings?
You’ll need bail making pliers or round nose pliers to shape the wire. Bail making pliers are especially helpful because they make it easier to create consistent sizes of loops, circles, and curves. You can wrap the wire around a thin dowel, pen, or another round object if you don’t have bail making pliers.
You’ll also need needle nose pliers for tucking in loose wire ends, plus wire cutters for trimming the wire.
What type of wire should I use for wire wrapped earrings?
For the main earring base, we used 16 gauge wire. It’s sturdy enough to hold its shape, but still soft enough to bend with jewelry pliers. We used copper wire in a gold colour, but you can also use silver, rose gold, brass, or another finish.
To attach the beads, we used 24 gauge wrapping wire. This thinner wire is flexible and easy to wrap around the earring base. It holds the beads in place without adding too much bulk or standing out too much against the larger wire.
Most importantly, use wire and earring hooks that are labeled as “tarnish resistant” and “hypoallergenic”. This will keep your earrings looking nice, allowing you to wear them comfortably.
What beads work best for wire wrapped earrings?
Real stone beads or glass beads look especially pretty for this type of wire wrapped earring. They give the finished jewelry a more polished, boutique-style look. We used green aventurine beads, white moonstone beads, and pink cat’s eye beads for our designs.
You can also use stainless steel wire and more budget-friendly acrylic beads to make simple earrings, perfect for kids and jewelry making beginners.
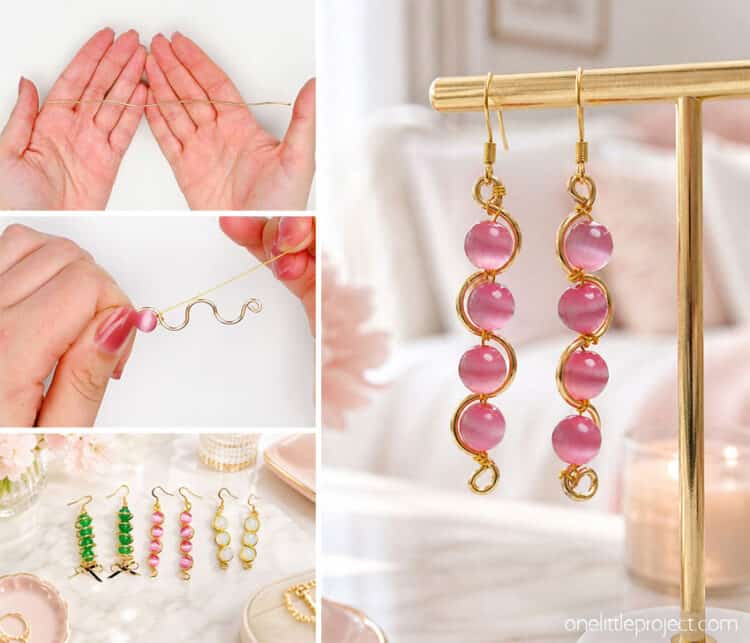
These wire wrapped earrings are a great beginner-friendly jewelry project. Each design uses simple techniques that give such pretty results, and the finished jewelry feels lightweight and wearable.
Once you’ve made one pair, it’s easy to experiment with new shapes and little details. Whether you keep them simple or make them more decorative, these handmade earrings are a fun way to practice wire wrapping and create something you’ll actually want to wear.
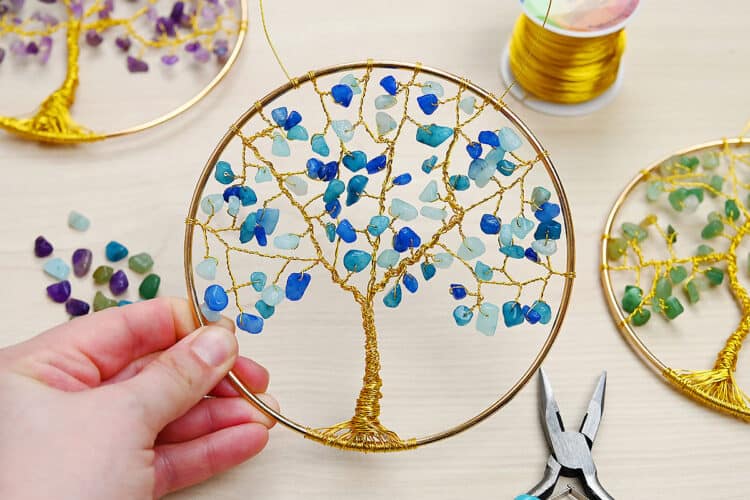
Here’s even more wire wrapping craft ideas:


Now available
Low-Mess Crafts for Kids Book
72 cute and fun crafts that kids and parents alike can enjoy. All with as little mess as possible!
Where to buy:
You can purchase Low-Mess Crafts for Kids from Amazon, or wherever books are sold:
Amazon | Barnes and Noble | Books-A-Million | Indiebound | Amazon Canada






Leave a Reply