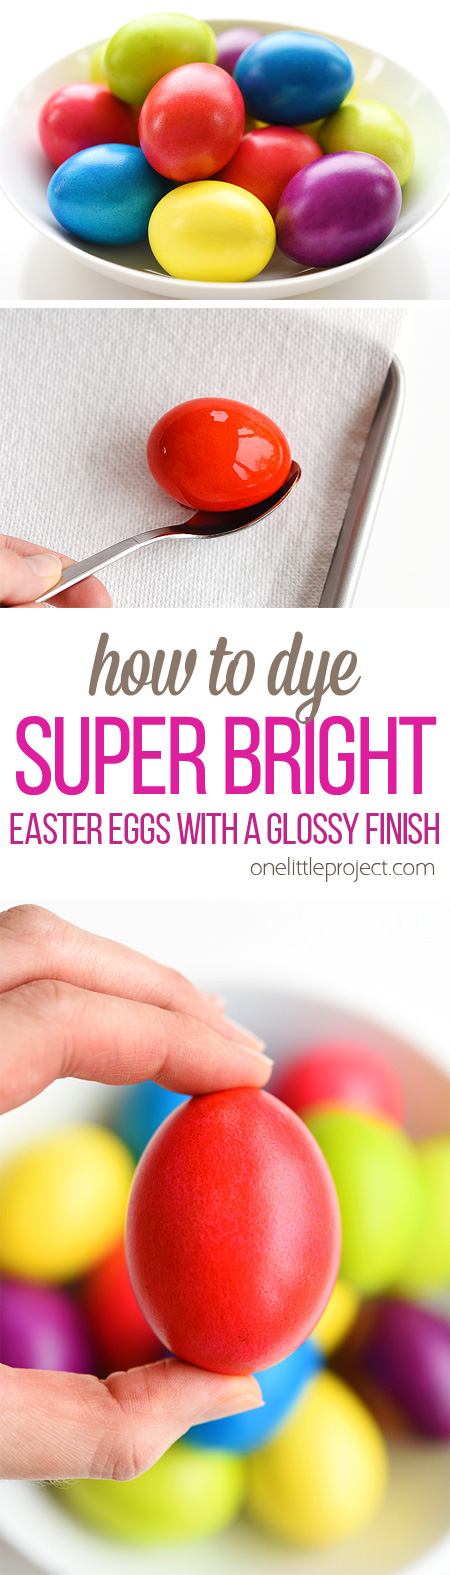
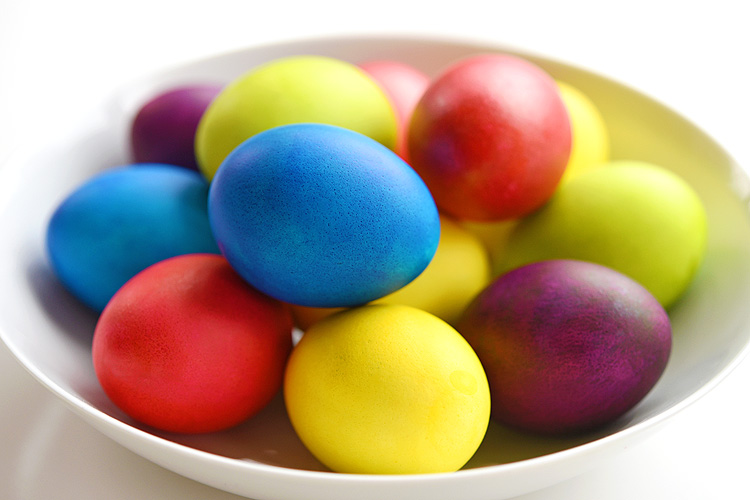
Every year at Easter time, my goal is to make vibrant, awesome, super bright Easter eggs! Let’s be real… there are only so many things you can do with those store bought dye pellets. Whether you add 1 pellet, 2 pellets, more vinegar, less water, somehow, they always end up looking almost exactly the same. And it just doesn’t satisfy my desire for super bright Easter eggs! Some years are better than others, but my conclusion is that you just can’t get these bright colours from the store bought kits.
So I tried a new method this year. It was just as a little experiment, and WOW, was I ever impressed!?! I was a little skeptical when I first started out – and maybe a little bit worried about how messy it might be (it’s not that bad… more on that below). But the egg colours are super bright and vibrant and way brighter than anything I’ve ever made before! And the colour on the eggs is way more consistent, with none of those little speckles and dots that you end up getting when you use the store bought kits.
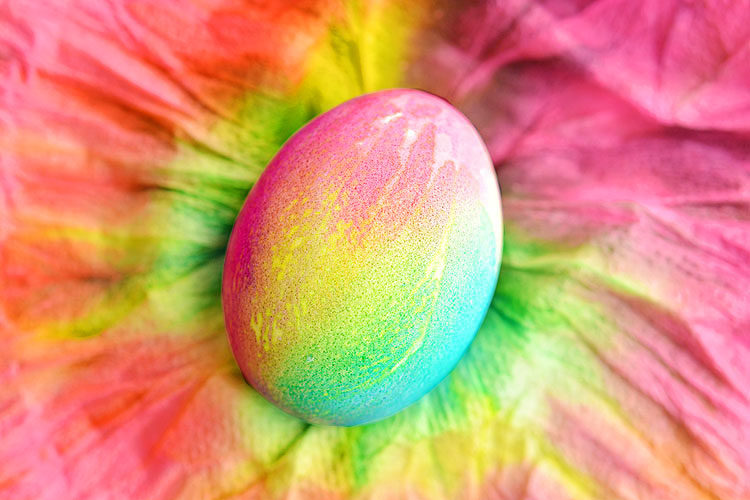
And just to make these eggs even MORE bright and beautiful, I figured out how to give the eggs a glossy finish. I’m not sure what the correct term is for the sheen? Glossy? Satin? Shiny? They turned out so well! And best of all, they are completely safe to eat!
You’ll be using food colouring – straight up – for these guys. But I would say this method of dying eggs is actually less messy than using the store bought kits because there’s no dripping.
As far as your hands go, I’d say if you touch the eggs when they’re done, your hands will get slightly more dye on them than from a store bought kit. The colour doesn’t rub off on your fingers nearly as much as I would have expected, but when you’re peeling the eggs, it DOES rub off a little bit.
I don’t want to trick you into thinking you are going to have clean hands if you peel these eggs. Your hands will get some dye on them. Not a crazy amount, but still. I personally think it’s worth it, because these super bright Easter eggs look amazing!
Check out our video on How to Dye Super Bright Easter Eggs with a Shiny Finish:
Looking for even more Easter Egg craft ideas? Here are some more for you to try!
How to Dye Super Bright Easter Eggs with a Shiny Finish
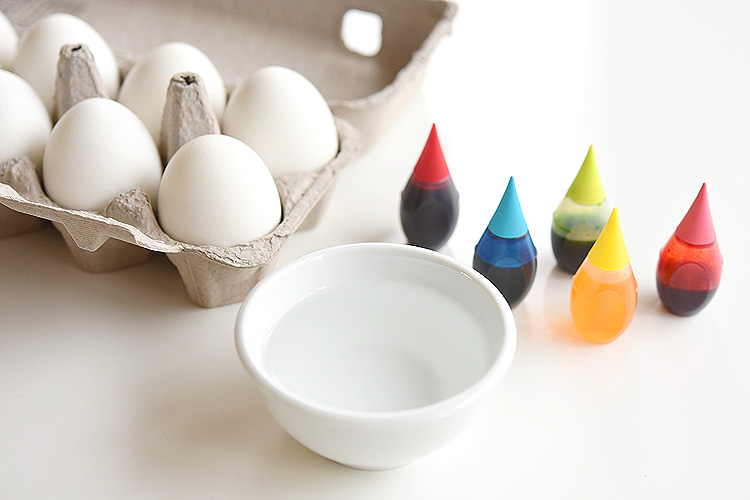
The full printable recipe is at the end of this post, but here’s what you’ll need:
- Hard boiled eggs (I made a dozen)
- Vinegar
- Food Colouring (I used regular and neon liquid food colouring)
- Cooking oil (I used canola oil)
I used liquid food colouring from both the regular red/green/blue/yellow set and the neon pink/green/blue/purple set. I’m showing pink and red in the photo below, but it turns out that pink looks identical to the red on the egg. You can also use the regular blue and regular green, they’ll just give you darker colours than what I’m showing here.
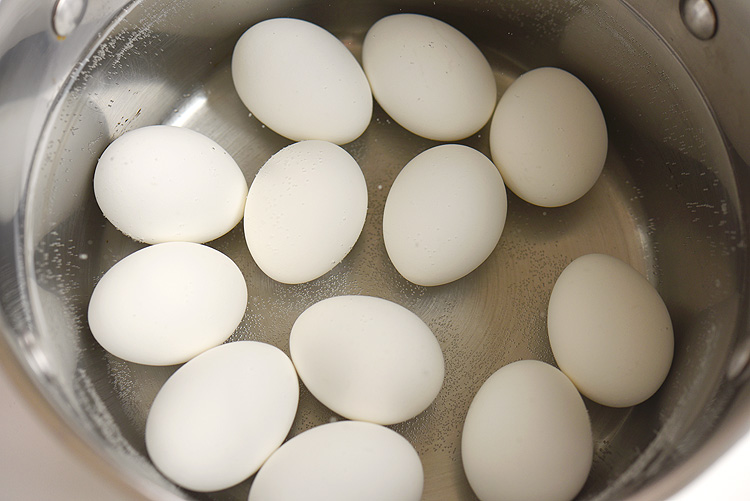
Since these eggs are completely safe to eat, you can go ahead and hard boil your eggs as usual.
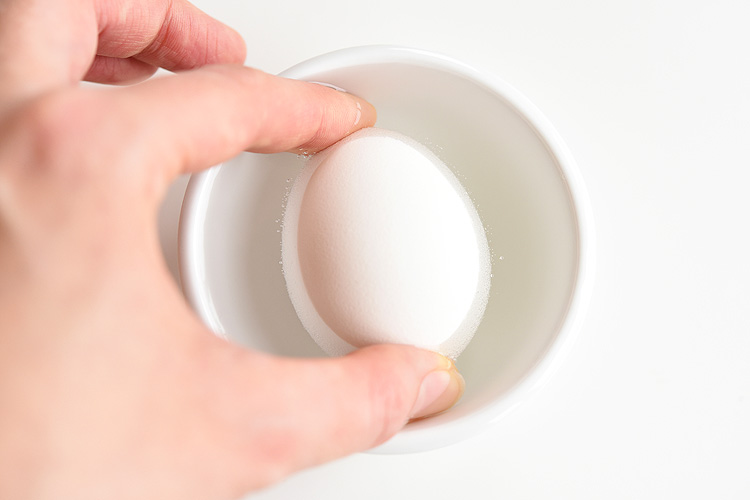
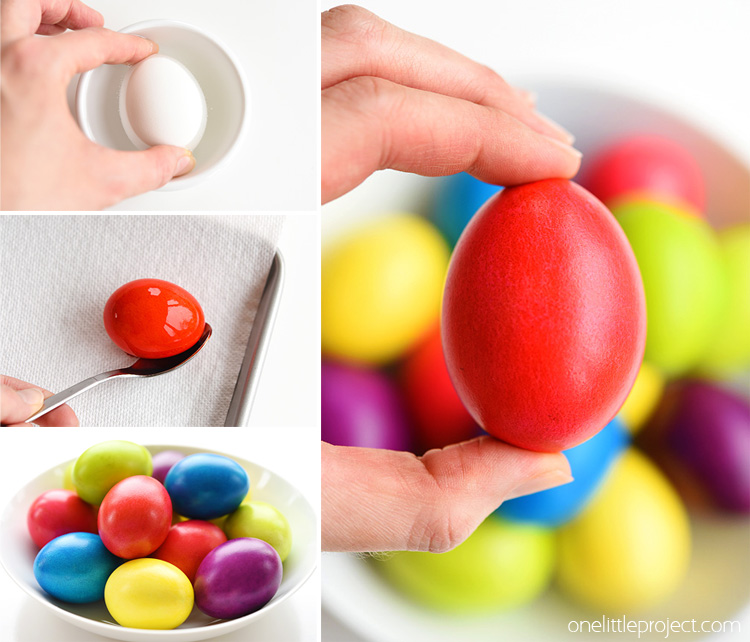
Once the eggs have cooled and dried, dip a single egg into a small bowl of vinegar. No water, just vinegar. You don’t have to soak it – just dip it in so that it’s covered in vinegar all over.
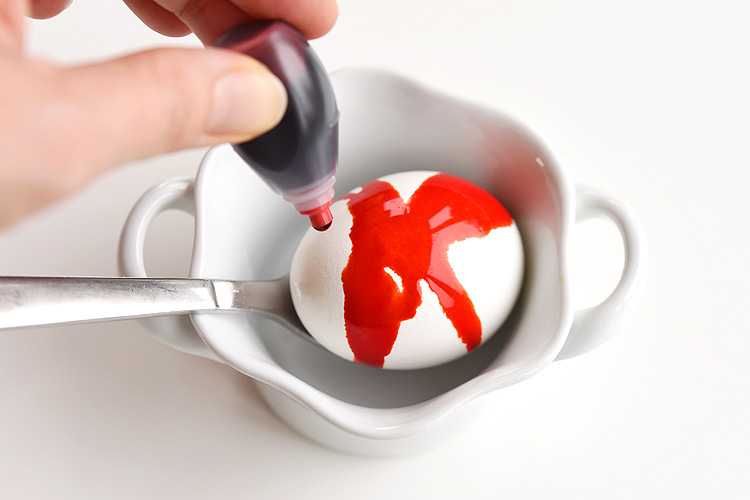
Then set the (wet with vinegar) egg on a spoon and set it into a small ceramic or short disposable cup. Don’t use anything plastic that you plan to keep or it will stain your bowls. I was able to rinse the dye off my ceramic bowls without any issues.
Squeeze food colouring drops directly onto the egg until the top is completely covered. Then use the spoon to roll the other side of the egg in the dye that has fallen into the bottom of the bowl. Feel free to add more drops of food colouring to the egg if there are any white spots left on the egg. I used about 15 drops of food colouring for the first egg of each colour.
For the second/third egg of the same colour, use the spoon to roll the next (dipped in vinegar) egg into the food colouring at the bottom of the bowl. I only used about 5 or 6 drops of food colouring on the second and third eggs of each colour.
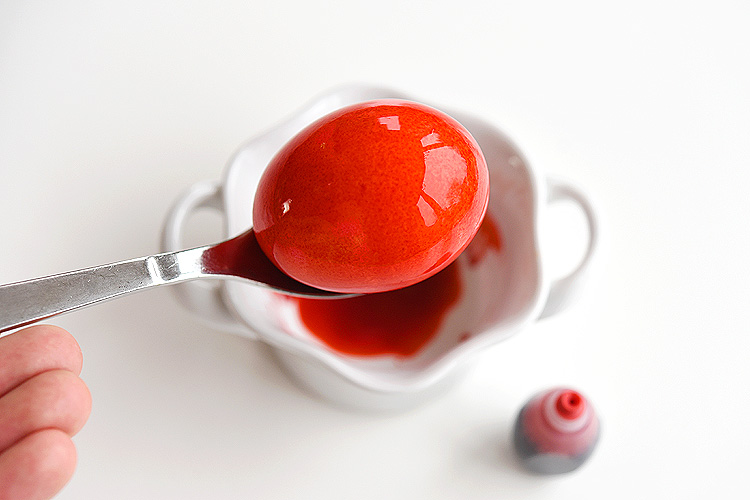
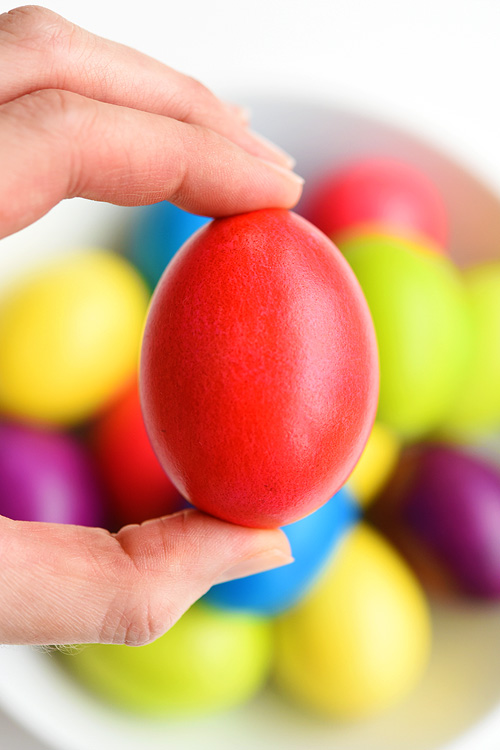
Use the spoon to carefully lift the brightly coloured egg out of the bowl. (I’m LOVING how bright the red is!!!)
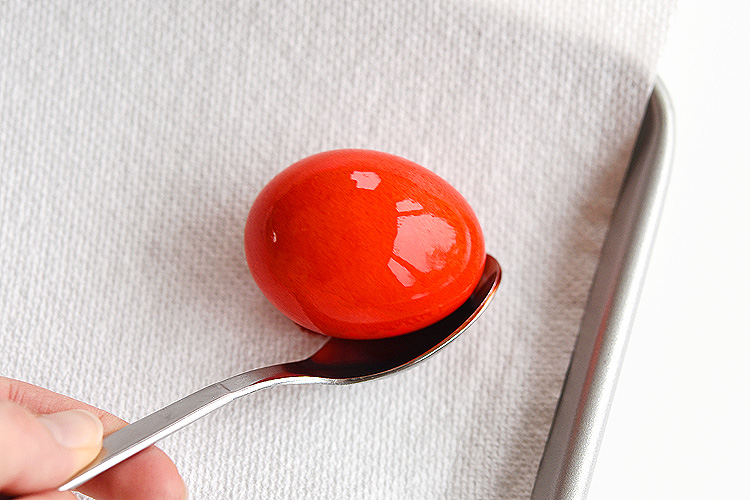
Then set it onto a baking sheet lined with paper towel to dry. I don’t recommend using the egg carton to dry these eggs. You don’t want the food colouring leaching through the carton onto your counter. Plus, they’ll dry faster on the paper towel.
Repeat the process for all the different colours! Make sure you use a clean bowl and spoon for each new colour.
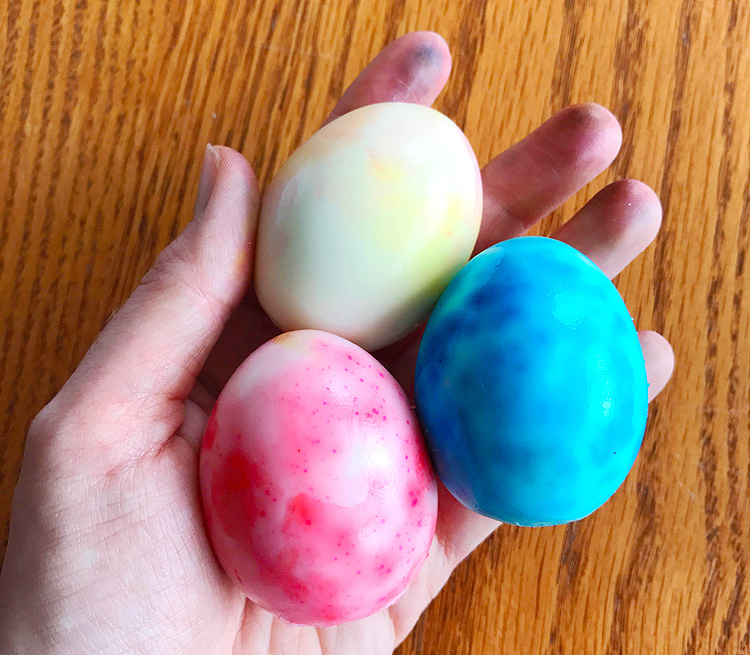
I wish I had a better picture for you, but see the three red eggs at the top of the picture below? I used neon pink food colouring on the red egg on the top left and you can’t tell any difference from the two red ones on the right. So I (sadly) wouldn’t bother with the neon pink food colouring.
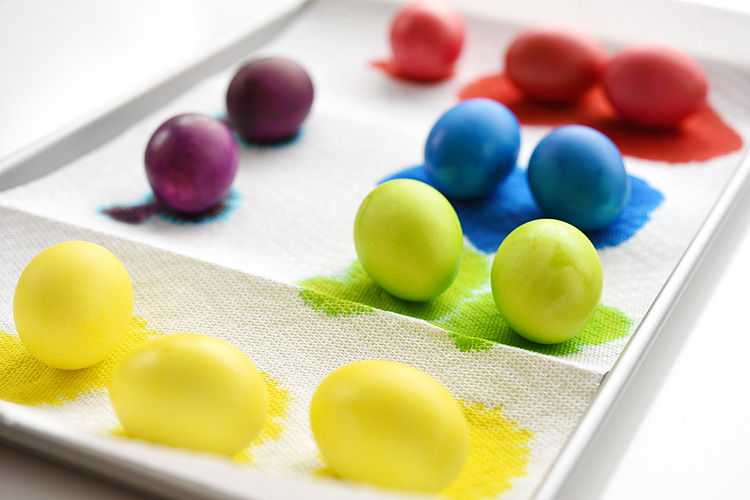
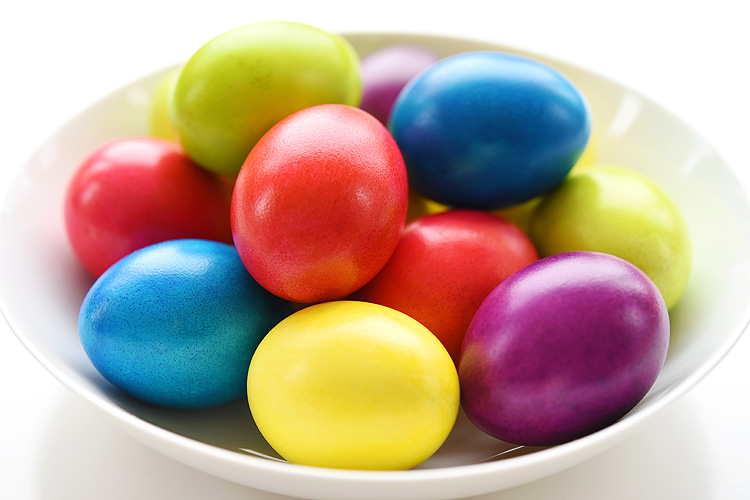
Once the eggs dry, this is what they look like. They aren’t shiny yet, and they’re still slightly splotchy. But way less splotchy and speckles than I’ve ever had before!
It’s sooooo simple to give them a glossy sheen! Add a few drops of cooking oil (I used canola oil) to a paper towel, then rub it all over the egg.
Don’t add a ton of oil or your eggs will be oily to the touch. You want just enough oil that the eggs look shiny, but the oil doesn’t wipe off onto your fingers. If you have too much oil, rub it off with another paper towel.
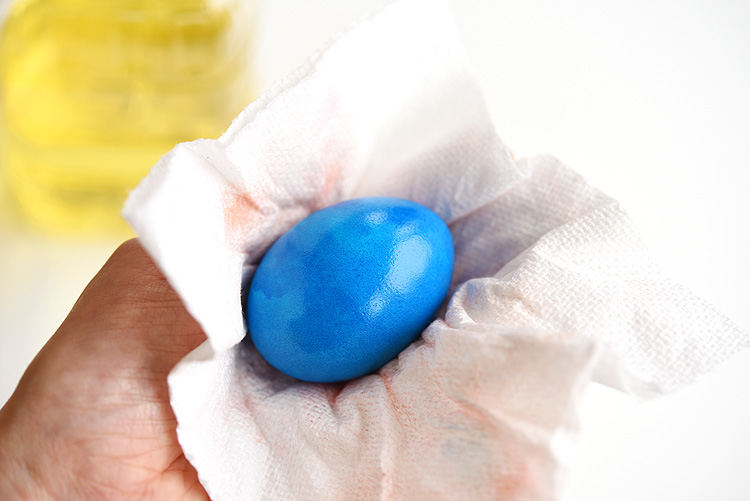
The more oil you add, the shinier your eggs will be. The eggs will absorb some of the oil, especially if you leave them for a few hours, but if people are going to be touching these eggs, I’d make sure that you wipe off any excess oil with a paper towel.
Here’s the type of liquid food colouring I used for each colour:
- Red: Red or Neon Pink food colouring
- Blue: Neon blue food colouring
- Green: Neon green food colouring
- Yellow: Yellow food colouring
- Purple: Neon purple food colouring (wow, it’s dark!)
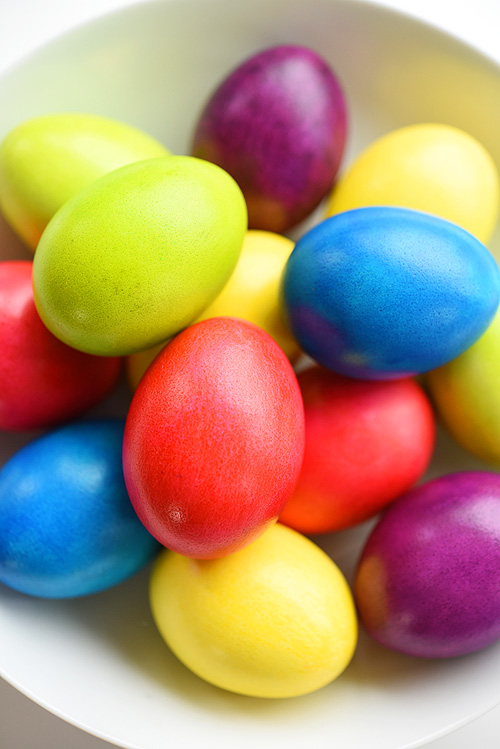
Aren’t they beautiful!?
You might be wondering what the eggs look like on the inside, so I snapped a photo on my phone to show you the peeled eggs (you can see it here). You can also see that my fingers got a little messy from peeling the eggs. The surface of the eggs had absorbed some of the dye, especially the darker colours. The insides of the eggs were still white.
How to Dye Super Bright Easter Eggs with a Shiny Finish
Materials:
- Hard boiled eggs
- Food colouring
- Vinegar
- Cooking oil
Instructions:
- Once your hard boiled eggs have cooled and dried, pour enough vinegar into a small bowl or mug so that you can dip the egg and completely cover them in vinegar.
- Dip one egg into the vinegar, then set it onto a spoon and lower it into a small ceramic bowl or short disposable cup. Don’t let the vinegar dry (you’ll have about 5 minutes before it dries, so don’t worry about rushing).
- Drip food colouring directly onto the egg. When the top of the egg is covered, use the spoon to roll the egg around in the bowl into the food colouring that dripped into the bottom. Add more drops of food colouring to any white spots on the egg. (I used about 15 drops of food colouring for the first egg of every colour.)
- Use the spoon to carefully set the egg on a paper towel lined baking sheet to dry.
- To make another egg of the same colour, dip another egg in the vinegar, then use the spoon to set the egg into the bowl and roll it around in the food colouring that was left at the bottom. Add more drops of food colouring as needed to make sure the egg is covered. (You’ll only need 6 or 7 drops for the second and third eggs).
- Repeat the steps for each new colour, but make sure you use a clean bowl and spoon for each colour.
- Once the eggs have completely dried (about 45 minutes), pour a few drops of cooking oil onto a paper towel. Rub the oil all over the egg to give it a shiny finish. If the oil rubs off the eggs onto your fingers, use a clean paper towel to rub off the excess oil.
These crazy vibrant, super bright Easter eggs are SO BEAUTIFUL and they’re so easy to make!! I love the shiny and glossy finish!! The colour is completely consistent without any of the splotches and speckles you get from the store bought kits. Best of all, they’re completely safe to eat!
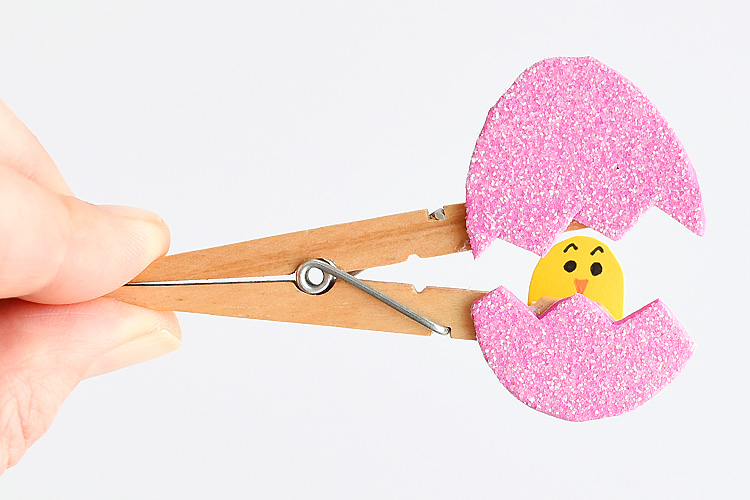
Here’s even MORE awesome Easter Egg Craft Ideas!


Check out our book Low-Mess Crafts for Kids for 72 fun and simple craft ideas for kids! The projects are fun, easy and more importantly low-mess, so the clean up is simple!

Where to buy:
You can purchase Low-Mess Crafts for Kids from Amazon, or wherever books are sold:
Amazon | Barnes and Noble | Books- A- Million | Indiebound | Indigo | Amazon Canada


Leave a Reply