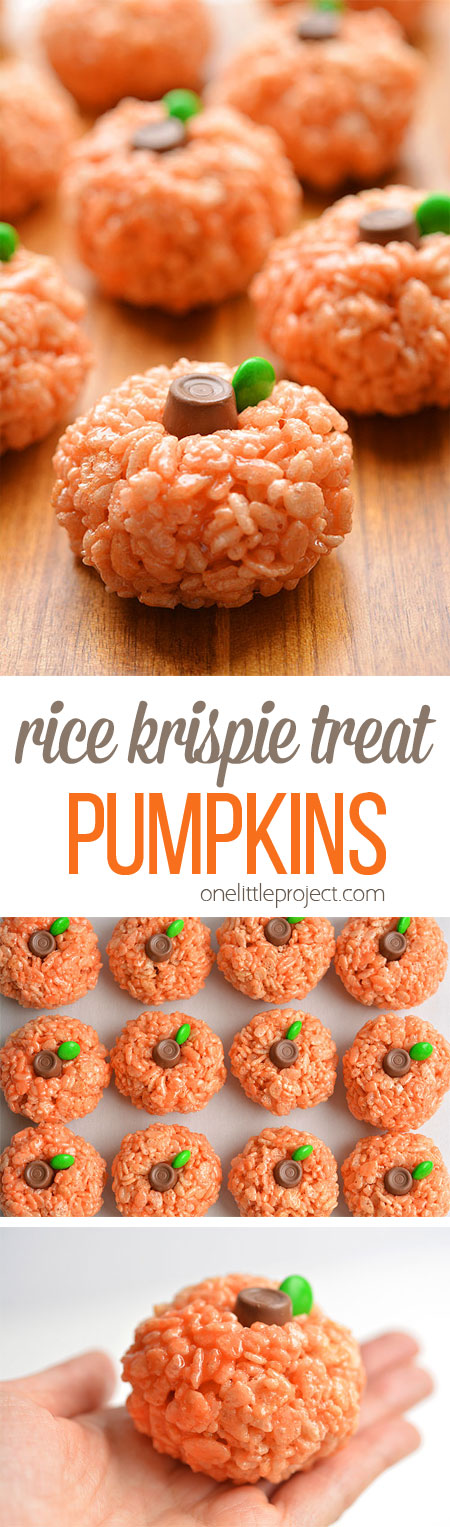
These Rice Krispie Treat pumpkins are ADORABLE! But I need to tell you right out of the gate – if you make them, your hands are going to get messy. Very messy. Before I figured out how to roll them properly I had gooey Rice Krispie treat mixture all over everything. Just picture me standing at the counter, trying to roll a ball, except instead of it turning into a ball, it got stuck on my palms and in between all of my fingers. Grrrr! I hate when that happens!
Don’t worry though, I figured out how to get it not to stick, so I promise you, these aren’t that bad if you follow my directions. But I’ll admit, I was getting really frustrated before I figured it out!
So here’s the trick… Every time I rolled one of the little balls, I had to rub both sides of both of my hands with vegetable oil. A LOT of vegetable oil. I filled a small bowl with about 1/4 cup of vegetable oil, and I pretty much dipped my hands in it and rubbed it all over the fronts and backs of my hands like I’d rub in lotion. My hands weren’t dripping or anything, but they were definitely generously coated. And I had to coat my hands in oil after every single pumpkin. So if you plan to make these yourself, just be prepared with a small bowl of oil.
I LOVE holiday treats (haha As if you couldn’t tell by seeing how many treats I post about at this time of year!). I never would have thought of rolling Rice Krispie treats into balls, but I saw the idea over at Cincy Shopper and I knew I had to try them! So many fun possibilities!
Other than the messy hands, they’re really easy to make!
Check out our video for how to make Rice Krispie Treat Pumpkins:
For more fun Halloween and Thanksgiving recipes, check out our videos for:
Scarecrow Crunch Snack Mix Recipe
Chocolate Turkey Thanksgiving Treats
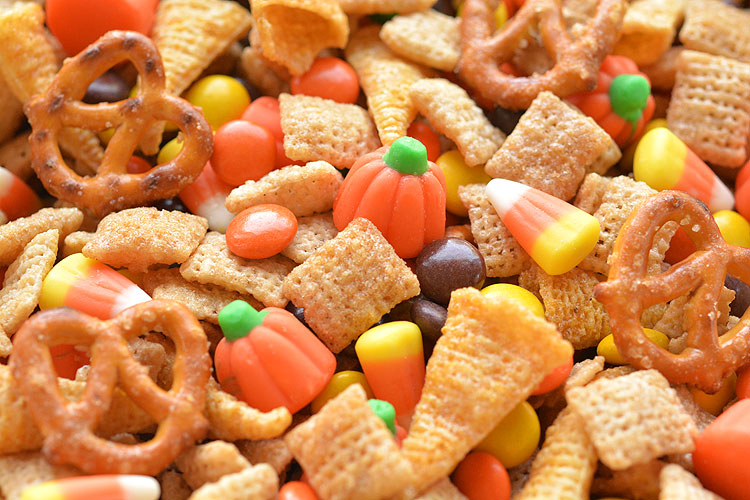
Halloween Harvest Hash Chex Mix
Rice Krispie Treat Pumpkins
The full printable recipe is at the end of this post, but here’s what you’ll need:
- Rice Krispies
- Butter
- Marshmallows
- Food Colouring
- Mini Rolo’s
- Green M&M’s
You’re pretty much making regular Rice Krispie treats, except before you add in the Rice Krispies, add food colouring to the marshmallow and butter mixture.
I think the amount of food colouring you need to use will depend on the type of food colouring you use. I started with only a couple drops of each colour, but the colour wasn’t very good. So I went a little crazy and squeezed in tons of drops. I kind of lost track of how many drops it was, (sorry about that…) but I think it was somewhere around 4 to 6 drops of red and 12 drops of yellow. You’re going to have to experiment.
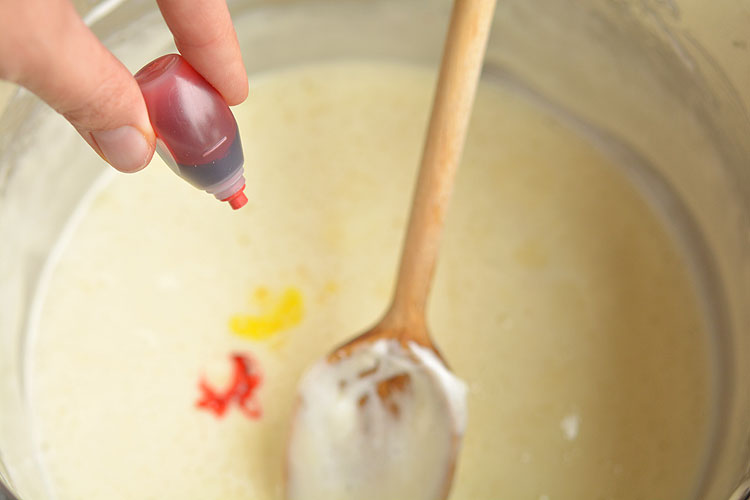
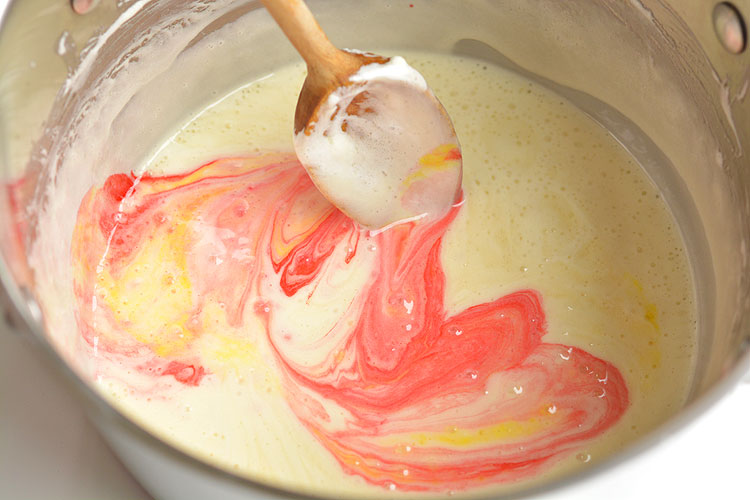
I recommend starting with the yellow food colouring instead of what I did. Add the yellow, mix it all up, and then add the red, a drop at a time until you get a good orange colour.
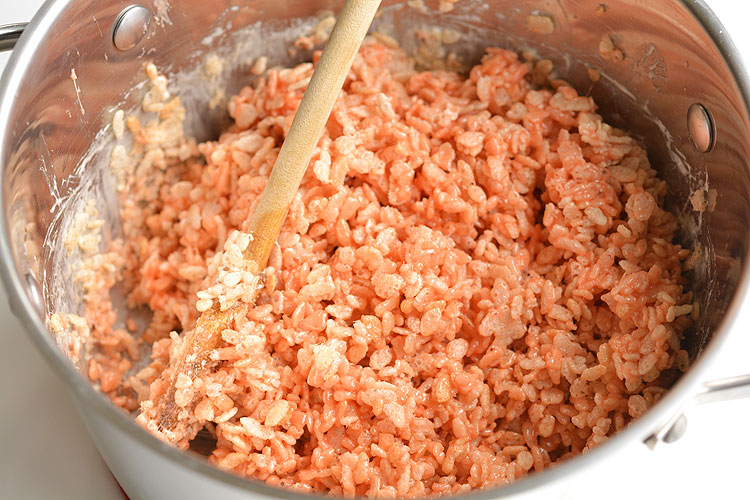
Here’s what mine looked like after all the food colouring was mixed in:
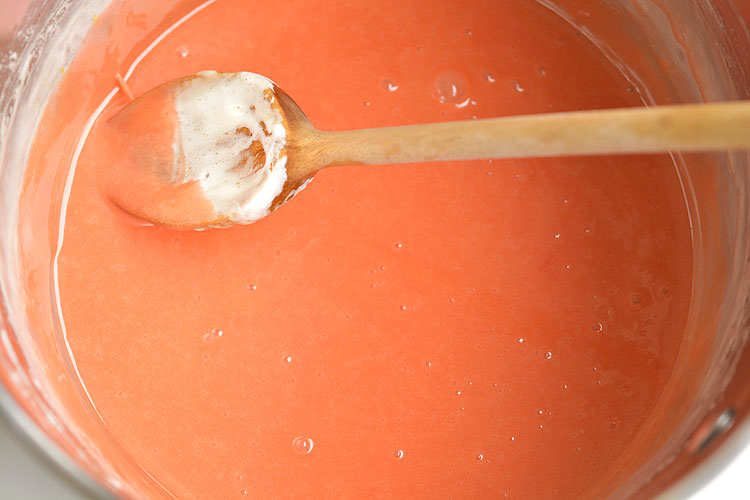
Then add the Rice Krispies and stir it all together to combine.
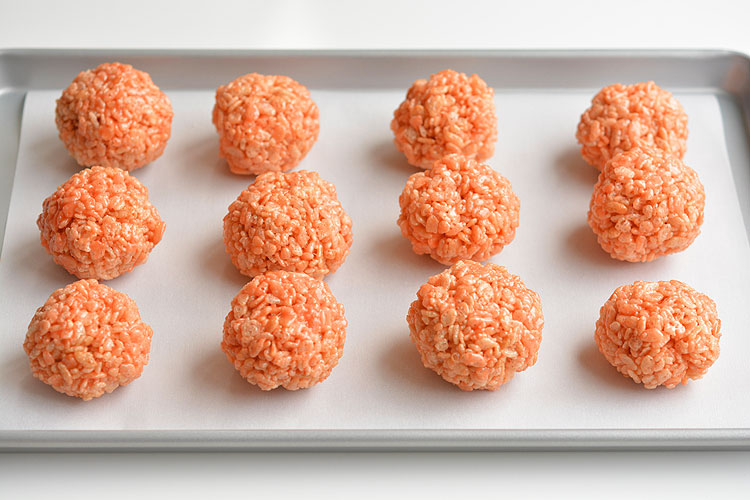
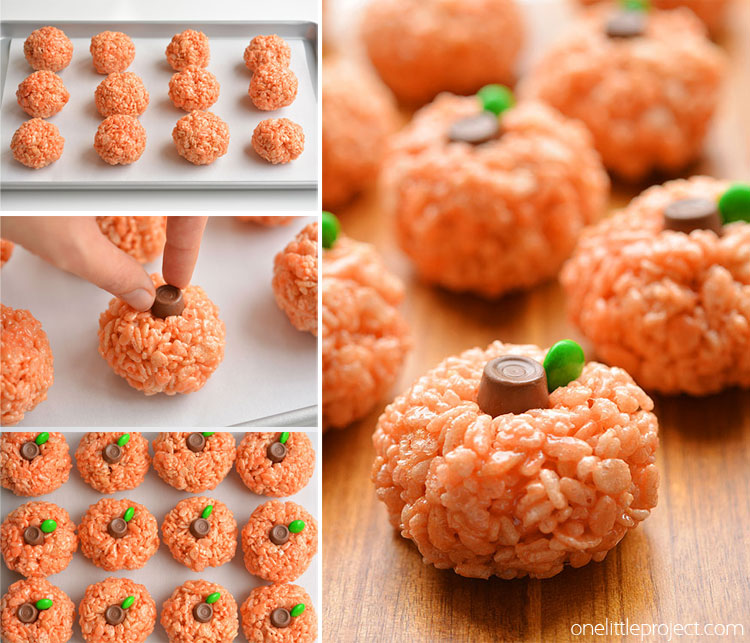
It was just too messy to take pictures of me rolling the balls, but this is where you’ll want your small bowl of cooking oil to coat your hands and keep the balls from sticking to you. After you’ve rolled the balls, set them on parchment paper.
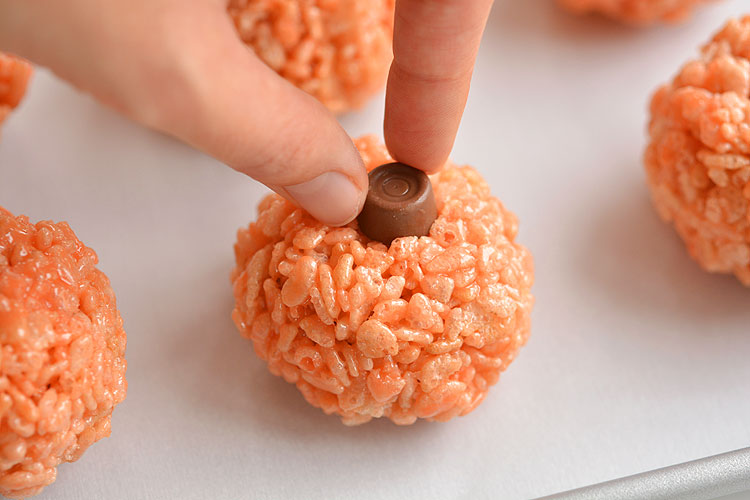
Gently press a Mini Rolo into the top of each pumpkin for the stem while the Rice Krispie treats are still warm. If it gets too hard, use a thick marker, apple corer or some other round object to make a small indent for the chocolate to sit in.
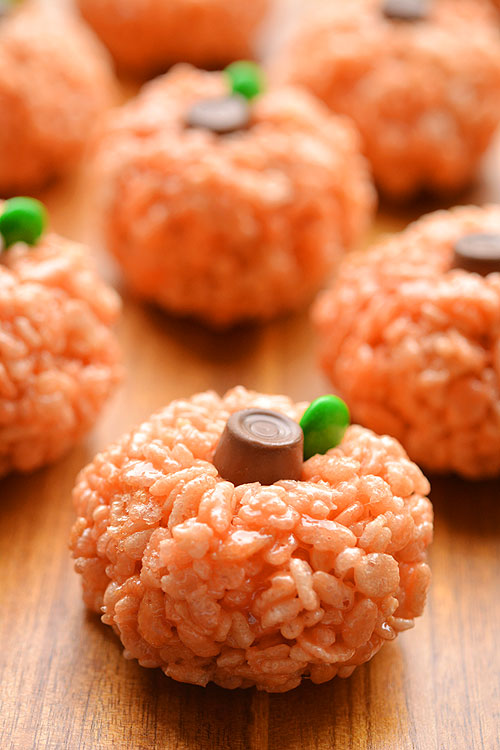
Then for the leaf, gently press a green M&M into the Rice Krispie treats (about half way in so it sticks) right next to the Rolo.

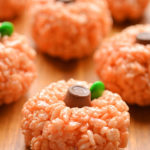
And easy peasy, you have your cute little pumpkins!

I rolled exactly 12 pumpkins from one recipe of Rice Krispie treats. They were fairly large though, so if you want to make more, you can just roll smaller balls.
Rice Krispie Treat Pumpkins
Ingredients
- 1/4 cup Butter
- 1 bag large marshmallows, approximately 40 marshmallows
- 6 cups Rice Krispies
- Red & Yellow Liquid Food Coloring
- Mini Rolos
- Green M&M’s
- 1/4 cup cooking oil or melted butter in a small bowl, to keep it from sticking to your hands
Instructions
- In a large pot, melt the butter over low heat.
- Add the marshmallows and stir until completely melted and combined with the butter.
- Remove from the heat. Add several drops of yellow food colouring, mix it together, then add red food colouring one drop at a time, mixing as you go. Add red/yellow drops until you reach your desired colour. (I used about 4 drops red and 12 drops yellow). Mix well.
- Add the Rice Krispies and stir to combine.
- Coat both sides of your hands with a generous amount of cooking oil or butter, and roll the Rice Krispie mixture into small balls. Set on parchment paper. Add oil/butter to your hands after each ball.
- While the balls are still warm, gently press a Mini Rolo into the top of each pumpkin for the stem and add a green M&M beside it as the leaf. (Tip: If the pumpkins cool before you’re finished, use the end of a thick marker or apple corer to make a small indent in the top for the chocolate to sit in.)
- Allow to cool until firm.
Notes
These Rice Krispie Treat Pumpkins are so cute and they’re really easy to make once you get the hang of it. They’d be perfect for Halloween, or even Thanksgiving! You could even take it a step further and draw little jack-o-lantern faces on them with a small tube of black squeezable icing – wouldn’t they be adorable with little faces?! Such a fun little Halloween treat!
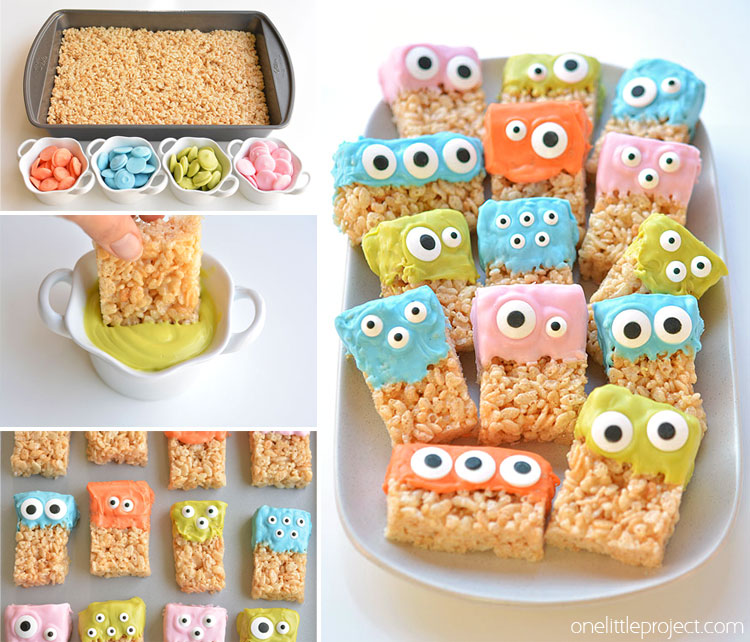
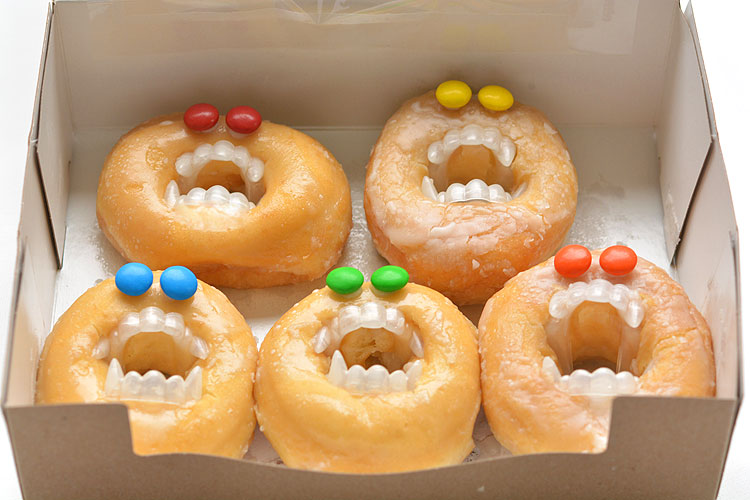
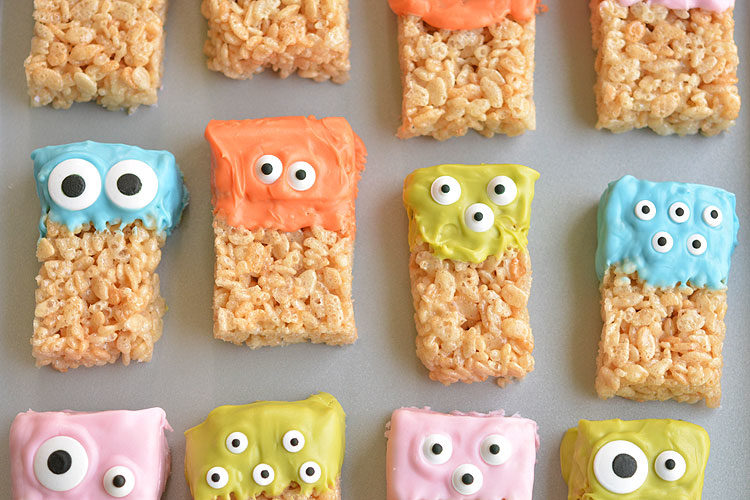
If you’re looking for more Halloween Rice Krispie treat ideas, check out our Rice Krispie Treat Monsters. These are super easy to make and they’re sooooooo much fun!!
For even MORE Halloween treat ideas check out:
Halloween Harvest Hash Chex Mix
Chocolate Turkey Thanksgiving Treats


Leave a Reply