
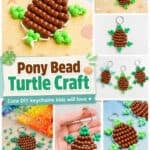

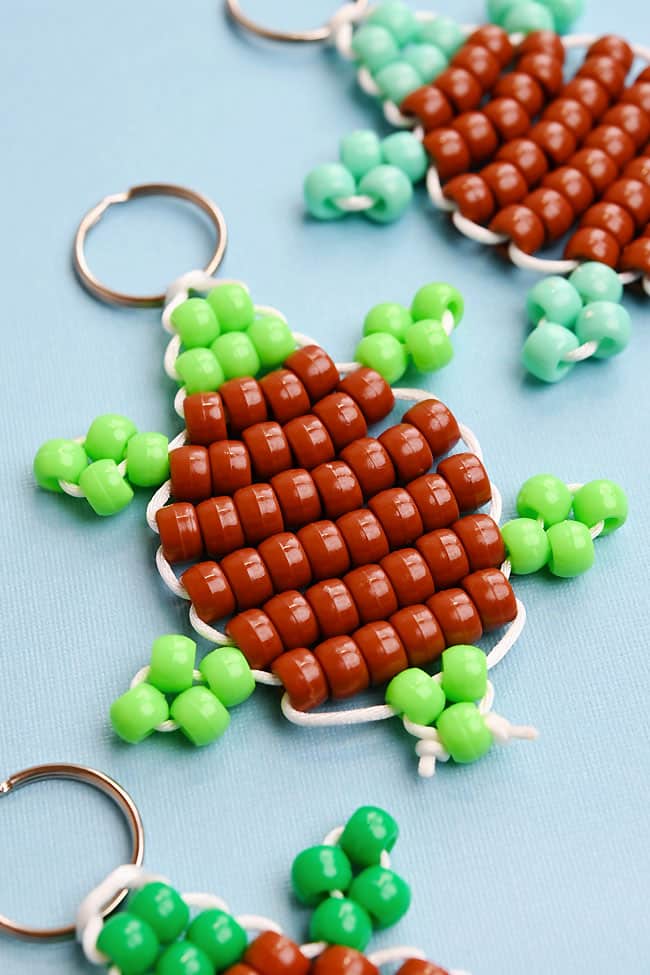
This pony bead turtle is such a fun bead craft for kids! Made with pony beads and cord, this beaded turtle keychain has a cute round shell, little legs, and a tail. This playful project is perfect for summer crafting and is a great ocean-themed activity and camp craft.
This turtle craft is easy to customize with different colours or shades, so kids can make green turtles, sea turtles, rainbow turtles, or their own silly designs. Add a key ring at the top to turn the finished turtle into a backpack charm, keychain, or cute handmade gift for a friend.
This post contains affiliate links. If you use these links to buy something, we may earn a small commission at no extra cost to you. This helps support our website and allows us to keep creating fun, free content.
How to Make a Pony Bead Turtle
Materials:
- Rattail cord
- Split ring keyring
- Pony beads (green and brown)
Equipment:
See the craft in action:
Instructions:
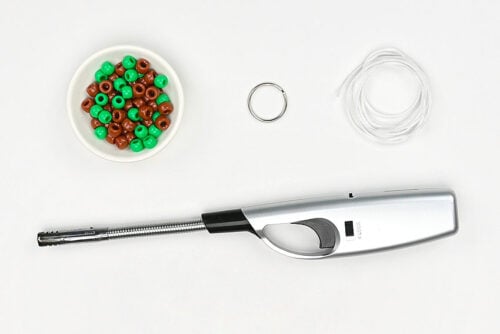
Step 1: Find what you need
- Gather your supplies and materials.

Step 2: Arrange the cord
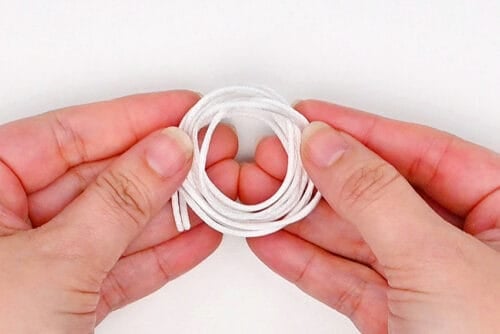
- Cut a piece of rattail cord to be 4 feet (48 inches) long.
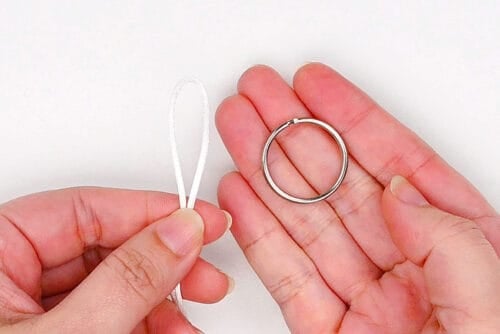
- Fold the cord in half.
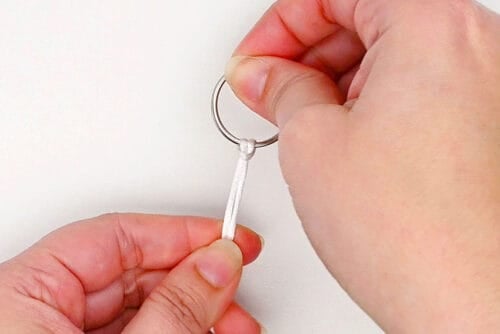
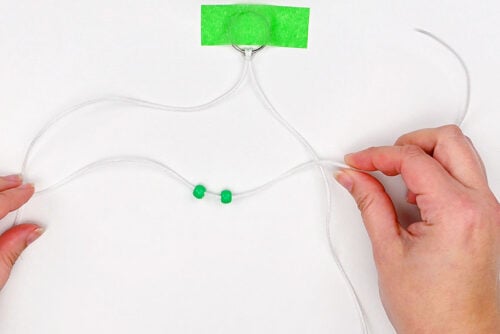
- Attach the cord to a split ring keyring using a lark’s head knot.To do this, slide the loop through the keyring and then bring it around and over the keyring. Pull the cord ends to tighten the knot.
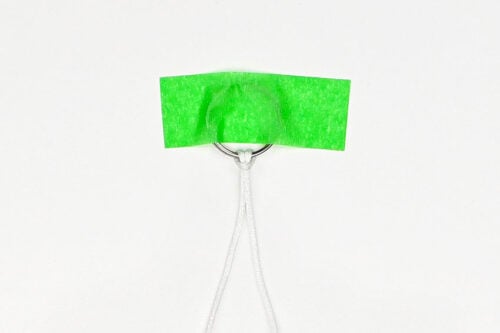
- Then secure the keyring to your working surface with a piece of painter’s tape. This allows you to add the beads more easily.

Step 3: Add the first beads
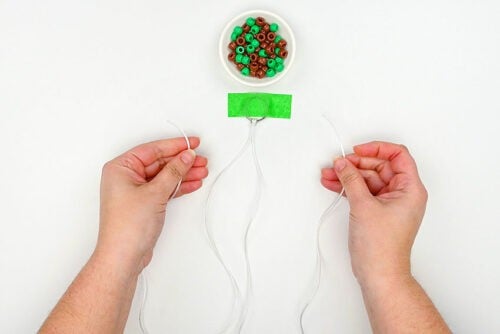
- To make the pony bead turtle you’ll be working with the ends of the cords, first attaching bead(s) to one strand, and then the other.
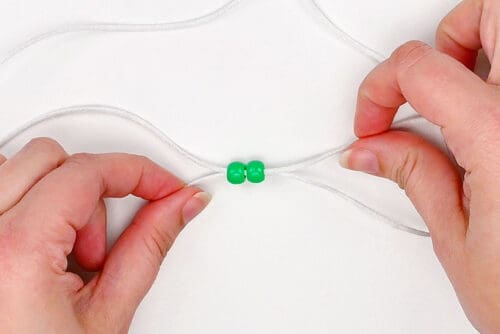
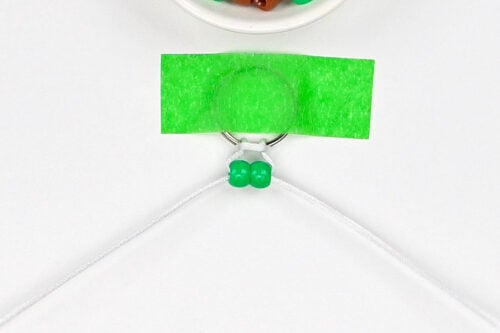
- For Row 1, add 2 green beads to the left cord.(You can also do the right cord if it’s more comfortable to you. The pattern works either way.)
- Take the end of the right cord and push it through the right side of the beads, so they’re attached to both cord ends.
- Pull the cord ends so that the top of the turtle head ends up centered against the knot.
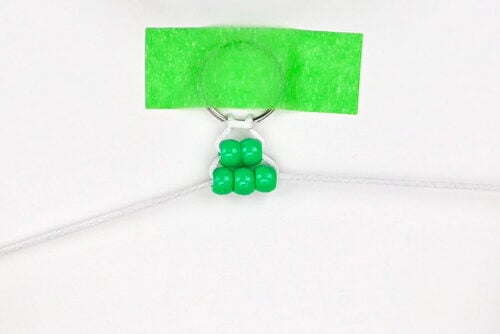
- For Row 2, add 3 green beads in the same way.
Step 4: Start the turtle shell and make the arms
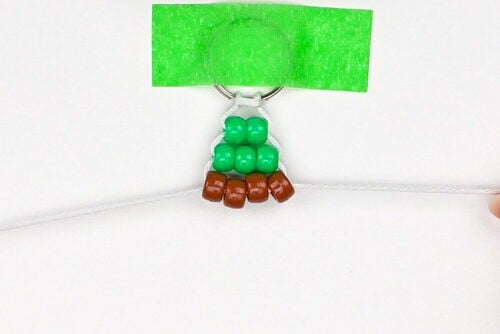
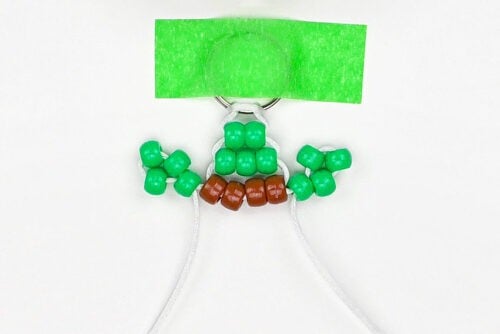
- Row 3 begins the turtle shell. Add 4 brown beads to both cords.
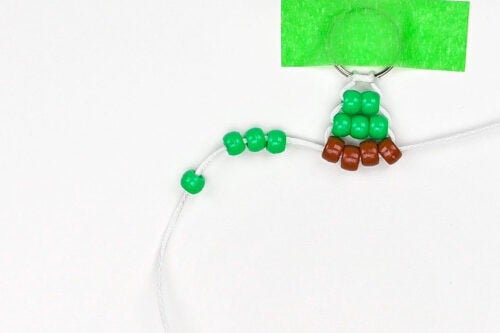
- Next we’re going to make the arms of the turtle. Add 4 green beads to the left cord and push them next to Row 3.
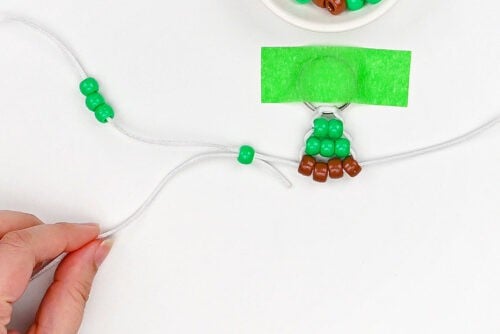
- Loop the left cord back through the first green bead (the one closest to Row 3).
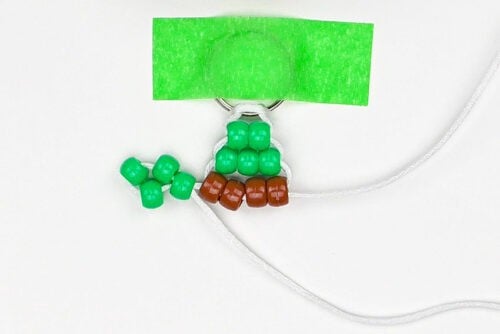
- Pull the cord tight and arrange the beads so the arm is right next to the shell.
- Repeat on the right cord to make the other arm.
Step 5: Continue making the shell
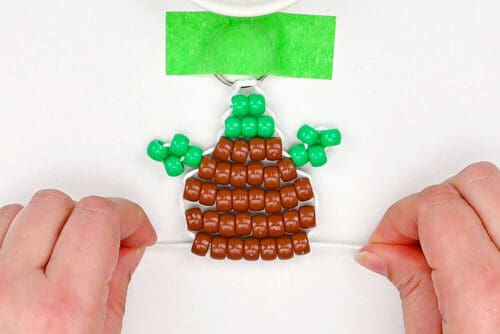
- Attach the following beads to both cords:Row 4: 6 brownRow 5: 8 brownRow 6: 8 brownRow 5: 7 brown
Step 6: Add the back legs and tail
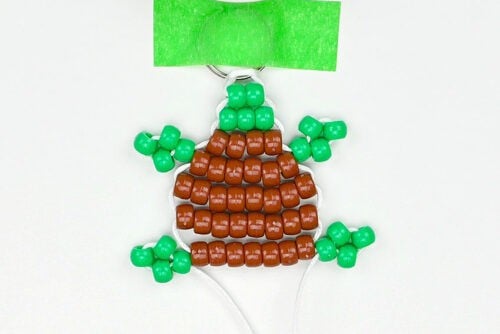
- Use the same process as the arms to add 2 legs using 4 green beads each.
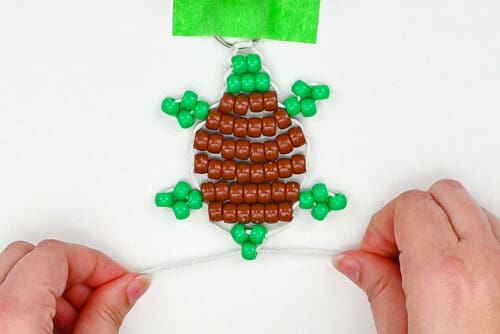
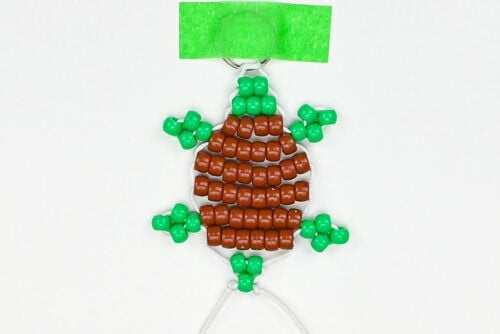
- Finish the turtle shell by adding 6 brown beads for Row 6. Then make the turtles tail with 2 green beads (Row 7) and 1 green bead (Row 8).
Step 7: Finish off the keychain
- Tie knots on both cords, placing them as close to the beads as possible. Make a double knot, if necessary.
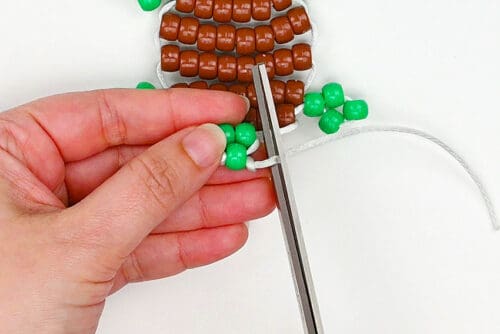
- Cut the cord ends close to the knots, leaving about 1/4 inch extra.
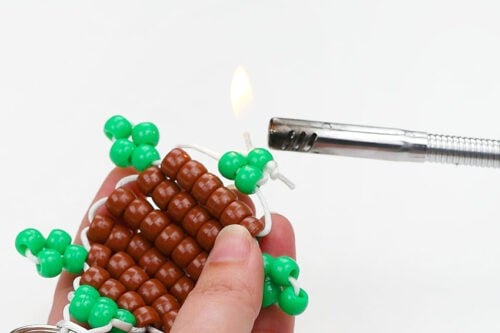
- Hold a BBQ lighter next to the cord end and light it. This will melt the end of the cord, keeping it from unraveling. Repeat on the other cord end.
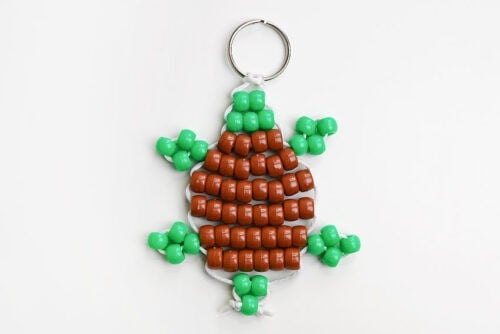
- Your pony bead turtle is complete!
Helpful Tips:
- It’s better to cut the cord a little bit longer than you think you might need, rather than coming up a bit short when you’ve already beaded most of the turtle pattern.
- Only burn the ends of the cord if you’re using rattail, paracord, or another synthetic fiber. DO NOT burn the ends of cotton string, as it will catch fire instead of melting.
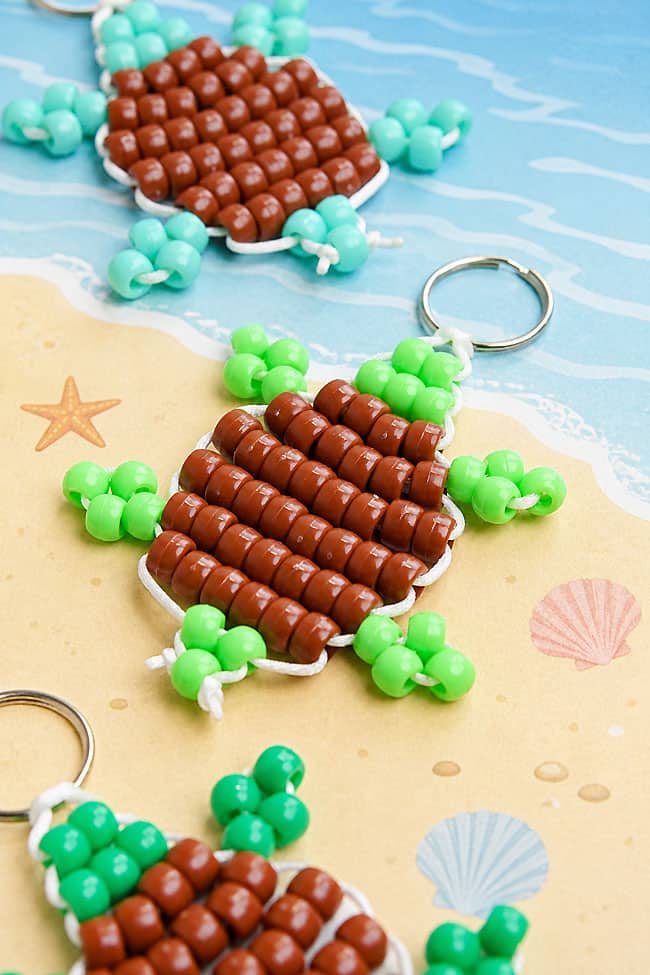
What is the pony bead turtle pattern for this keychain?
If you already know how to make pony bead keychains with legs, here’s a simple pattern to follow. We’ve used “g” to represent green and “b” for brown:
- Row 1: 2g
- Row 2: 3g
- Row 3: 4b
- Row 3a (left arm): 4g
- Row 3b (right arm): 4g
- Row 4: 6b
- Row 5: 8b
- Row 6: 8b
- Row 7: 7b
- Row 7a (left leg): 4g
- Row 7b (right leg): 4g
- Row 8: 6b
- Row 9: 2g
- Row 10: g
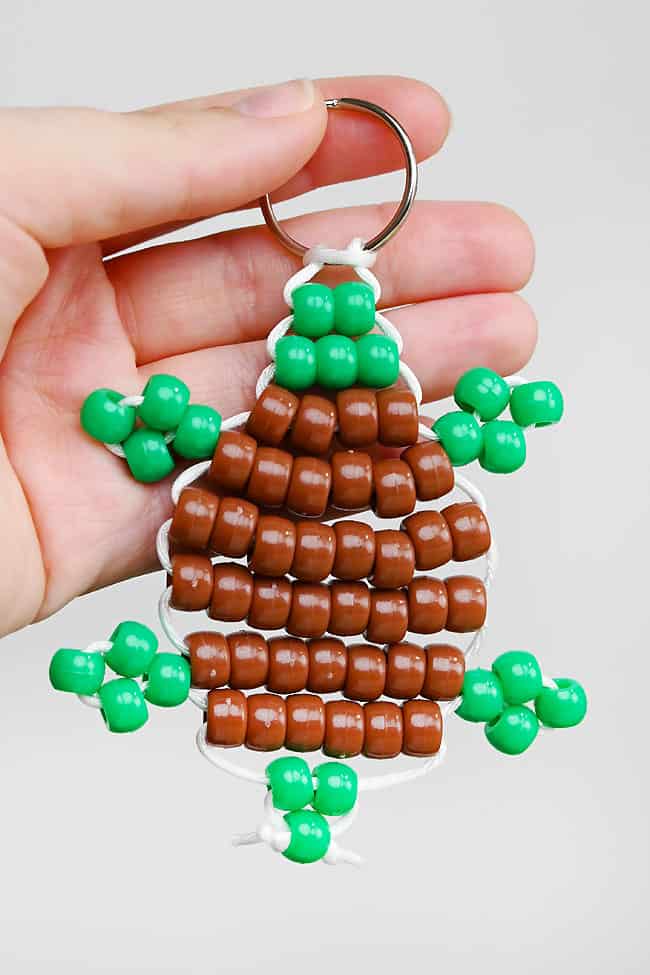
What type of string do I need to make a pony bead turtle?
We used 1mm white rattail cord for these turtle keychains. It’s a sturdy cord that fits easily through the pony beads, and it’s silky, meaning the beads slide on easily.
You can also use waxed jewelry cord, thin plastic lacing, or elastic cord. Overall we recommend using something flexible, but strong enough to hold the turtle shape and hold up long term.
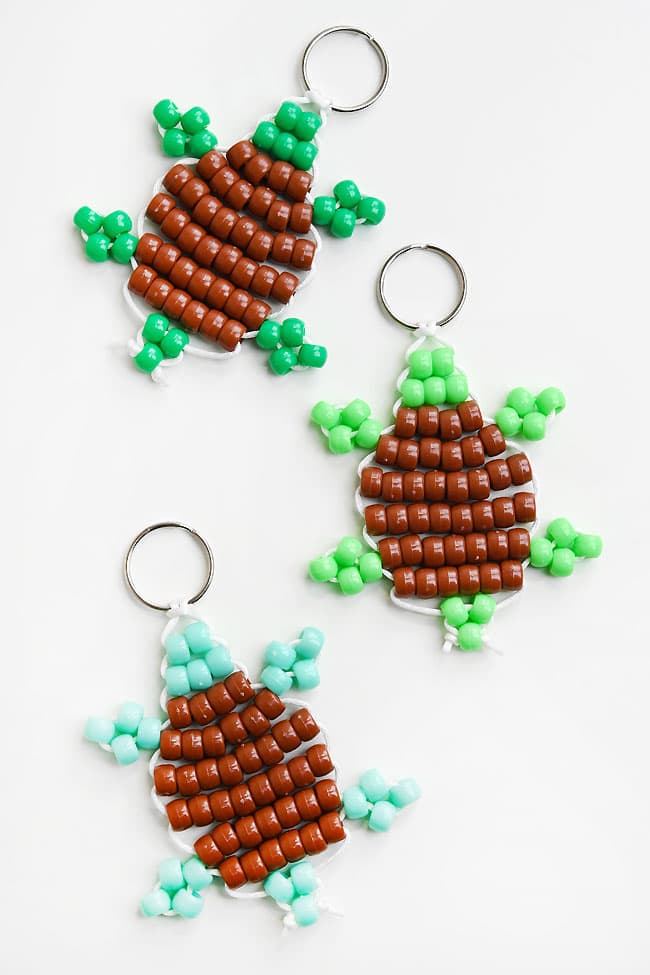
What can I use this beaded turtle for?
Use your finished pony bead turtle as a keychain, backpack charm, zipper pull, party favor, summer camp craft, or small handmade gift. It’s also a cute craft for any ocean-themed activity or a turtle or animal unit at school.
Why is my pony bead turtle loose or floppy?
If your beaded turtle is floppy the rows on your keychain may be too loose. Pull the cord snug after each row so the beads sit close together, but don’t pull so tightly that the turtle curls or bends too much. It helps to flatten and shape the rows as you go, but you can also adjust them at the end if need be.
You might also want to use elastic beading cord if you want your pony bead animal to hold tightly. Elastic cord keeps its shape a lot easier and keeps the turtle together, instead of it sagging.
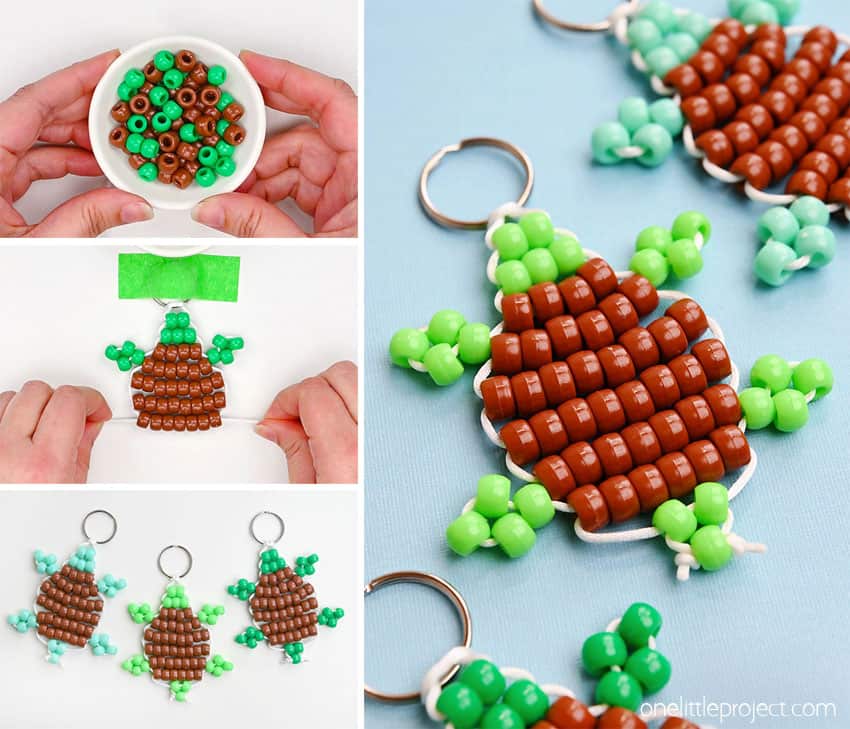
This pony bead turtle is a great project for practicing simple beading patterns and turning a handful of beads into something fun and recognizable. The rows come together easily to make a cute turtle shape, and the finished craft looks adorable on display.
Once you’ve made one turtle, it’s easy to make a few more to gift to your friends. They’re such a fun choice for kids craft time, summer activities, party favors, or anytime you want a small beaded project with an adorable finished result!
Here’s even more pony bead craft ideas:


Now available
Low-Mess Crafts for Kids Book
72 cute and fun crafts that kids and parents alike can enjoy. All with as little mess as possible!
Where to buy:
You can purchase Low-Mess Crafts for Kids from Amazon, or wherever books are sold:
Amazon | Barnes and Noble | Books-A-Million | Indiebound | Amazon Canada






Leave a Reply