
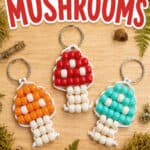
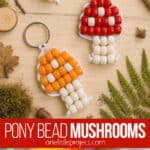
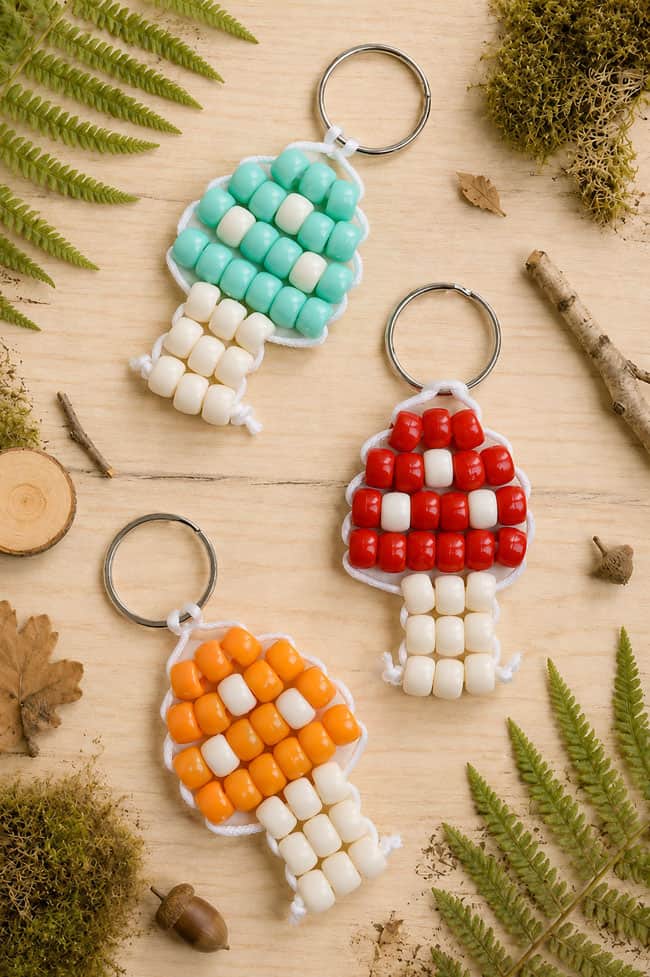
These pony bead mushrooms are bright, colourful, and seriously fun to make! The simple beaded shape turns into the cutest little mushroom, and changing up the colours gives each one a completely different look. Go classic with red and white for a toadstool-style mushroom, or try bold shades like orange, aqua, purple, or pink.
Once you get the hang of the pattern, it’s easy to make a whole bunch in different colour combinations. Add a keychain clip and hang your mushroom from a backpack, pencil case, or set of keys, or make a few to swap with friends and give as handmade gifts!
This post contains affiliate links. If you use these links to buy something, we may earn a small commission at no extra cost to you. This helps support our website and allows us to keep creating fun, free content.
How to Make a Pony Bead Mushroom
Materials:
- Rattail cord
- Split ring keyring
- Pony beads (red and white)
Equipment:
- BBQ lighter (optional)
See the craft in action:
Instructions:
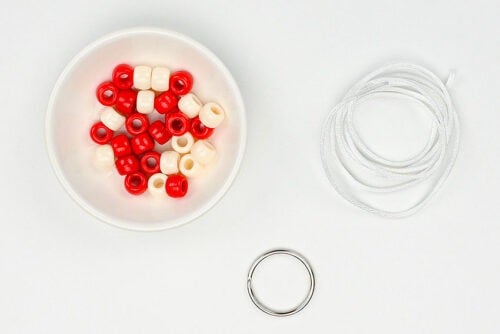
Step 1: Find what you need
- Gather your supplies and materials.

Step 2: Set up the cord
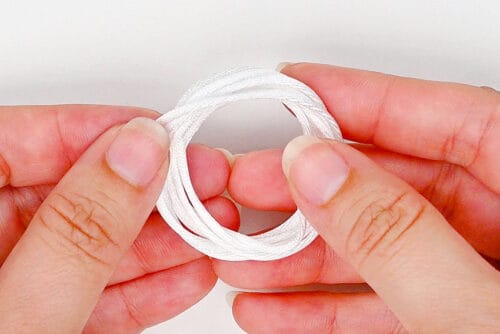
- Cut a 30 inch piece of white rattail cord.
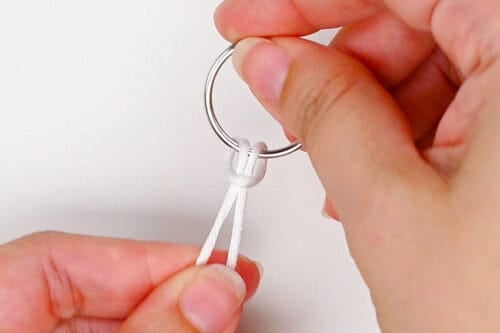
- Fold the cord in half and attach it to a split keyring using a lark’s head knot.To do this, put the folded end of the cord up through the keyring and back down around the keyring. Pull to tighten the knot.

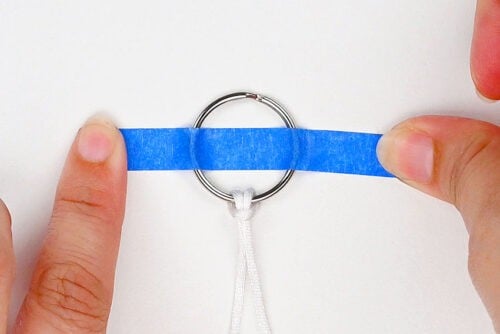
- Then secure the keyring to your working surface using painter’s tape.
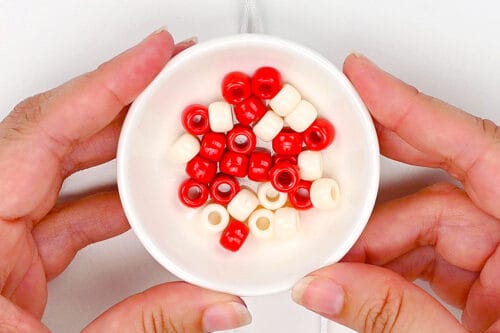
- Gather beads for the keyring. You’ll need red and white/cream pony beads to make your mushroom.We also made mushrooms of different colours, so you can easily replace the red beads with whatever colour you like.
Step 3: Add the first beads
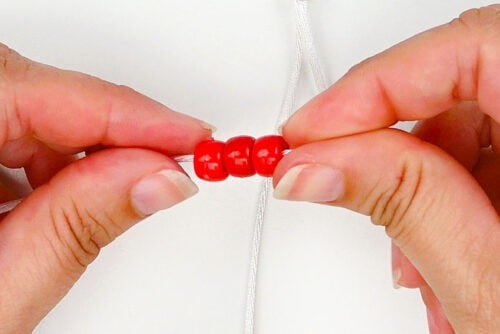
- To make this pony bead keychain we’re going to be working with the ends of the cords, attaching the beads to both strands.For Row 1, add 3 red beads to the left cord.
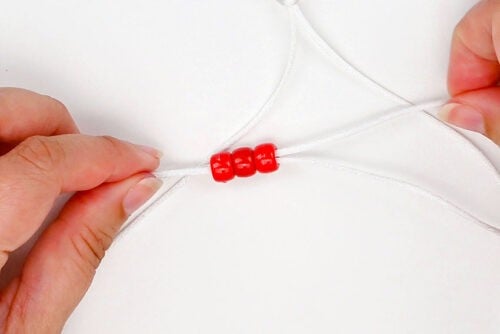
- Now take the end of the right cord and push it through the right side of the beads, so they’re attached to both cords.
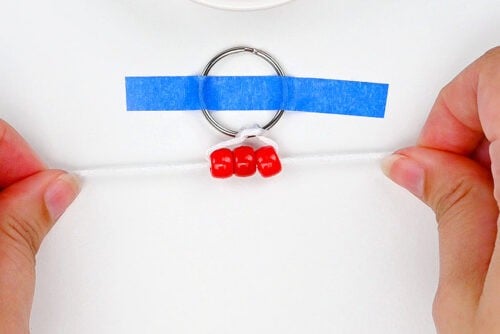
- Pull the ends of the cords, so that the beads comes closer to the keyring. Pull outwards as you go, so the beads end up in the center, below the keyring.
Step 4: Add the rest of the beads
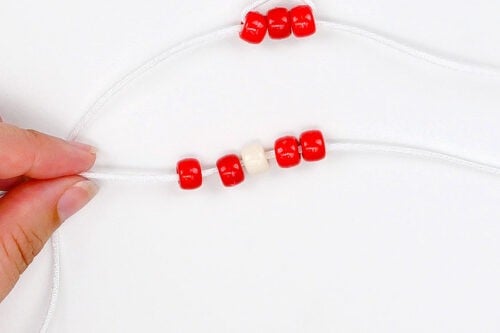
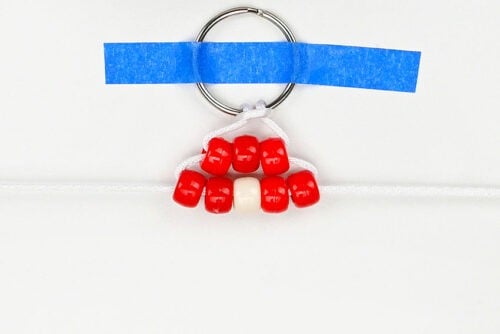
- Row 2 will feature both red and white beads. Start by adding 2 red beads, then 1 white, finishing with 2 red.
- Add the right cord to the beads and pull both cords to center the beads below the first row.This is how all the rest of the beads will be added.
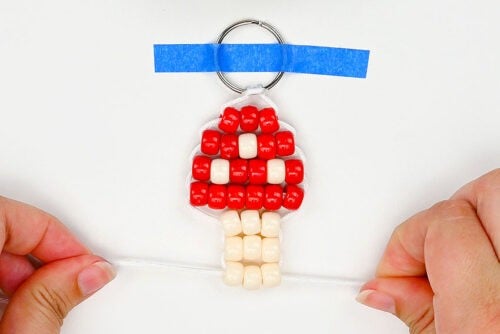
- Follow this pattern for the rest of the rows:Row 3: 1 red, 1 white, 2 red, 1 white, 1 redRow 4: 6 redRow 5: 2 whiteRow 6: 2 whiteRow 7: 2 white
Step 5: Finish off the keychain
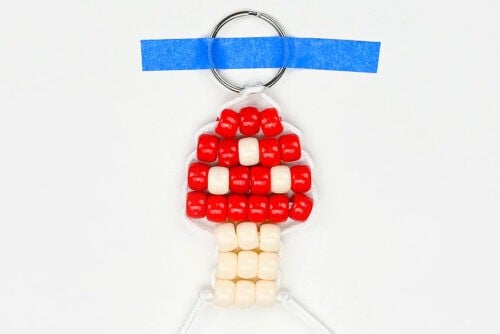
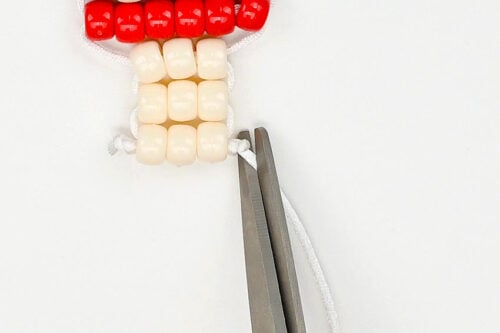
- Make a knot in each cord, as close to the last bead as possible.
- Cut off the excess cord, close to the knot.Optional: Hold a lit BBQ lighter onto the cord end for a couple of seconds to melt the end and prevent it from fraying.
- Your pony bead mushroom is complete!
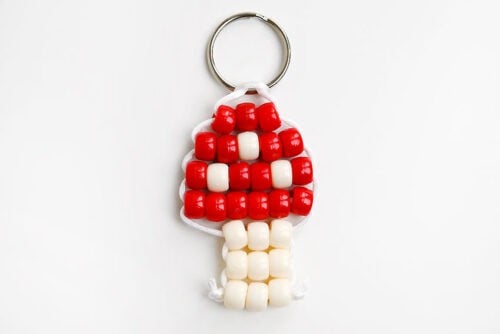
Helpful Tips:
- Only melt synthetic cord ends: Carefully melting the ends of nylon, rattail, or other synthetic cord can help prevent fraying. Have an adult handle this step, and don’t try this with cotton or other natural fibers, since they’ll burn rather than melt.
- Arrange the beads before you begin: Lay out the beads for each row in the correct order before starting. This makes the mushroom pattern much easier to follow and helps prevent counting mistakes as you work.
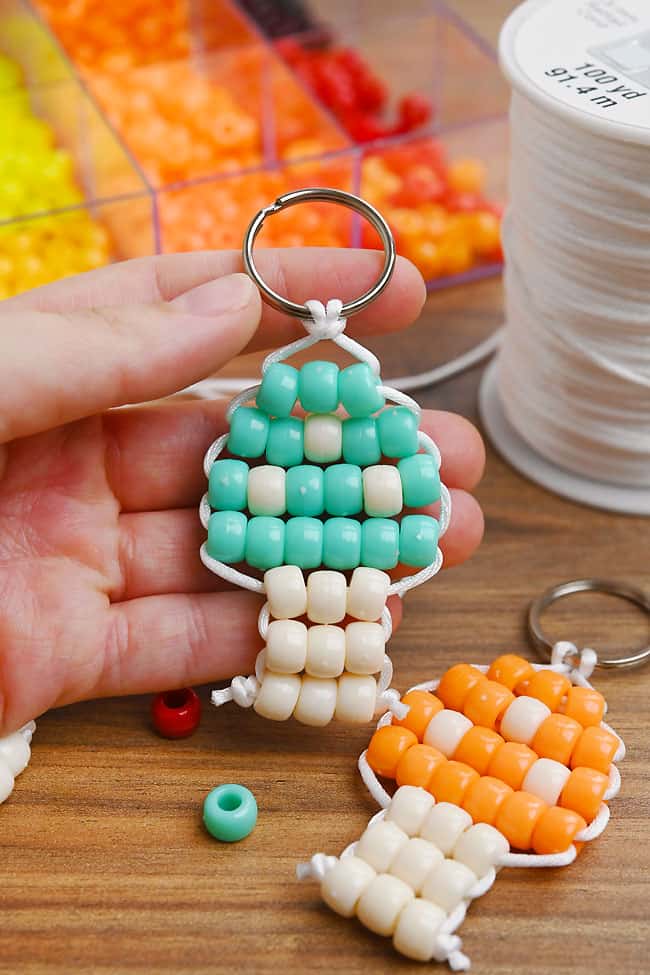
What is the mushroom pony bead pattern?
Once you know the basic technique for making a pony bead keychain, you can follow this simple pattern to create the mushroom shape.
In the pattern below, “C” stands for your main cap colour (such as red or orange) and “W” stands for white.
- Row 1: 3C
- Row 2: 2C, 1W, 2C
- Row 3: 1C, 1W, 2C, 1W, 1C
- Row 4: 6C
- Row 5: 2W
- Row 6: 2W
- Row 7: 2W
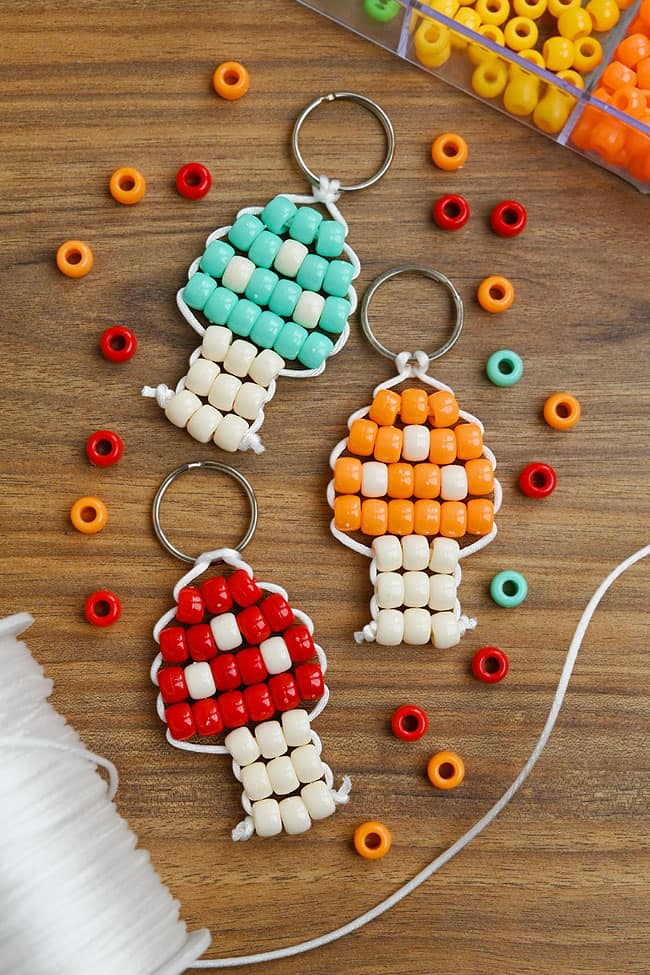
What can I do with a pony bead mushroom?
Attach the finished mushroom to a split ring or clip to make a keychain, zipper pull, or bag charm. You can also add a hanging loop and use it as an ornament or colourful window decoration.
These little mushrooms are also fun to trade with friends, hand out as party favours, or give as small handmade gifts.
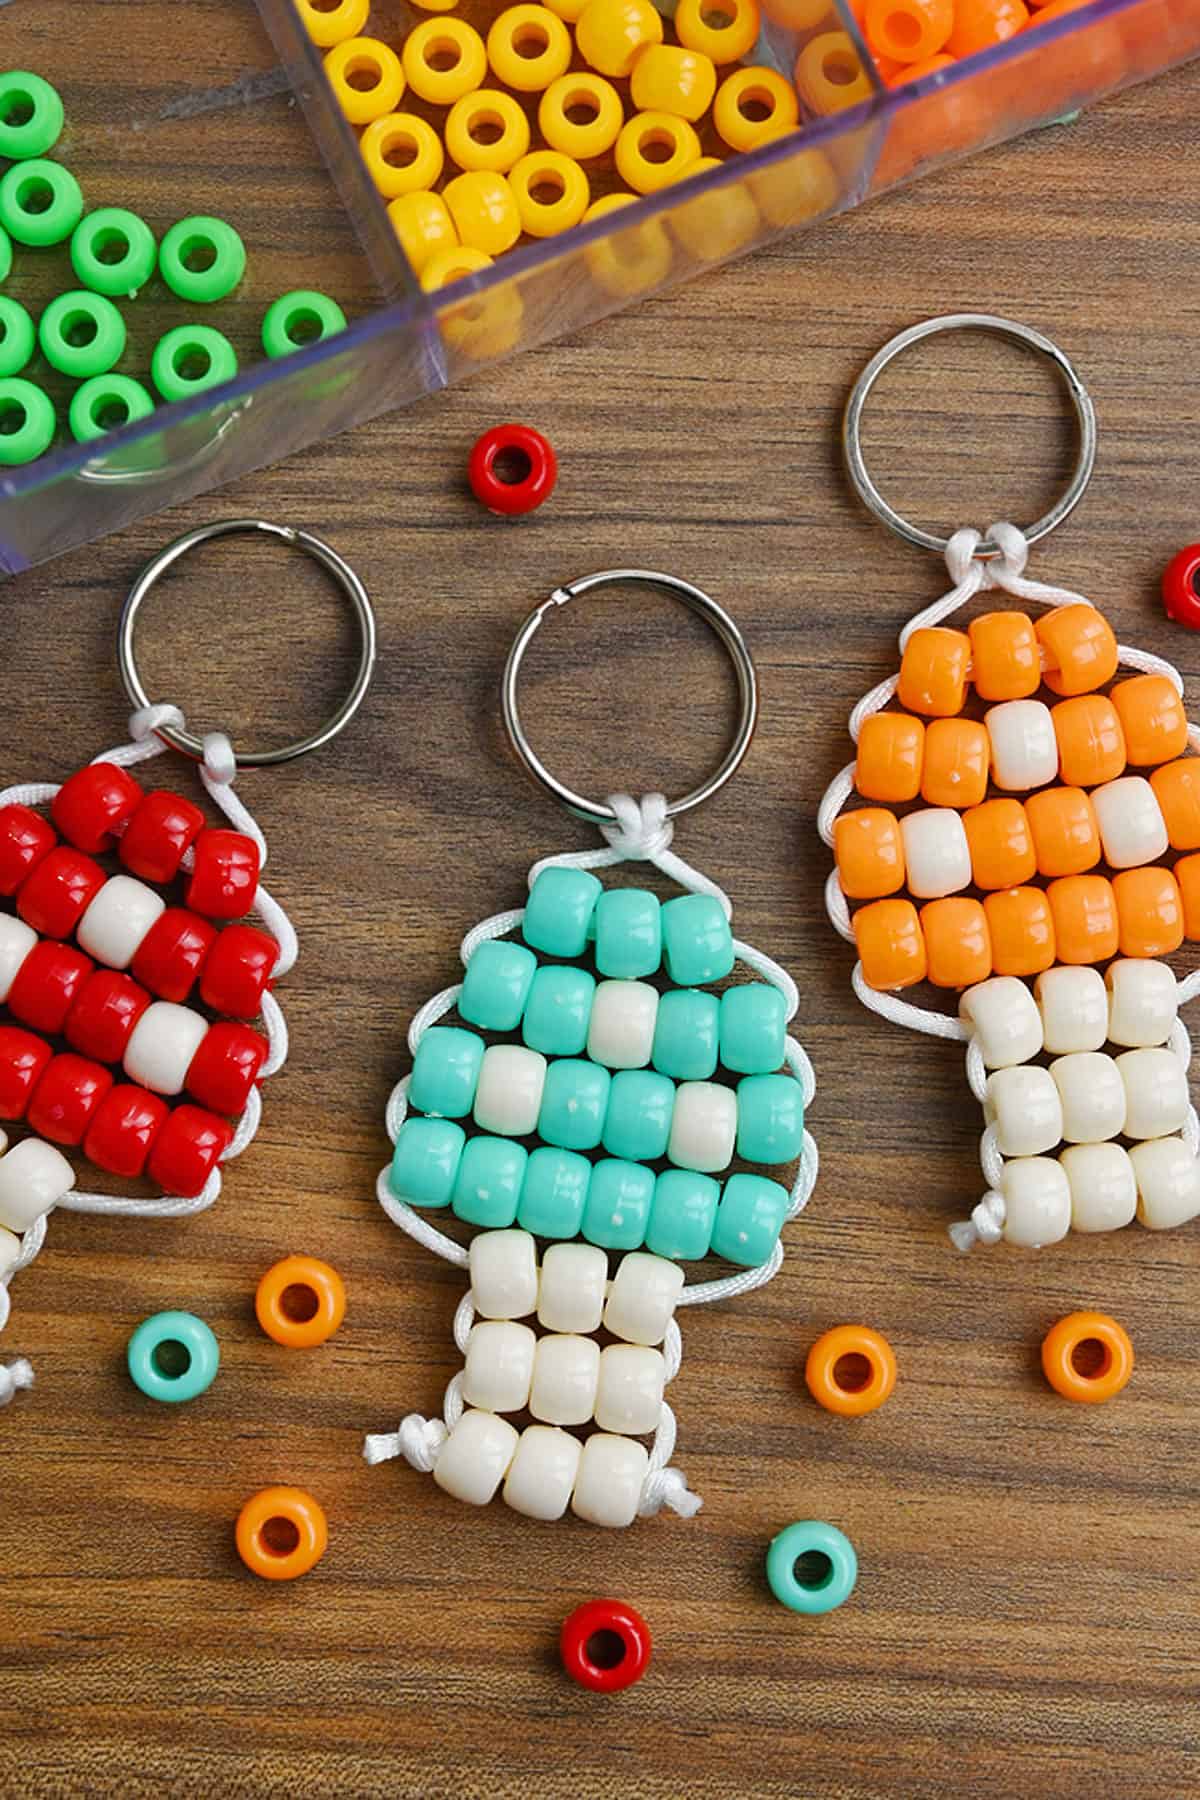
What type of cord should I use to make my pony bead mushroom?
Rattail cord or nylon beading cord works nicely for pony beading. It’s smooth, flexible, and easy to pass through the pony beads. Cord made specifically for pony bead lacing is another reliable choice.
You can also use plastic gimp lacing or narrow ribbon, such as 1/8-inch ribbon. Elastic beading cord can also help the rows sit snugly together. Some people also slide their pony beads onto a drinking straw section before adding the string. This stops the pony bead creation from drooping, so it keeps its shape nicely.
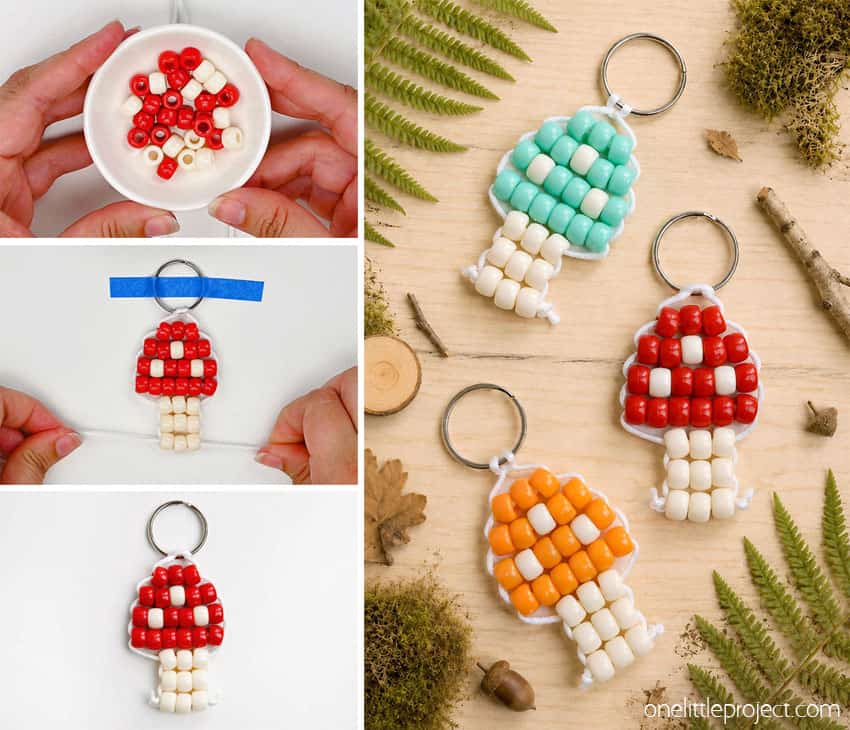
These pony bead mushrooms are a simple, satisfying project with such a cute finished shape. And once you learn the pattern, it’s easy to switch up the cap colours and spots to create mushrooms that are bright, classic, pastel, or completely one of a kind. With only a few rows of beads, this little mushroom comes together quickly and looks adorable wherever you hang it!
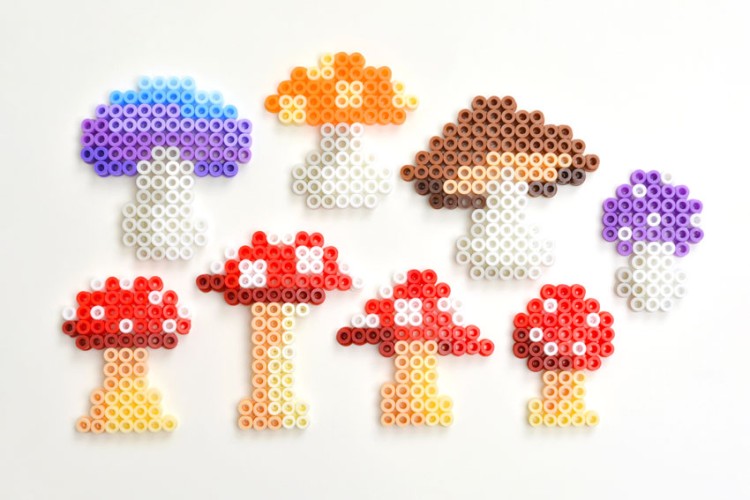
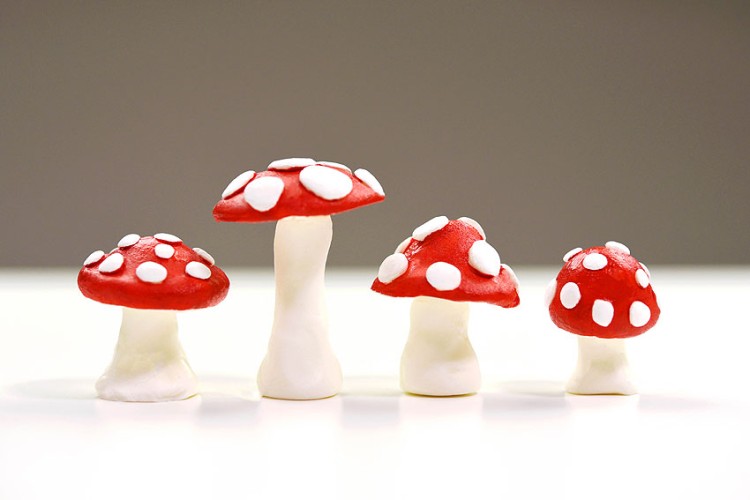
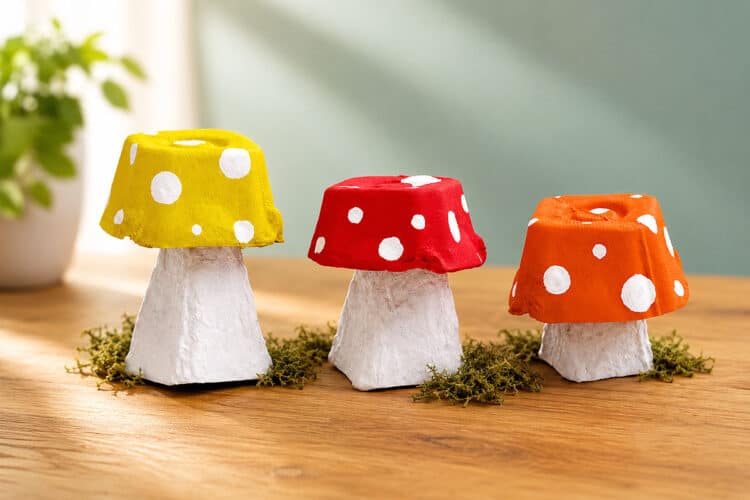
Here’s even more mushroom craft ideas:

Now available
Low-Mess Crafts for Kids Book
72 cute and fun crafts that kids and parents alike can enjoy. All with as little mess as possible!
Where to buy:
You can purchase Low-Mess Crafts for Kids from Amazon, or wherever books are sold:
Amazon | Barnes and Noble | Books-A-Million | Indiebound | Amazon Canada







Leave a Reply