
Bring a tweet addition to your spring decor with these adorable pom pom birds! This fun and creative craft uses yarn and felt to make the softest feathered friends. Whether you’re crafting with kids or looking to make a cute handmade gift, these DIY pom pom birds will brighten up your season.
With just a few basic supplies and some simple techniques, you can create your own flock of these fuzzy flying animals. Make them in a variety of colours and patterns to create your favourite birds or match your spring decor!

This post contains affiliate links. If you use these links to buy something, we may earn a small commission at no extra cost to you. This helps support our website and allows us to keep creating fun, free content.
How to Make Pom Pom Birds
Materials:
- Yarn (white, orange, light brown, dark brown)
- Felt (yellow, beige or white, dark brown)
- Round black beads (6mm)
- Tacky glue
Equipment:
- Pom Pom maker (3.5 cm and 7 cm)
- Latch hook tool (optional)
Watch the step-by-step video tutorial:
Instructions:
Step 1: Find what you need
- Gather your supplies and materials.


Step 2: Make a pom pom for the head
- Hold the 3.5 cm (1-3/8 inch) pom pom maker together and wrap dark brown yarn around one side until it’s full (about 75 times).
- Cut the yarn and use a latch hook tool to secure it.This is optional, but ensures the yarn won’t unravel while you work on the other side. (You can also use a pair of small scissors or tweezers to pull the yarn tail under a neighbouring strand.)

- Repeat the wrapping process on the other side of the pom pom maker.
- Cut a 12-inch piece of yarn in the same colour.
- Latch the two sides of the pom pom maker together and slide scissors into the center gap. Cut through the middle of the wrapped yarn, all the way around the pom pom maker.
- Slide the long piece of yarn around the center of of the pom pom maker (where the scissors were) and tie a secure double knot.
- Remove the finished pom pom from the pom pom maker and set aside.


Step 3: Make the body pom pom
- Wrap white yarn around one side of a 7 cm (2-3/4 inch) pom pom maker about 50 times, filling about 1/4 of the maker.
- Next to the white yarn, wrap orange yarn about 60 times to fill the rest of that side.
- Layer dark brown yarn over the entire side, wrapping about 40 times to cover the previous colours.
- Add a layer of lighter brown yarn, wrapping it about 60 times around.
- On the opposite side of the pom pom maker, wrap light brown yarn 80 times to cover the entire side.
- Add 3 dark brown stripes (3 to 5 strands wide and 2 to 3 layers thick) across the light brown base.
- Cover the entire length with an additional 45 wraps of light brown yarn.
- Add about 4 more dark brown stripes.
- Finish by wrapping light brown yarn 30 more times, then close the pom pom maker.
- Cut through the loops and tie a light brown string around the middle to secure the pom pom.Make sure the knot is where the orange and brown yarn meet. Then remove the pom pom from the maker.


Step 4: Connect the pom poms and trim
- Use the long yarn tails to tie the head and body pom poms together securely.
- Double knot the yarn and trim off any excess. Your bird is beginning to take shape!
- Shape the head by trimming it with sharp scissors, creating a rounded, bird-like appearance.
- Repeat the trimming process on the body. Trim the chest and back shorter to create an oval shape.You can taper the pom pom’s sides toward where the tail will go, but be sure to leave the bottom of the pom pom fairly flat so the bird will sit upright on its own.


Step 5: Cut the felt details
- Cut two rounded triangles from yellow felt (about 1/2 inch wide and 3/4 inch tall) for the beak.
- Cut a 3/4 inch circle from beige felt, then cut the circle in half to create eye rims.
- For the tail, fold a piece of dark brown felt in half and cut a rectangle that’s about 2/3 inch by 3 inch (when folded). Round one end to create a ‘V’ shape when opened. Cut another single-layer rectangle the same size and round one end.


Step 6: Assemble the bird
- Apply a line of tacky glue along the center of the thinner tail piece.
- Attach it to the center of the larger tail piece.
- Part the yarn at the back of the bird where the tail will go, creating a little “trench”.
- Add glue to the straight end of the tail and place it in the trench. Press the yarn back together and hold the tail in place until the glue has dried enough for the tail to stay on its own.
- Glue the two beak pieces together. Then, using the same parting technique, attach it to the front of the bird’s head.
- Create eyes by forming small cones with the beige felt (the half circles). Then glue a 6mm black bead inside.
- Trim the back of the cone to be to flat, making it easier to attach.
- Make a small opening in the yarn on each side of the bird’s head. Add a dot of glue and press the eyes into place.
- Your pom pom bird is complete!
- Then have fun experimenting with colours and stripe placement to make a whole flock of unique pom pom birds!


Helpful Tips:
- Sharp fabric scissors work best for trimming the pom pom. You can also use regular scissors, but you may need to cut in layers. Smaller detail scissors are great for trimming the pom poms into a bird shape.
- You can use white or beige yarn to rim the eyes instead of felt. Simply glue a short strand of yarn around the eye. You can also glue the eye on without any rim around it if you prefer.

Can I make these pom pom birds without a pom pom maker?
Pom pom makers aren’t essential for this craft, but they sure do make it easier to make pom pom animals!
That said, you can definitely use your hand or a cardboard template instead. Check out our how to make a pom pom step-by-step guide to see 3 easy ways to make DIY pom poms.

What type of yarn works best for this pom pom bird craft?
Almost any kind of yarn will work for making pom pom birds, but the type of yarn you choose will affect the bird’s texture and fullness. If you want to add extra dimension, try using variegated yarn or fleck yarn to mimic the natural colour patterns of real birds.
Acrylic yarn is fuzzier than cotton yarn. And keep in mind that thinner yarns will need to be wrapped around the pom pom maker more times to achieve the same fullness, while thicker yarns require fewer wraps.
If you’re looking to experiment, multi-pack yarn bundles are a great option. They offer a range of colours for creating a whole flock of unique birds. You can find pom pom makers and variety yarn packs at Michaels, other craft stores, or on Amazon, which makes it easy to get started on this fun and creative craft.

How do I make a pom pom bird that’s not a robin?
You can easily customize your pom pom birds by changing the yarn colours. And with a little practice, you’ll be crafting a whole aviary of unique designs.
It may take some trial and error to learn how different colour placements on the pom pom maker translate to patterns on the finished bird, but once you understand the basics, the possibilities are endless.
Keep in mind that the pom pom is formed by cutting around the curved edge of the pom pom maker. Colours wrapped first will become the outside (main body) of the pom pom, while the ones wrapped last will form the center, appearing on both sides like a mirror image.
A great beginner variation of the robin design is an eastern bluebird. Simply swap out the browns for blues! Or for a simpler option, try making mostly solid-coloured birds like canaries (with yellow yarn) or cardinals (with vivid red yarn). Once you feel confident, experiment with adding stripes, spots, or even ombre effects by layering different shades of yarn.

These DIY pom pom birds are a delightful addition to any spring display and make a wonderful handmade gift. With endless colour combinations and customization options, you can create a whole flock of unique and whimsical birds to brighten your home!
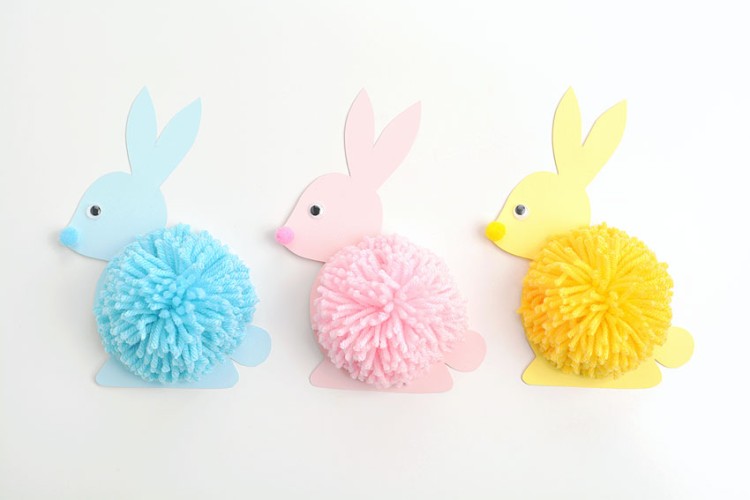
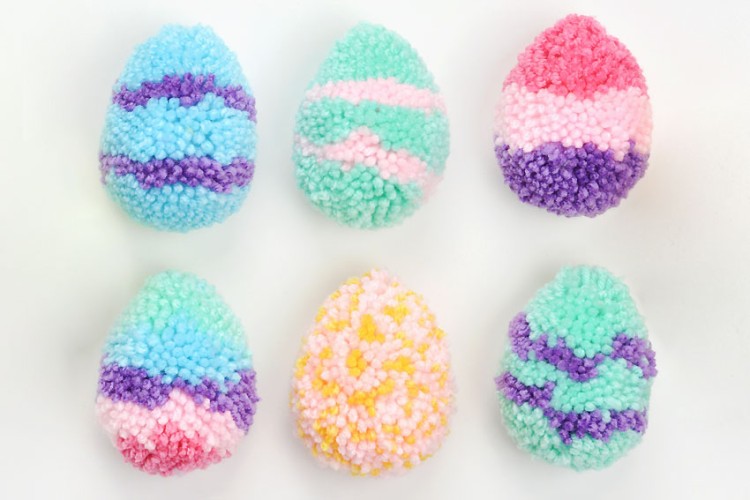
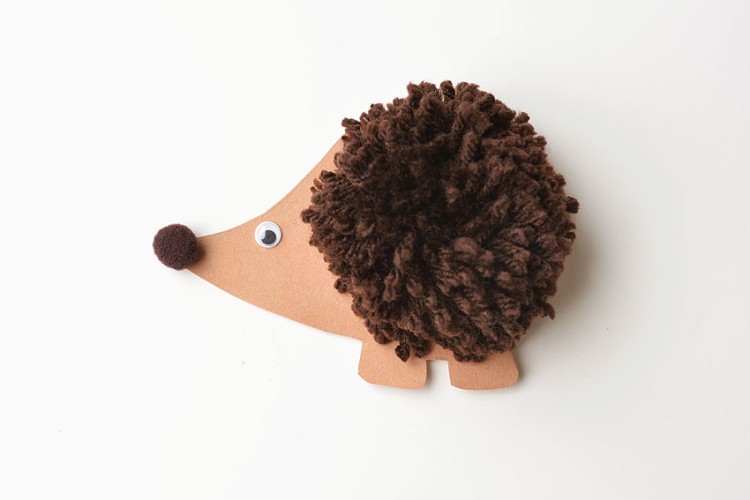
Here’s even more pom pom craft ideas:


Now available
Low-Mess Crafts for Kids Book
72 cute and fun crafts that kids and parents alike can enjoy. All with as little mess as possible!
Where to buy:
You can purchase Low-Mess Crafts for Kids from Amazon, or wherever books are sold:
Amazon | Barnes and Noble | Books-A-Million | Indiebound | Amazon Canada


Leave a Reply