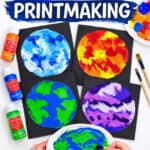
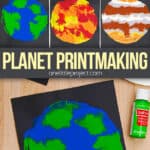
This planet printmaking project is the perfect introduction to process art for kids! Using a paper plate as a stamp, little ones will love painting, pressing, and peeling to reveal their very own planets on black cardstock. The open-ended nature of this craft means kids can recreate the swirling blues and greens of Earth, build out a whole solar system, or invent an entirely new planet from their imagination!
This easy kids craft is as much about the process as it is the finished result, making it a wonderful low-pressure creative activity for all ages. All you need are a few paper plates, acrylic paint, and black cardstock to get started. Follow the steps below to launch your printmaking adventure!

This post contains affiliate links. If you use these links to buy something, we may earn a small commission at no extra cost to you. This helps support our website and allows us to keep creating fun, free content.
DIY Planet Printmaking
Materials:
Equipment:
See the craft in action:
Instructions:
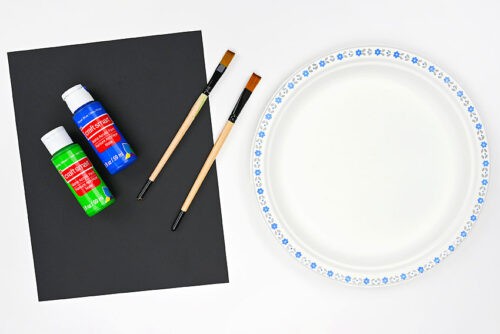
Step 1: Find what you need
- Gather your supplies and materials.

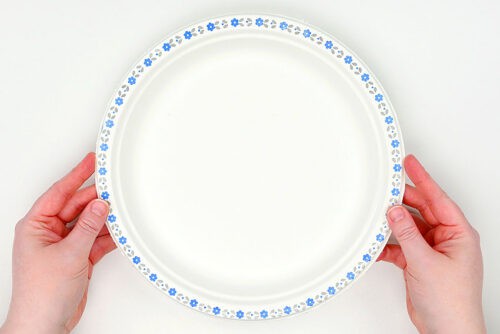
Step 2: Prepare to paint
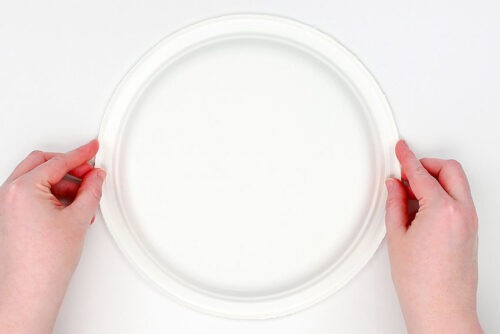
- Grab a paper dinner plate. This shape makes it easy to paint a round planet.
- Flip the plate over, setting it down so the rounded base is facing you.
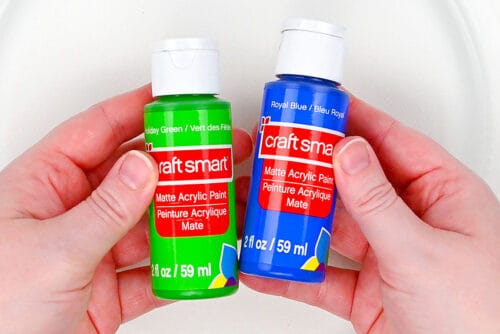
- Then grab your paint colours. To make Earth you’ll need blue and green, of course.For other planets you might want 4 or 5 colours, or even different shades of the same colour. (Read more below the tutorial.)
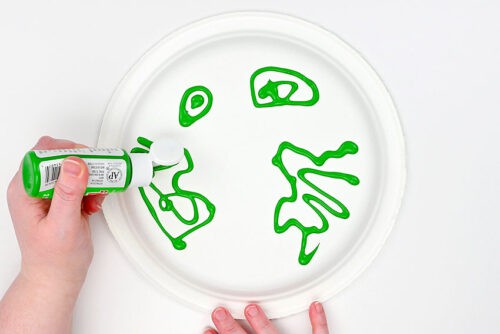
Step 3: Add colour to the plate
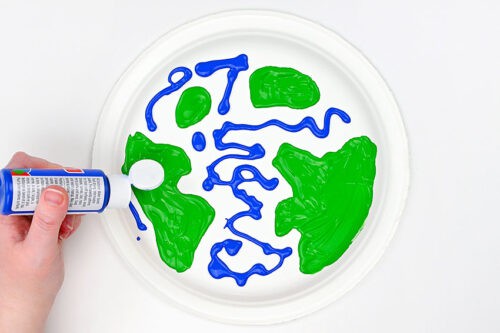
- Add a generous amount of green paint to the plate, roughly in the shape of the continents.Keep in mind that your print will be backwards, so think about that if you want your Earth to look semi-accurate.
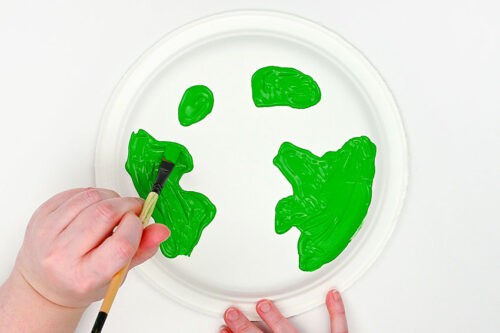
- Then use a paintbrush to fill in the green sections so the paint is nice and even.The paint should be thick enough that it will transfer cleanly, but not too thick that the paint will drip or smudge.

- Add blue paint around the green to represent the water.
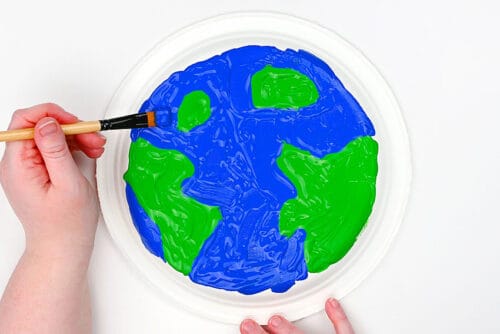
- Use a paintbrush to fill in the blue areas. You’ll need to carefully push the blue paint up against the green, trying not to smudge the colours together too much.(If they mix a bit, it’s no big deal — just try your best.)
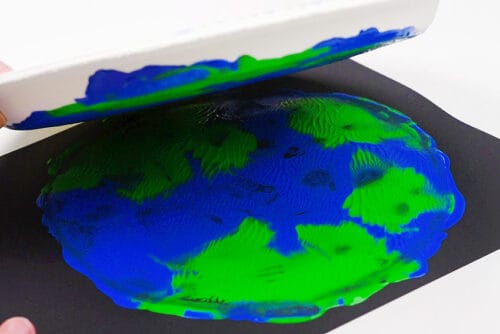
Step 4: Make your planet print
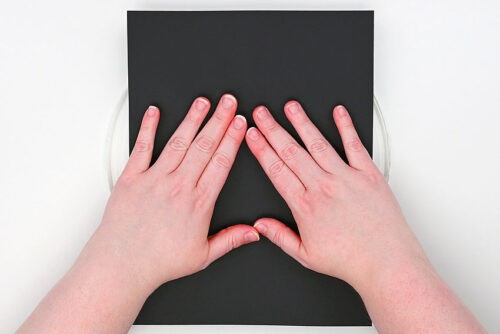
- Take a black piece of cardstock and line it up as best you can, so your planet will be in the middle of the paper.
- Use your hands to push the paper down. Try to stabilize it in the middle so the paper doesn’t move around and smudge the print.
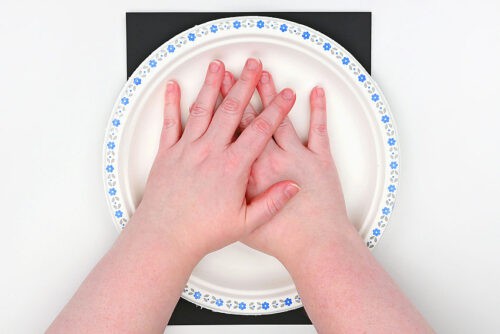
- Then flip the paper and plate over, and repeat, pressing down on the plate from the inside. Again, be careful and try not to let the plate move.
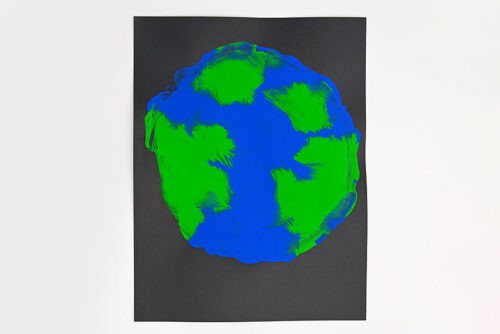
- Then carefully peel the plate up to reveal your planet.
- Your planet Earth print is complete!
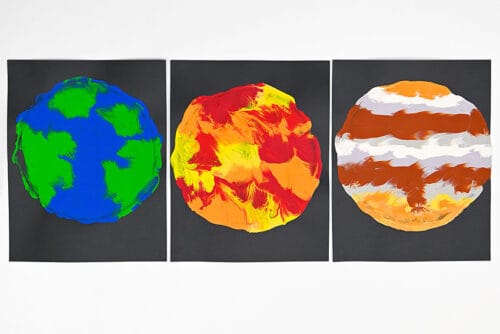
- Then have fun making other planets from our solar system, like Mars and Jupiter!

Helpful Tips:
- Use the right amount of paint: Add enough paint to the plate so the print transfers clearly, but avoid using so much that the paint drips or smudges when you press it onto the paper. Read more about this below.
- Don’t worry if the first print isn’t perfect: It may take a couple of tries to get the hang of pressing the plate evenly. If your first print doesn’t turn out the way you hoped, try again! You’ll often get a better result once you get a feel for how firmly to press the plate to cover all areas.
- Turn it into a whole space scene: Add stars around your planets to create a fun outer space background. You can use a dotting tool to make neat circles, or splatter slightly thinned paint with a paintbrush or old toothbrush to create a more abstract starry sky.

What paper is best for this planet printmaking craft?
We recommend using cardstock, especially black cardstock. The black background represents space and makes the colourful planets stand out beautifully. Cardstock is also thicker than regular paper, so it’s less likely to wrinkle or bend when the paint is added.
What paint works best for printmaking for kids?
Acrylic paint works best for this type of printmaking. Good quality acrylic paint is usually thicker and more highly pigmented, which means you can use less paint while still getting bright colours. The thicker texture also helps prevent the paint from dripping or spreading too much on the plate.

How much paint should I use for planet printmaking?
Finding the right amount of paint can take a little experimenting. Some prints may turn out better than others, and that’s part of the fun — every print ends up looking unique!
Try adding enough paint so the print doesn’t look patchy, especially when you first apply the paint to the plate. If you work slowly, the first colour can sometimes soak into the paper plate and won’t transfer as well.
A helpful trick is to start with a small amount of paint to create the sections you want, then add a little more colour on top if needed. If you want to create clean sections it’s usually easier to add more paint later rather than starting with too much.

What paint combinations should I use to create the planets in our solar system?
Here are the paint colours we recommend:
- Mercury: shades of grey
- Mars: red, orange, and perhaps brown
- Venus: orange, brown, yellow
- Earth: blue and green
- Neptune: light blue, dark blue, and a bit of purple
- Uranus: light blue, grey, cream
- Saturn: yellow, peach, brown
- Jupiter: brown, orange, peach, grey, light yellow

This planet printmaking project is such a fun way for kids to explore art while learning about space. The simple printing technique creates beautiful textures and swirling colours that make each planet look unique, just like the ones in our solar system.
Kids can experiment with different colour combinations to create Earth, Jupiter, or even their own imaginary planets. Add some painted stars or splatter a few white dots across the background, and you’ll have a whole galaxy of colourful artwork to display!
Here’s even more space craft ideas:


Now available
Low-Mess Crafts for Kids Book
72 cute and fun crafts that kids and parents alike can enjoy. All with as little mess as possible!
Where to buy:
You can purchase Low-Mess Crafts for Kids from Amazon, or wherever books are sold:
Amazon | Barnes and Noble | Books-A-Million | Indiebound | Amazon Canada


Leave a Reply