Ice painting is such a fun kids activity, perfect for cooling off in the summer heat! Use coloured ice cubes to paint instead of using a paintbrush. Kids will love exploring the cold and melting sensations of ice.
These “paints” are taste safe, allowing younger kids to join in. Paint with ice cubes for practice using fine motor skills and for a fun colour mixing activity. It’s such a unique and creative process art activity!

This post contains affiliate links. If you use these links to buy something we may earn a small commission which helps us run this website.
How to Paint with Ice Cubes
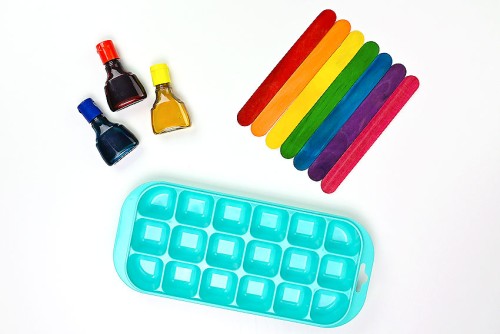
Materials:
- 9 Coloured popsicle sticks (or regular popsicle sticks, 1/2 per ice cube)
- Water
- Food colouring
- White cardstock (or watercolour paper)
Equipment:
Watch the step-by-step video tutorial:
Instructions:
Step 1: Find what you need
- Gather your supplies and materials.

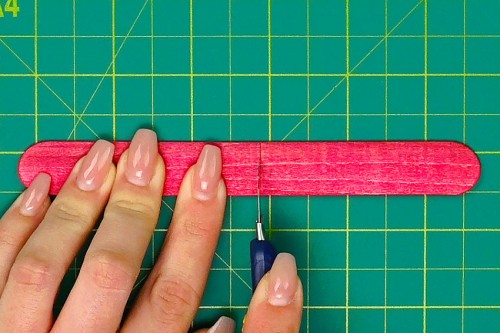
Step 2: Prepare the popsicle sticks
- Place a popsicle stick on the cutting mat and use a craft knife to score down the center of the stick.Sometimes sharp scissors will work, but they might crack the popsicle stick.

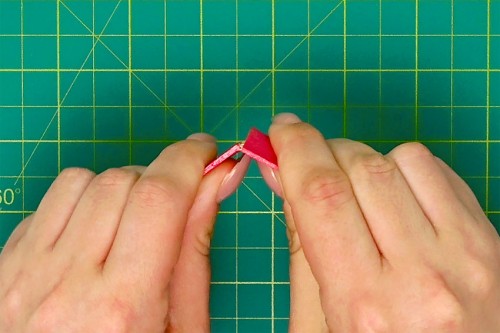
- Use your hands to break the popsicle stick in half.Repeat until you have enough sticks for each section of your ice cube tray.
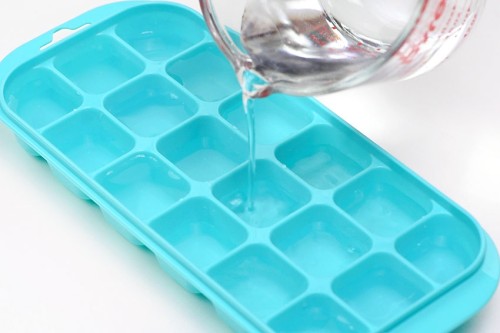
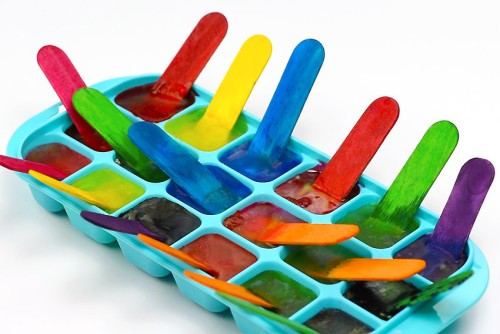
Step 3: Make the ice paints
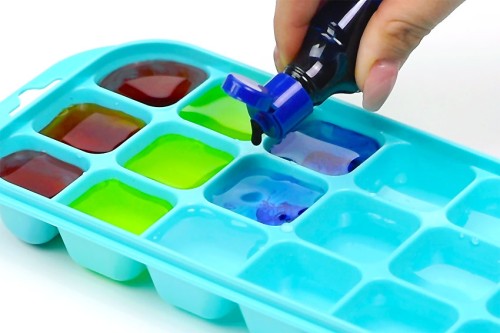
- Fill the ice cube tray with water, but don’t overfill (or the colours will bleed into each other). You can add a bit more water to fill each section later, if needed.
- Add 1 to 3 drops of food colouring to each cube in the tray. You might need more food colouring for larger ice cubes.Scroll down past the tutorial for a list of how many drops we used to make each colour.
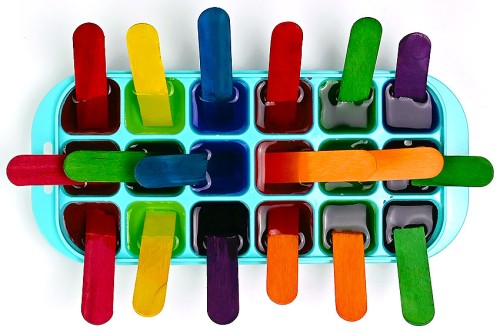
- Continue adding food colouring until each of the cubes in the tray is coloured. Rather than making the same colour several times, try making several versions of it using 1, 2, or 3 drops of colour so you have 3 cubes with different brightnesses.
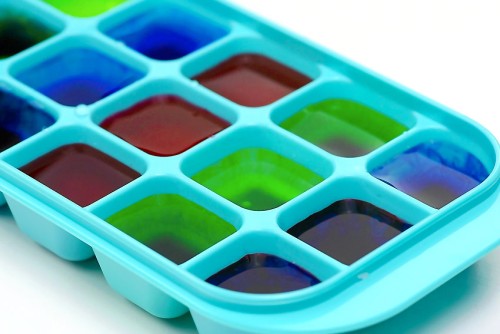
- Stir each section well with a popsicle stick half. If you don’t stir well, the food colouring will settle to the bottom.
- Lean the popsicle stick against the edge, leaving one in each compartment, as a “paintbrush” handle.
Step 4: Freeze the ice cubes and enjoy painting
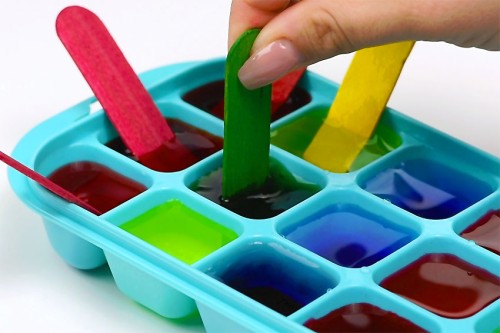
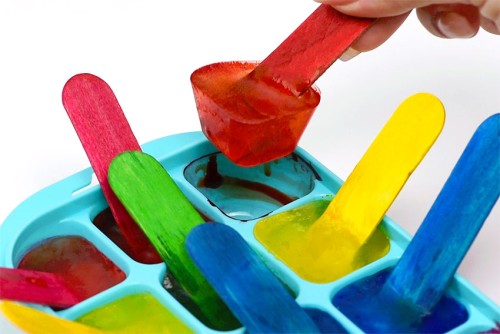
- Place the ice cube tray in the freezer for about 5 hours, or until frozen. Remove the tray from the freezer and let the coloured ice cubes sit for a few minutes. (They paint better when they’re a little bit melted.)
- Choose your first colour and gently lift the popsicle stick to remove the cube from the tray. If they’ve been sitting for a few minutes, the cubes should remove easily.
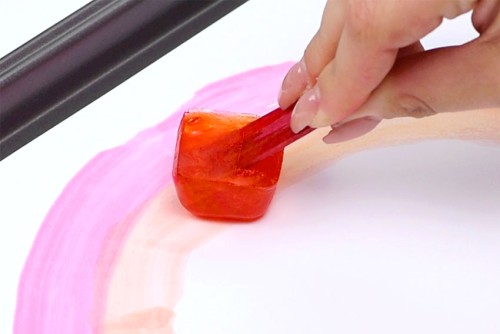
- Use the ice cubes to paint on thick paper. We recommend painting on a baking tray to keep the mess contained.
- Continue using different colours to paint. Place each cube back in the tray when you’re not using it.Pop the tray back in the freezer if the cubes melt too much. You can continue to use them over and over!
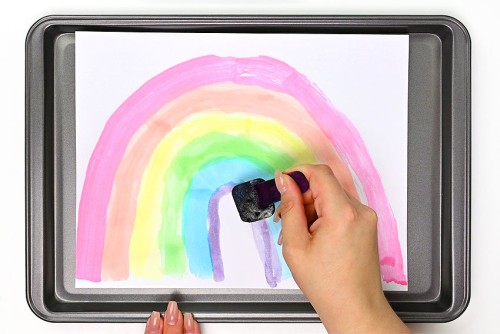
- Your ice painting is complete!
Helpful Tips:
- Use concentrated food colouring, like gel food colouring, for more vibrant or bright colours.
- If you don’t need the paint to be taste safe you can use tempera paint or liquid watercolours instead.

What kind of paper do you use for ice painting?
Thicker paper like cardstock or poster board works best because it can absorb more water. Regular printer paper can work, but it will get soggy and will likely end up ripping as you paint. The paper will also wrinkle and warp as it dries.
Watercolor paper is another great choice for ice painting because it’s meant to absorb water. If you do use watercolor paper, be aware that the paint colours blend together a lot more on this paper, compared to the cardstock.

What colours of paint ice cubes can you make?
Try using different amounts of food colouring for different shades of paint. For example, 1 drop of red for a light red and 3 drops of red for a darker red. We used both regular food colouring and neon food colouring.
You can also make some of the following colour combinations. Add an extra drop of either colour to make it the more dominant shade:
- 1 drop of red, 2 drops of yellow to make orange
- 2 drops of yellow, 1 drop of blue to make green
- 1 drop of blue, 1 drop of neon green to make a teal colour
- 1 drop of blue, 1 drop of red to make purple
- 2 drops of neon pink, 1 drop of neon blue to make a different shade of purple

What drawings can I make with ice painting?
The best thing about ice painting is that it’s process art and you can draw whatever you’d like! Ice painting is all about exploring a fun and unique artistic medium, not the final painting.
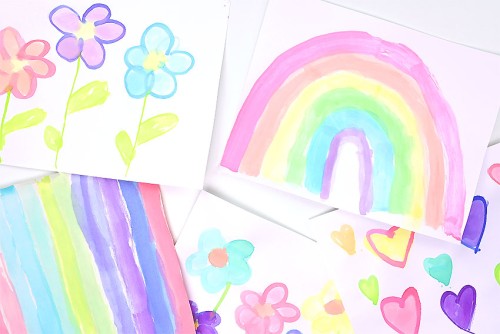
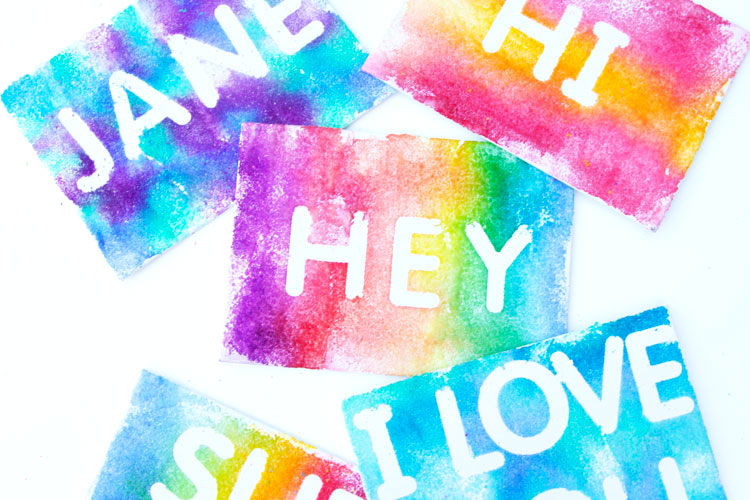
We had fun drawing a rainbow, flowers, and other shapes, like hearts and stars. You can draw lines to see what colours each ice cube makes. Practice writing letters and words, or simply do some colour mixing. Whatever you end up drawing, it’s so much fun!

This ice cube paint runs smoothly over the paper, and it’s so much fun to paint with! Use simple supplies to make a super cool (literally!) ice painting, and then let the ice melt in the sink for easy clean up. So cool!

Here’s even more kids art ideas:


Our book Low-Mess Crafts for Kids is loaded with 72 fun and simple craft ideas for kids! The projects are fun, easy and most importantly low-mess, so the clean up is simple!

Where to buy:
You can purchase Low-Mess Crafts for Kids from Amazon, or wherever books are sold:
Amazon | Barnes and Noble | Books-A-Million | Indiebound | Amazon Canada


Leave a Reply