
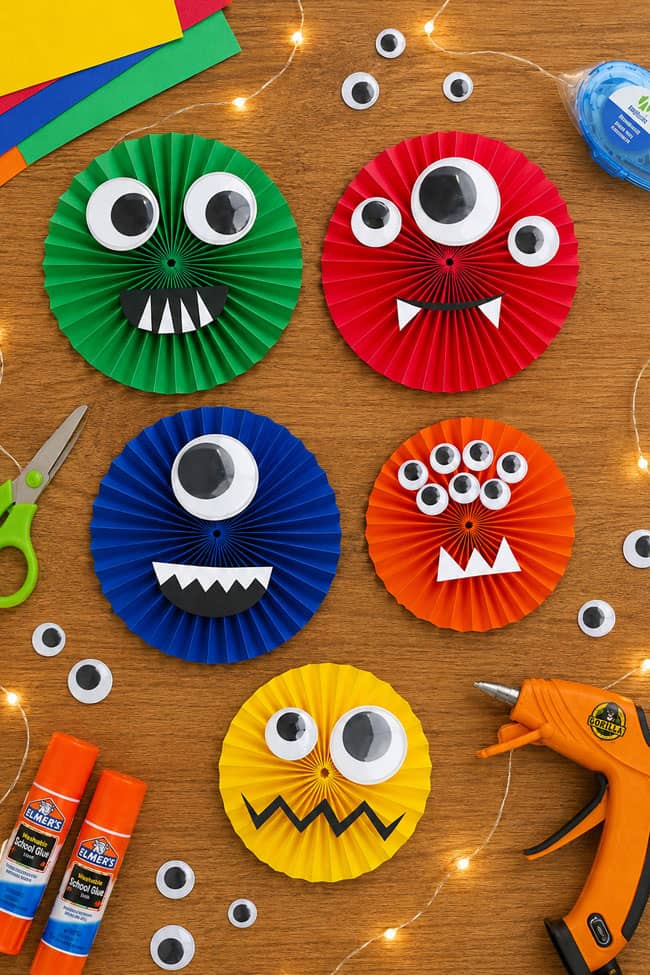
These paper rosette monsters are such a fun and colourful Halloween craft for kids! With accordion-folded paper, oversized googly eyes, and silly faces, each monster has its own goofy personality. Make them bright and cheerful or choose classic Halloween colours for a slightly spookier look.
This easy paper monster craft is a great way for kids to get creative with different eyes, teeth, mouths, and expressions. No two monsters need to look alike! Hang the finished paper rosettes on a wall, add them to a Halloween party display, or use them to decorate a classroom for a monstrously fun celebration.
This post contains affiliate links. If you use these links to buy something, we may earn a small commission at no extra cost to you. This helps support our website and allows us to keep creating fun, free content.
How to Make Paper Rosette Monsters
Materials:
- Coloured printer paper (main colour, black, white)
- Glue tape
- Large googly eyes
Watch the step-by-step video tutorial:
Instructions:
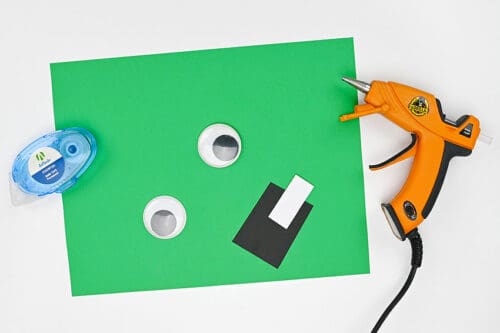
Step 1: Find what you need
- Gather your supplies and materials

Step 2: Cut and fold the paper
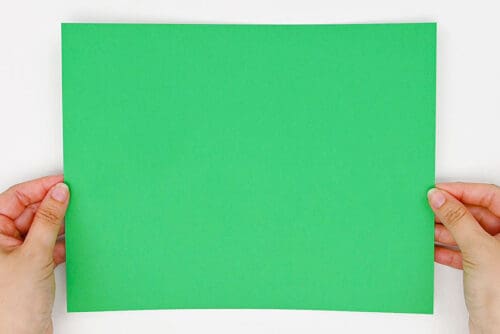
- To make your rosette monster you’ll need a piece of coloured printer paper (8-1/2 by 11 inches) in the colour of your choice.

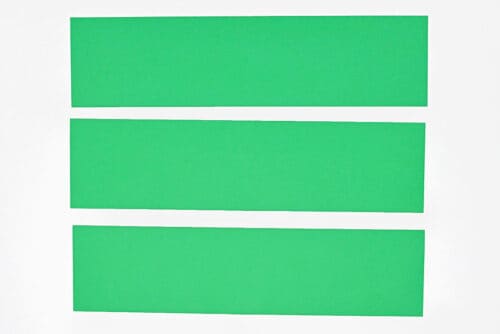
- Cut the paper lengthwise, dividing it into 3 equal pieces.Dividing 8 by 3 doesn’t work evenly, so you can make it easier by cutting 3 pieces to be 2-3/4 inches wide and 11 inches long.
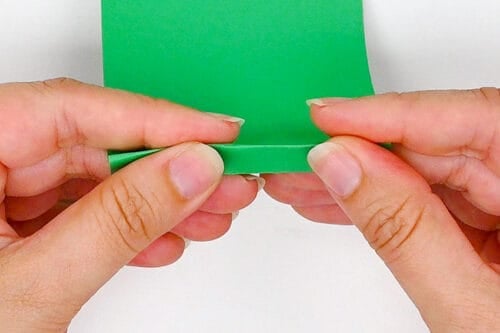
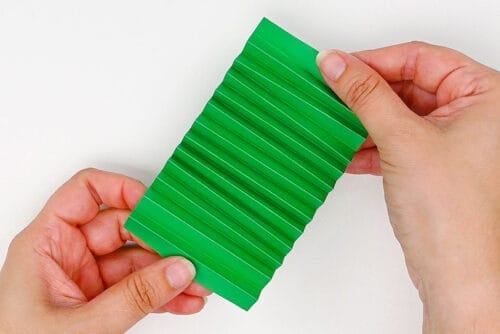
- Hold one of the pieces with the short end towards you. Fold about 1 centimeter of the end down. Use your nails or a bone folder to make the fold crisp.
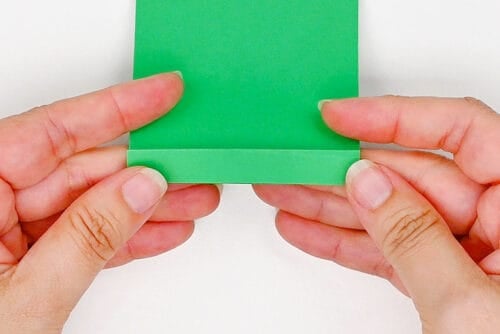
- Then fold the paper back on itself, creating another 1 centimeter section.
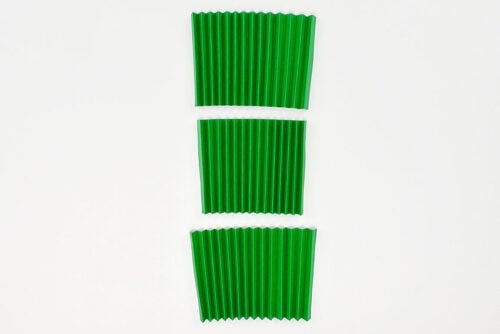
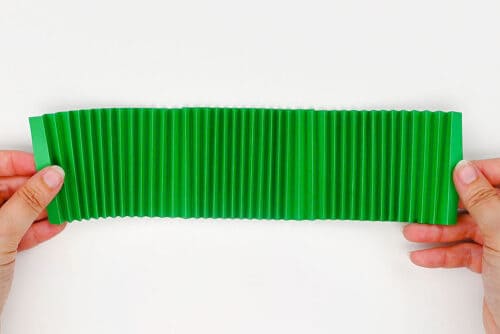
- Continue folding the paper back and forth, like an accordion, until you reach the end.
- Repeat with the other 2 pieces of paper.
Step 3: Connect the papers
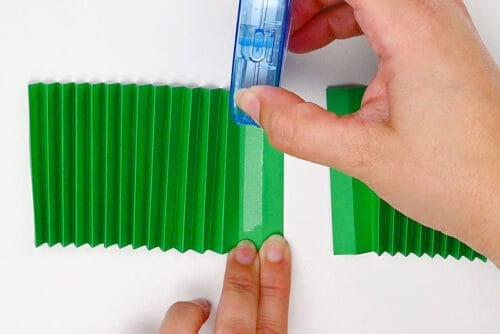
- Add a line of glue tape along one short end of the papers.
- Connect a second piece, lining up the edges nicely.
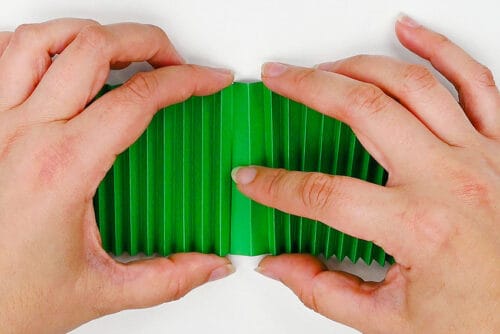
- Repeat with the third piece, so they’re all connected into one long accordion.
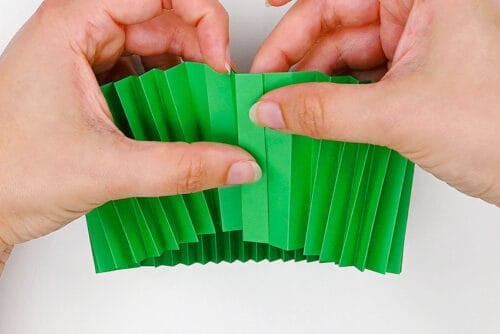
- Add more glue tape to one end of the paper and connect the other end, creating a circle.
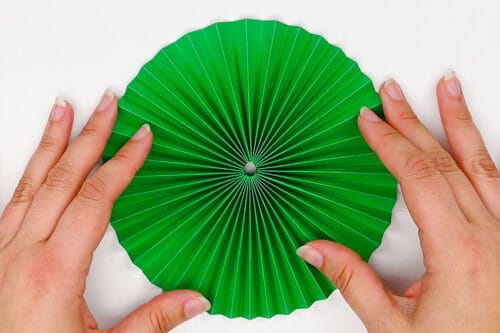
- Press the top of the circle in, flattening the paper into a rosette shape.
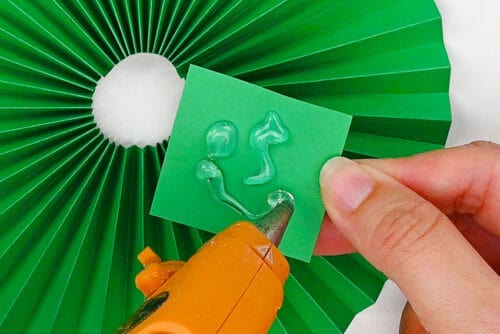
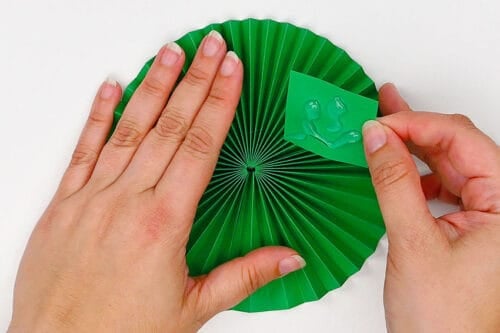
- Cut a piece of scrap paper (the same colour as your monster) and add a generous amount of hot glue to it.
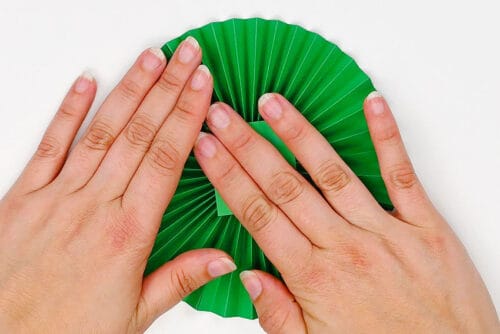
- Push the rosette in to minimize the gap in the center.
- Then cover the center of the rosette with the glued paper. Hold it down until the glue dries enough to keep everything in place.
Step 4: Add a monster face
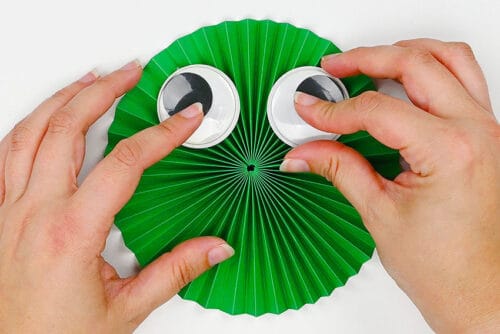
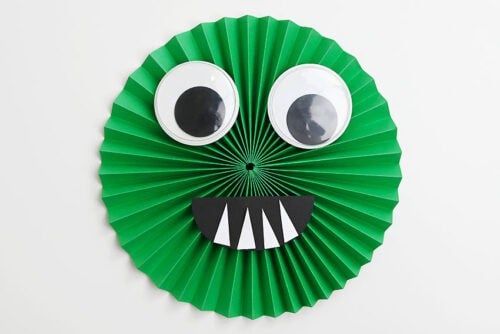
- Use hot glue to attach googly eyes to your monster.
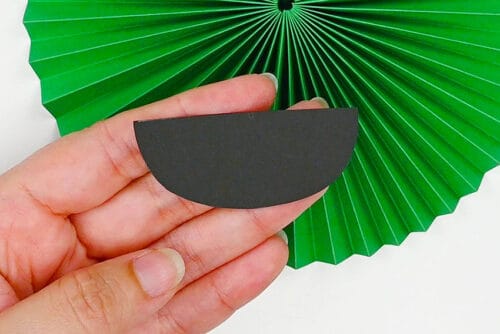
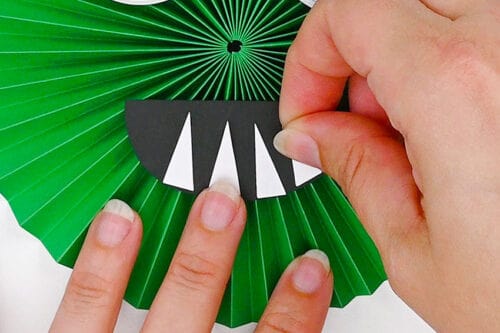
- Cut a smiling mouth from black paper and glue it on.
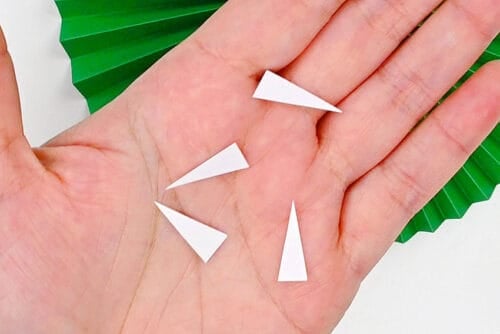
- Cut teeth (fangs!) from white paper.
- Use glue tape to attach them onto the mouth.
- Your paper rosette monster is complete!
Helpful Tips:
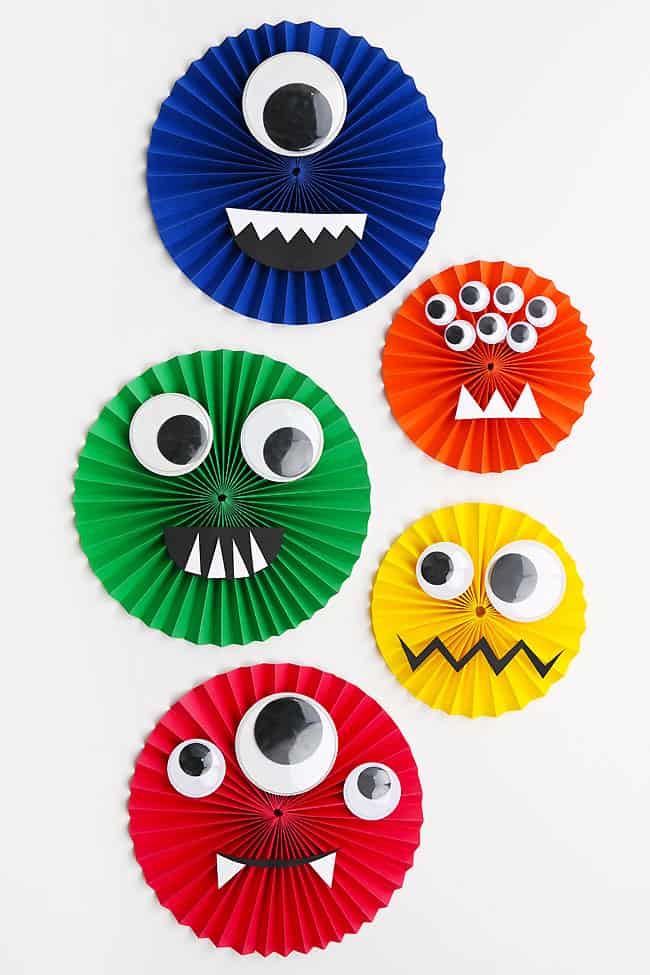
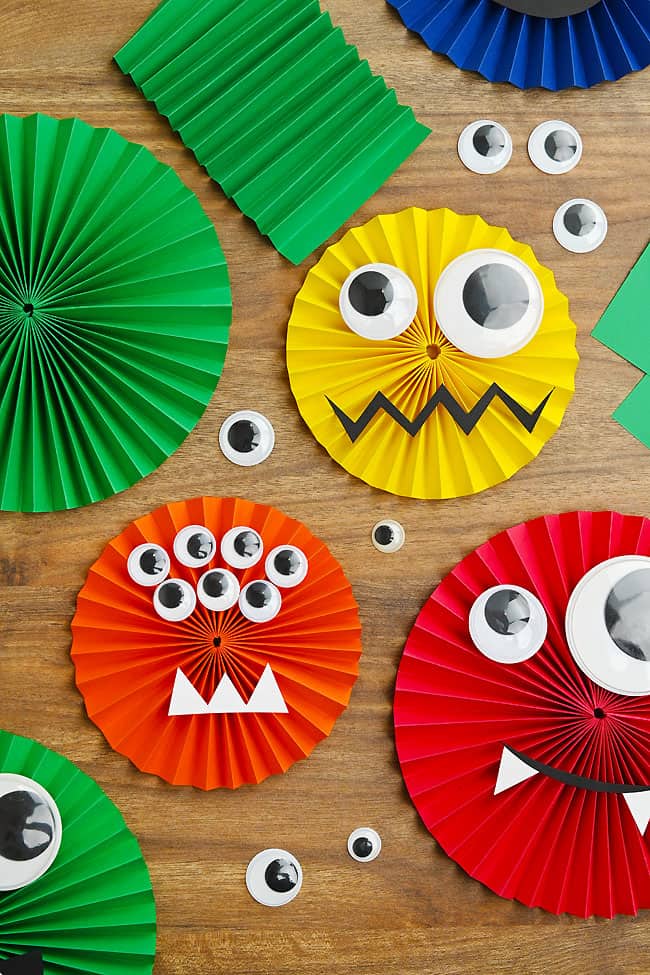
- Create silly monster faces: Give your monster one eye, three eyes, or a whole collection of googly eyes in different sizes! Experiment with pointy teeth, crooked smiles, wiggly mouths, and other funny facial details.
- Make monsters in different sizes: Cut the paper into smaller or larger pieces to create a whole family of paper monsters. Just make sure the pieces used for each rosette are the same size so they line up evenly.
What paper should I use to make my rosette monsters?
Standard coloured printer paper (about 24 lb weight) works best for making paper rosette monsters. It’s lightweight and easy to accordion fold, while still holding the circular rosette shape nicely.
You can also use cardstock, but the thicker paper is more difficult to fold and may require stronger glue to hold everything together.
How can I decorate my paper monsters?
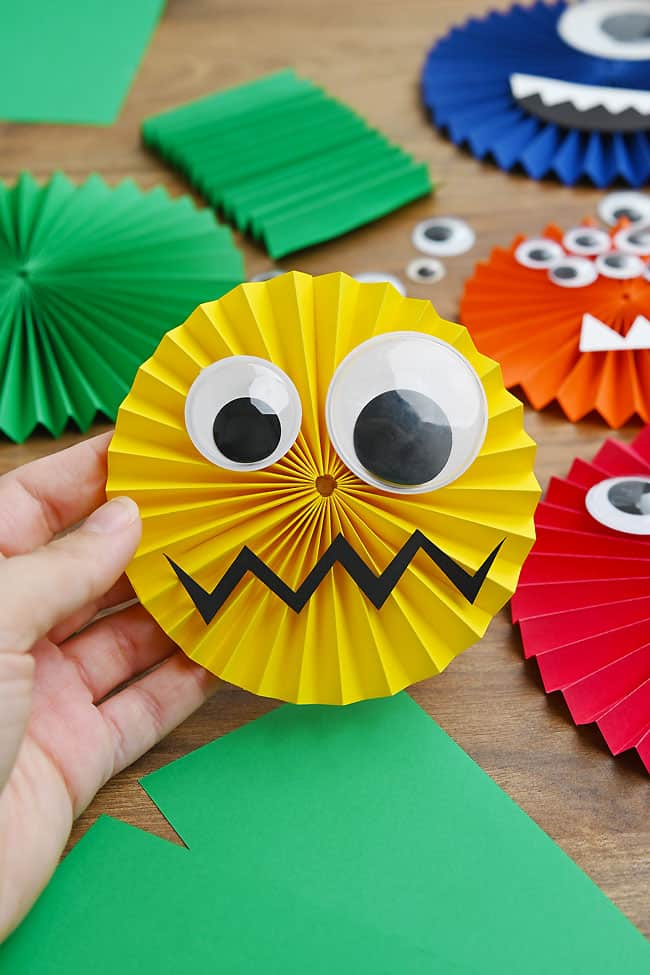
We decorated our monsters with googly eyes and facial features cut from coloured paper. Change the number and size of the eyes, or experiment with different mouths and teeth to give each monster its own personality.
You can also decorate the monsters with yarn, pom poms, glitter, sequins, pipe cleaners, and other basic craft supplies. Try adding yarn hair, pom-pom noses, or pipe-cleaner horns and antennae.
What glue works best for making paper rosettes?
Glue tape works really well for joining the folded paper pieces because it’s mess-free and doesn’t need any drying time. You can also apply a small amount of tacky glue, but you’ll need to paper clip the pieces together while the glue dries.
Hot glue works nicely for attaching the monster’s face, especially when using large or heavy googly eyes. Tacky glue is another good option. For small details such as paper teeth, use glue tape or apply tiny dots of tacky glue with a toothpick.
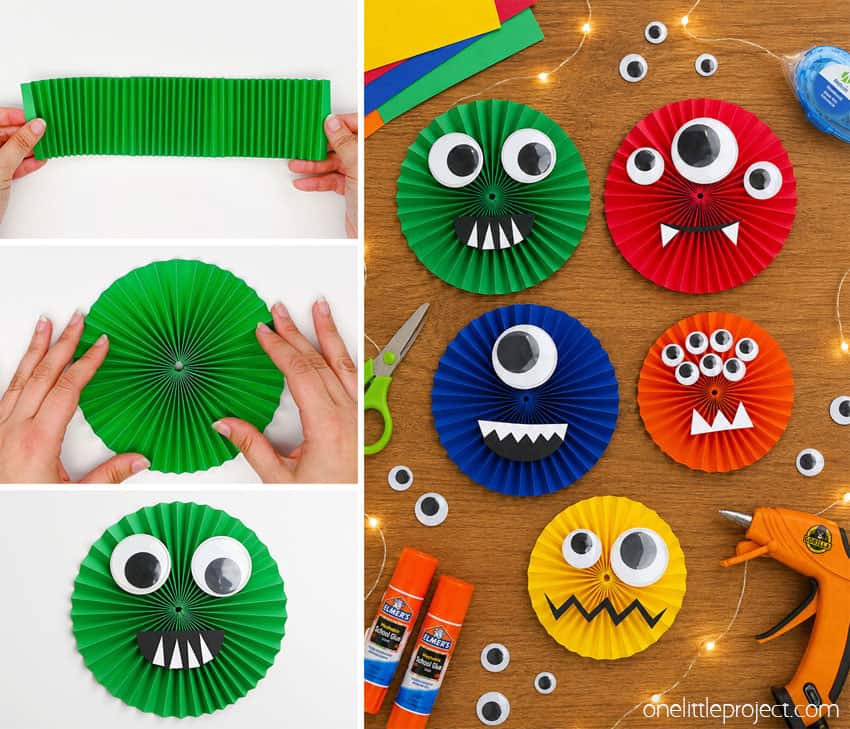
These paper rosette monsters are bright, goofy, and full of personality! Kids can mix and match eyes, mouths, teeth, and other decorations to create a whole crew of one-of-a-kind creatures. Display the finished monsters for Halloween, use them as party decorations, or hang them in a classroom for a fun burst of colour. Either way, you’ll enjoy making these paper monsters.
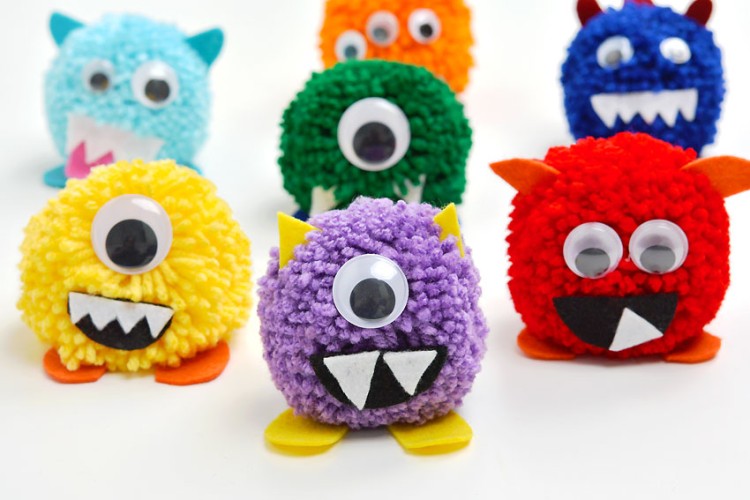
Here’s even more monster craft ideas:
Now available
Low-Mess Crafts for Kids Book
72 cute and fun crafts that kids and parents alike can enjoy. All with as little mess as possible!
Where to buy:
You can purchase Low-Mess Crafts for Kids from Amazon, or wherever books are sold:
Amazon | Barnes and Noble | Books-A-Million | Indiebound | Amazon Canada







Leave a Reply