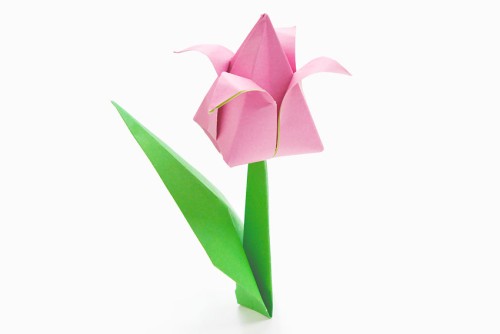
Brighten your day with an origami tulip! These paper tulips are SO EASY to make, and they’re such pretty decorations for spring, Easter, and Mother’s Day.
Make this classic origami flower in red, yellow, pink, or another favourite colour. It’s so cool to watch 2 simple pieces of paper transform into a beautiful flower that won’t wilt or fade!

This post contains affiliate links. If you use these links to buy something we may earn a small commission which helps us run this website.
How to Make an Origami Tulip
Materials:
- 2 sheets Origami paper (pink and green)
Watch the step-by-step video tutorial:
Instructions:
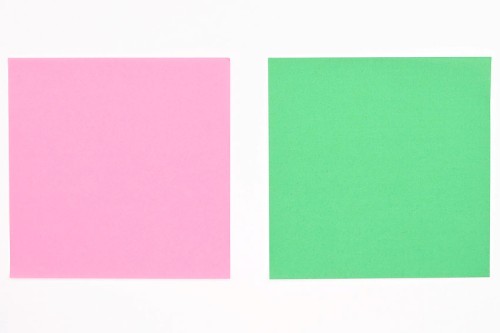
Step 1: Find what you need
- All you need to make this origami tulip is 2 pieces of origami paper — 1 pink (or another flower colour) and 1 green.

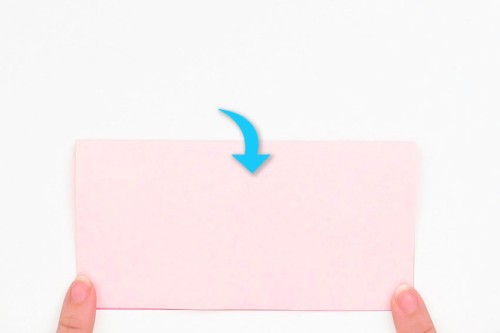
Step 2: Fold the origami paper in halves
- Take the pink piece of paper and fold it in half from top to bottom.If you’re using single sided origami paper, start with the coloured side up.
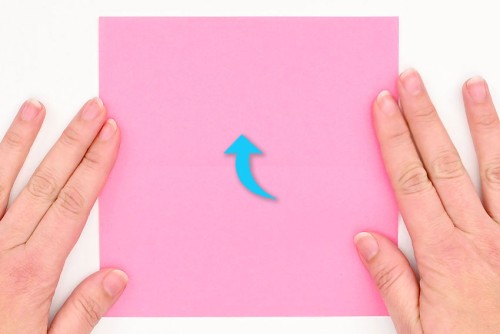
- Open the paper back up.

- Now fold the paper in half from right to left.
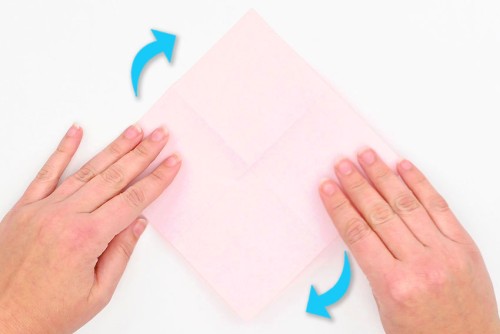
- Open the paper again. Flip it over so the coloured side is facing down, and rotate it so it looks like a diamond.
- Fold the paper in half again from bottom to top.
- Open the paper again and rotate it 90 degrees.
- Fold the paper in half one final time, from bottom to top.


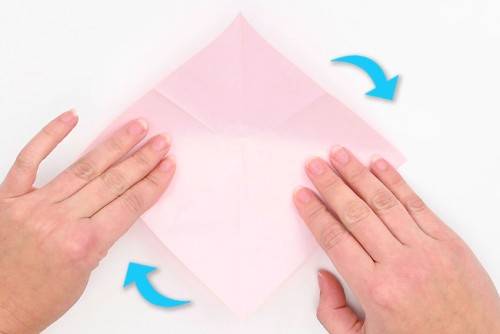
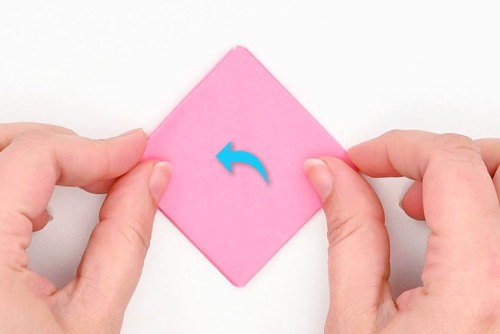
Step 3: Fold the origami tulip
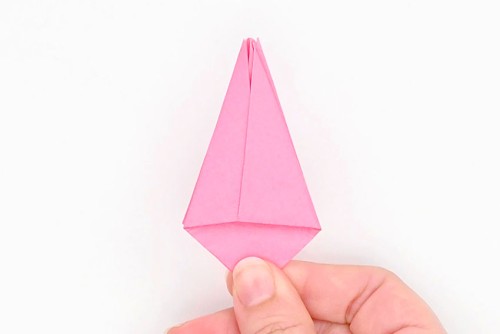
- Flip the paper over to that the long edge is at the top.Push the left and right sides (the top folds) in to the center. The paper should automatically fold into a two layered triangle.

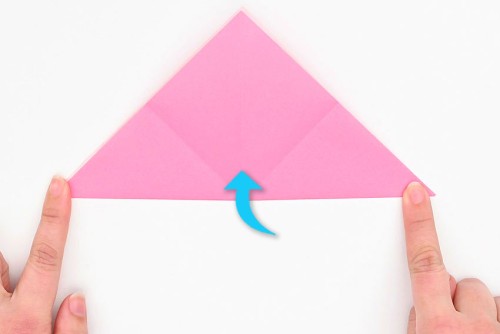
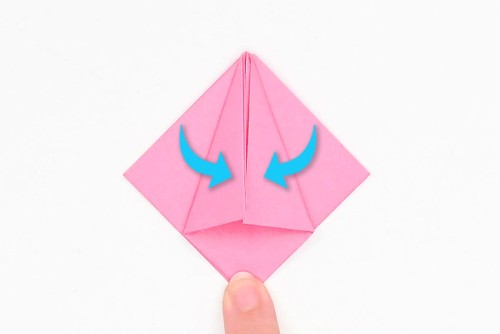
- Fold the top left flap up so that the bottom meets the center and the top points line up.Repeat on the right side.
- Flip the paper over.
- Make the same folds with this layer of the paper, bringing the bottoms up to the center, matching the top points.
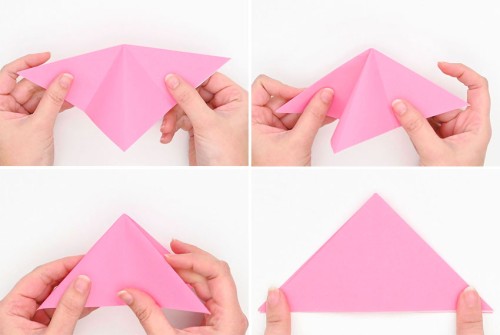
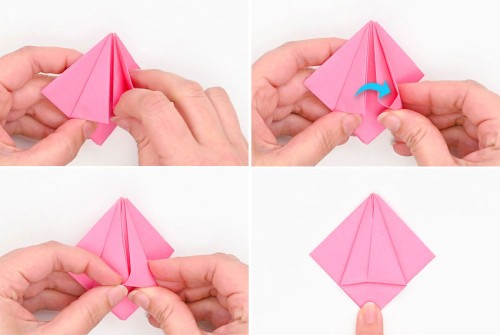
- Fold the top right layer over to the left. Then fold the bottom left layer over to the right.You should now see smooth paper on both the top and bottom, with the loose flaps (created in the previous steps) on the inside.
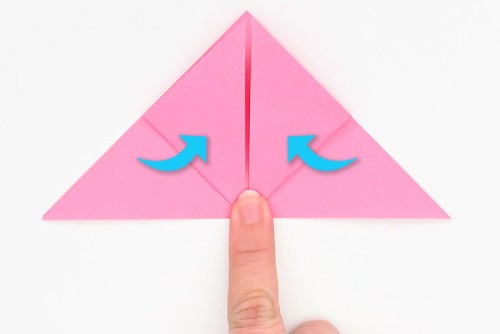
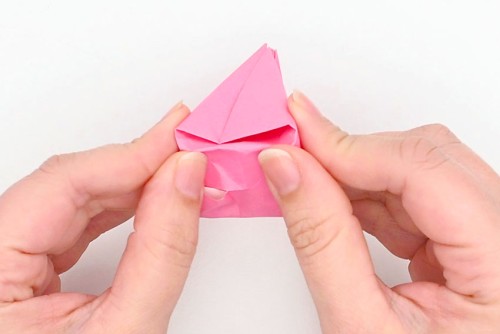
- Fold the top right flap in to the center, so that the point goes just over the center line.Repeat on the left side. The two folds will overlap a little bit.
- Use your fingertip to open up the right side. Push the left fold inside the right pocket to keep it in place.
- Flip the paper over and fold the left side in so that the outside edge matches the other folds. Repeat on the right side.
- Slip the left fold inside the right pocket, just like you did on the opposite side.


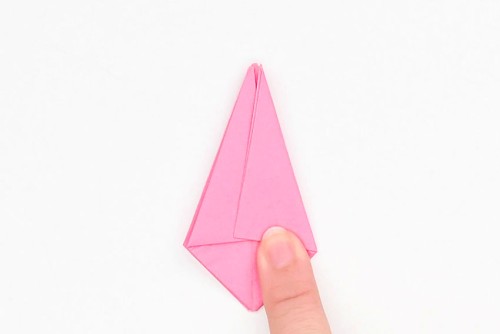
Step 4: Form the 3D tulip
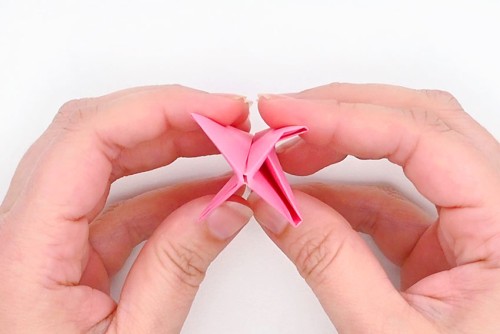
- Open the paper so that it looks like an “X” from above.
- Push down gently on the center point.
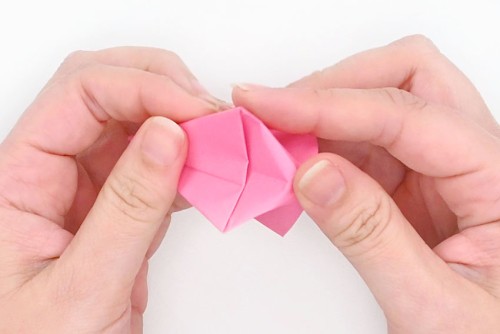
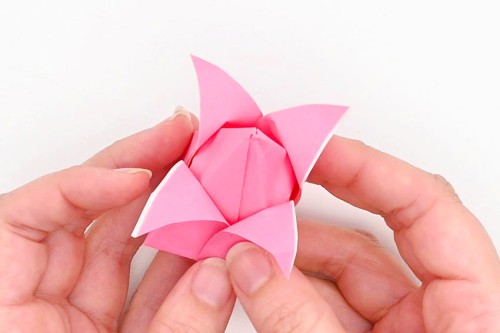
- Rotate the tulip and keep softly pushing on the center until you form a pyramid shape with a flat bottom.
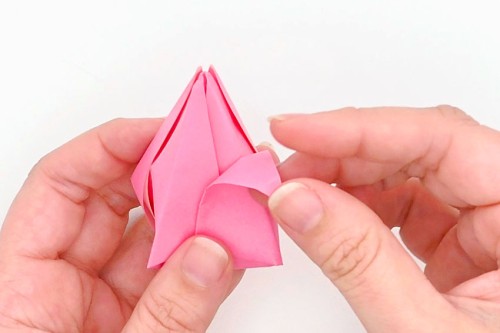
- From the pointy end, fold one of the petals down on a curve (don’t crease the fold).
- Repeat with the other 3 petals.
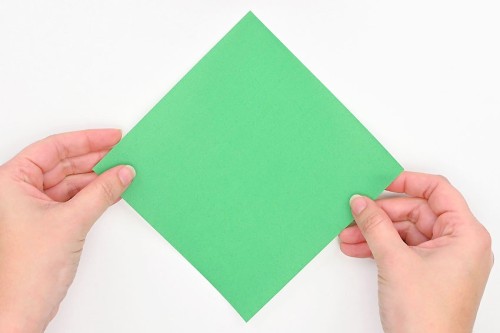
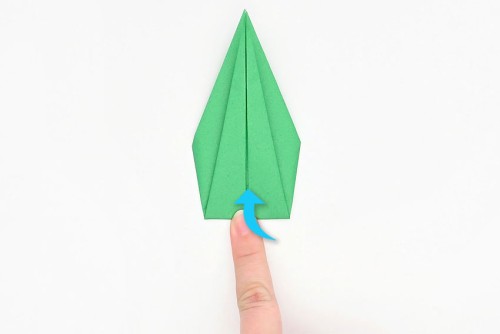
Step 5: Fold the stem
- Use green origami paper to make the stem and leaf of the tulip.Begin by holding the paper colour side up and like a diamond (with the points up and to the side).
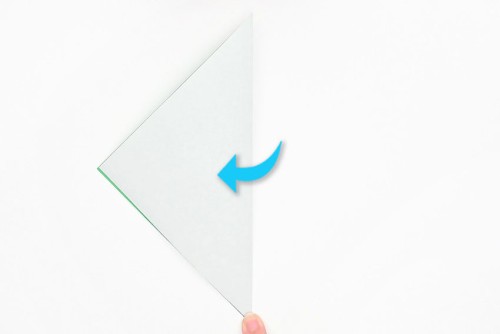
- Fold the paper in half from right to left.
- Open the paper up and flip it over, setting it colour side down.
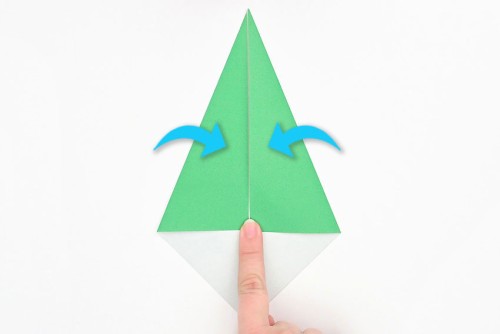
- Fold the right side in so that the right point meets the center.Repeat on the left side.
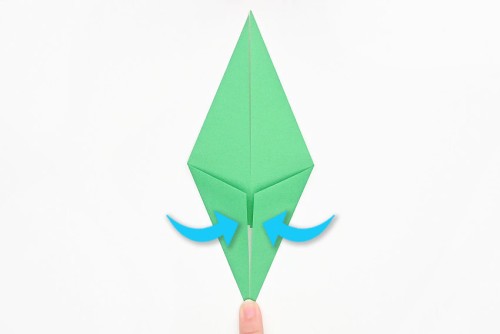
- Fold the bottom right point in to meet the center.Repeat on the left side.
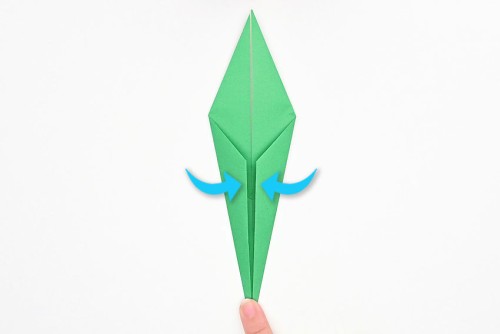
- Fold the right side in to the center.Repeat on the left side.
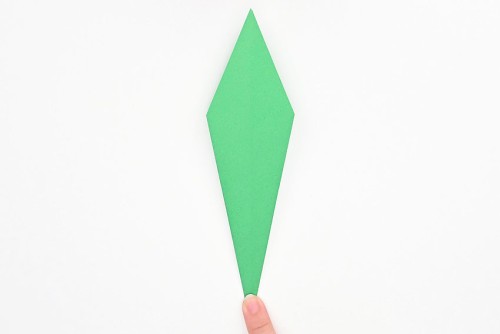
- Flip the paper over.

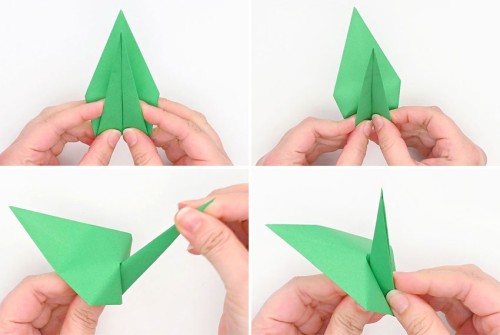
Step 6: Fold the leaf and combine the two flower parts
- Fold the bottom point up to the top point.
- Grab the top layer of paper and begin folding the edges in toward each other.As you fold the sides in and smooth the fold, the bottom layer should automatically fold down, forming the leaf.
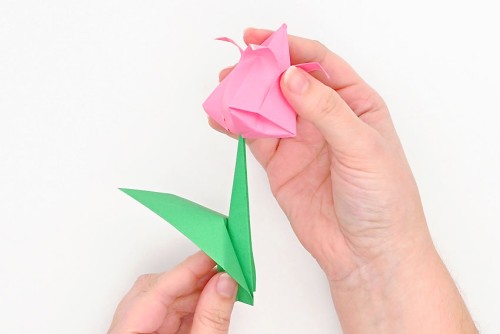
- Attach the tulip head (through the hole in the bottom) to the point of the stem.
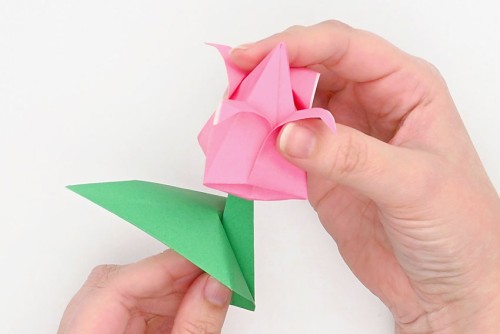
- Continue pushing the tulip down the stem until it’s secure.
- Your origami tulip is complete!
Helpful Tips:
- Insert a green pipe cleaner into the bottom of the origami tulip to make it easy to collect into a bouquet.
- Spray your origami tulip with a bit of floral perfume or add a drop of essential oil to make a faux flower that has a nice scent.

What is the best way to shape the origami tulip?
Forming the flower into a pyramid shape can be difficult, but with a little bit of practice you’ll be able to make your own 3D origami tulip with no problems!
If you’re having trouble making the final tulip shape we recommend blowing into the bottom to add some air inside. Then you can push down and adjust the shape as needed.
You can also use the end of a pencil, a toothpick, or a wooden skewer to push the paper out from the inside.

What type of paper is best for making an origami tulip?
We used origami paper to make our origami tulips. This paper is already cut to size (6 x 6 inches) and comes in all kinds of beautiful colours.
You can also make your paper tulips from coloured printer paper cut into a square. As long as the paper is square, you can use any size to make a larger or smaller paper flower.
We don’t recommend using any paper thicker than 24 lb. Thick paper (like cardstock) is too difficult to fold into multiple layers.

Do I need to glue my origami tulip together?
If you’re just displaying your origami tulip and not playing with it, you don’t have to glue the two flower parts together. The two pieces stay together naturally if they’re sitting on a window sill or mantel.
If you’d like to move your tulips around, you can add a bit of hot glue or tacky glue to the stem before inserting it into the flower. This will secure the two parts together.

Have fun making an origami tulip this spring! This paper craft is so cheerful and pretty. Use these paper tulips as party decorations, or set them out for a fun pop of colour.

Here’s even more paper flower craft ideas:


Our book Low-Mess Crafts for Kids is loaded with 72 fun and simple craft ideas for kids! The projects are fun, easy and most importantly low-mess, so the clean up is simple!

Where to buy:
You can purchase Low-Mess Crafts for Kids from Amazon, or wherever books are sold:
Amazon | Barnes and Noble | Books-A-Million | Indiebound | Amazon Canada


Leave a Reply