Happy Fall! It’s Megan from Homemade Ginger and I’m in full swing of fall over here. I’m back with another autumn inspired craft that can also transition to any season!
With this season brings many opportunities and occasions to have treats of all shapes and sizes. While most people get caught up in Halloween and Christmas, Thanksgiving tends to get lost in the shuffle. I love to think of small ways to jazz up the Thanksgiving table each year. It’s such a lovely time spent with family, but it sneaks up on me every year. So why not plan ahead for a simple way to make it a little extra special?
These mini paper bag favors are the perfect way to make the kids table (or grown up table) at Thanksgiving super special. Place a tiny bag on each place setting and fill it with fall candy such as Reese’s Pieces or candy corn. I think we can all agree that anything in a mini form is instantly adorable, even a paper bag. These little bags are so easy to put together and they add a little bit of rustic charm to any place setting. You can also give them out as favors for a Halloween or fall party. Or save this idea for Christmas and fill them with green and red M&M’s! This little craft will translate well for pretty much any season!
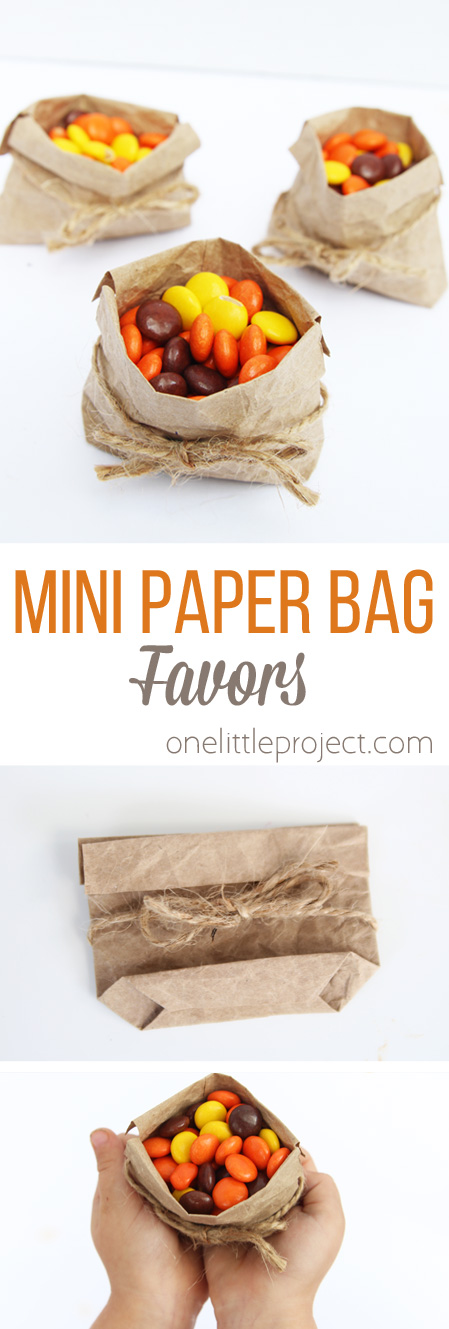
Mini Paper Bag Favors
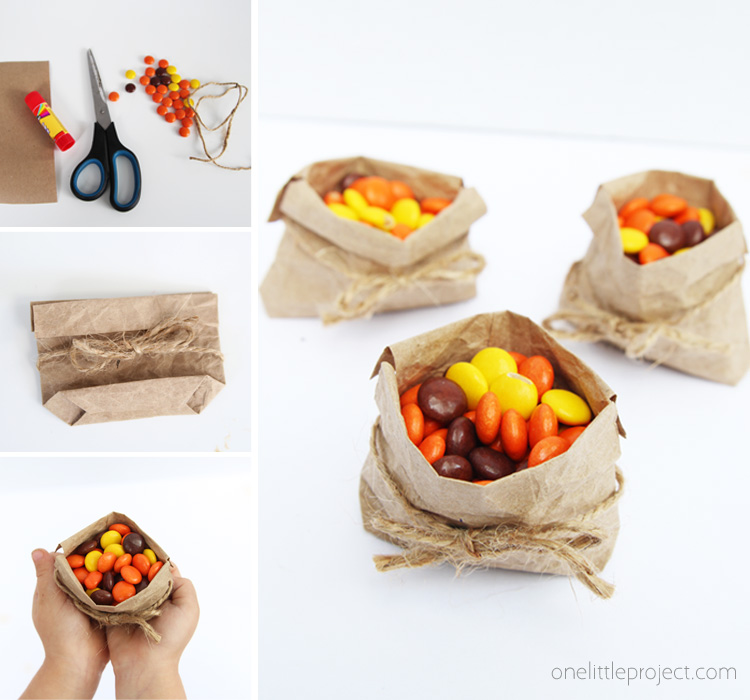
The full tutorial is at the bottom of this post, but here is what you will need:
- Brown kraft paper
- Scissors
- Glue Stick
- Twine
- Candy
All you need are a few materials to create these mini paper bag favors. Older kids can make these themselves and wow their friends!
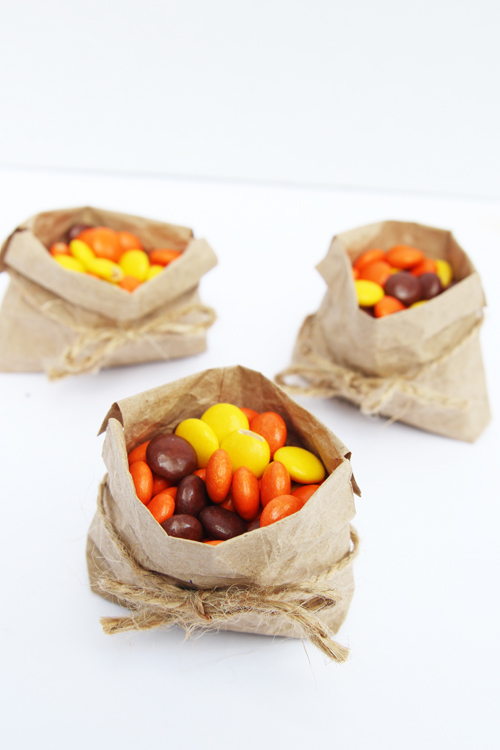
Display them on your table or give them out as favors!
Mini Paper Bag Favors
Materials:
- Brown kraft paper
- Twine
- Candy
Equipment:
Instructions:
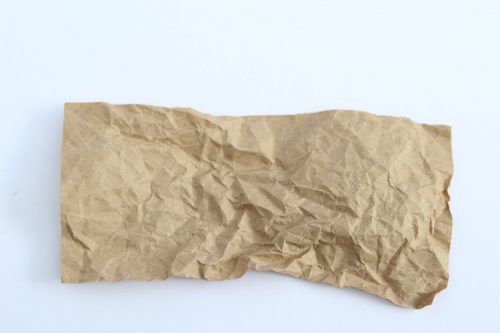
- Cut a piece of kraft paper into a rectangle that measures approximately 3X7 inches.

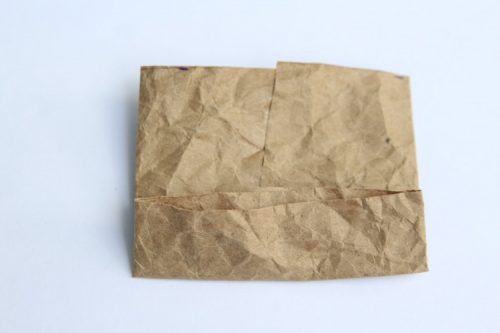
- Next, crumple the paper up a few times to make it look soft and worn out.
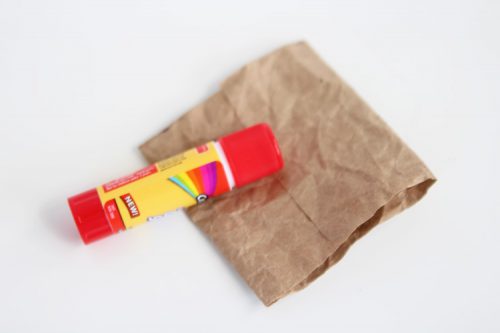
- Fold the paper into thirds so that the edges slightly overlap in the center. Glue the overlapping edges in place.
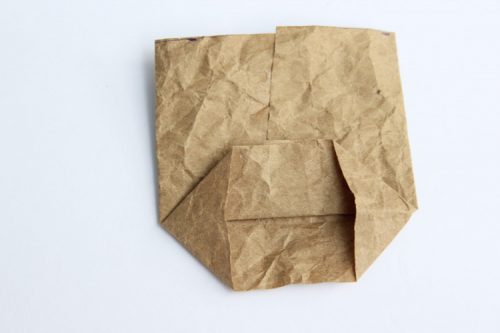
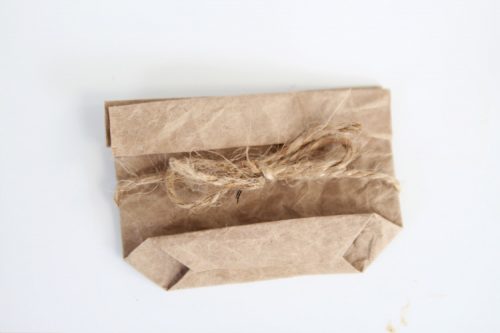
- Next, fold about 1 inch of the bottom upward.
- Open up that folded edge and fold in the corners.
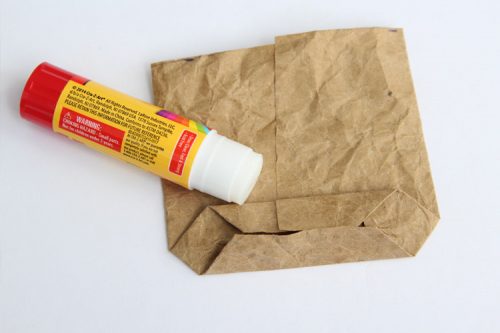
- Fold the straight edges towards the center of the bottom, overlapping them slightly. Glue the seam with a gluestick.
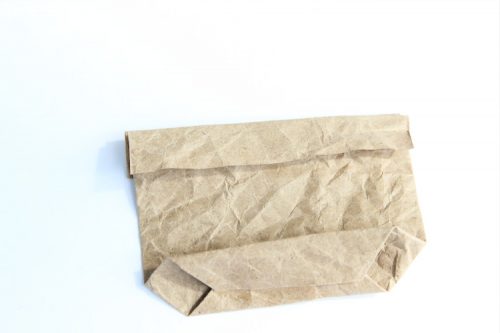
- Fold the top opening down about 1/2 inch to create a lip. Make slits in the sides to make this easier.
- Tie a piece of twine around the bag.
- Place the bag sitting upright and fill it with candy. Your paper favor bag is complete!

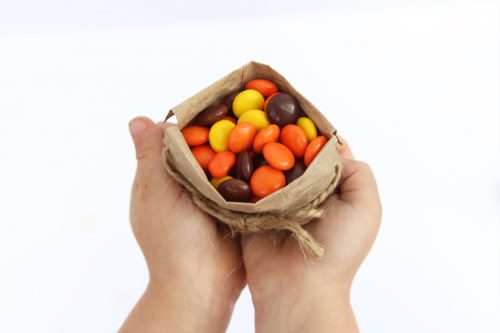
Aren’t they so adorable? Your kids will love making these!


Leave a Reply