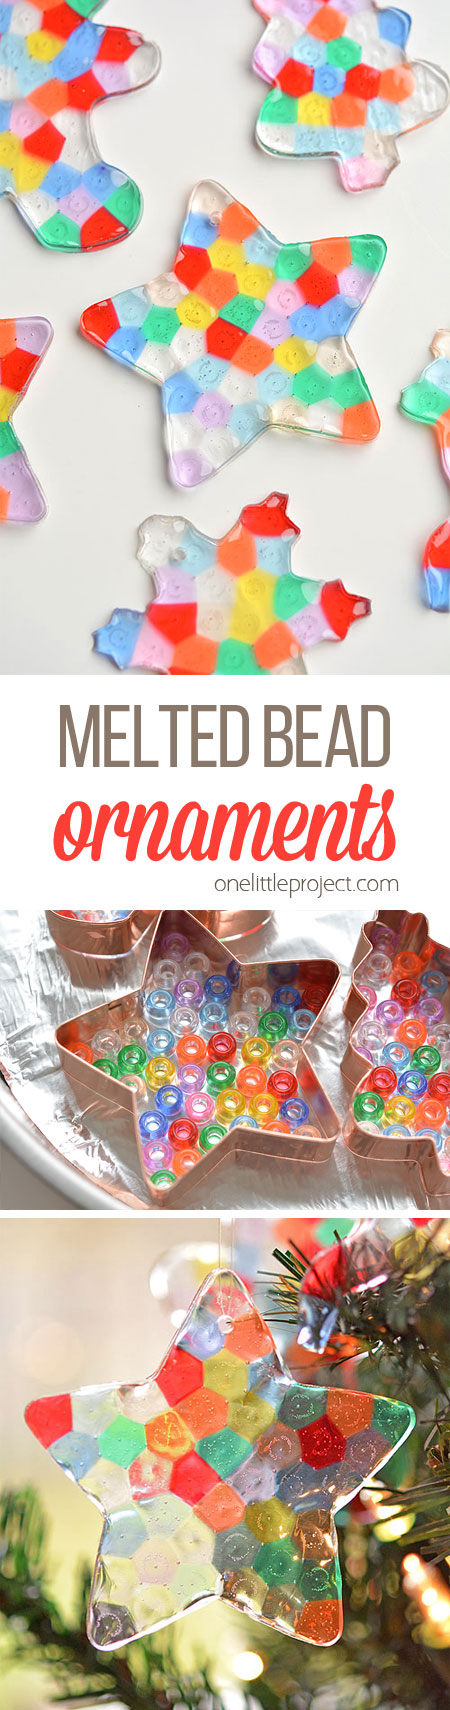
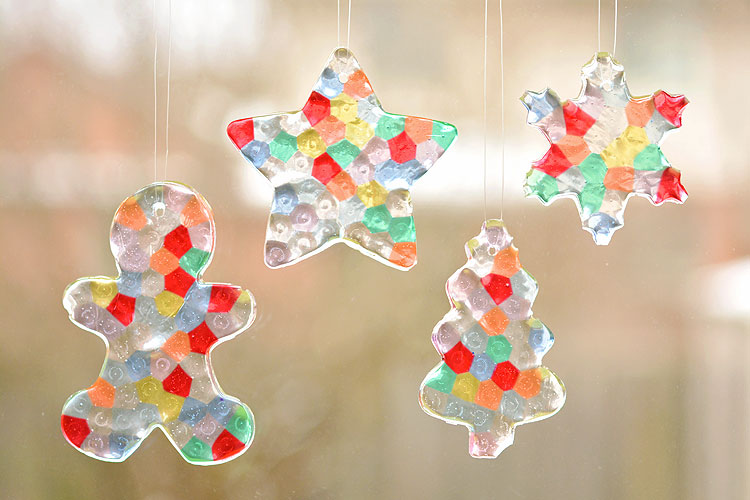
These melted bead ornaments are SO MUCH FUN. I could get addicted to making these! Using simple pony beads, you can make cookie cutter shapes, beautiful free handed patterns, sun catchers, or anything you like! They almost look like little stained glass works of art. Simply beautiful!
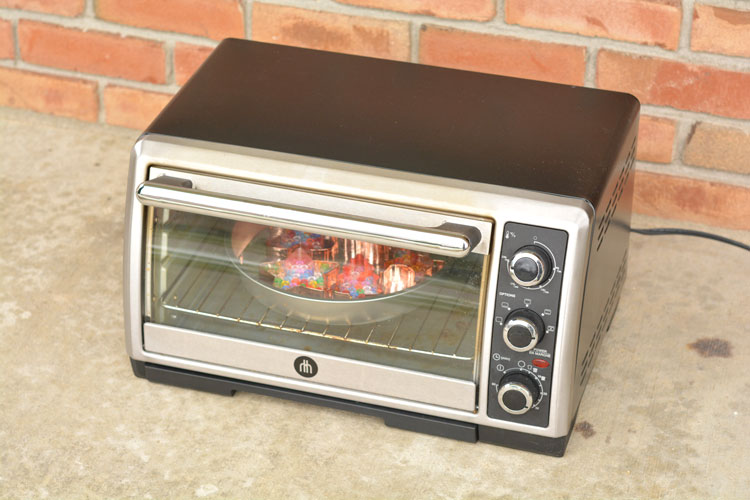
It was also one of those crafts where I got to feel a little like a crazy person. Melting plastic is kind of smelly. And I’m not an expert, but I think those plastic gases that come out when the beads melt are probably not very good for your health. So just to be safe, I took our toaster oven outside onto the front porch and melted the beads where I knew we’d be safe from the plastic vapors.
So picture me outside wearing my big, black puffy coat (it was really cold outside yesterday), wearing an oven mitt in one hand and holding my camera in the other hand while squatting on my front lawn taking photos of the mysterious toaster oven sitting on my porch. Yup. I got some bizarre looks from neighbours. lol
But it was worth it! Look how gorgeous they turned out!
I was inspired by the wonderful posts over at The Artful Parent. This is a PERFECT craft to make with the kids! Although, I’ll admit, that for this post, I made these melted bead ornaments while my kids were at school.
Well, mostly… We got a call from the school about an hour before pick up time that my oldest daughter wasn’t feeling well. My husband talked to the school secretary and when I asked him what was wrong with our daughter, his response was something like, “Oh, I don’t know. Some sort of fakery I’m sure!” Ha! And sure enough, by the time she got home she looked perfectly fine. *sigh*
Check out our video for how to make Melted Bead Ornaments:
For even more melted bead craft ideas check out our posts for:
Melted Bead Candy Cane Ornaments
Glow in the Dark Melted Bead Sun Catchers
Melted Bead Ornaments | Pony Bead Christmas Ornaments
The full printable instructions are at the end of this post. I can’t find the exact products I used, but here are some affiliate links to similar materials from Amazon that you could use:
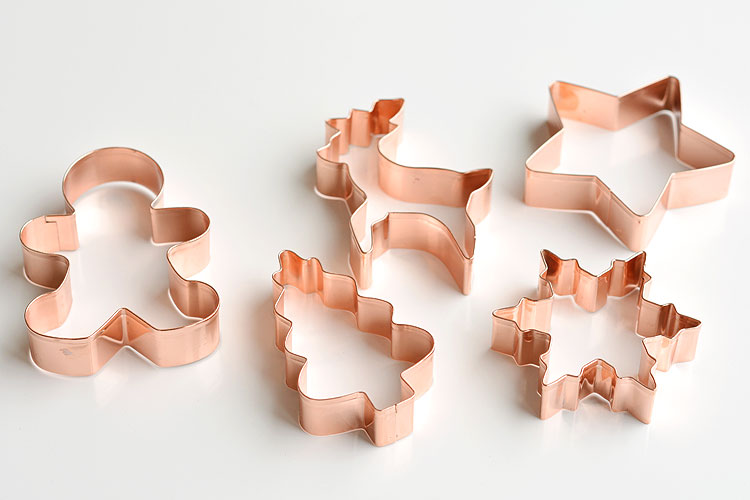
I used the new copper cookie cutters I got for the melted peppermint ornaments I made last week. I’m a sucker for gimmicks apparently, because somehow I find the copper cookie cutters to be so pretty!
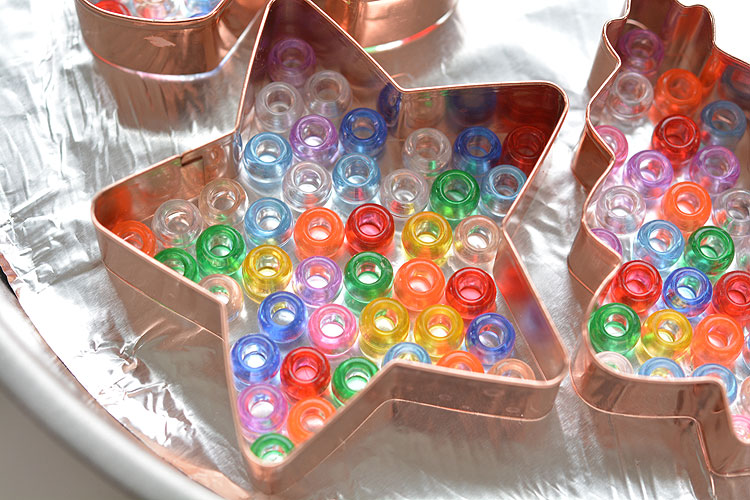
You can use either clear or opaque pony beads (I used clear ones). The opaque beads won’t work as suncatchers, but they will be a bit more visible on the Christmas tree. You can experiment and see what you like the best.

I used a round pie plate lined with aluminum foil because it was the only flat pan I have that would fit in my toaster oven.

Pour the pony beads into each of the cookie cutter shapes. Then use a toothpick to flip them all so they are standing up in the same direction. If some are sideways and some are upright the surface will end up being bumpy. Which isn’t the end of the world, but the perfectionist in me wanted them as smooth as possible.
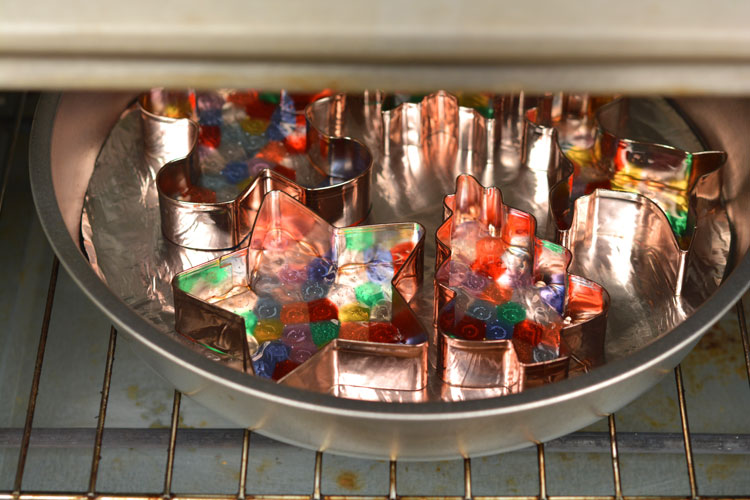
Behold! The toaster oven on the front porch to keep the plastic vapors out of the house!
You could also use your barbecue for this. Unfortunately our barbecue died at the end of the summer and we didn’t see the point in replacing it before winter, so this was my only option.
It was a very cold day yesterday with a temperature of 2ºC (35ºF) outside. I didn’t see the point of preheating the toaster oven because the moment I opened the door all the hot air was going to escape anyway. So I put the pan in a cold toaster oven without preheating, and then turned it on.
So if you preheat your toaster oven or grill, your cooking times will likely be less. Heck, if you do this on a warm day, your cooking time will probably be less as well! You’ll have to keep an eye on them.
Cook the beads until they are completely melted. But don’t cook them so long that they start to bubble, or you’ll wreck the ornaments and your cookie cutters.
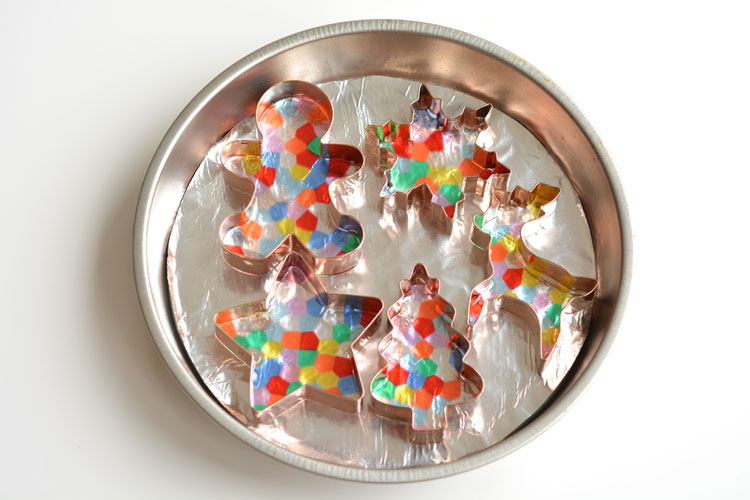
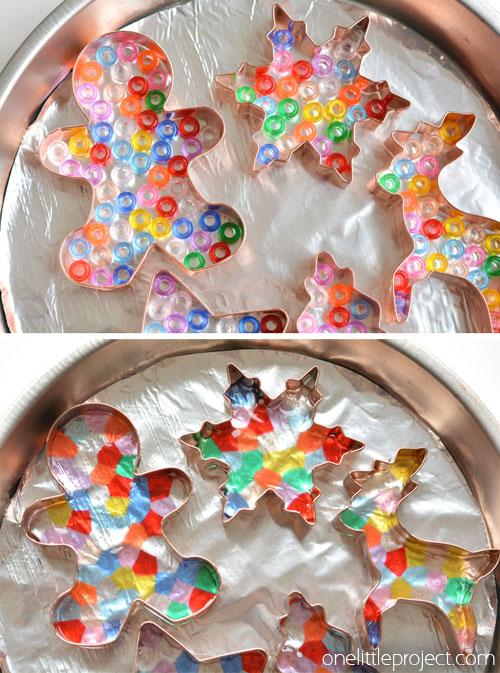
Let’s just admire the beauty of the before and after for a quick moment…
I should mention that I let the pan sit outside on the front porch to cool for 10 minutes. Which would be equivalent to putting the pan in the fridge or freezer for 10 minutes. I’m guessing the cold temperature helped with getting them to release easily.
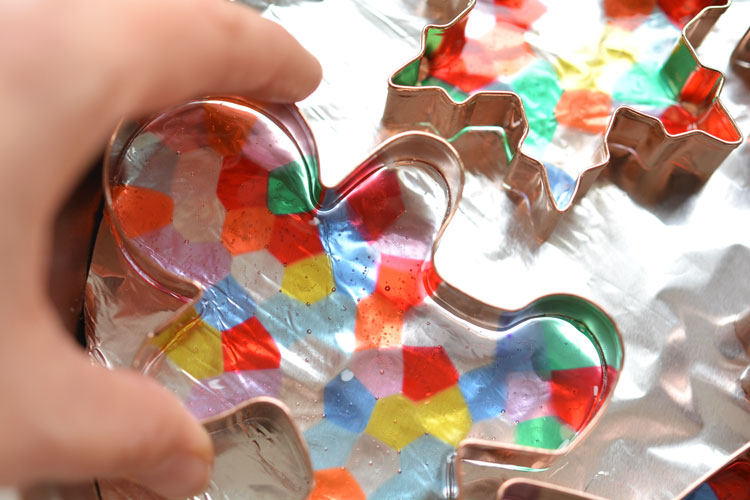
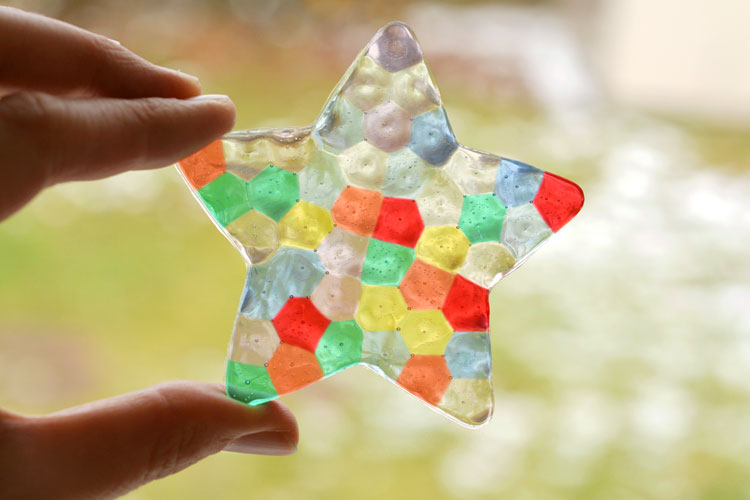
OK, I might have been a little excited at this point. Look how pretty they are with the light shining through them!!!
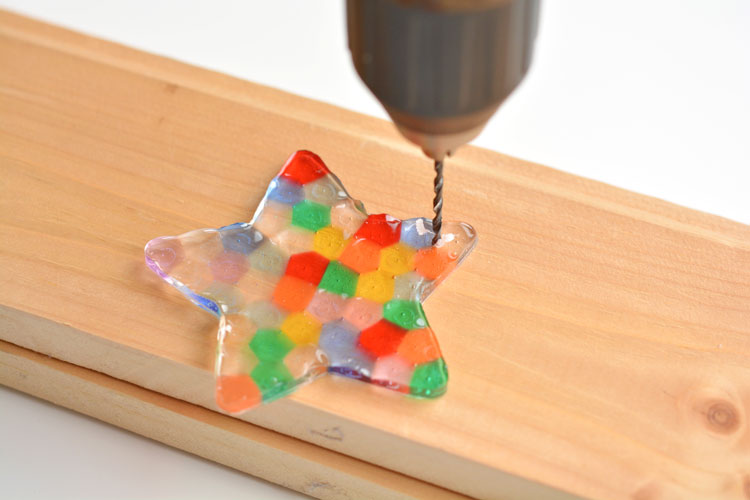
Since I was turning them into ornaments, I had to drill a hole into each of them to hang some fishing line. I used a 1/8 inch drill bit.
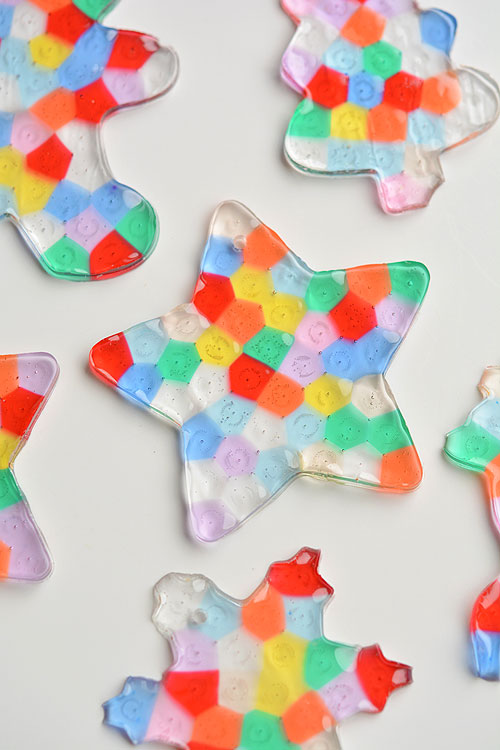
I was a little worried that the plastic would leak out from under the cookie cutters while they cooked or that the plastic would stick to the cookie cutters, but I had no issues. For the more intricate patterns, I had to pull the cookie cutter away from the shape on all sides to get them to separate, but every single one of my shapes came out perfectly.
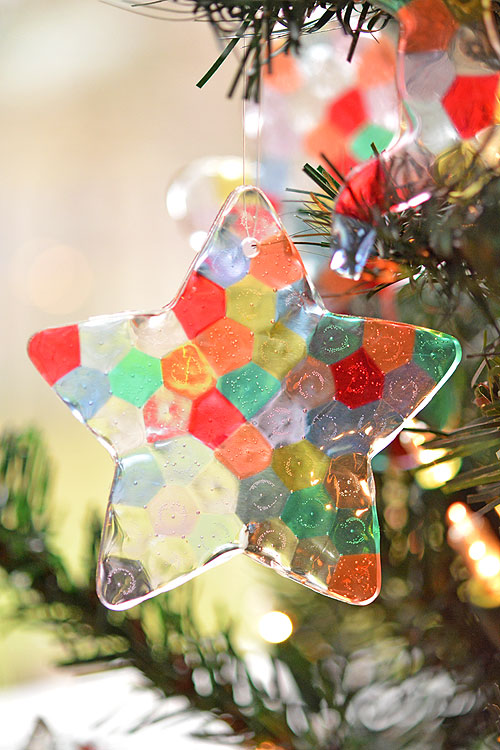
They are so beautiful for the Christmas tree! The Christmas lights shining behind them really makes them sparkle!
They are also beautiful as sun catchers in the window…
Melted Bead Ornaments
Materials:
- Clear Pony Beads
- Cookie Cutters
- Fishing line
Instructions:
- Arrange your cookie cutters on a flat pan lined with aluminum foil.
- Pour some pony beads into each cookie cutter. Use a toothpick to stand all of the beads upright and completely fill the cookie cutter. Remove any extra beads.
- Take your toaster oven outside (or use your barbecue). Place the pan into a cold toaster oven then bake at 450F for 8 to 12 minutes. (Mine took 11 minutes, but it was a cold day)
- Remove the pan from the toaster oven when the beads have completely melted together, but before they start to bubble.
- Place the pan in the freezer for 10 minutes to cool.
- Gently pull the edges of the cookie cutter away from the plastic and push out each shape.
- Using a 1/8 inch drill bit, drill a hole through each of the ornaments.
- Tie a short piece of fishing line onto each of the ornaments and hang on the Christmas tree or on suction cup hooks in the window.

These melted bead ornaments are SO BEAUTIFUL! And they are so easy to make with pony beads! You can hang them on the Christmas tree, or use suction cup hooks on the window to turn them into sun catchers.
Here’s even more fun craft ideas:

Melted Peppermint Candy Ornaments


Our book Low-Mess Crafts for Kids is loaded with 72 fun and simple craft ideas for kids! The projects are fun, easy and most importantly low-mess, so the clean up is simple!

Where to buy:
You can purchase Low-Mess Crafts for Kids from Amazon, or wherever books are sold:
Amazon | Barnes and Noble | Books-A-Million | Indiebound | Amazon Canada


Leave a Reply