Mason jar candles add rustic charm to any room they’re in. But did you know how EASY it is to make your own mason jar candle?! These candles are super fun to make, and they’re the perfect project for a beginner candlemaker.

Mason Jar Candles
Candles are especially nice in winter, but I honestly enjoy them all year round. Lighting a candle instantly makes the room feel cozy and comfortable. Candles can be expensive, though, which is why it’s so nice to make your own for a fraction of the cost!
Making a mason jar candle is such a fun DIY project. They’re so easy to make, using only a few simple supplies. These hand poured candles are scented with essential oil and made with soy wax, which is natural and clean burning.
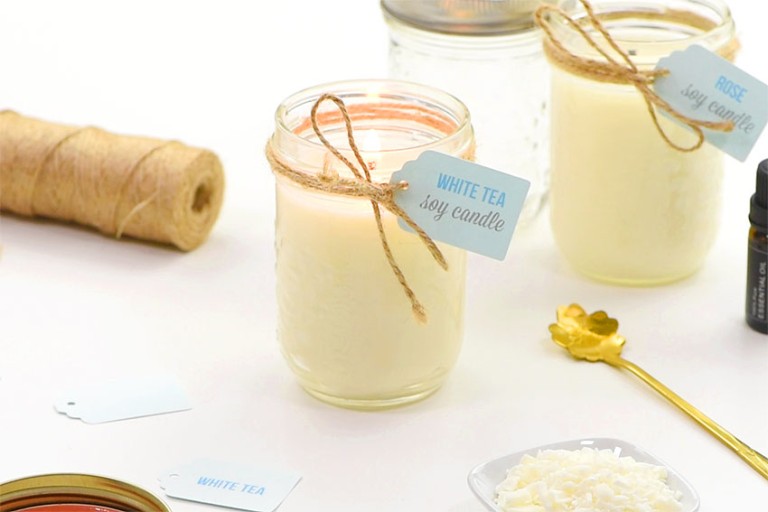
Repurpose old mason jars that you have lying around the house, or check out local thrift stores to find unique or vintage jars. Customize your candle even further by tying a gift tag to the jar with twine or ribbon in your favourite colour.
These homemade mason jar candles make a thoughtful gift for birthdays, Christmas, or any other celebration. If you add a personalized label, they also make great wedding favours!
Check out our Mason Jar Candle video tutorial:
*Note: Scroll down for the step-by-step photo tutorial.
Looking for more candle craft ideas? Here’s some of our favorites:

Here’s what you’ll need:
This post contains affiliate links. If you use these links to buy something we may earn a small commission, which helps us run this website.
The full printable instructions are at the end of this post, but here’s a list of products on Amazon and Target that are similar to the supplies we used:
- Melting pot
- Electronic kitchen scale
- Mason jar
- Candle wick (6 inches)
- Wick stickers
- Wick holder
- Soy wax
- Essential oil

How much wax is needed for my mason jar?
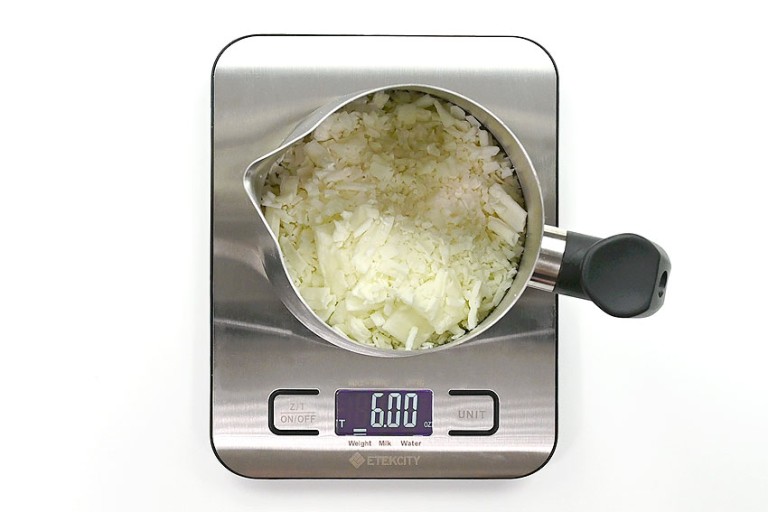
For an 8 ounce sized mason jar you will need approximately 6 ounces (weight) of soy wax. This weight will vary if you’re using paraffin, beeswax, or even a soy blend.
A very simple way to determine how much wax you’ll need is to fill your mason jar with wax chips (up to where you want your candle to be), and then double that amount. To do this you can double the weight you measured out, or simply fill the jar again. I tried this method with a couple different sizes of containers and it worked both times.
What if I don’t have wick stickers?
Wick stickers are the most convenient way to ensure your candle wick is centred, but they’re not absolutely necessary. One way to keep the wick tab in place is to stick it down with hot glue. Another is to dip the tab in the melted wax and then put it in place.

What can I use for a wick holder?
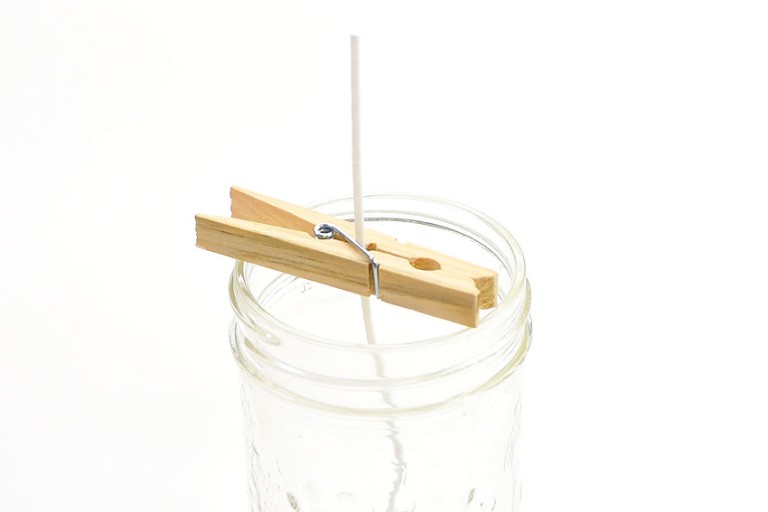
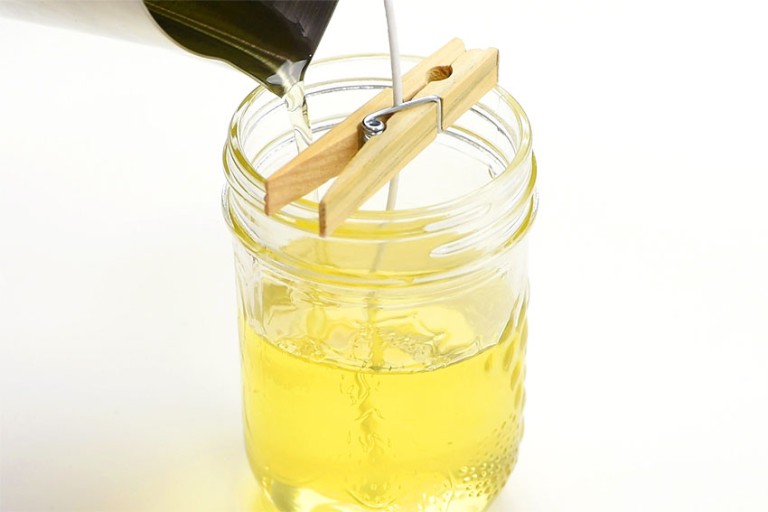
A wick holder is ideal because it has a slot to keep the wick completely secure and centred. But as you can see from our video and photo tutorials, I used a clothespin to hold the wick and it worked great! If you have a wider jar, you can simply clip clothespins together to cover the full opening.
You can also use elastics to hold chopsticks, pencils, or skewers together and place the wick between them. Or you can paperclip the wick to a popsicle stick. There are a lot of options that don’t require a specialized tool.
Can I add colour to my mason jar candles?
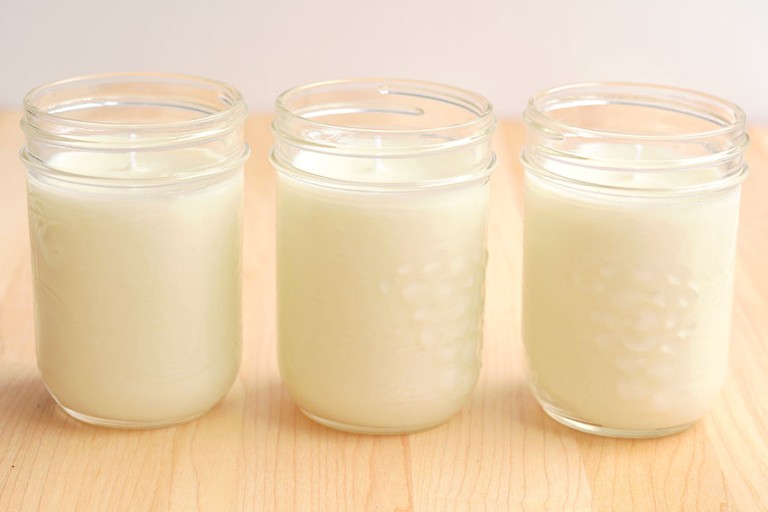
We left our candles the natural white colour, but you can absolutely colour these candles. You want to use a dye that is made specifically for candles. Do not melt crayons or use mica powder, as they will clog your candle wick.
You can add a wax candle dye or a liquid candle dye. Wax blocks or chips need time to melt into the wax, while liquid candle dye can be added at the same time as your fragrance.
Keep in mind that the liquid wax colour will look much darker than what the candle will be after it cools. You can test your candle’s colour by putting a small dab of wax on a piece of paper – it will cool quickly and show the true colour.

DIY Mason Jar Candles
Materials:
- 8 ounce Mason jar(s)
- 6 inch Wick (pre-tabbed)
- Wick sticker
- 6 ounces Soy wax
- 0.3 ounce Essential oils (1 bottle, 10 ml)
Equipment:
- Kitchen scale (with tare option)
- Candy or deep fry thermometer (with a clip)
Instructions:
Step 1: Prepare mason jar
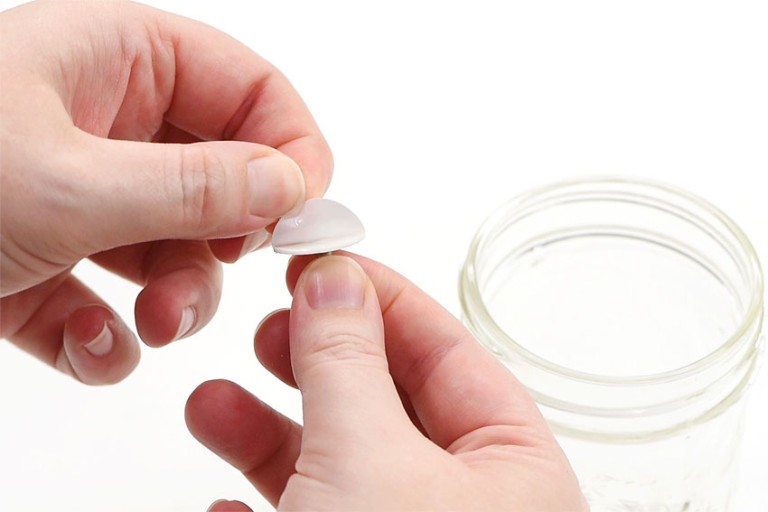
- Remove wick sticker from paper and place the sticky side on the bottom of the wick tab.Now remove the other paper from the wick sticker.

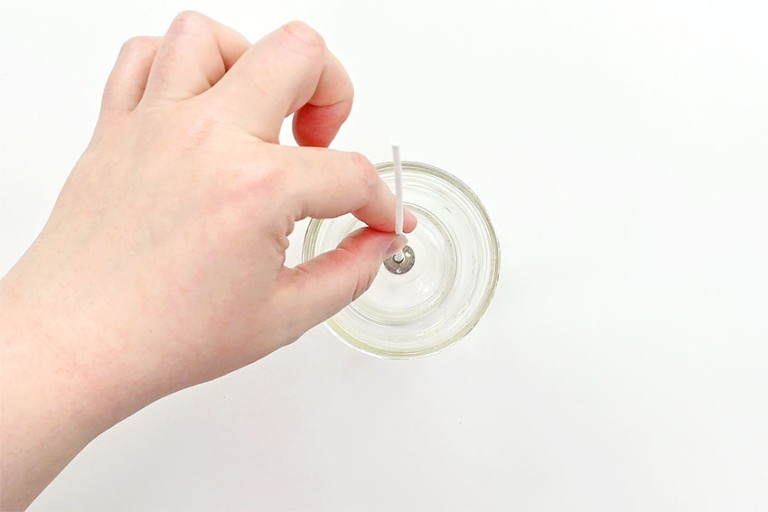
- Place the wick in the centre of the mason jar, pressing down on the wick tab with a spoon or pencil to ensure it’s stuck well.
- Add a wick holder or clip a clothespin on the wick to ensure that it is straight and centred.
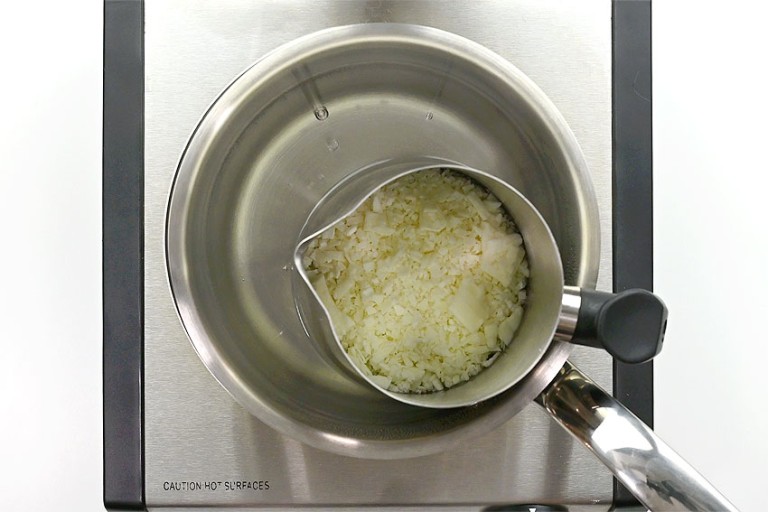
Step 2: Melt wax
- Fill a saucepan with a couple inches of water and bring it to a boil on high.While your water is heating, measure out the amount of wax needed. Add your melting pot to a scale and press the “tare” button. Fill the melting pot with wax until the scale reads 6 ounces.
- Set your melting pot in the saucepan of boiling water. Reduce the temperature to medium or medium-low (whatever is required to maintain a slight simmer).
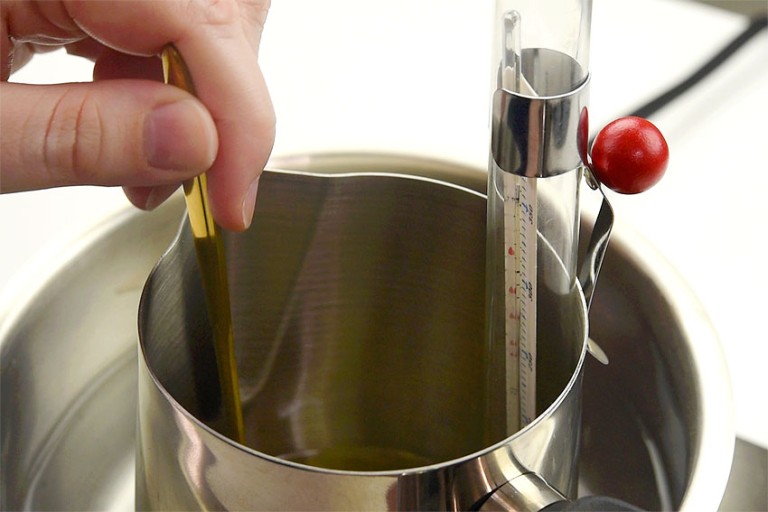
- Allow the wax to melt and insert a thermometer into the wax, clipping it to the side of the melting pot.Heat the wax to 185 degrees Fahrenheit, stirring occasionally. Turn off stove and remove the melting pot from heat.
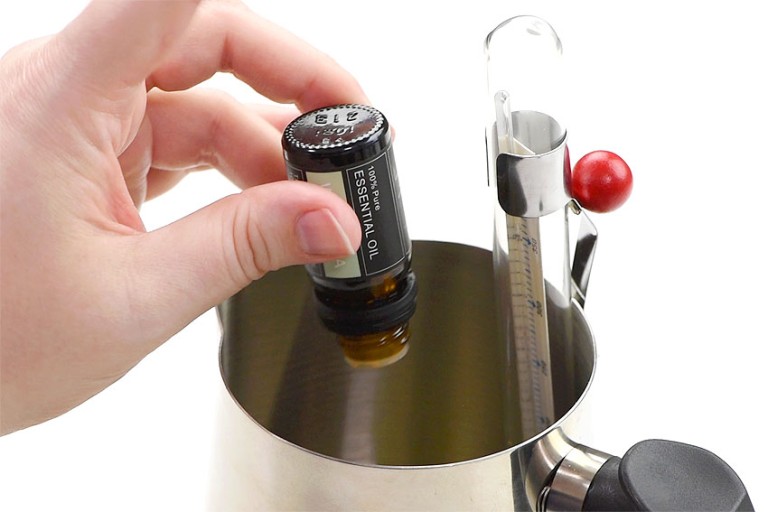
Step 3: Add scent and pour candle
- Once the wax has cooled to 170 degrees Fahrenheit, set the melting pot on the scale, hitting tare again, and start adding essential oil.1 ounce of fragrance should be used per pound of wax, which works out to roughly 0.3 ounce for this candle (a full 10ml bottle).
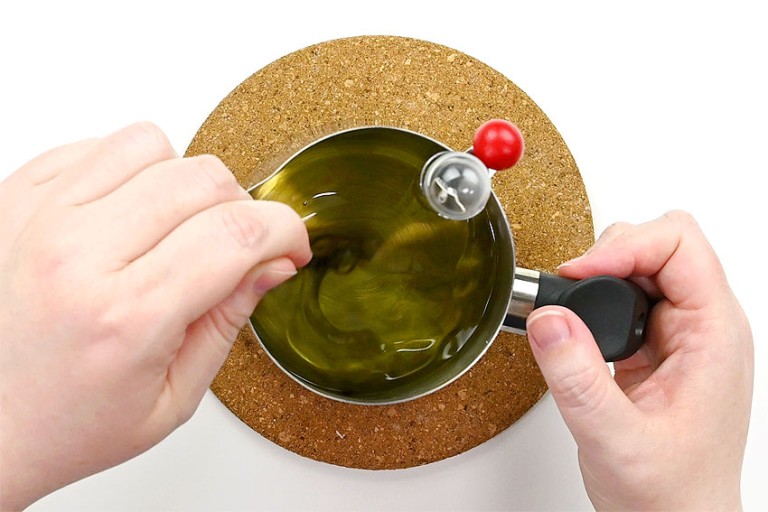
- Stir the essential oil together with the wax. Stir well for at least 2 minutes to ensure the oil and wax mix.
- Allow the wax to cool to 140 degrees Fahrenheit and pour it into the prepared mason jar. Pour the wax slowly, but steadily.Let the candle cool undisturbed in a place with low air flow.
Step 4: Finish off candle
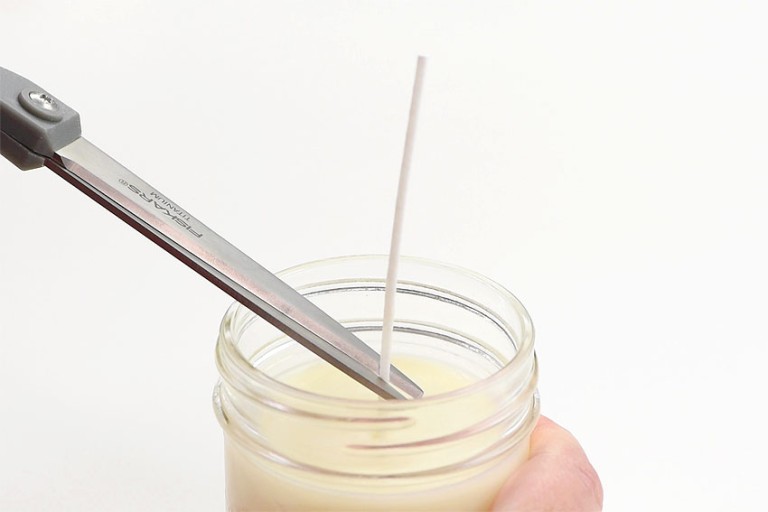
- Wait at least 4 hours for the candle to harden, remove the wick holder, and trim the wick to 1/4 inch.
- These candles can be lit after 24 hours, but ideally you want to allow the candle to “cure” for 1 to 2 weeks before burning.Soy wax will continue to harden over time, and waiting to burn the candle will improve the burn and allow the wax and essential oil to bind to one another.
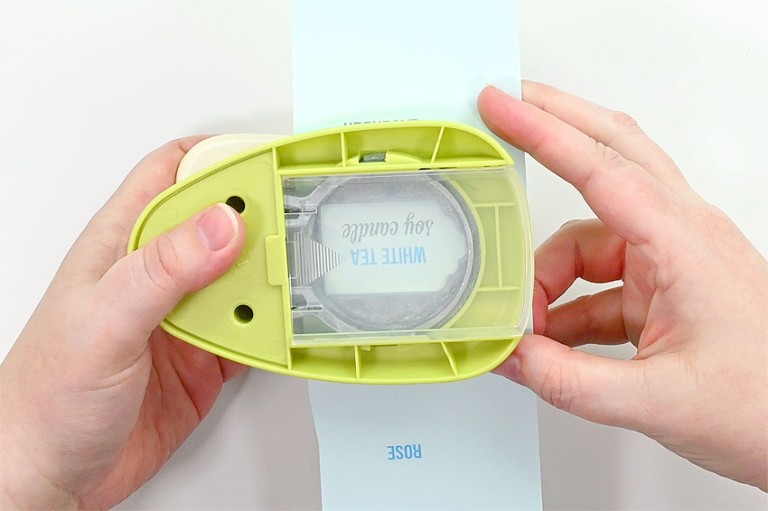
Step 5: Make the labels (optional)
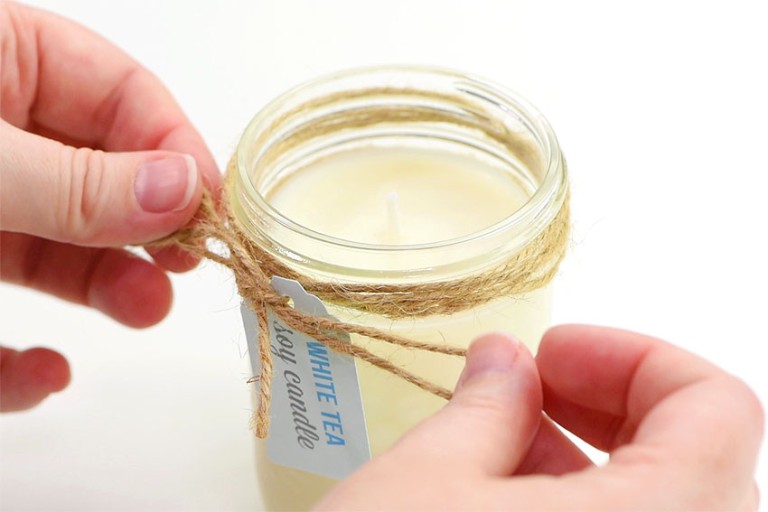
- Use a label shaped lever punch to punch out a label for the candle. We printed our labels on coloured card stock.

- Punch a hole in the label and tie it around the mouth of the mason jar with twine.
- Your mason jar candle is complete!
Helpful Tip:

It’s so easy to create a homey feeling with a mason jar candle you’ve made yourself. Your homemade candles will add a personal touch to any room you place them in. Making mason jar candles is a simple, but creative, process that’s so rewarding!

Here’s even more candle craft ideas:

How to Make Citronella Candles


Our book Low-Mess Crafts for Kids is loaded with 72 fun and simple craft ideas for kids! The projects are fun, easy and most importantly low-mess, so the clean up is simple!

Where to buy:
You can purchase Low-Mess Crafts for Kids from Amazon, or wherever books are sold:
Amazon | Barnes and Noble | Books- A- Million | Indiebound | Indigo | Amazon Canada


Leave a Reply