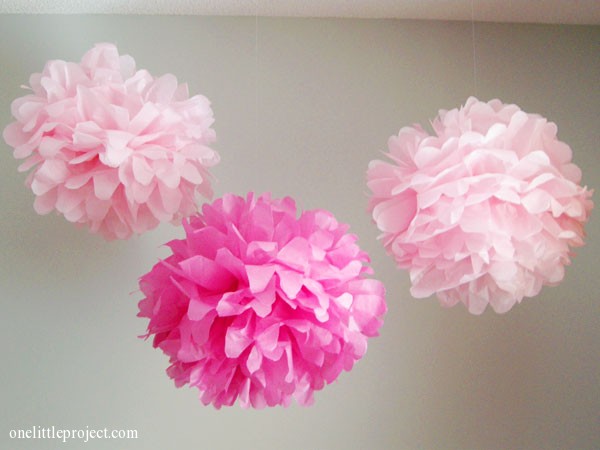
Remember last week when I posted the tutorial for how to make tissue paper pom poms? Did you know that you can do exactly the same thing on a smaller scale and make tissue paper flowers? They are super easy and they turn out surprisingly realistic!

I love the idea of using these brightly coloured tissue paper flowers as napkin rings! They add such a beautiful pop of color on the table and the materials for each napkin ring cost less than a dollar each!

How to make tissue paper flowers
Start out with a single piece of tissue paper and cut it into strips, maybe 2″-3″ wide:

Cut them into a pile of 6 to 8 pieces of tissue paper about 3″ square (rectangular is fine too, they aren’t overly finicky):

We’ll be trimming the ends later, so don’t worry if the edges aren’t perfect:

Fold the pile of tissue paper accordion style:

Until you have folded the whole pile:

Wrap a piece of jewelery wire around the center:

Cut the ends into a point using scissors:

So it will look like this:

Just like with the tissue paper pom poms, pull up the first piece of tissue paper:

Continue pulling up the pieces of tissue paper until you have fluffed up the whole flower:

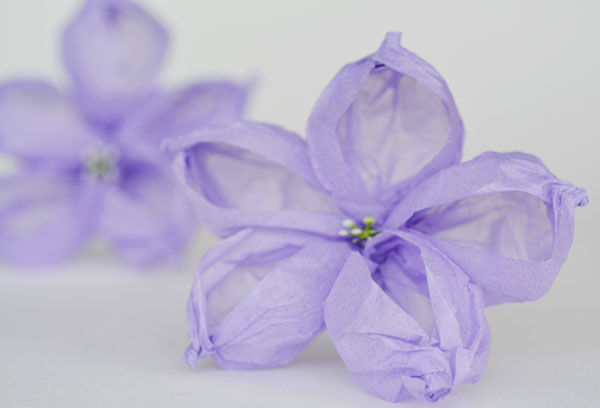
Once you have pulled apart all the layers you will have a tissue paper flower that looks something like this:

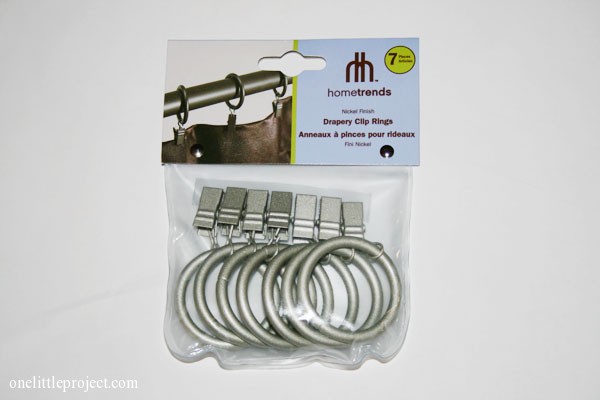
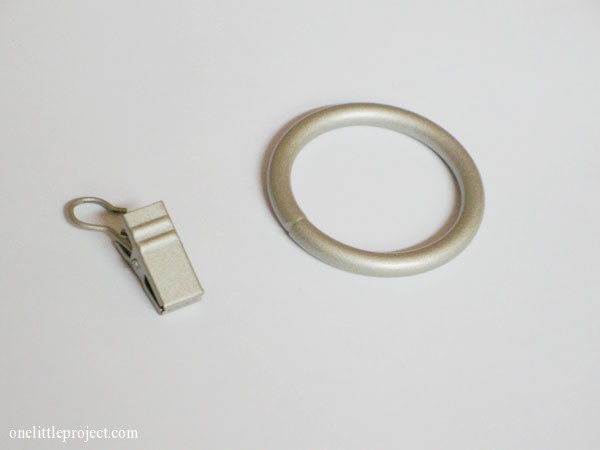
I love using drapery rings for napkin rings! They are the perfect size and give a really clean and polished look! Luckily I had a few leftover from when I made my jingle bell napkin rings before Christmas:
Just use a pair of needle nose pliers to remove the clip part from the ring and you are good to go:
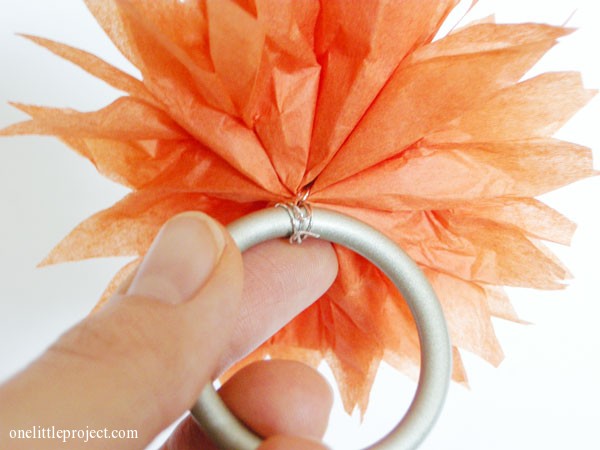
Wrap the jewelery wire around the ring and twist it a few times to keep it in place:
These really make me wish I threw more dinner parties! I really love the way they look on the table!

You could use these tissue paper flowers for all sorts of decorations. Or if you are really patient, I’ve even seen some pretty impressive tissue paper flower arrangements! Check out all of our tissue paper flower tutorials.
For now though, I’m going to stick with using them for napkin rings. : )


Leave a Reply