Do you end up with tons of candy canes during the holiday season? I still have candy canes in my cupboard from last Christmas, in addition to the ones I bought this year. We eat a few, put them in the cupboard and then they seem to get lost and forgotten. That’s why I love the idea of doing creative things with candy canes. These candy cane hearts are super cute, and the best part is that if you don’t get around to making them at Christmas time, they are great for Valentine’s Day too!
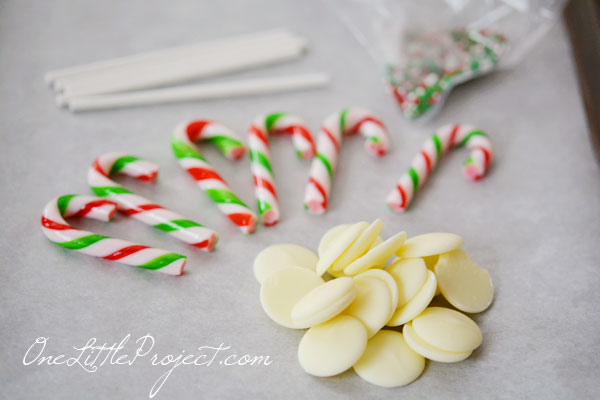
The ingredients for these are pretty simple. If you don’t have them on hand, I recommend buying from the bulk store. Then you don’t need to worry about ending up with huge quantities.
Candy Cane Hearts
Ingredients
- 4 " or 6" lollipop sticks
- mini candy canes
- white chocolate I used white Merckens chocolate
- Christmas sprinkles or if it's Valentine's Day, red and white sprinkles
Instructions
- Set out the lollipop sticks on a waxed or parchement paper lined cookie sheet.
- Arrange the mini candy canes at the top of the sticks in the shape of hearts.
- Preheat the oven to 300F and place the hearts in the oven for 3 minutes.
- Pull them out, press the ends together and pull out the sides to make the heart shape.
- Fill them with a few teaspoons of melted white chocolate.
- Finish with coloured sprinkles.
- Allow to set for at least 10 minutes.
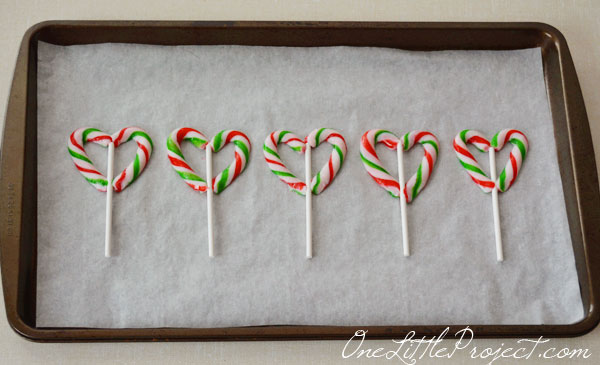
Line a baking sheet with waxed paper or parchment paper. Arrange the lollipop sticks in the pan and set out the candy canes in the shape of a heart:
Heat the oven to 300F and bake the candy canes for 3 minutes. Don’t cook them for too long or they will melt completely. Who knew candy canes actually melt!?
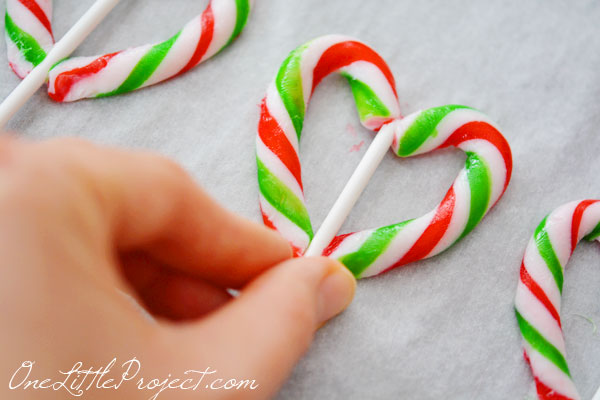
Use your fingers to pinch together the bottoms to close the bottom of the hearts. This was a little hot on the hands, but it wasn’t too bad:
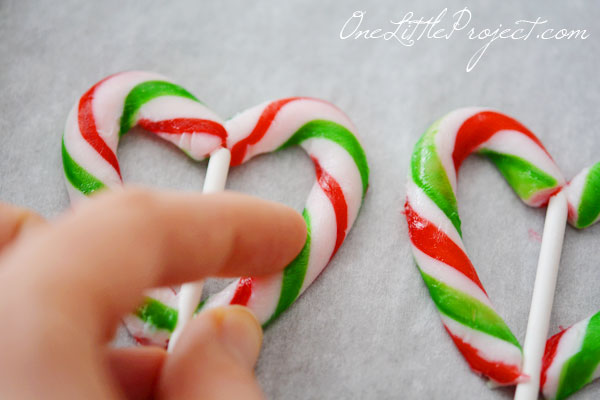
Then pull apart the sides of the candy canes to make the heart more full. If they cool off too fast and harden, you can throw them back in the oven until they soften up again:
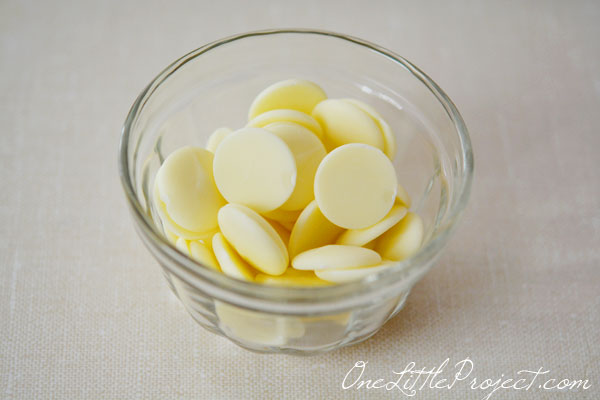
I used about 1/2 cup of white chocolate Merckens:
And melted them in the microwave until they were completely smooth:
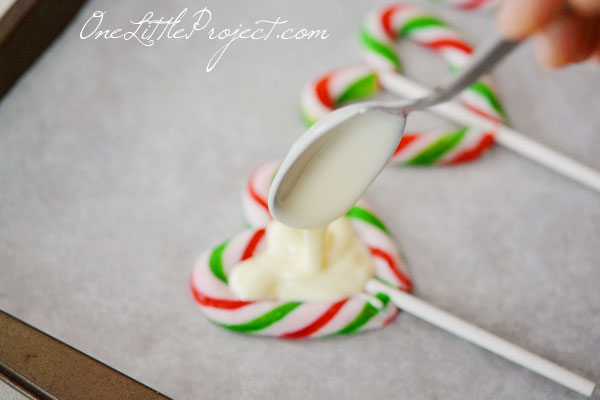
Spoon the chocolate into the hearts until they are full. Use your finger to even out the chocolate if you have to:
Then sprinkle with sprinkles and you are done!
Don’t you love these!? They are so adorable! They would make such a cute treat to take to school, or even to the office.
Or if you wait another month or two, you can tie a little red ribbon around them, and give out heart pop valentines.
My girls are still at the age where they aren’t picky about the form that their sugar comes in. Candy canes? Chocolate? Bring it on they say!
The most surprising part of making these was that when candy canes melt, they get stringy, kind of like cheese. I tried using a fork to press them together when they first came out of the oven, because I was worried about burning my fingers, but the fork just pushed right into the candy cane, and when I pulled it out, it brought tiny melted strings along with it.
You can check out the inspiration for this project at Sprinkle Some Sunshine.
This is another treat that was super fast to make. They took way less than half an hour to put together, and my girls loved them! I’m sure some people would enjoy this flavour combination, but for me, these are more about the “cute” factor than the “delicious” factor. I love the novelty!










We ALWAYS have candy canes left over! Thanks for sharing this! Pinned to make for Valentines!
I am just starting my Christmas food post and I was wondering if I can link your recipe for candy cane hearts on my post?
where did you get the lollipop sticks from
I got mine at the bulk store, but you can get them at any candy making store or even from Michaels. If all else fails, there’s an affiliate link within my post above to buy them from Amazon. Hope that helps!
Try Hobby Lobby for a lot of these items. They seem to have everything. 😉
I can’t find green and red mini striped candy canes! Where did you find these?
I think I got these ones from Walmart.
Great! I’ll look for them there! Thanks a lot for getting back to me!
I got mine at Winco but they are white, red and green
Oh…just googled them and they showed up at the Dollar Tree! Is that where?
I’ve read that sometimes dollar store candy canes don’t melt, but I’ve never actually tested that out. They are cheap, so it doesn’t hurt to try if that’s the only place you can find them.
Oh. Interesting! Well, I called my local one and they don’t carry them. The hunt continues. 🙂
oh my! this is just fabulous, thank you so much for sharing xx
Making these with my daughter today and can’t get them to come up off the wax paper without taking the paper with it! Any suggestions? These are super cute but I’m sure our sweet friends don’t want to eat wax paper. 🙁
Oh no! I used parchment paper when I made ours and I didn’t have a problem with anything sticking. So you could try that? It’s also possible some brands of candy canes are stickier than others, so it might help if you try different candy canes? You could probably try a baking spray like Pam if worse comes to worse. Good luck!
not wax paper the wax will melt…
Try the silicone cookie sheets or silicone sheets
I made these, and they turned out so well! They tasted amazing too!
A little late to the table, but maybe someone will need these tips in the future! A couple of areas I had issues when I made them, and the remedy;
-Candy canes that did not sit flat on surface, prior to placing in the oven. You cannot melt out raise in the candy cane, because by the time you wait for the flaw to melt, the rest of the candy cane is like goo! Check them on a flat surface first.
-Do not skimp on the wafers per lollipop. (No I do not work for Merckens!), I just found that it made the inside of the pop too thin and brittle if you skimp on the wafers, and difficult to handle. You want to ensure the wafers melt to the height of the candy cane. ( I hope that makes sense!)
-I sprayed my parchment paper, not wax paper, with a little cooking spray, and leave them to cool well before removing them from the paper.
These are so cute! I will be putting this link on my Winter Favorites blog post!