
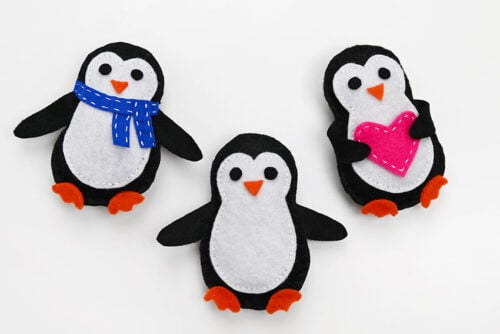
This felt penguin, with its tiny flippers and stitched details, is almost too cute to handle! Made from simple felt pieces and basic hand sewing, it’s a fun project that feels cozy, creative, and completely doable, even if you’re new to sewing with felt.
Whether you add a scarf, tuck a heart into its flippers, or keep it classic, this felt penguin is easy to customize and full of personality. With a printable template and straightforward steps, it’s a lovely choice for winter crafting, handmade gifts, or a cheerful decoration you’ll want to make again and again.

This post contains affiliate links. If you use these links to buy something, we may earn a small commission at no extra cost to you. This helps support our website and allows us to keep creating fun, free content.
How to Make a Felt Penguin
Materials:
- Free Printable Felt Penguin Pattern
- Felt (black, white, orange, scarf colour)
- Embroidery floss (or thread)
- Polyester fiber fill
Equipment:
Instructions:
Step 1: Find what you need
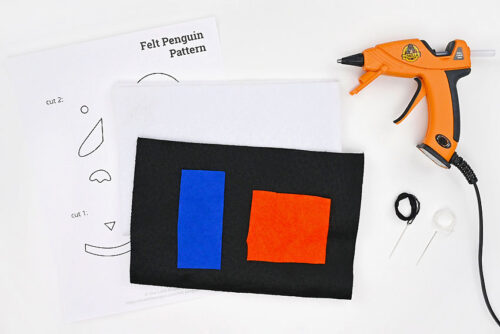
- Gather your supplies and materials.

Step 2: Sew the penguin together
- Print our free felt penguin template and cut out the pieces.

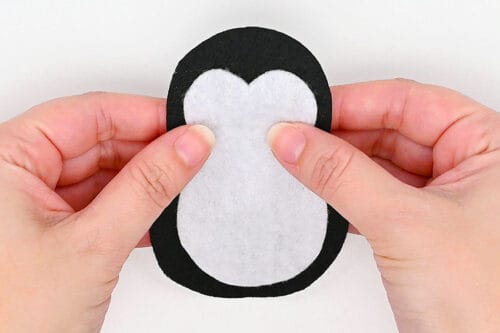
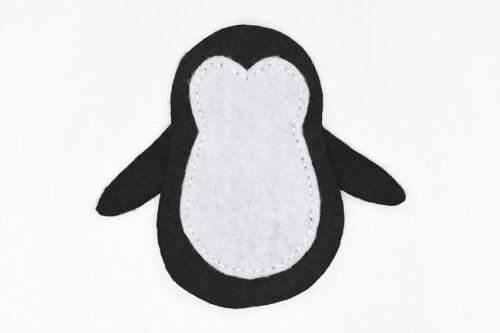
- Cut 2 penguin bodies from black felt and the stomach/face from white. Place the white piece in the center of one black piece. Set the other body to the side for now.
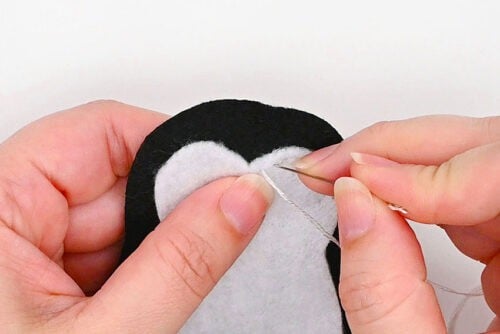
- Use a backstitch and white thread (or embroidery floss) to connect the two pieces.To do this, bring your needle up a little ahead of your last stitch, then go back down where the previous stitch ended. Keep repeating to make a continuous line.
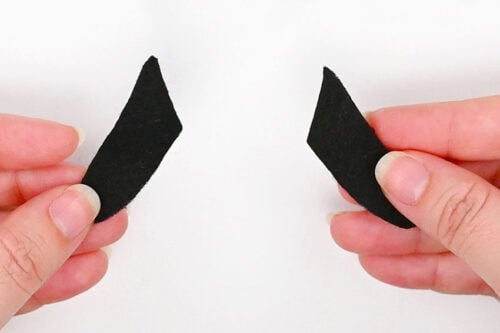
- Now cut 2 wings/flippers from black felt.
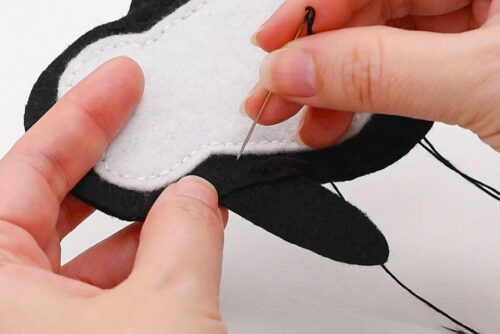
- Sandwich the wings between the body piece you just sewed and the other black body piece. You can use sewing clips to keep them in place, if needed.
- Now sew the penguin together along the edge using black thread and a simple running stitch.To do this, bring your thread up through the felt, then push your needle down a short distance away. Repeat, creating a simple line of evenly spaced stitches, until there are about 2 inches left.
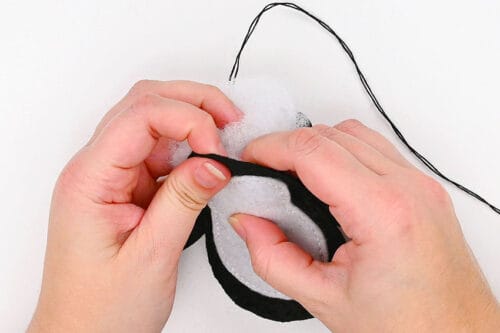
- Add poly-fil stuffing to the penguin until it’s nicely stuffed (you can make it squishier or more firm).
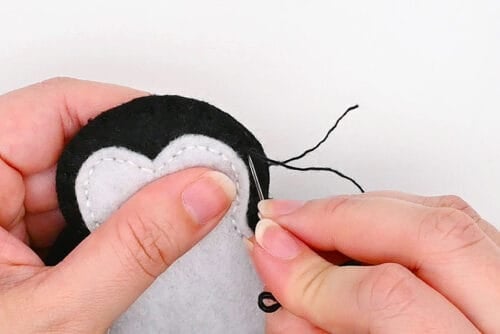
- Then finish sewing around the rest of the penguin, closing it off.

Step 3: Add the details
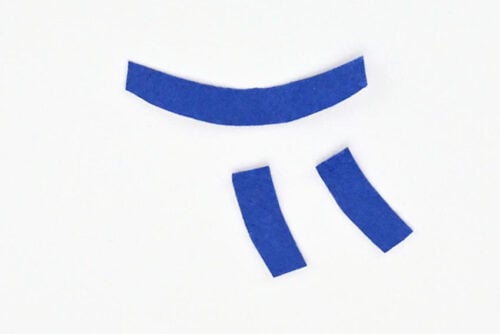
- Cut the scarf pieces from blue felt, or another colour of your choice.
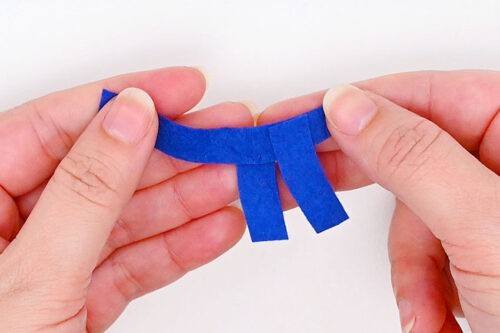
- Use hot glue or tacky glue to assemble the scarf. Glue one vertical fringe piece under the main scarf strip, and glue the other fringe piece on top, next to it.
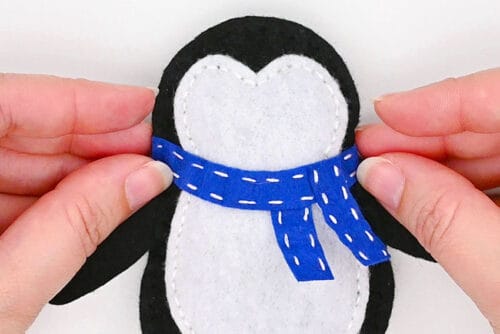
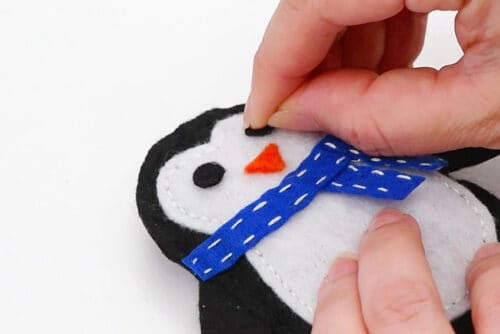
- Use white thread and a running stitch to add stitched details to the scarf and then glue it to the penguin’s neck.
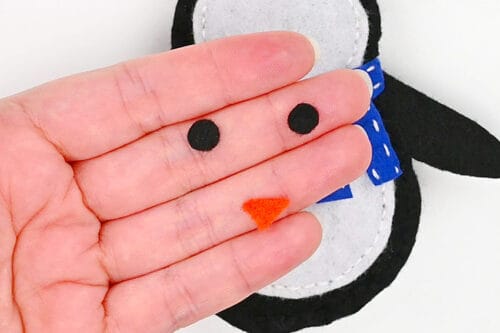
- Use the template pieces to cut 2 eyes from black felt and a tiny beak from orange felt.
- Glue them onto the penguin’s face.
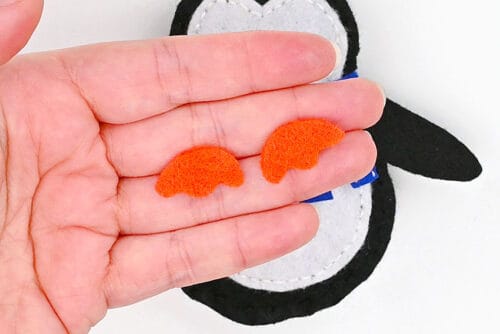
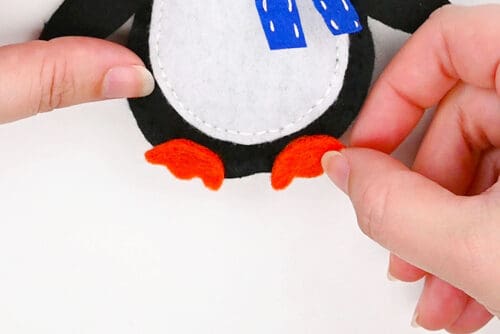
- Cut 2 feet from orange felt.
- Add a bit of glue to one side of the feet, then place them on the bottom of the penguin so they overlap the edge a bit.
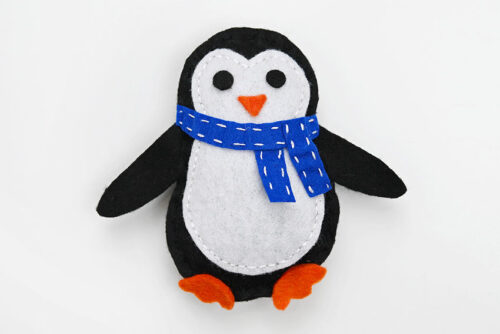
- Your felt penguin is complete!
- Now have fun making it some friends!You can leave the penguin as is (no scarf), or even give it a cute little heart to hold. Keep reading below for more details.
Helpful Tips:
- Use a tool for stuffing: Use a pencil, knitting needle, or chopstick to gently push the stuffing into the smaller areas of the penguin.
- Trace or secure the pattern pieces: Pin the paper pattern to the felt to hold it steady as you cut, or trace it first with a gel pen or chalk.

Download our free felt penguin pattern:
Click on the link below to download our free, printable felt penguin pattern! The PDF file will open in a new window. Then simply print the template on 8.5 x 11 (letter size) printer paper or cardstock.
>> Felt Penguin Pattern <<

What stitches are best for making a felt penguin?
For most felt crafts we love using a blanket stitch around the outside, since it looks cute and gives a nice finished edge. For this felt penguin, though, a running stitch is the easiest choice, especially around the area where the wings/flippers are layered in. You also can’t really see the blanket stitch on the black felt.
To attach the white belly to the black body, we used a backstitch. It’s a strong, secure stitch that holds up well (especially if the penguin will be handled a lot). If you want the whole penguin to be extra sturdy, you can also sew around the outside with a backstitch instead of a running stitch.
Do I have to sew this felt penguin?
Sewing is our favourite option for this craft because it gives classic handmade vibes and it keeps the penguin together really well — especially if it’s going to be used for pretend play.
That said, you can definitely glue it together. Hot glue works quickly, and tacky glue or fabric glue works well too (it just needs drying time). If you’re using tacky/fabric glue, glue one section at a time and use sewing clips or clothespins to hold the felt in place while it dries.

Can I make this felt penguin craft into an ornament?
Yes! To turn it into an ornament, make a small loop of ribbon, twine, or string and sew it into the top of the penguin as you stitch around the outside. (It’s easiest to tuck the loop in when you’re about halfway around the edge.)
Do I have to add a scarf to my DIY felt penguin?
Not at all. We love the scarf (especially with the stitched details), but the penguin is still adorable without it. You can also switch it up with another little accessory — like a felt heart, star, or a tiny Christmas ornament shape.
If you’d like your penguin to hold something, cut the shape from felt and stitch or glue it to the front of the penguin. Then glue the flippers inward near each edge of the shape.

This felt penguin is a fun little project that’s full of personality and charm. With simple felt pieces, basic stitches, and an easy printable template, it’s a craft that’s enjoyable to make and easy to customize with small details.
Use the penguin for a winter decoration, pretend play, storytime, or even hang it on the Christmas tree as an ornament. Whether you keep it simple or add your own creative touches, this DIY felt penguin is a sweet handmade project that’s sure to bring a smile once it’s finished.
Here’s even more penguin craft ideas:


Now available
Low-Mess Crafts for Kids Book
72 cute and fun crafts that kids and parents alike can enjoy. All with as little mess as possible!
Where to buy:
You can purchase Low-Mess Crafts for Kids from Amazon, or wherever books are sold:
Amazon | Barnes and Noble | Books-A-Million | Indiebound | Amazon Canada


Leave a Reply