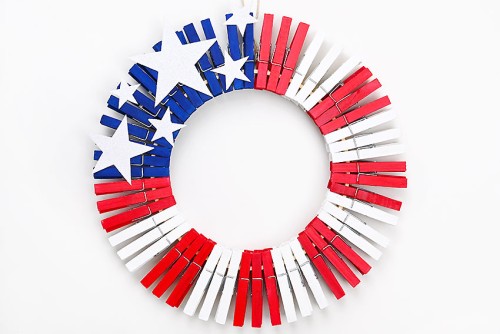
Have fun making this 4th of July clothespin wreath! This patriotic kids craft is SO PRETTY, and it’s incredibly easy to make. Make your own DIY wreath for Memorial Day and Independence Day, and then enjoy displaying it year-round.
Did you know that you can make an adorable wreath using an embroidery hoop and clothespins?! This red, white, and blue American flag wreath is so simple to make, and you only need a few inexpensive craft supplies from the dollar store!

This post contains affiliate links. If you use these links to buy something we may earn a small commission which helps us run this website.
How to Make a 4th of July Clothespin Wreath
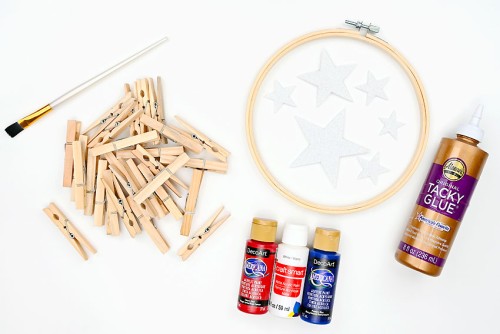
Materials:
- 53 Clothespin(s)
- Acrylic paint (red, white, and blue)
- Embroidery hoop (8 inches or size of choice)
- Foam stars (or silver glitter craft foam)
- Tacky glue
Equipment:
Watch the step-by-step video tutorial:
Instructions:
Step 1: Find what you need
- Gather your supplies and materials.

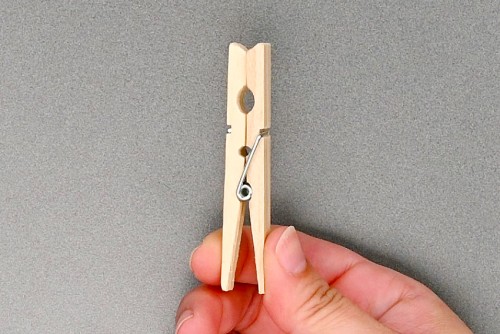
Step 2: Pull apart and paint the clothespins
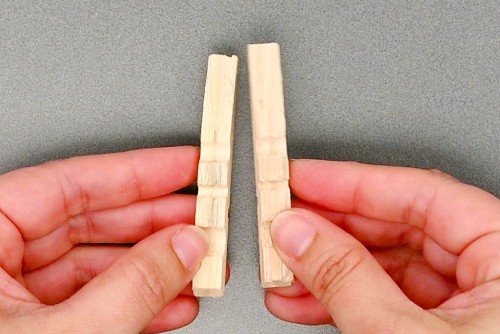
- Pull apart your clothespins before painting them.This is technically optional, but it’s a lot easier to cover the whole clothespin with paint when it’s taken apart and we prefer the look of the metal springs being unpainted.
- To pull the clothespin apart, twist one part off to the side.

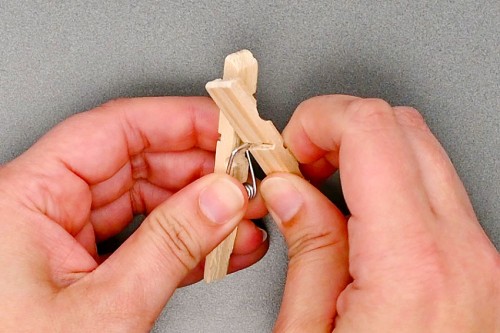
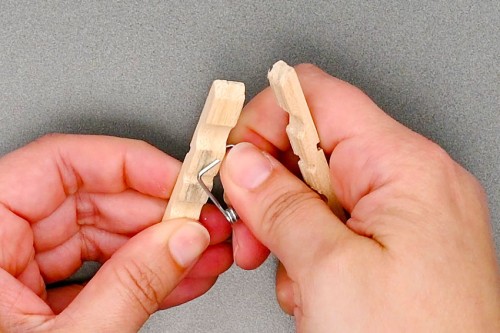
- Pull the spring off of the remaining side.
- You should now have 2 separate pieces.
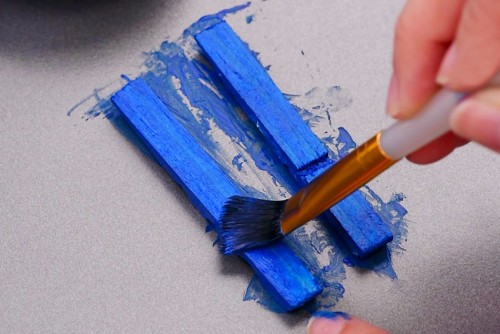
- Use a paintbrush to paint the clothespin pieces, covering all areas.Allow to dry about 30 minutes. Add a second coat of paint if needed.
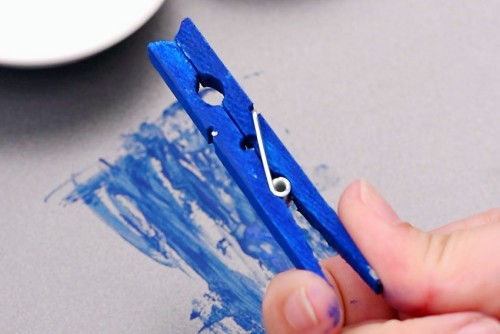
- Once the paint is dry, put the clothespin back together.
- Repeat this process until you have 14 blue, 18 white, and 21 red clothespins (53 total). The exact number of clothespins needed will depend on the size of your embroidery hoop. Our hoop is 8 inches in diameter.

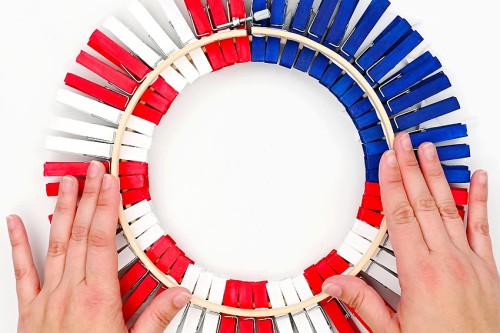
Step 3: Add clothespins to the embroidery hoop
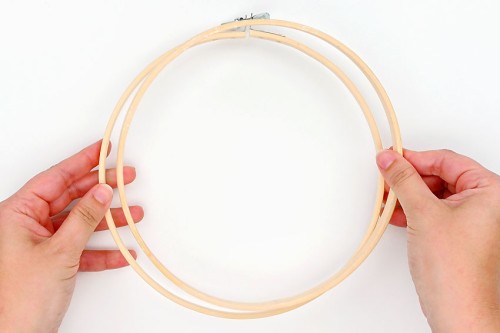
- Unscrew the two pieces of the embroidery hoop and pull out the inner circle.The clothespins will be attached to this center part. Set the outer part aside for now.
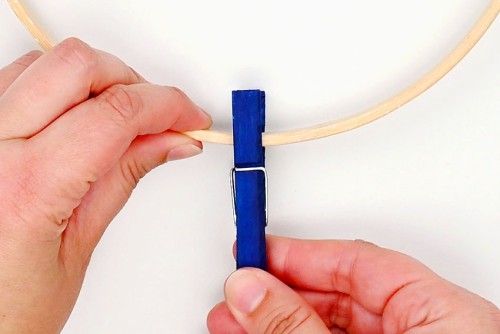
- Open a blue clothespin and clip it onto the hoop. You can start at any part of the hoop.
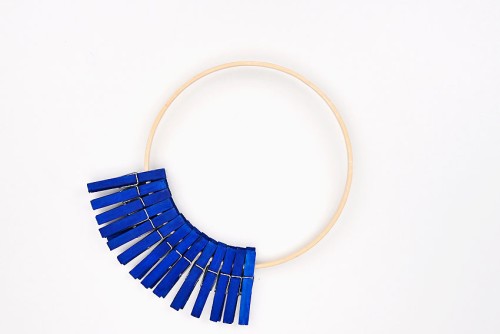
- Repeat, adding the rest of the blue clothespins in a row.Be sure to place them close together.
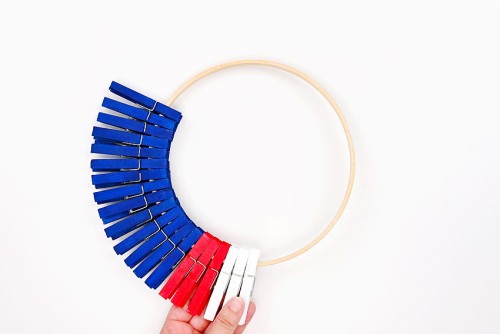
- Add 3 red clothespins beside the blue (you can add them on either side of the blue).Then add 3 white beside the red.
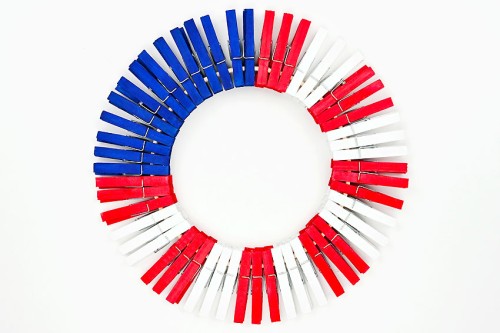
- Repeat the pattern (3 red, 3 white, etc) until the hoop is full.With this pattern both sides of the blue touch red clothespins. If you’re using a different number of clothespins you may need to adjust your pattern.
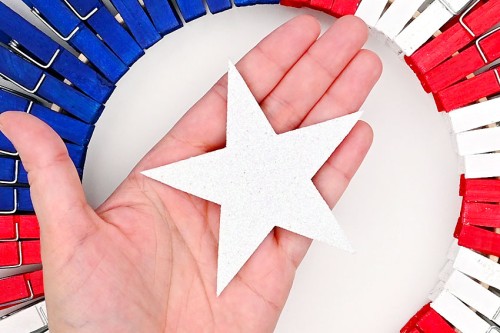
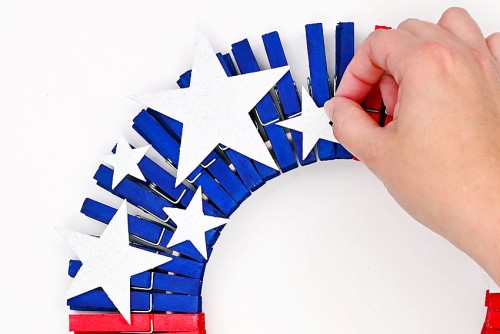
Step 4: Attach stars to the wreath
- Gather a selection of glittery foam stars (6 – 8 of them) in various sizes.
- Stick the foam stars randomly onto the blue portion of the wreath.Use the self-adhesive backing to attach them or, attach them with tacky glue for even more strength.
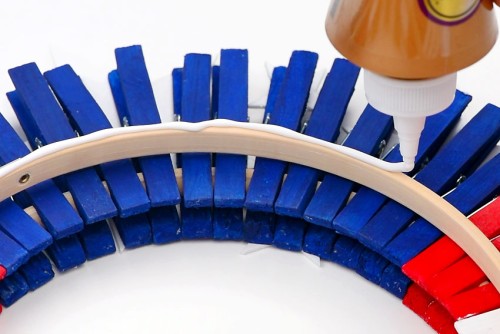
Step 5: Glue on the hoop backing
- Grab the outer portion of the embroidery hoop and add a line of tacky glue along one side.
- Attach the glued hoop to the back of the wreath.Make sure you place the hoop so that the silver hardware is between the red and the blue (so that the blue section will be to the left of the hanger when viewed from the front).Allow the glue to dry.
- Your 4th of July clothespin wreath is complete!
Helpful Tips:
- Place the clothespins tightly together and then re-arrange at the end if there are any gaps in your wreath.
- The clothespins stay nicely on the hoop as is, but if you want to make the connection permanent you can add a dot of tacky glue between the clothespin as you attach them.

What size 4th of July clothespin wreath does this make?
Made on an 8 inch embroidery hoop, this wreath has about a 12 inch diameter once the clothespins are attached.
How many clothespins are needed to make this 4th of July clothespin wreath?
To make a clothespin wreath the same size as ours you’ll need 53 clothespins. Make sure you have a few extra on hand in case some of them are damaged.

Do you have to take the clothespins apart to paint them?
We love the clean look of painting the clothespin pieces while they’re apart. It allows you to cover all sides, so that the wreath looks good from all angles. Also, the metal springs can look a bit messy when they’re painted.
But if that doesn’t bother you, you can definitely paint the clothespins while they’re together. It makes it easier, and will also reduce the amount of time needed to make the wreath.
How can I hang my 4th of July clothespin wreath?
We attached a piece of twine to the metal part of the hoop on the back. You could also attach fishing line or a matching piece of ribbon. Then hang your wreath on a wreath hanger or a command hook.
If you want to hang your wreath on a wall (somewhere it won’t be moving) you can also directly hang the wreath onto a nail, no hanger required.

What if I don’t have foam stars? How else can I decorate my clothespin wreath?
If you don’t have foam stars you can cut them out yourself, from a sheet of glitter craft foam. Use our star templates to make foam stars in various sizes.
If you don’t have craft foam you can also attach wooden stars or star shaped buttons. Or even paint stars directly onto the blue clothespins!

This 4th of July clothespin wreath is such a fun summer decoration! Painting the clothespins can be a bit time consuming, but we think it’s worth the effort. The final wreath is just SO CUTE!
Plus you can easily use the same concept with different colours and decorations for other holidays and occasions!

Here’s even more 4th of July craft ideas:
4th of July Mason Jar Lanterns


Our book Low-Mess Crafts for Kids is loaded with 72 fun and simple craft ideas for kids! The projects are fun, easy and most importantly low-mess, so the clean up is simple!

Where to buy:
You can purchase Low-Mess Crafts for Kids from Amazon, or wherever books are sold:
Amazon | Barnes and Noble | Books-A-Million | Indiebound | Amazon Canada


Leave a Reply