
How to Make a 4th of July Clothespin Wreath
Upcycle dollar store clothespins to make this patriotic clothespin wreath! It's such a fun summer craft for both kids and adults.
Yield: 1 clothespin wreath
Cost: $5
Equipment
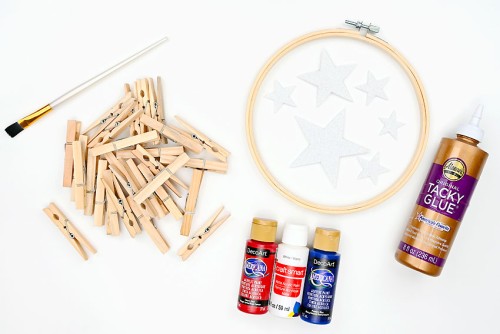
Materials
- 53 Clothespin(s)
- Acrylic paint (red, white, and blue)
- Embroidery hoop (8 inches or size of choice)
- Foam stars (or silver glitter craft foam)
- Tacky glue
Instructions
Step 1: Find what you need
- Gather your supplies and materials.
Step 2: Pull apart and paint the clothespins
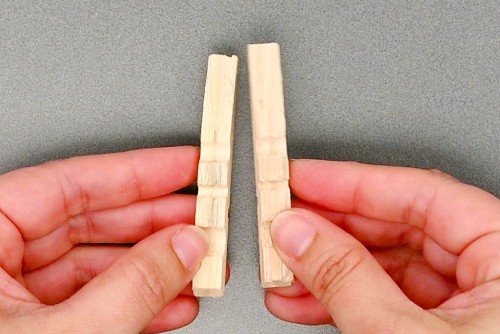
- Pull apart your clothespins before painting them.This is technically optional, but it's a lot easier to cover the whole clothespin with paint when it's taken apart and we prefer the look of the metal springs being unpainted.
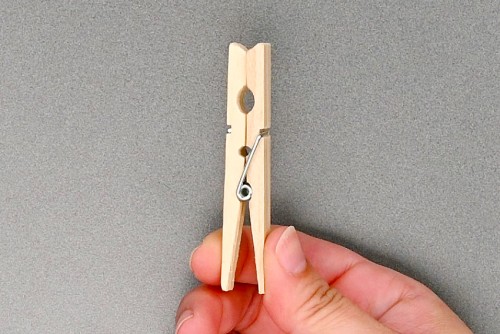
- To pull the clothespin apart, twist one part off to the side.
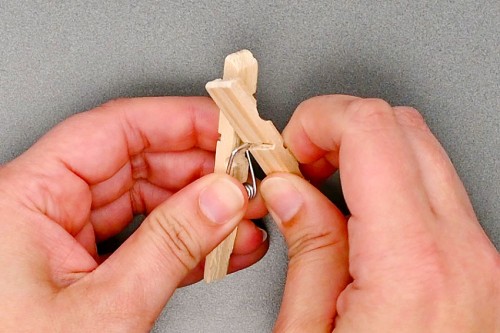
- Pull the spring off of the remaining side.
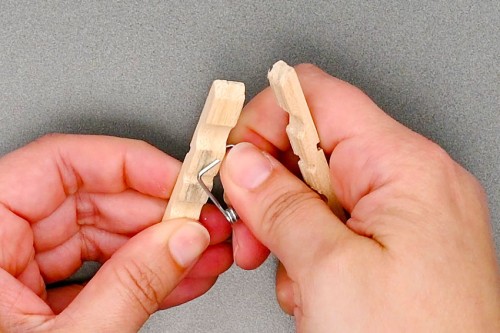
- You should now have 2 separate pieces.
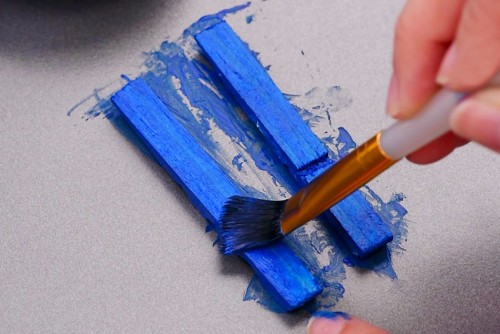
- Use a paintbrush to paint the clothespin pieces, covering all areas.Allow to dry about 30 minutes. Add a second coat of paint if needed.
- Once the paint is dry, put the clothespin back together.
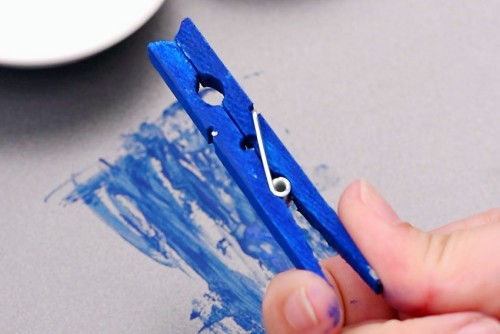
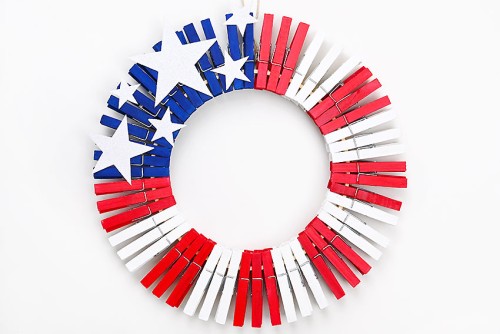
- Repeat this process until you have 14 blue, 18 white, and 21 red clothespins (53 total). The exact number of clothespins needed will depend on the size of your embroidery hoop. Our hoop is 8 inches in diameter.

Step 3: Add clothespins to the embroidery hoop
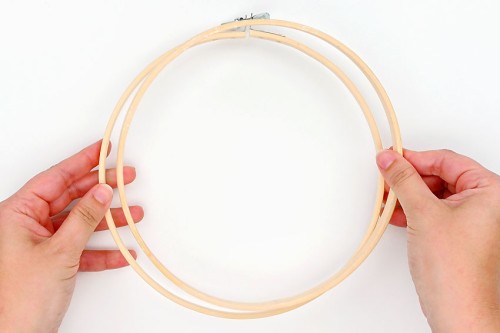
- Unscrew the two pieces of the embroidery hoop and pull out the inner circle.The clothespins will be attached to this center part. Set the outer part aside for now.
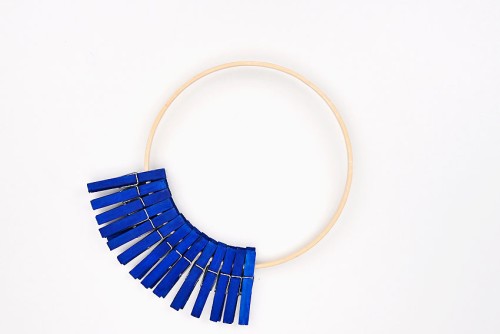
- Open a blue clothespin and clip it onto the hoop. You can start at any part of the hoop.
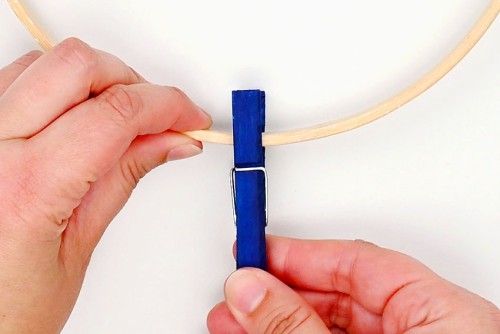
- Repeat, adding the rest of the blue clothespins in a row.Be sure to place them close together.
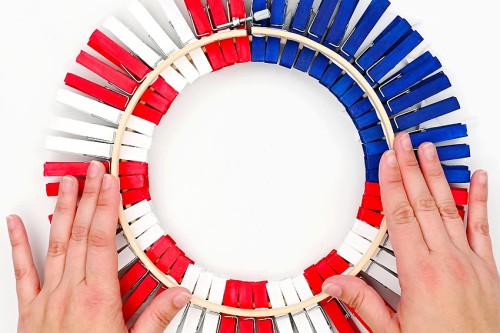
- Add 3 red clothespins beside the blue (you can add them on either side of the blue).Then add 3 white beside the red.
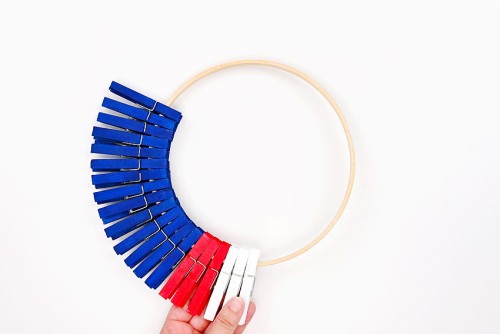
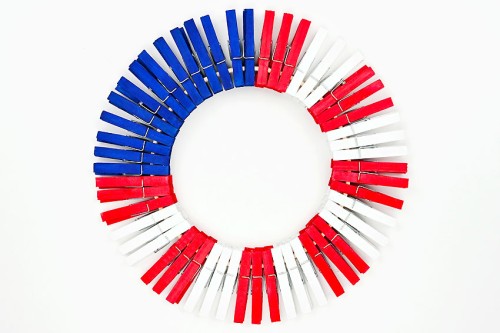
- Repeat the pattern (3 red, 3 white, etc) until the hoop is full.With this pattern both sides of the blue touch red clothespins. If you're using a different number of clothespins you may need to adjust your pattern.
Step 4: Attach stars to the wreath
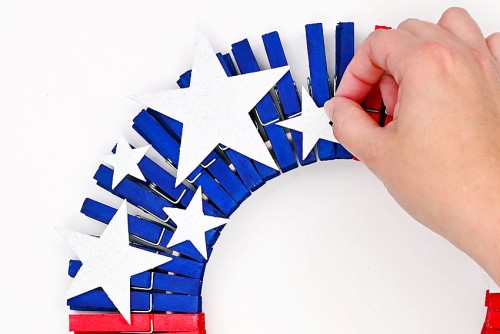
- Gather a selection of glittery foam stars (6 - 8 of them) in various sizes.
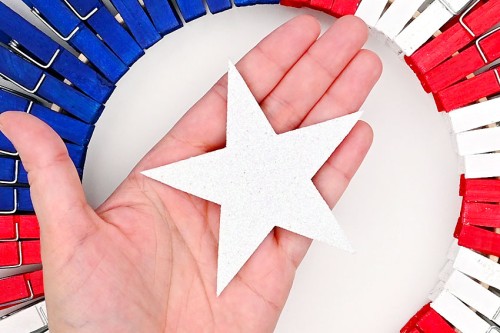
- Stick the foam stars randomly onto the blue portion of the wreath.Use the self-adhesive backing to attach them or, attach them with tacky glue for even more strength.
Step 5: Glue on the hoop backing
- Grab the outer portion of the embroidery hoop and add a line of tacky glue along one side.
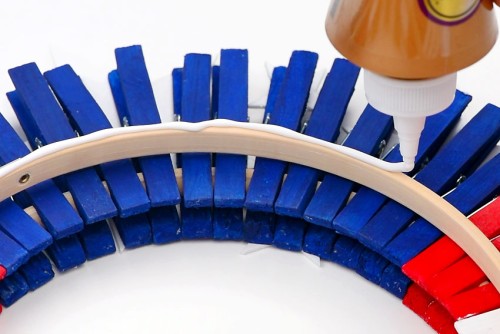
- Attach the glued hoop to the back of the wreath.Make sure you place the hoop so that the silver hardware is between the red and the blue (so that the blue section will be to the left of the hanger when viewed from the front).Allow the glue to dry.
- Your 4th of July clothespin wreath is complete!
Video
Notes
Looking for more 4th of July crafts? Here's a few of our favourites:
4th of July Mason Jar Lanterns
Glitter Fireworks Craft
DIY Confetti Poppers