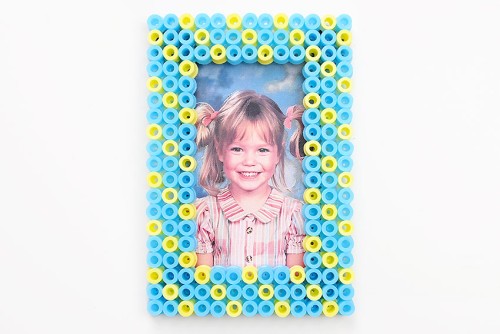
Have fun making a Perler bead picture frame, using our simple step by step instructions and patterns! Have you ever seen a photo frame made out of melty beads? It’s such a cute craft!
Use these fun DIY frames to display a school picture or a favourite photo of your pet. These Perler bead frames make a great homemade gift for Mother’s Day, Father’s Day, Grandparent’s Day, or any other special occasion!

This post contains affiliate links. If you use these links to buy something we may earn a small commission which helps us run this website.
How to Make a Perler Bead Picture Frame
Materials:
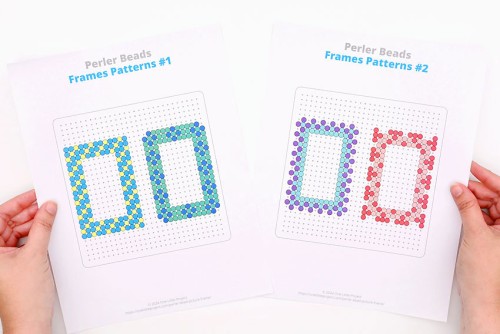
- FREE Printable Perler Bead Picture Frame Pattern (2nd pattern below this tutorial)
- Perler beads
- Large square Perler beads pegboard
- Small round magnets (1/2 inch or smaller)
- Cardboard (small pieces)
- Tacky glue
Equipment:
Watch the step-by-step video tutorial:
Instructions:
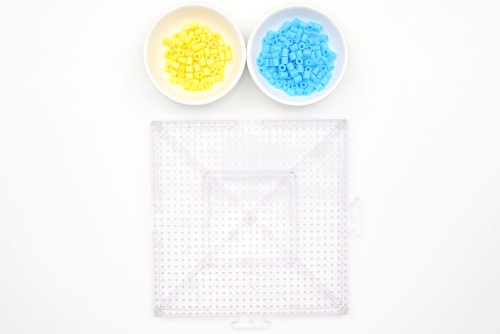
Step 1: Find what you need
- Gather your supplies and materials.


Step 2: Make your Perler bead design on the pegboard
- Print our free Perler bead picture frame template, or follow along with the pattern on your device’s screen.Find the link to one of the patterns in the materials list above. The other can be found below this tutorial.
- To make your Perler bead frame you’ll need to use a large square pegboard.We also find it helpful to sort the Perler beads we want to use by colour and set them in small bowls.
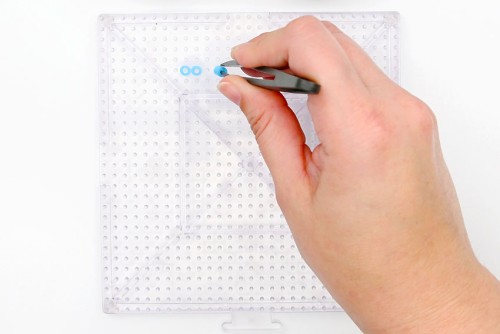
- Optional: Use tweezers to add Perler beads to the pegboard.Kids may be able to place the beads easily with just their hands, but adults will find the tweezers a lot easier to use!
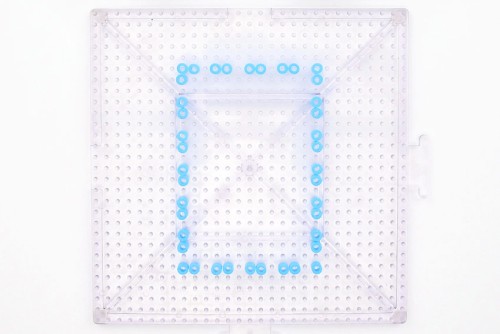
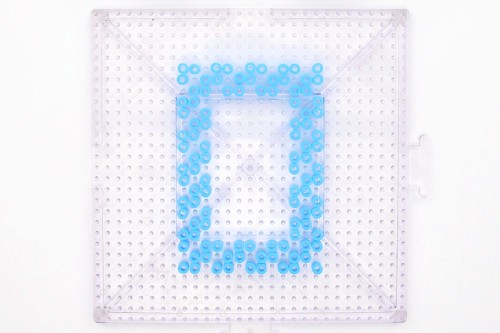
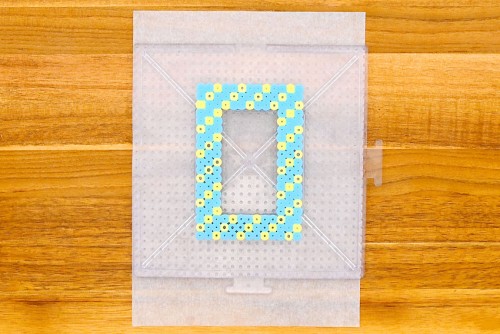
- Begin by making the outline of the frame with one colour of bead.
- Continue following the pattern with the same colour, working your way in.

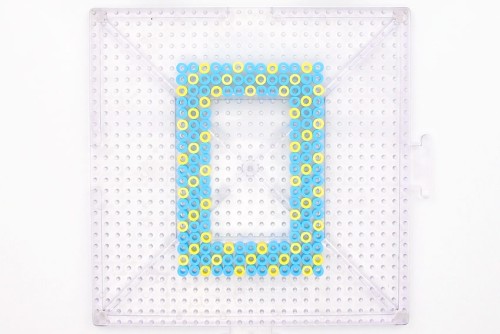
- Add the second colour of beads to the spaces in-between.Double check your design and compare the pattern to the template one last time, making sure it’s exactly how you want it to look.
Step 3: Iron your Perler beads
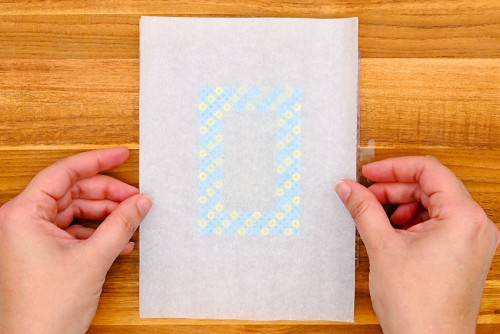
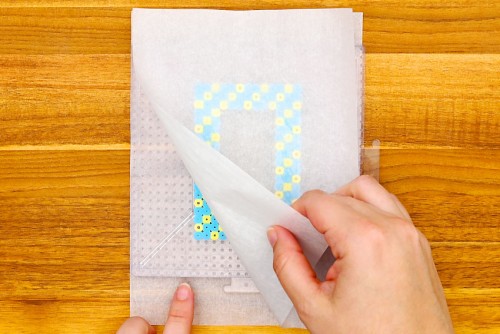
- Carefully place the pegboard on an ironing board or a wooden cutting board.Set a piece of parchment paper on top of the Perler bead design.
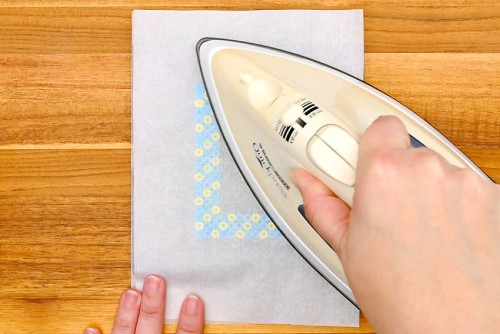
- Heat your iron to medium temperature, no steam. Place the iron on the parchment paper and move it around in circular motions for at least 15 to 20 seconds.
- Check the beads to see if they’re melted together. Continue to iron for another 10 to 20 seconds, if necessary.The beads are melted correctly when the parchment paper sticks to the beads and needs to be peeled away from them.
- Leave the Perler bead picture frame on the pegboard until it’s cool to the touch.
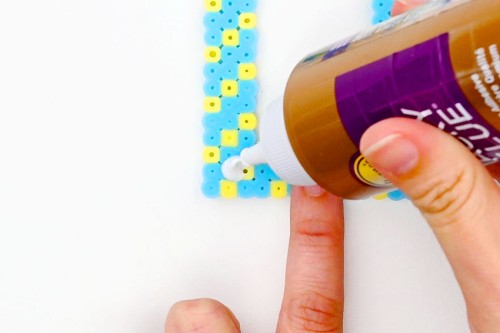
Step 4: Make a magnetic picture frame (Option 1)
- To make a magnetic frame, add a dot of tacky glue to all 4 corners of the frame (on the back).
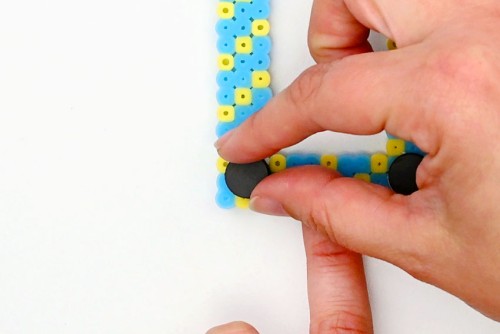
- Set the magnets into the glue and allow to dry.
- Your magnetic Perler bead picture frame is complete!Now place a photo between the frame on the fridge or any other magnetic surface. You can switch this picture out anytime you want.
Step 5: Add a cardboard backing to your frame (Option 2)
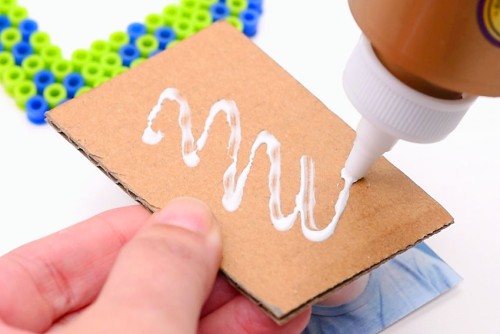
- To make a standing picture frame, start by cutting a piece of cardboard to be 2 x 3 inches.Add a small amount of tacky glue onto the cardboard. (But not too much, or your picture might warp.)
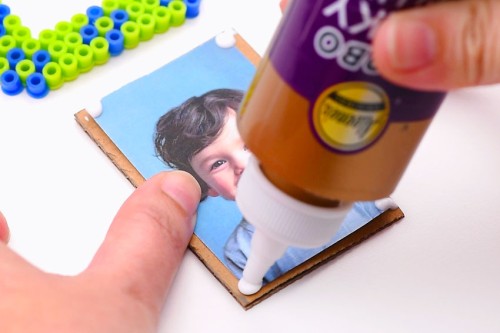
- Set your picture onto the cardboard, and then add small dots of glue to each corner of the photo.
- Place the Perler bead frame on top of the picture, centering it.
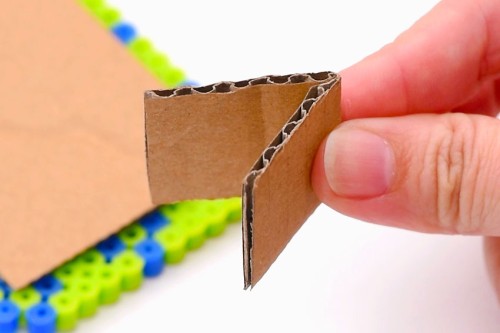
- Cut another small piece of cardboard, 1 x 2-1/2 inches. Fold it in half.
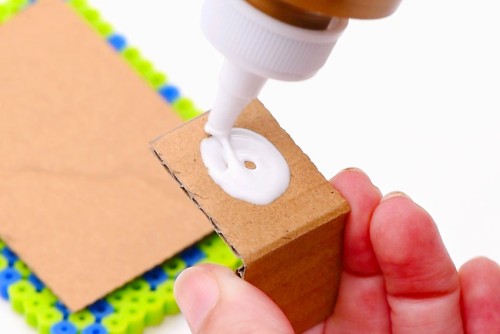
- Add glue to one half of the folded cardboard.
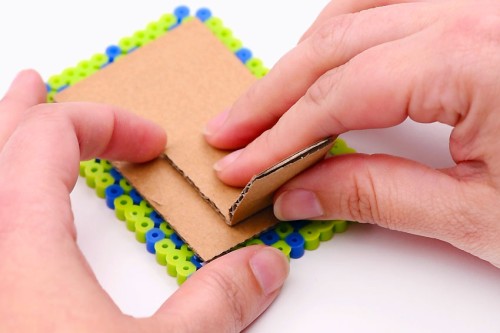
- Attach the glued side of the cardboard to the bottom half of the frame back.The fold in the cardboard should be at the bottom.
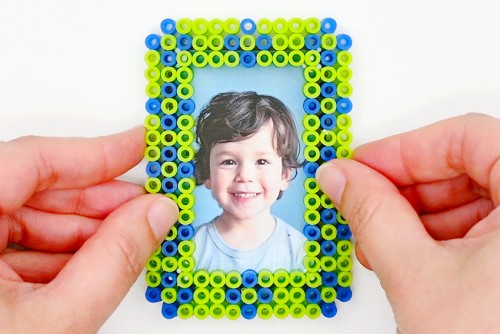
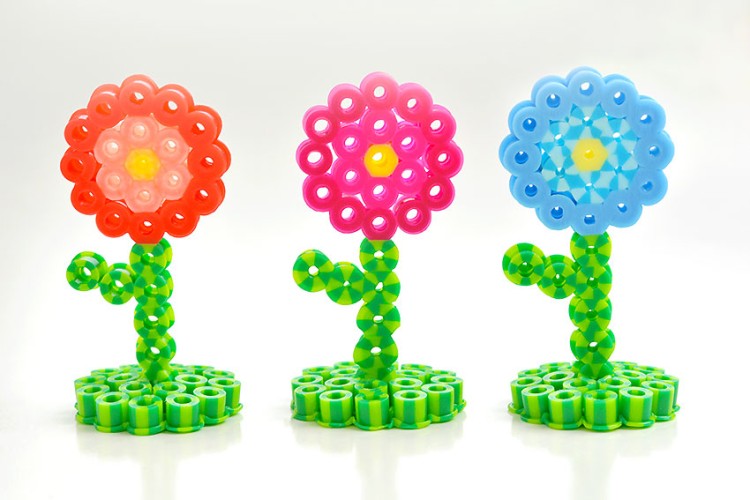
- Your standing Perler bead picture frame is complete!
- Set it on Mom or Dad’s desk, or display it on the mantel.


Helpful Tips:
- If you have a clear pegboard you can set the template underneath it, making it super easy to follow the photo frame pattern!
- Embellish your Perler bead picture frame with sequins or rhinestones for a sparkly touch.

Get our free printable Perler bead picture frame patterns:
The links or pictures below will take you to our free, printable Perler bead picture frame templates! The PDF files will open in a new window.
Then simply follow along with the pattern on your device’s screen, or print the patterns in colour on 8.5 x 11 (letter size) printer paper.
>>> Perler Bead Frame Patterns #1 <<<

>>> Perler Bead Frame Patterns #2 <<<

What size picture does this Perler bead picture frame hold?
These Perler bead frames are made to hold a standard wallet size photo (2 x 3 inches).

Can I iron both sides of this Perler bead picture frame?
We like the look of the open beads on the front, but you can definitely iron both sides of your Perler frame if you’d like. This will change the look of the frame, but will also give it more stability.
Let the picture frame cool once you’ve ironed one side of it and then remove it from the pegboard. Flip it over and set parchment back on top before ironing the second side.

How do you melt Perler beads perfectly?
How long you need to iron your beads will depend on the temperature of your iron. Our Perler beads package suggests ironing for 10 to 20 seconds on medium temperature, but we don’t find that to be enough time. We iron our beads for about 30 to 45 seconds.
Some areas of the iron can be hotter than others, so use gentle, circular motions as you press the iron down. Don’t be afraid to lift the iron off and check under the parchment to see how your beads are progressing.
The Perler beads will be ready when the parchment paper sticks to them, but you can experiment with ironing for longer. We like to iron our beads until they’re just fused together, but you can create a completely different look by continuing to iron until the beads are closed.

Choose your favourite colours of melty beads and make a Perler bead picture frame! It’s an awesome low cost, low mess craft.
You can place the magnet frames on the fridge, a filing cabinet, or in your locker at school. And the cardboard stands make adorable photo frames for Mom or Dad’s desk!

Here’s even more Perler bead craft ideas:


Our book Low-Mess Crafts for Kids is loaded with 72 fun and simple craft ideas for kids! The projects are fun, easy and most importantly low-mess, so the clean up is simple!

Where to buy:
You can purchase Low-Mess Crafts for Kids from Amazon, or wherever books are sold:
Amazon | Barnes and Noble | Books-A-Million | Indiebound | Amazon Canada


Leave a Reply