
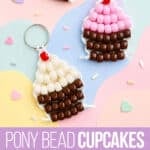
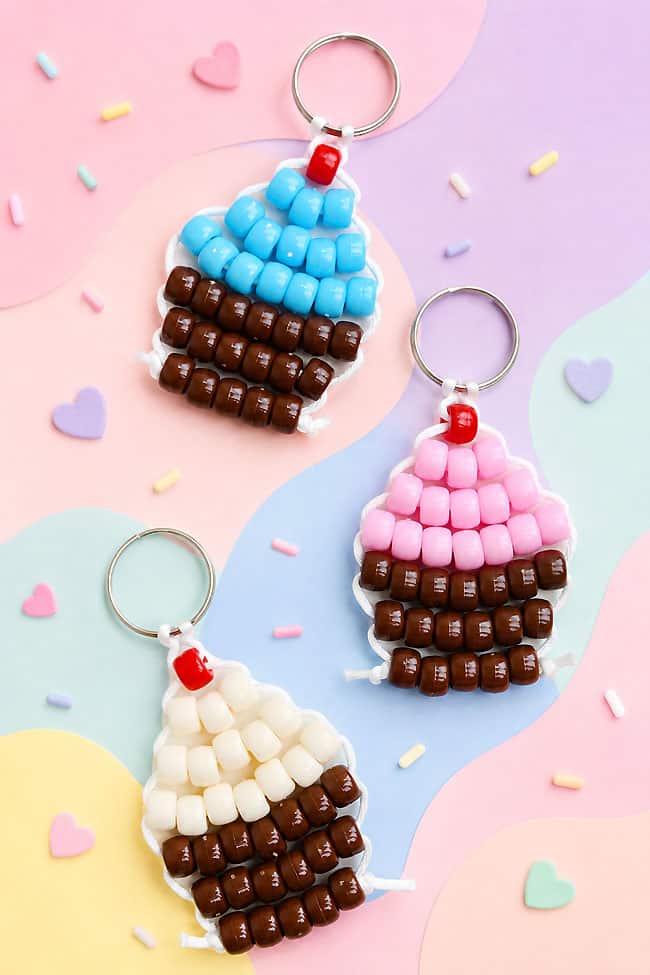
These pony bead cupcakes are such a sweet little craft! Made with colourful pony beads and cord, each cupcake has a cute frosted top, a chocolate cake base, and a tiny bead “cherry” to top it off. They’re fun to make in all kinds of colour combinations, so every cupcake can have its own personality.
This easy bead craft is a fun project for kids, teens, and adults who love making keychains and backpack charms. Once you get the pattern started, the rows come together quickly, and it’s so satisfying to watch the cupcake take shape one bead at a time!
This post contains affiliate links. If you use these links to buy something, we may earn a small commission at no extra cost to you. This helps support our website and allows us to keep creating fun, free content.
How to Make a Pony Bead Cupcake
Materials:
- Rattail cord
- Split ring keyring
- Pony beads (3 colours)
Equipment:
- BBQ lighter (optional)
See the craft in action:
Instructions:
Step 1: Find what you need
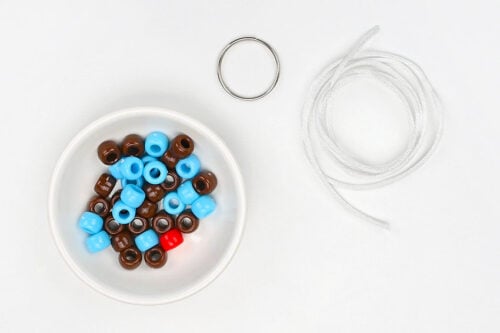
- Gather your supplies and materials.

Step 2: Arrange the cord
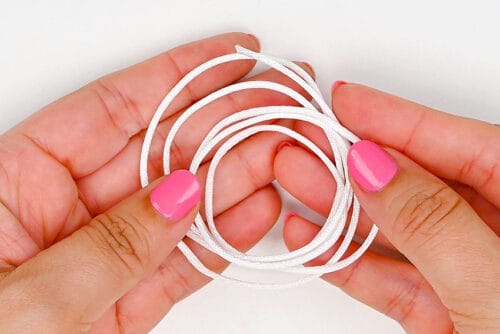
- Cut a 34 inch piece of rattail cord.

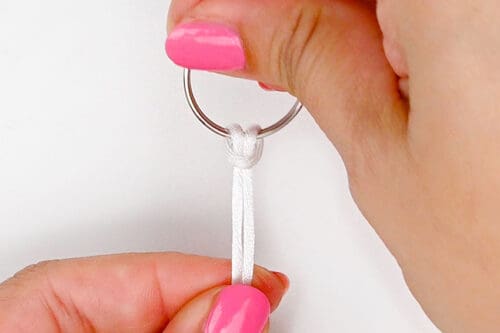
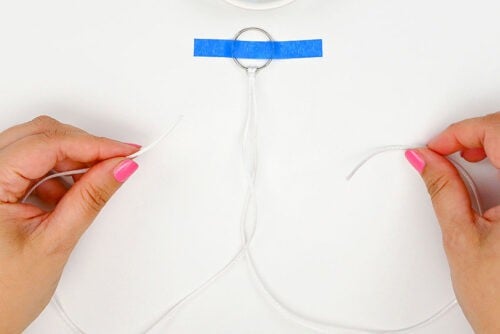
- Fold the cord in half and attach it to a split ring keyring with a lark’s head knot.To do this, place the folded end of the cord down through the keyring. Open up the loop and slide it back over the ring.
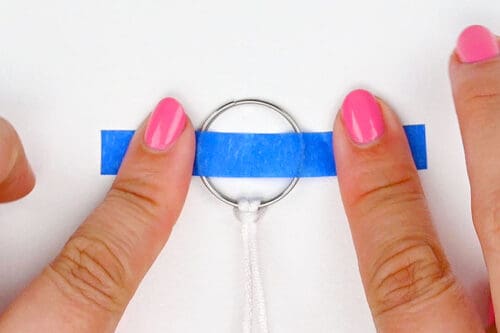
- Attach the keyring to your working surface with painter’s tape. This will keep the top of the project in place, allowing you to add the beads easily.
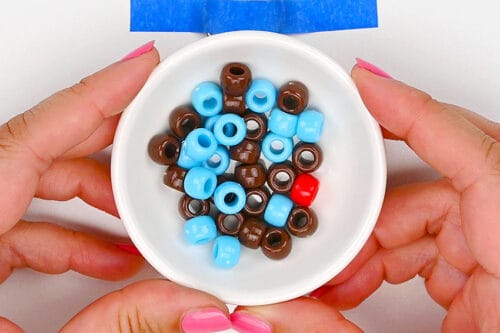
- To make this cupcake you’ll need 3 colours of pony beads.All the cupcakes use 1 red bead for the cherry decoration, 1 colour for frosting (blue, here) and another colour for the cake (chocolate brown).
Step 3: Add the first bead
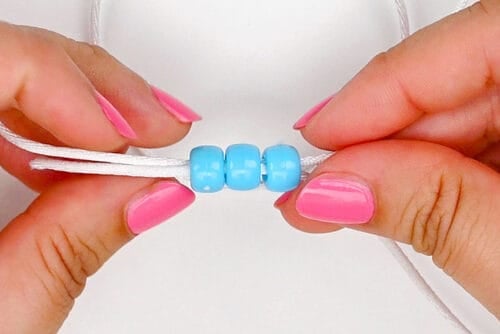
- To make this pony bead keychain we’ll be attaching beads to both cord ends. You can add the beads first to either the left or right — whatever works best for you.
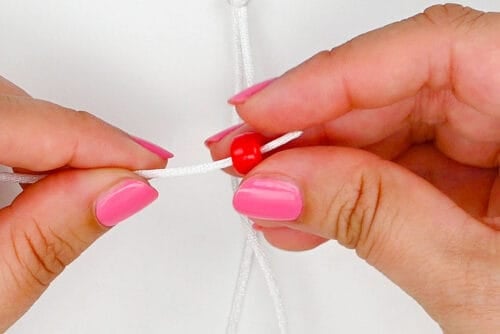
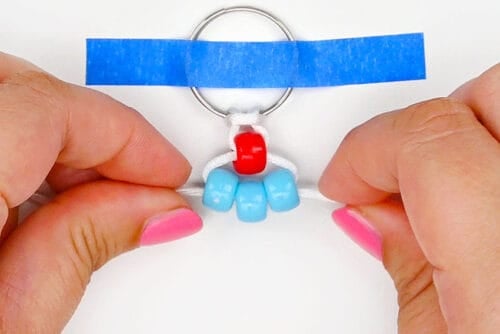
- Begin Row 1 by adding 1 red bead for the cherry decoration. If you want a plain frosted cupcake, use the frosting colour instead.
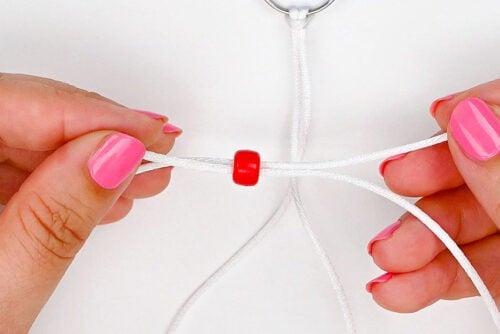
- Take the end of the right cord and push it through the right side of the bead, so it’s attached to both cord ends.
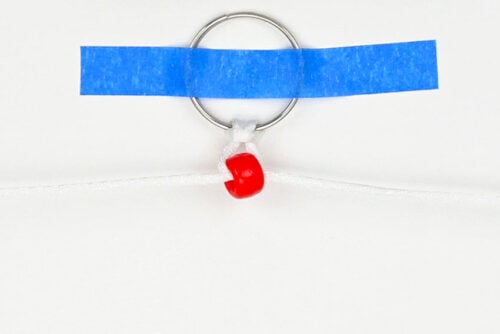
- Pull the cord ends down and out so the bead goes up to the top center, below the keyring.
Step 4: Complete the cupcake
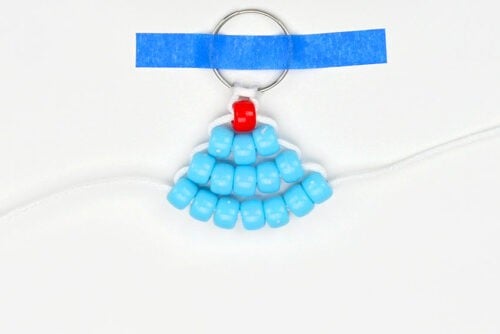
- For Row 2 add 3 frosting coloured beads (blue) to the left cord. Connect the right cord just like you did for row 1.
- Pull the cords so these beads are centered below Row 1. This is how all the rest of the beads will be added.
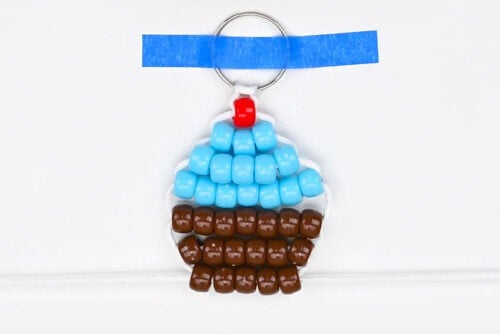
- Add 5 frosting coloured beads to Row 3 and 7 of the same beads in Row 4.
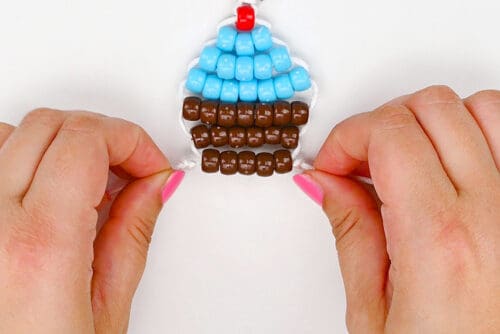
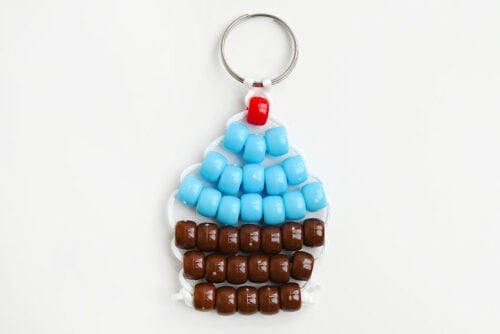
- Then form the chocolate cake (or cupcake wrapper) as follows:Row 5: 7 cake colourRow 6: 6 cake colourRow 7: 5 cake colour
Step 5: Finish off the keychain
- Make a knot in each cord, as close to the last bead as possible.
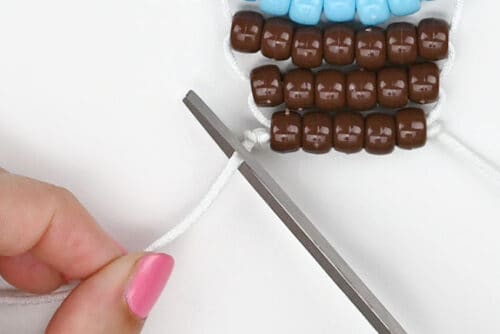
- Cut off the excess cord, close to the knot.Optional: Use a BBQ lighter to melt the ends of the cord. This stops them from fraying.
- Your pony bead cupcake is complete!
Helpful Tips:
- Use synthetic cord if you’re melting the ends: If you use synthetic cord (like rattail, nylon, or polyester) you can use a lighter to carefully melt and seal the ends. Don’t do this if using cotton or other natural fibers, since they will burn instead of melting.
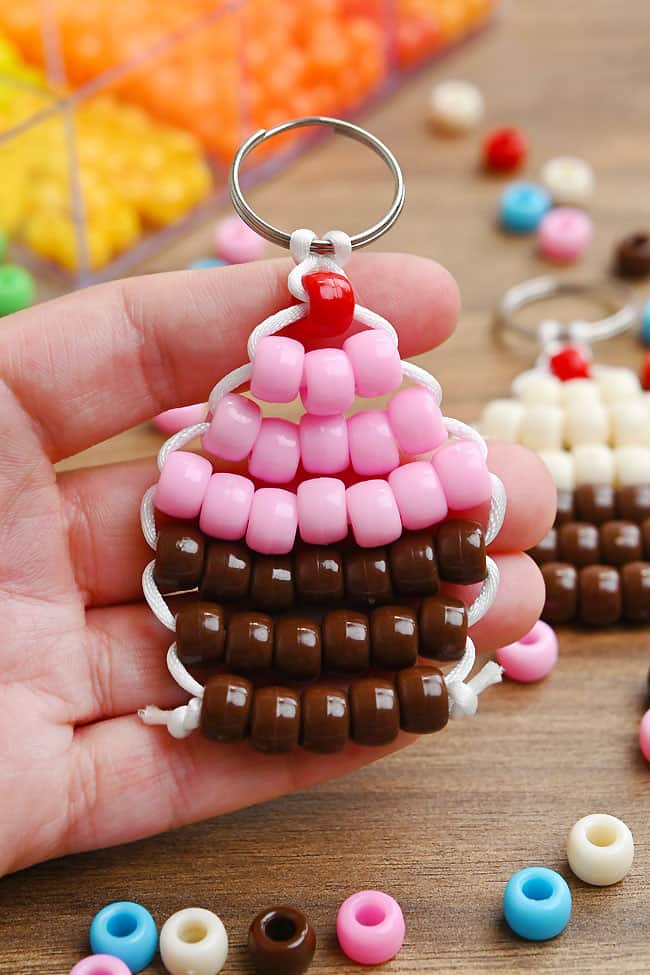
- Have fun choosing your cupcake colours! Pick pony bead colours inspired by your favourite cake and frosting flavours. Use brown beads for chocolate cake, cream or yellow for vanilla, or treat the bottom section like a colourful cupcake wrapper and make it any colour you like.
What type of cord is best for making a pony bead cupcake?
Rattail cord or another thin synthetic cord works really well for this pony bead craft. You can also use elastic cord, thin ribbon, or plastic lacing (also called gimp or boondoggle).
If your cupcake tends to droop, another option is to thread the pony beads onto pieces of straw first, then run the lacing through the straws. This gives the finished cupcake a little more structure.
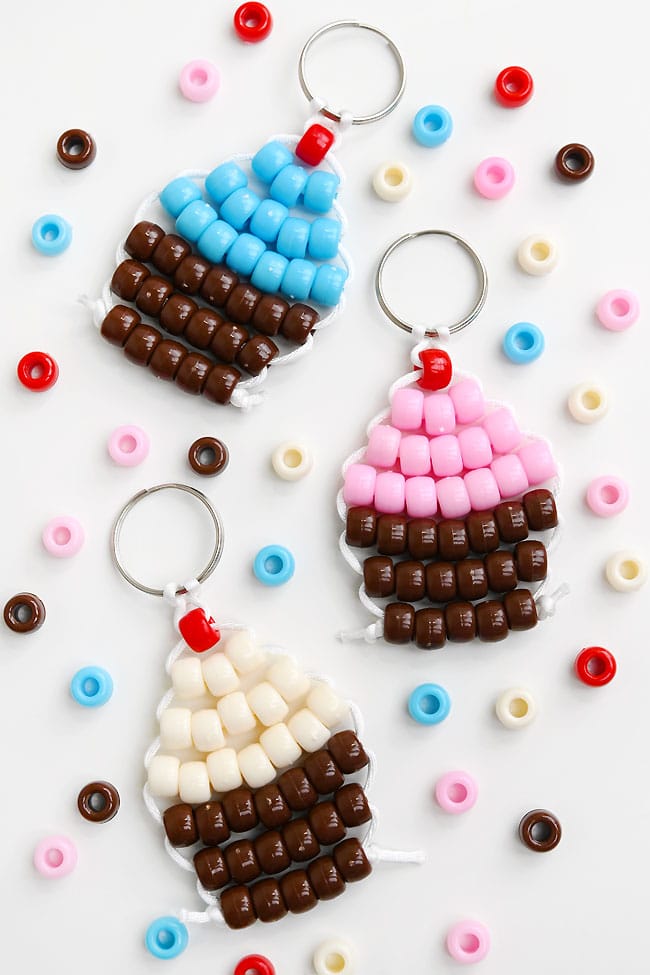
What’s the cupcake pony bead pattern?
If you already know how to make a basic pony bead keychain, this pony bead cupcake pattern is quick and easy to follow. We use “T” for the topper (cherry), “F” for frosting, and “C” for the cake (or cupcake wrapper).
- Row 1: 1T
- Row 2: 3F
- Row 3: 5F
- Row 4: 7F
- Row 5: 7C
- Row 6: 6C
- Row 7: 5C
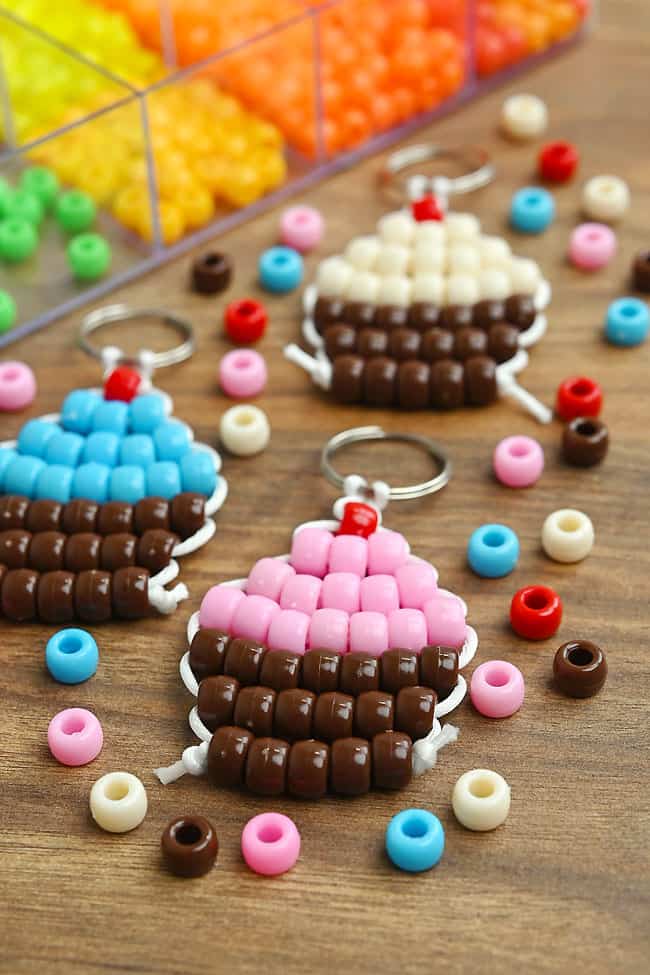
How many pony beads do I need to make a cupcake?
You’ll need 34 pony beads total for one cupcake: 1 bead for the cherry topper, 15 beads for the frosting, and 18 beads for the cake or cupcake wrapper.
What can I do with a pony bead cupcake?
These little beaded cupcakes can be used in lots of fun ways. Add a key ring to make a pony bead cupcake keychain or bag charm, give them out as party favours, hang one in a locker or window, or turn them into colourful Christmas tree ornaments.
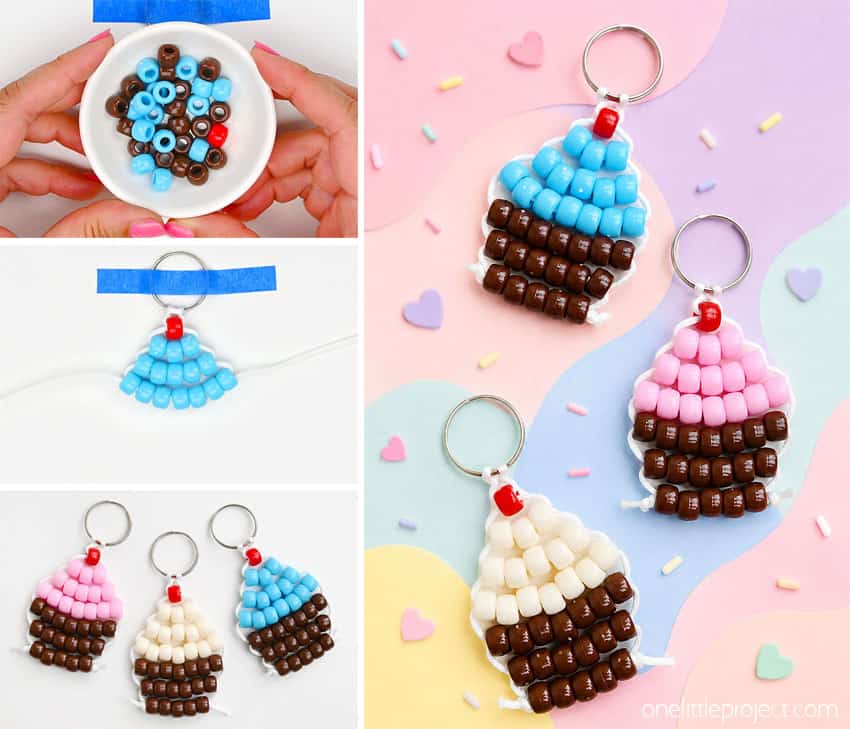
These pony bead cupcakes are colourful, easy to customize, and so much fun to make! Mix and match the bead colours to create your own favourite cake and frosting combinations, then turn your finished cupcake into a keychain, charm, ornament, or decoration. It’s a simple little bead project that looks extra cute when it’s finished and on display.
Here’s even more pony bead craft ideas:

Now available
Low-Mess Crafts for Kids Book
72 cute and fun crafts that kids and parents alike can enjoy. All with as little mess as possible!
Where to buy:
You can purchase Low-Mess Crafts for Kids from Amazon, or wherever books are sold:
Amazon | Barnes and Noble | Books-A-Million | Indiebound | Amazon Canada






Leave a Reply