
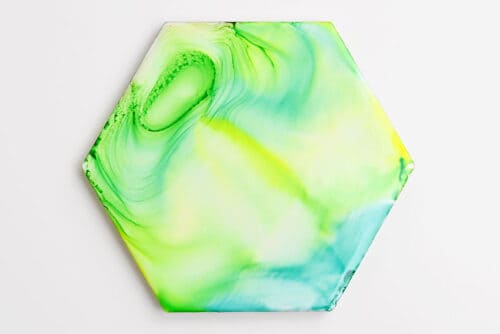
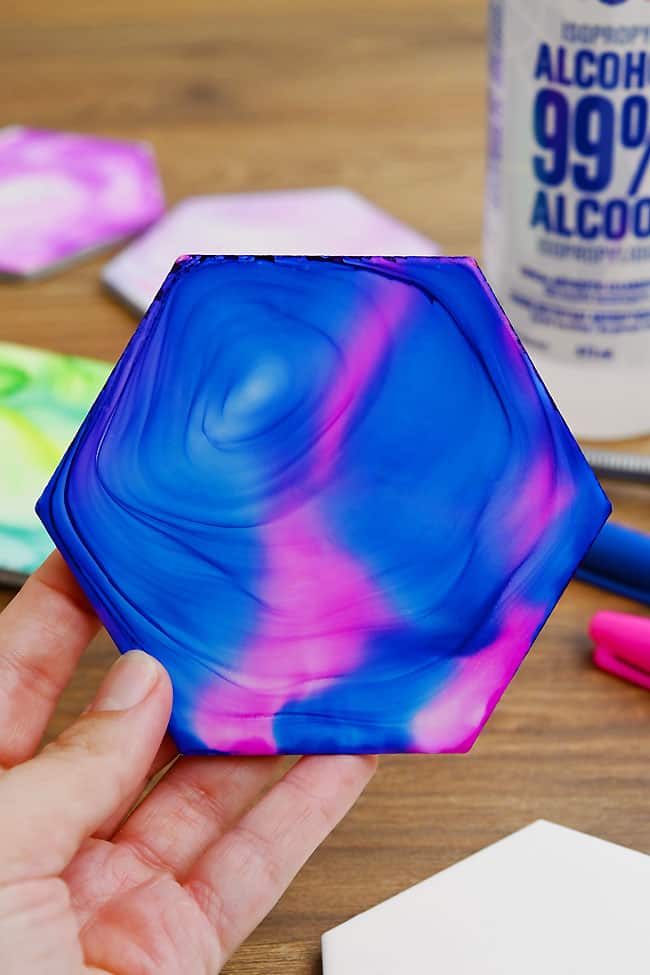
These fire art tile coasters are seriously mesmerizing to make! Watch permanent marker colours swirl, blend, and spread across plain ceramic tiles as the rubbing alcohol burns away, creating bold marbled patterns that look like colourful flames. Every tile turns out completely unique, and the transformation is just as exciting as the finished coaster.
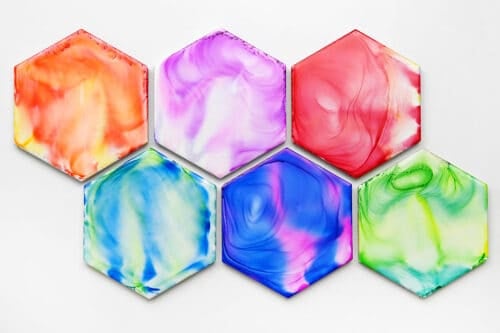
Choose bright rainbow shades, fiery reds and oranges, or soft pastel colours to create a custom set that matches your style. This eye-catching DIY experiment is perfect for teens and adults, and the finished coasters make impressive handmade decor or gifts. Just be sure an adult handles the flame and follows the safety instructions carefully.
This post contains affiliate links. If you use these links to buy something, we may earn a small commission at no extra cost to you. This helps support our website and allows us to keep creating fun, free content.
DIY Fire Art Tile Coasters
Materials:
- White ceramic coaster blank (square or hexagon)
- Permanent markers
- Rubbing alcohol
- Polyurethane top coat (or Polycrylic)
Watch the step-by-step video tutorial:
Instructions:
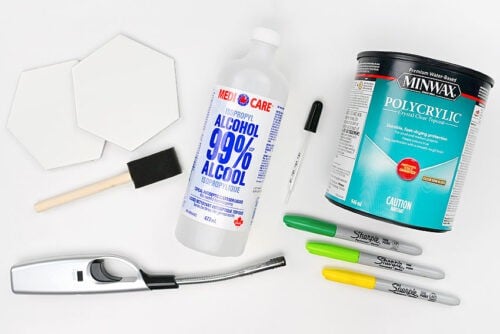
Step 1: Find what you need
- Gather your supplies and materials.

Step 2: Draw on a tile
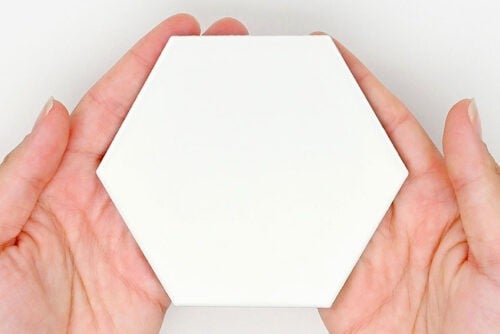
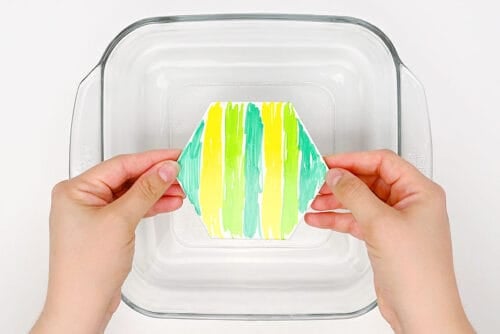
- To make your fire art coasters start with a white ceramic tile. We used a hexagon tile that came in a small sheet at Home Depot.
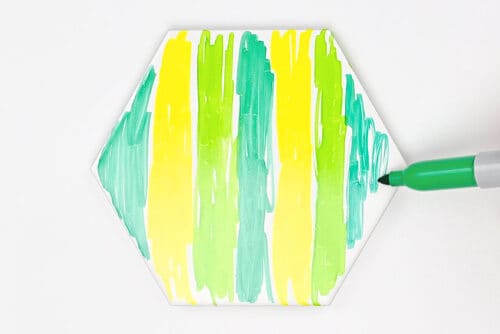
- Use different colours or shades of permanent markers to draw a design on your coaster.Don’t worry about what it looks like — the alcohol and fire will remove the pattern, anyway. You just want a combination of colours that will blend together nicely.
Step 3: Arrange a safe area
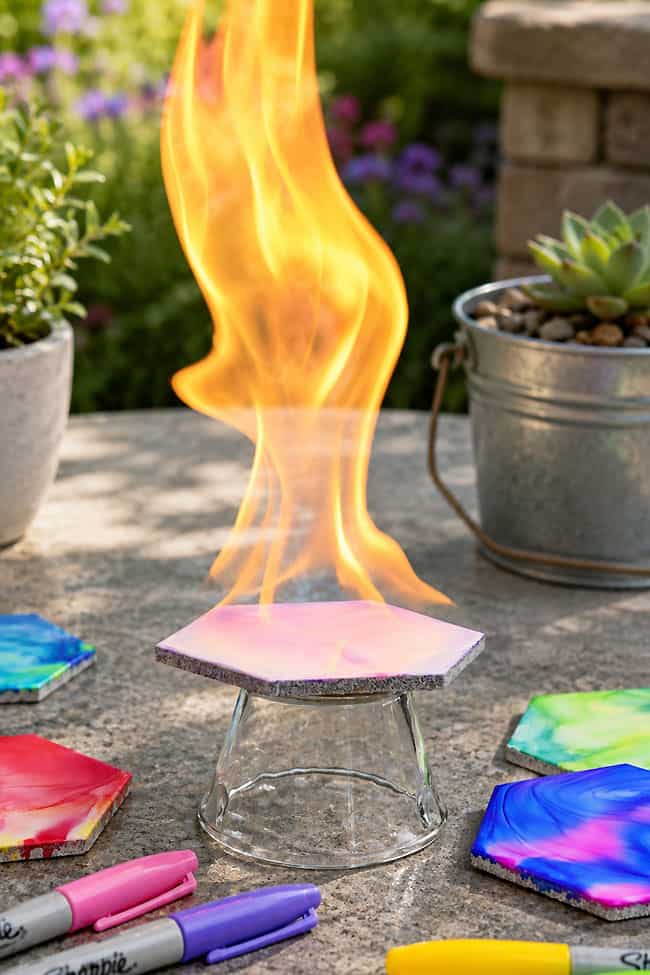
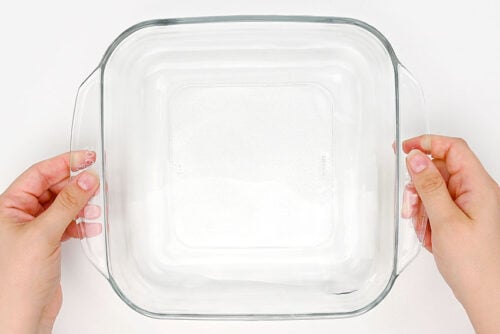
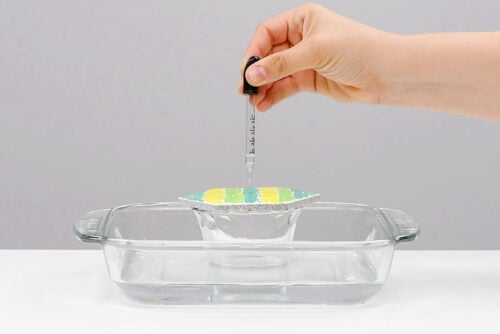
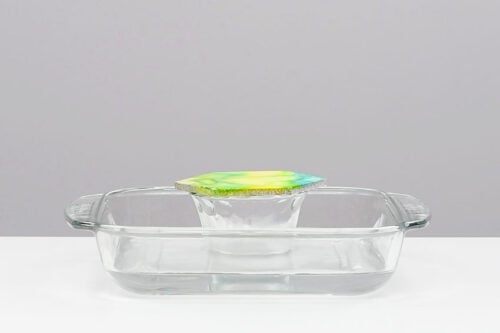
- As a safety precaution you may want to fill a small baking dish with water.After experimenting with many different coasters we never found this necessary to use, but it’s always best to act with caution.
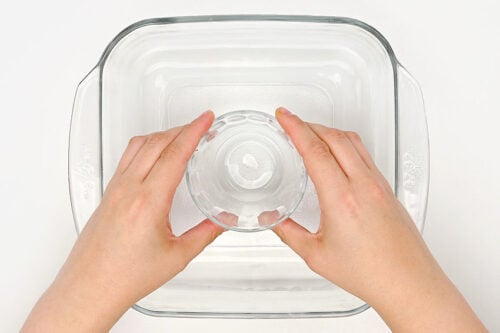
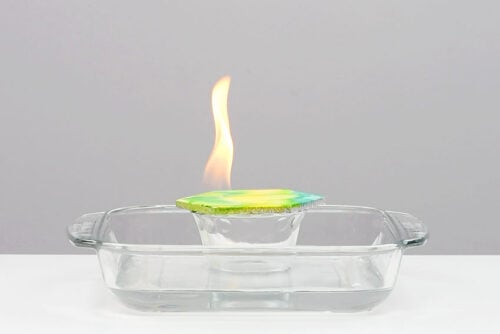
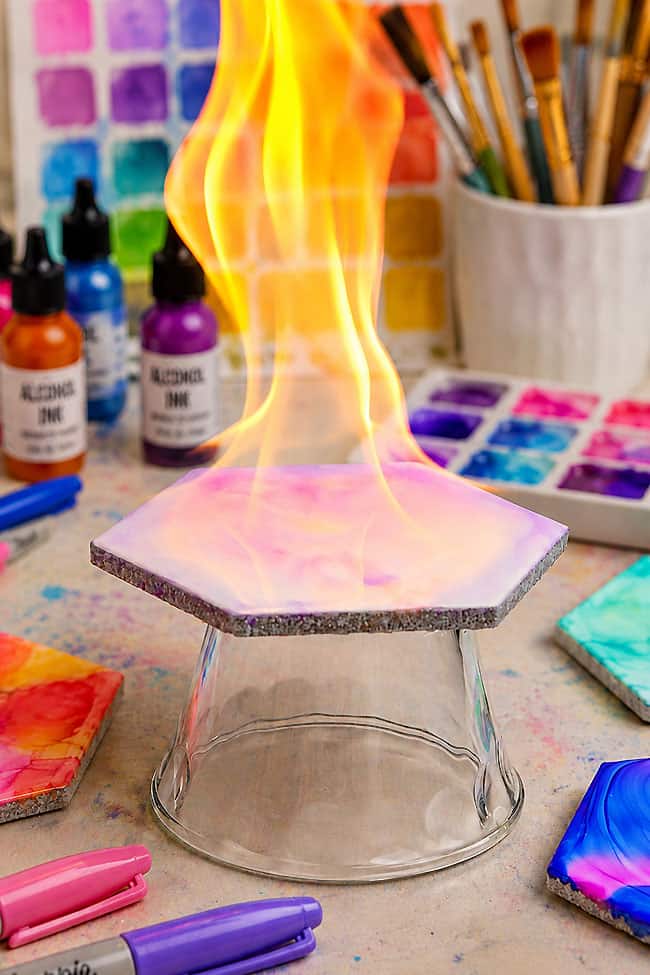
- Then set a cup or bowl upside-down in the water. It should sit well above the surface of the water.If you decide against the water, you’ll still want to set a cup or bowl like this, so that the coaster is above your work surface.

- Finally, set the coaster on top of the cup.This will stop the fire from spreading and prevent colour from bleeding onto your table or counter.
Step 4: Add alcohol and light
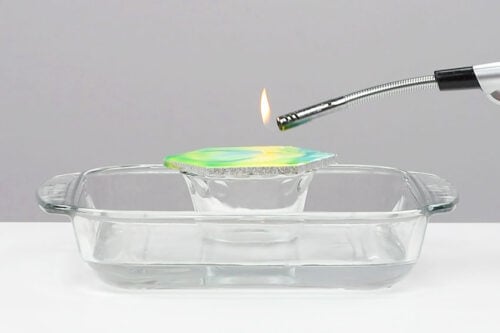
- Use an eyedropper to drip rubbing alcohol across the coaster, covering the whole surface.You’ll see that the marker colours will start to blend as the alcohol is added and spreads.
- Now hold a BBQ lighter with your arm extended. You want to ensure that no clothing, hair, etc will be near the fire.Light the flame over the alcohol and be ready to pull back as soon as the flame catches.
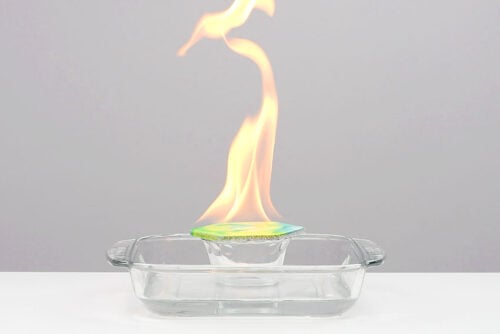
- You’ll see that the alcohol catches on fire quickly and produces a fairly large, but controlled, flame.
- As the alcohol is consumed by the fire and it evaporates the fire will get smaller and smaller. You’ll see how the pattern on the coaster is created by the pattern of the shrinking flame.
- Now allow the coaster to cool completely before handling.
Step 5: Add a sealer
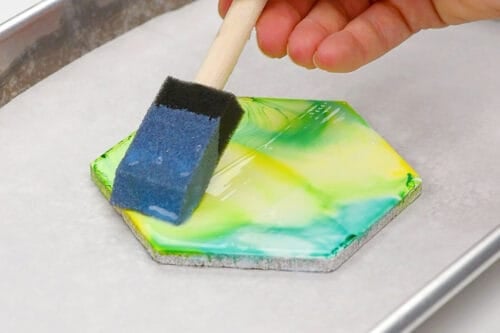
- Use a sponge brush to apply a thin coat of sealer. We’re using polycrylic, but you can keep reading below for more options.
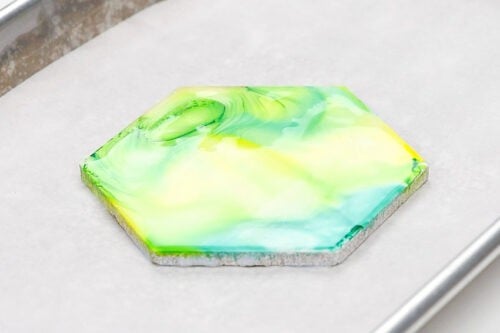
- Allow the sealer to dry completely before handling. Cure according to package directions before using.
- Your fire art tile coaster is complete!
- Have fun making a whole set in different colours!
Helpful Tips:
- Put safety first: An adult should always light the coaster and supervise the entire process. The alcohol can ignite very quickly and produce a surprisingly tall flame, so use a long barbecue lighter to keep your hands at a safe distance.
- Be prepared to extinguish the flame: Keep a container of water nearby, along with metal tongs that can be used to carefully move the tile into the water if the flame becomes difficult to control. Work on a clear, heat-safe surface away from anything flammable.
- Use permanent markers: Washable markers won’t spread and blend in the same way, and the colour may simply wash off the smooth ceramic surface. Permanent markers (like Sharpies) create the vibrant, swirling patterns needed for this project.
Where can I buy ceramic tiles for this fire art project?
Look for plain ceramic tiles at Home Depot, another hardware or home improvement store, or a tile supplier. You can often buy them individually or as part of a larger sheet.
Our hexagon tiles came attached to mesh, but they were easy to pull off and use separately. Michaels also sells tiles made specifically for coaster crafts, and you may occasionally find small ceramic tiles in the craft section at the dollar store.
What should I use to seal the coasters?
We sealed our finished coasters with polycrylic. Apply it carefully in thin coats, since brushing too firmly over the design can cause the marker colours to smudge.
A clear acrylic spray sealer is another easy option. Start with a very light mist coat to lock the colours in place, then add additional thin coats once the first layer is dry.
You can also use Mod Podge, but apply it very gently to avoid dragging the colour across the tile. Keep in mind that some types of Mod Podge can remain slightly sticky, may yellow over time, and are water-resistant rather than fully waterproof.
Whichever sealer you choose, you may want to test it on a spare tile first to see how it looks. Then allow your finished coasters to cure completely before using them.
What can I put on the bottom of my fire art tile coasters?
Add a soft backing to the bottom of each tile to protect your table from scratches. Good options include:
- Felt
- Craft foam
Self-adhesive cork is available in squares and circles. You may need to trace the tile and cut the cork to fit if you’re using an unusual shape, such as our hexagon tiles.
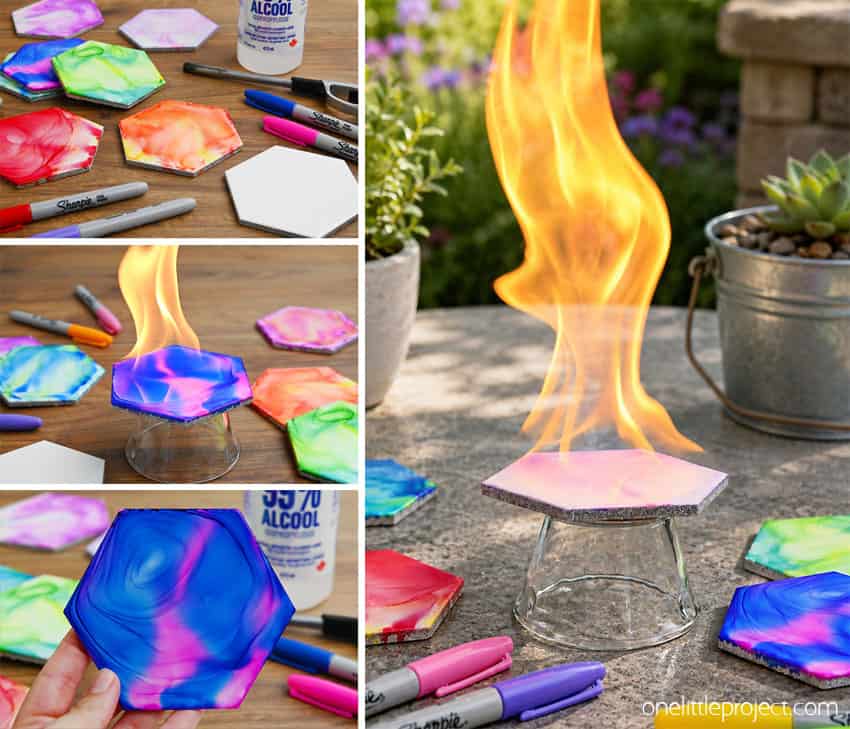
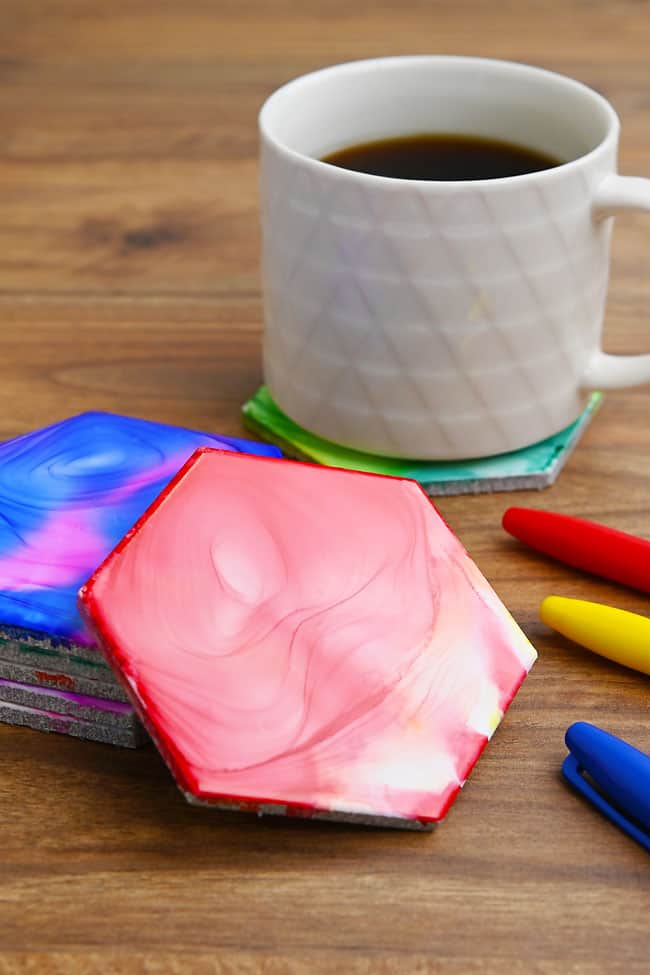
These fire art tile coasters are proof that a few simple supplies can create something seriously impressive. The swirling colours make every tile completely unique, and the finished coasters look just as good on a coffee table as they do wrapped up as a handmade gift. No matter which colours you choose, watching the flame transform the ink is easily the coolest part!
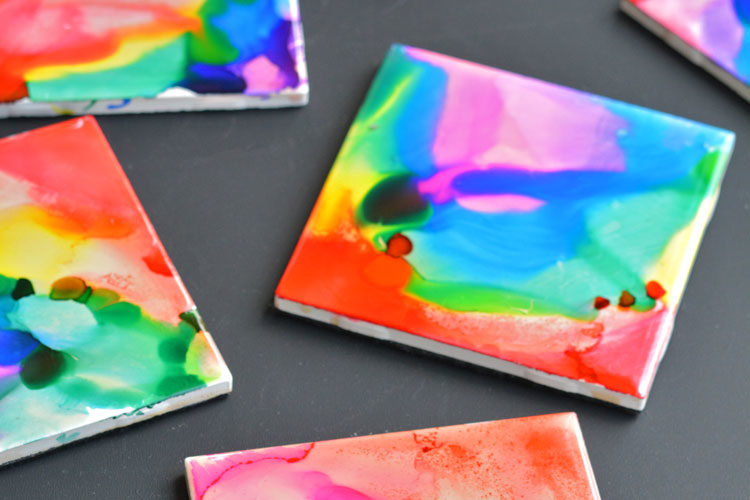
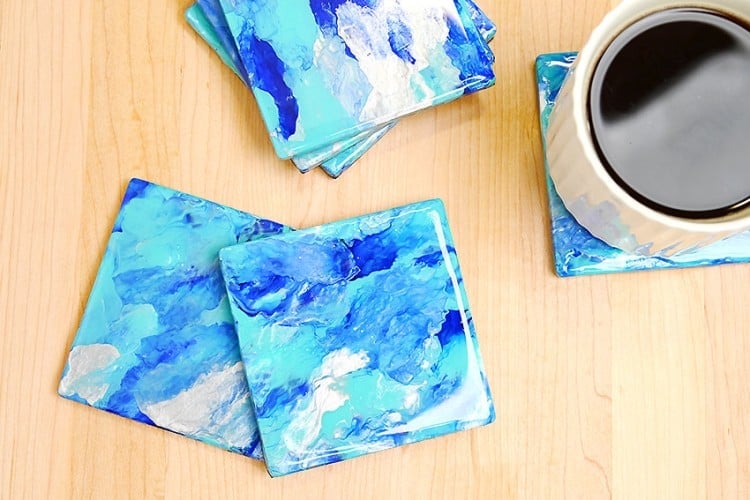
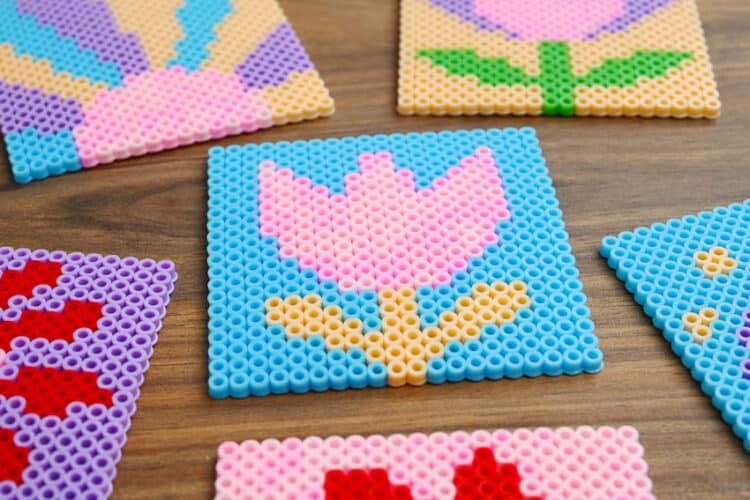
Here’s even more DIY coaster ideas:
Now available
Low-Mess Crafts for Kids Book
72 cute and fun crafts that kids and parents alike can enjoy. All with as little mess as possible!
Where to buy:
You can purchase Low-Mess Crafts for Kids from Amazon, or wherever books are sold:
Amazon | Barnes and Noble | Books-A-Million | Indiebound | Amazon Canada






Leave a Reply