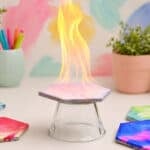
DIY Fire Art Tile Coasters
These fire art tile coasters are SO PRETTY and they're super mesmerizing to make. Draw a design with permanent marker, add rubbing alcohol, and light on fire to create a beautiful, one-of-a-kind coaster.
Yield: 1 fire art tile coaster
Cost: $2
Materials
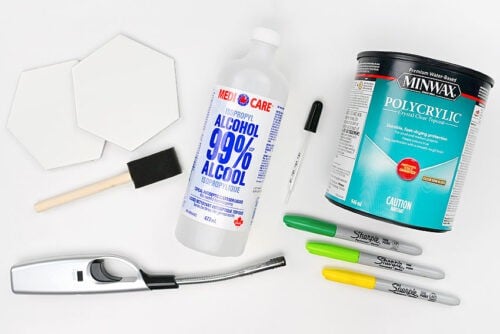
- White ceramic coaster blank (square or hexagon)
- Permanent markers
- Rubbing alcohol
- Polyurethane top coat (or Polycrylic)
Instructions
Step 1: Find what you need
- Gather your supplies and materials.
Step 2: Draw on a tile
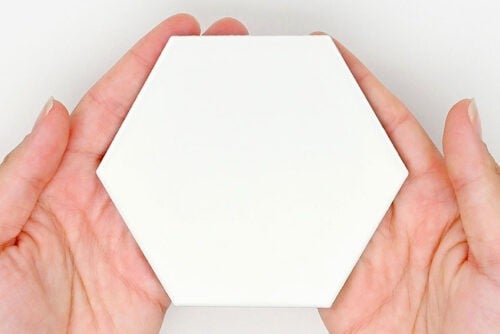
- To make your fire art coasters start with a white ceramic tile. We used a hexagon tile that came in a small sheet at Home Depot.
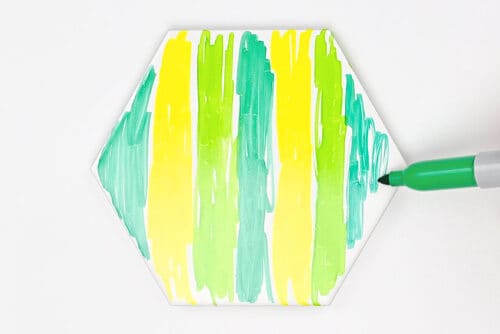
- Use different colours or shades of permanent markers to draw a design on your coaster.Don't worry about what it looks like -- the alcohol and fire will remove the pattern, anyway. You just want a combination of colours that will blend together nicely.
Step 3: Arrange a safe area
- As a safety precaution you may want to fill a small baking dish with water.After experimenting with many different coasters we never found this necessary to use, but it's always best to act with caution.
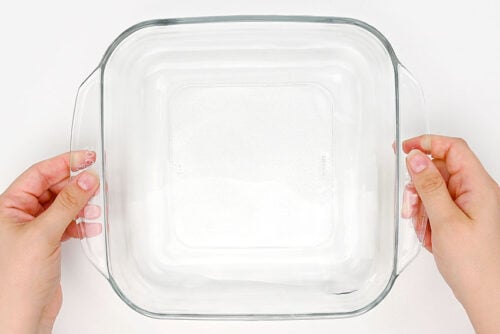
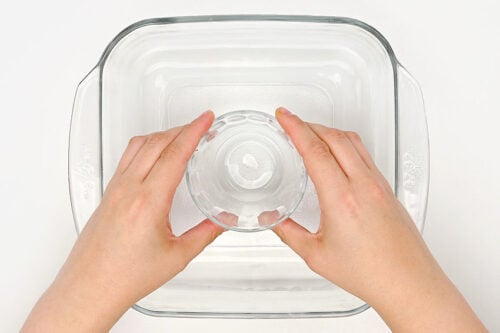
- Then set a cup or bowl upside-down in the water. It should sit well above the surface of the water.If you decide against the water, you'll still want to set a cup or bowl like this, so that the coaster is above your work surface.
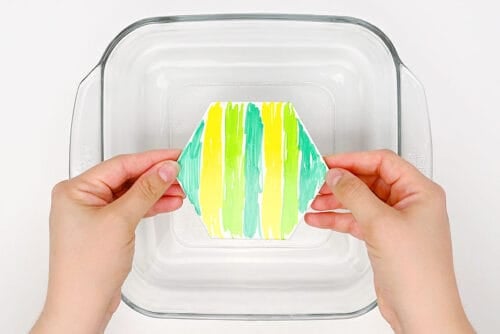
- Finally, set the coaster on top of the cup.This will stop the fire from spreading and prevent colour from bleeding onto your table or counter.
Step 4: Add alcohol and light
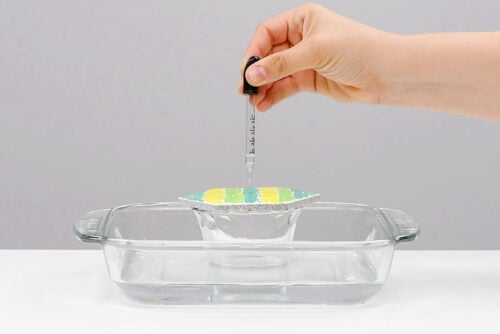
- Use an eyedropper to drip rubbing alcohol across the coaster, covering the whole surface.You'll see that the marker colours will start to blend as the alcohol is added and spreads.
- Now hold a BBQ lighter with your arm extended. You want to ensure that no clothing, hair, etc will be near the fire.Light the flame over the alcohol and be ready to pull back as soon as the flame catches.
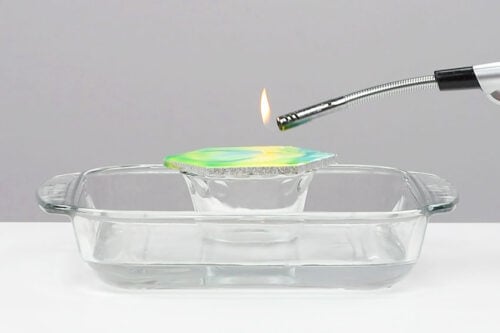
- You'll see that the alcohol catches on fire quickly and produces a fairly large, but controlled, flame.
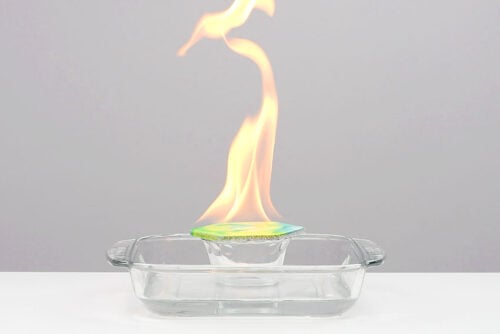
- As the alcohol is consumed by the fire and it evaporates the fire will get smaller and smaller. You'll see how the pattern on the coaster is created by the pattern of the shrinking flame.
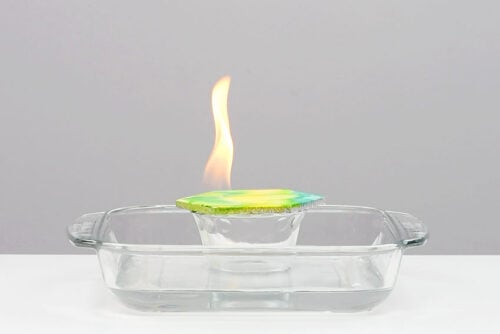
- Now allow the coaster to cool completely before handling.
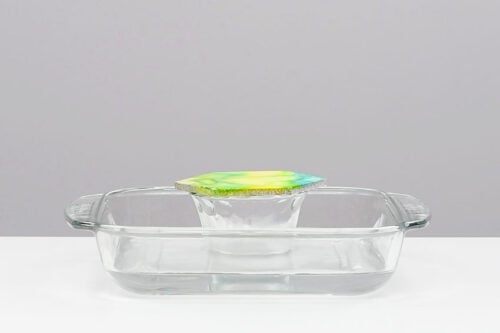
Step 5: Add a sealer
- Use a sponge brush to apply a thin coat of sealer. We're using polycrylic, but you can keep reading below for more options.
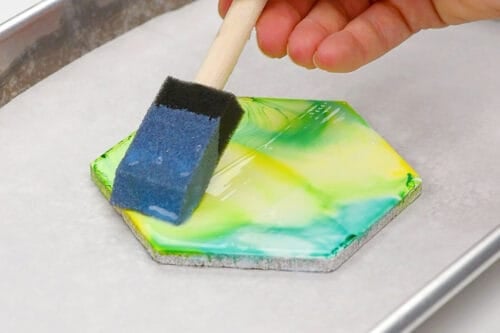
- Allow the sealer to dry completely before handling. Cure according to package directions before using.
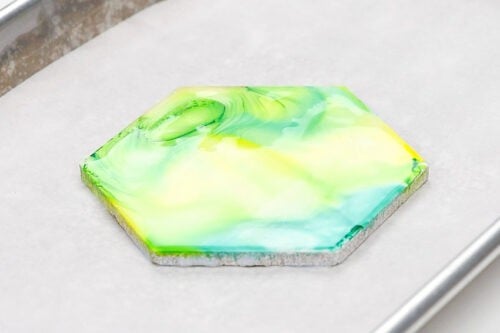
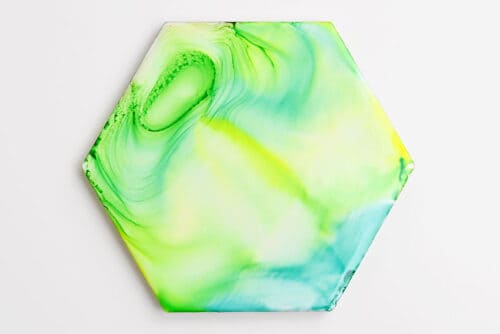
- Your fire art tile coaster is complete!
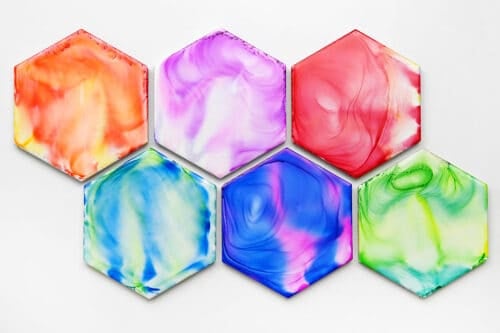
- Have fun making a whole set in different colours!
Video
Notes
Looking for more crafts using markers? Here's a few of our favourites:
Shrinky Dink Keychain
Stained Glass Suncatcher Craft
Sharpie Tie Dye Easter Eggs