

Learning how to crochet a circle is an essential skill that can be used to make everything from coasters and appliques to hats, baskets, and amigurumi. The basic pattern is easy to learn and uses increases to help the circle grow with each round.
In the step-by-step tutorials below, we’ll show you two different ways to make a flat crochet circle. First, learn the classic method. It’s easy to remember, but tends to create a slightly hexagonal shape as the circle gets larger. Then try the “perfect circle” method, which staggers the increases to create a smoother, rounder edge. Both techniques are useful, and you can choose the one that works best for your project!
This post contains affiliate links. If you use these links to buy something, we may earn a small commission at no extra cost to you. This helps support our website and allows us to keep creating fun, free content.
How to Crochet a Basic Circle
Materials:
Equipment:
Instructions:
Round 1:
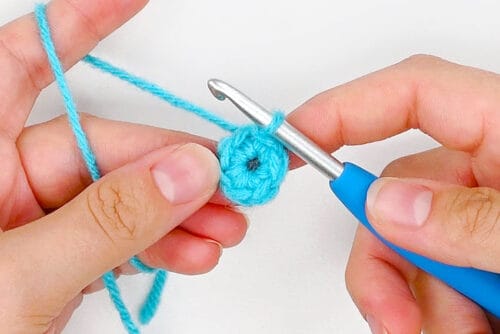
- Insert 6 single crochet in a magic circle. Slip stitch in the first st to join the round. (6)

Round 2:
Round 3:
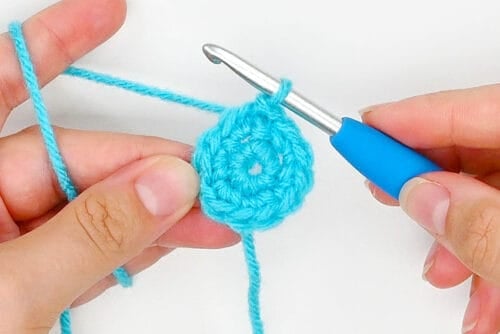
- Ch 1 and *insert 1 sc in the first st. Inc in the next st.*Rep from * to * around. Sl st in the first st to join the round. (18)

Round 4:
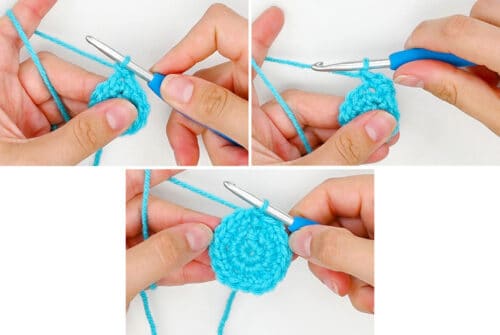
- Ch 1 and *insert 1 sc in each of the first 2 sts. Inc in the next st.*Rep from * to * around. Sl st in the first st to join the round. (24)
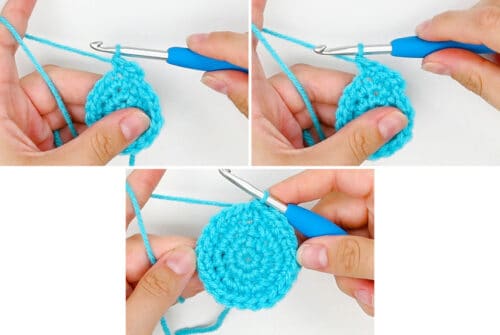
Round 5:
- Ch 1 and *insert 1 sc in each of the first 3 sts. Inc in the next st.*Rep from * to * around. Sl st in the first st to join the round. (30)
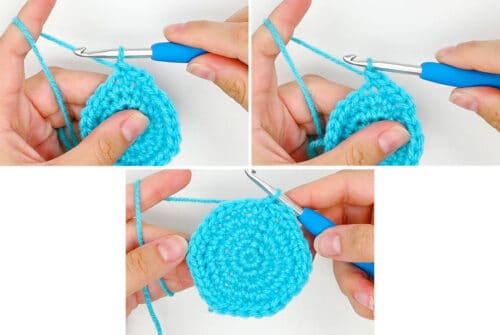
Round 6:
- Ch 1 and *insert 1 sc in each of the first 4 sts. Inc in the next st.*Rep from * to * around. Sl st in the first st to join the round. (36)
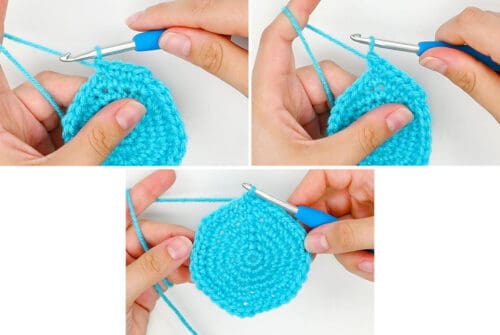
Round 7:
- Ch 1 and *insert 1 sc in each of the first 5 sts. Inc in the next st.*Rep from * to * around. Sl st in the first st to join the round. (42)
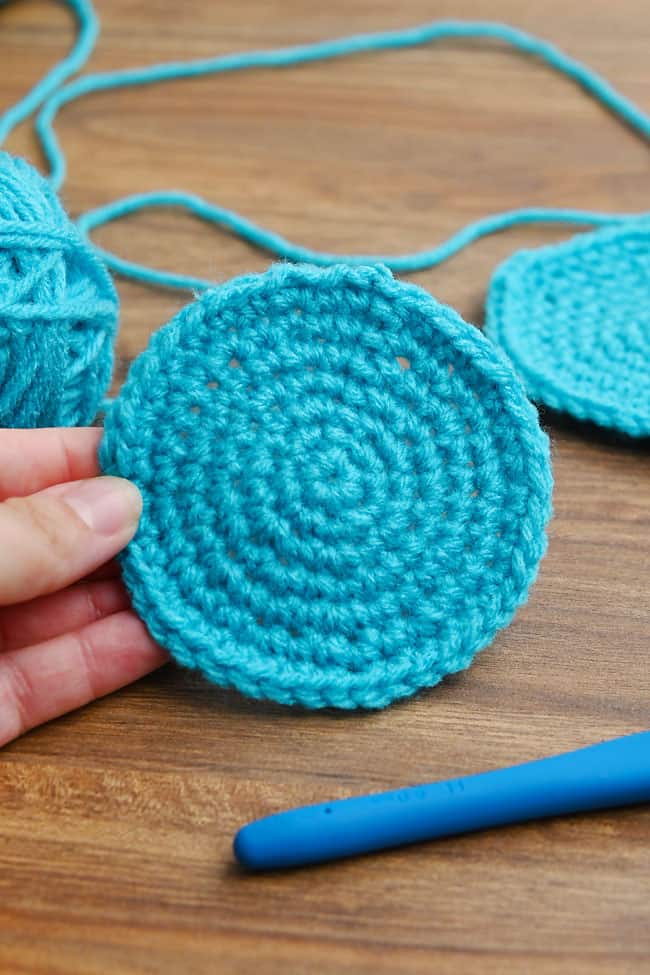
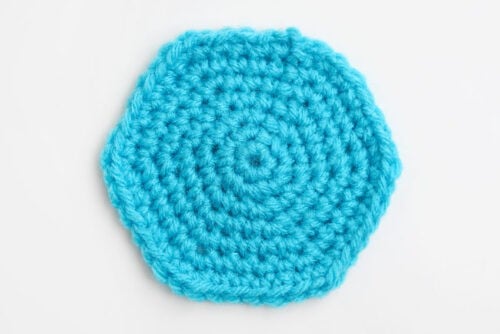
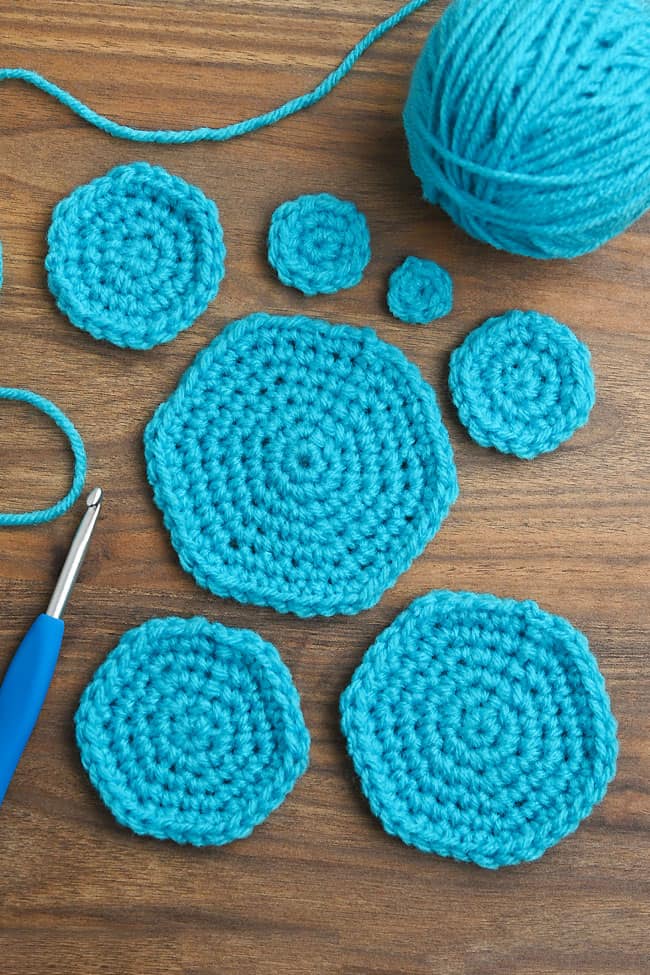
- Your crochet circle is complete! Here’s what a 7 round basic circle looks like.You can see that by stacking the increases the circle starts to look a bit like a hexagon, instead of staying a perfectly round circle.This circle pattern is perfect for small amigurumis or other 3D shapes, but if you want to make a perfect circle keep reading below.
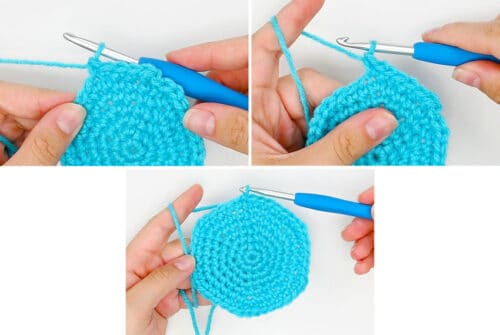
How to Crochet a Perfect Circle
Materials:
Equipment:
Instructions:
Round 1:
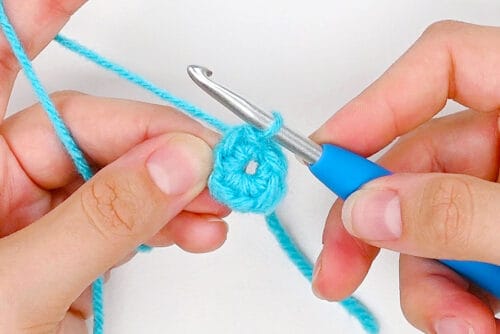
- Work 6 single crochet in a magic circle.Slip stitch in the first st to join the round. (6)
Round 2:
Round 3:
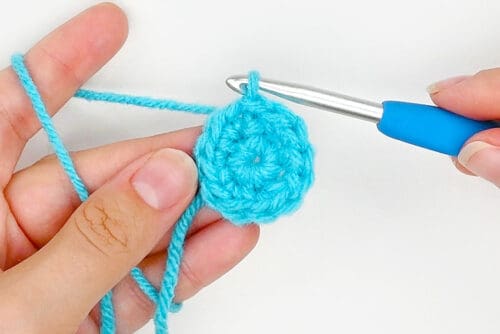
- Ch 1 and *inc in the first st. Insert 1 sc in the next st.*Rep from * to * around. Sl st in the first st to join the round. (18)
Round 4:
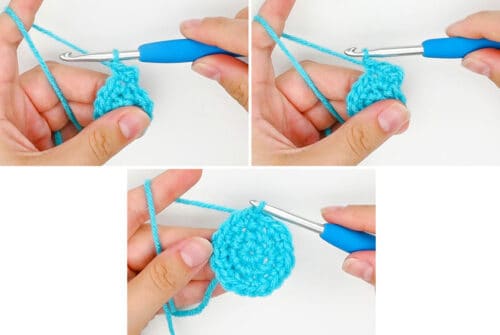
- Ch 1 and *insert 1 sc in each of the first 2 sts. Inc in the next st.*Rep from * to * around and sl st in the first st to join the round. (24)
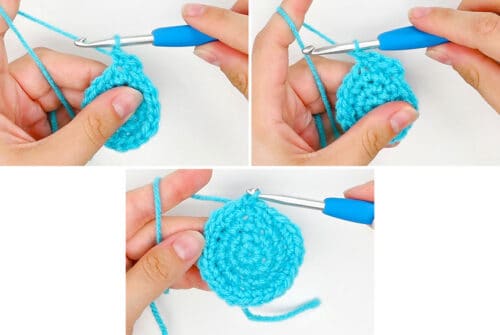
Round 5:
- Ch 1 and insert 1 sc in the first st. Inc in the next st.*Insert 1 sc in each of the next 3 sts. Inc in the next stitch.*
- Rep from * to * (in the last step) around until you reach the last 2 sts.Insert 1 sc in each of the last 2 sts. Sl st in the first st to join the round. (30)

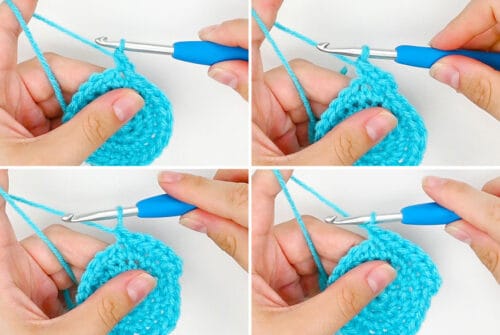
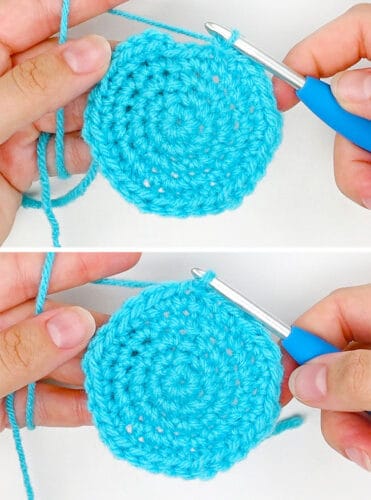
Round 6:
- Ch 1 and *insert 1 sc in each of the first 4 sts. Inc in the next st.*Rep from * to * around and sl st in the first st to join the round. (36)
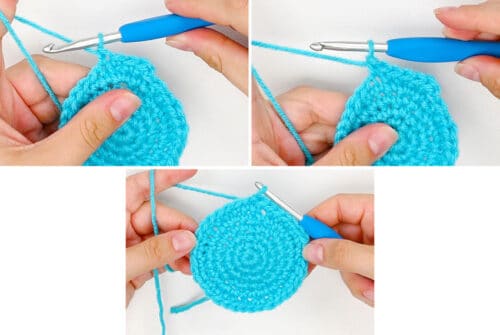
Round 7:
- Ch 1 and insert 1 sc in each of the first 2 sts. Inc in the next st.*Insert 1 sc in each of the next 5 sts. Inc in the next st.*
- Rep from * to * (in the last step) around until you reach the last 3 sts.Insert 1 sc in each of the last 3 sts. Sl st in the first st to join the round. (42)
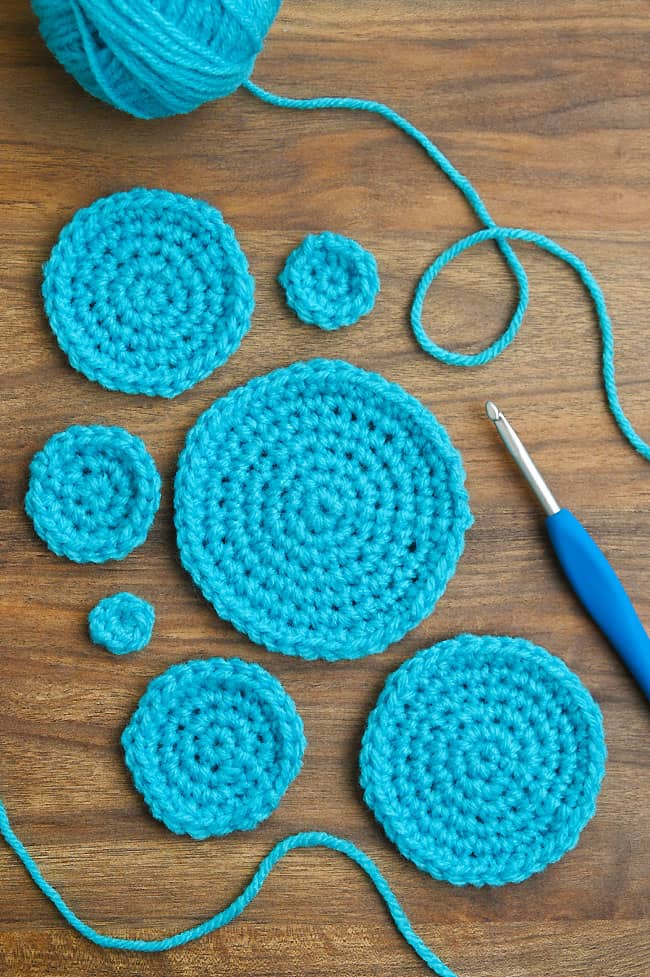
- Your perfect circle is complete! You can see how round the circle stays when you shift where the increases are.Keep reading below for an explanation of how this pattern works. Then you’ll be able to easily continue working this pattern to make a larger circle, perfect for a placemat or rug.
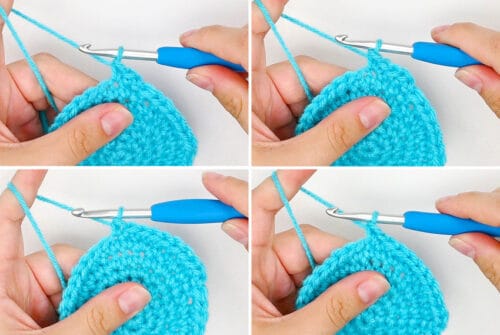
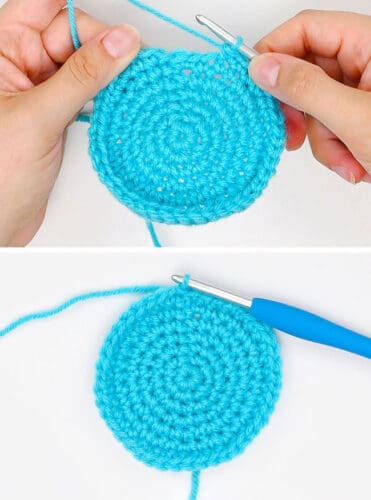
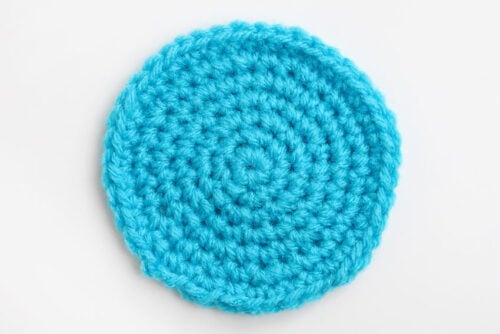
Helpful Tips:
- New to crochet or looking to brush up on your skills? Check out our crochet basics posts, where we give step-by-step tutorials for all the standard crochet stitches and techniques!
- Count the stitches after every round: A flat single crochet circle normally increases by 6 stitches in each round. Counting regularly makes it easier to catch a missed or extra increase before it affects the shape.
- Watch your tension: Tight stitches can cause the circle to curl into a bowl, while loose stitches or too many increases can make it ripple. Try changing your hook size if the circle won’t lie flat.
Crochet Abbreviations & Terms:
These patterns use standard US crochet terms. Here’s what each abbreviation means:
ch(s) = chain(s)
inc = increase
rep = repeat
sc = single crochet
sl st = slip stitch
st(s) = stitch(es)
What’s the pattern for a basic crochet circle?
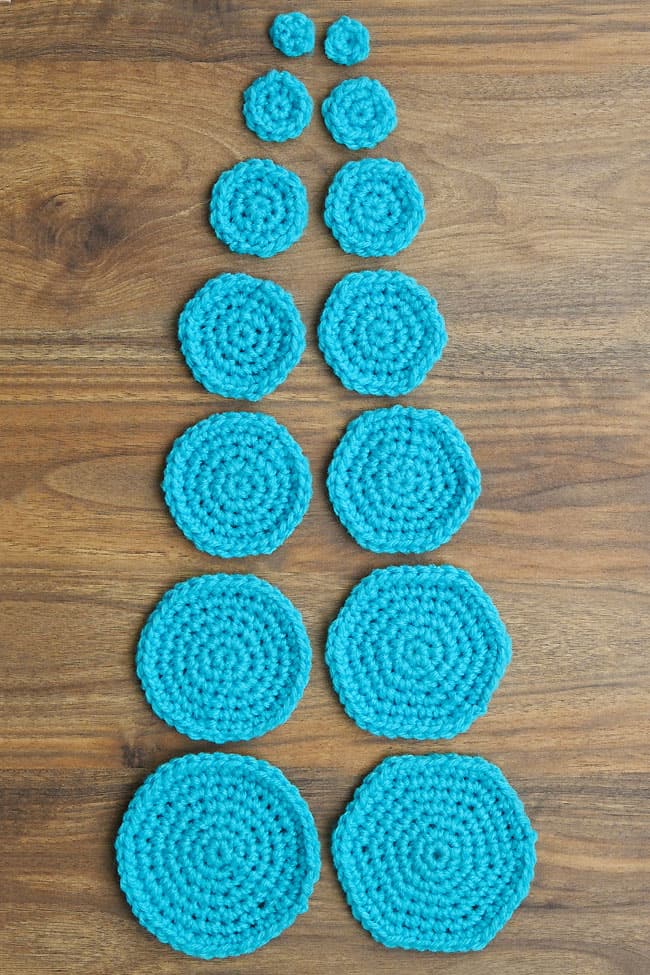
A basic crochet circle adds 6 evenly spaced increases in every round. When those increases are worked directly above the increases from the previous round, they create six visible lines that can eventually make the circle look slightly hexagonal.
How does the pattern for a perfect crochet circle work?
The perfect circle method still adds 6 increases per round, but it changes where those increases are placed. Staggering the increase points prevents the corners from forming in the same places and creates a smoother, rounder outline.
Each new round has one additional single crochet between the increases. On rounds with an even number of single crochets between increases, the pattern can be repeated evenly around:
- Round 4: 2 sc, inc
- Round 6: 4 sc, inc
- Round 8: 6 sc, inc
- Round 10: 8 sc, inc
- Round 12: 10 sc, inc
On rounds with an odd number of single crochets between increases, divide those stitches between the beginning and end of the round. This shifts the increases away from the previous increase points:
- Round 5 has 3 sc between increases, so begin with 1 sc and finish with 2 sc.
- Round 7 has 5 sc between increases, so begin with 2 sc and finish with 3 sc.
- Round 9 has 7 sc between increases, so begin with 3 sc and finish with 4 sc.
- Round 11 has 9 sc between increases, so begin with 4 sc and finish with 5 sc.
- Round 13 has 11 sc between increases, so begin with 5 sc and finish with 6 sc.
Continue following this pattern, adding one more single crochet between each increase in every new round. There should always be 6 increases total, meaning the stitch count will increase by 6 after each round.
When should I use each crochet circle method?
The basic circle method is ideal for beginners and for projects where a slightly hexagonal shape won’t be noticeable. Use it for amigurumi pieces, the bottom of a basket or bag, flower centers, small appliques, and other circles that will be folded, stuffed, gathered, or shaped.
The perfect-circle method works best for flat projects where a smooth, rounded edge is important. It’s a good choice for coasters, placemats, rugs, table mats, round bags, decorative circles, and larger appliques.
Both methods create a flat crochet circle, so there’s no wrong choice. The best method simply depends on how visible the finished edge will be and how round you want it to look.
Why is my crochet circle curling?
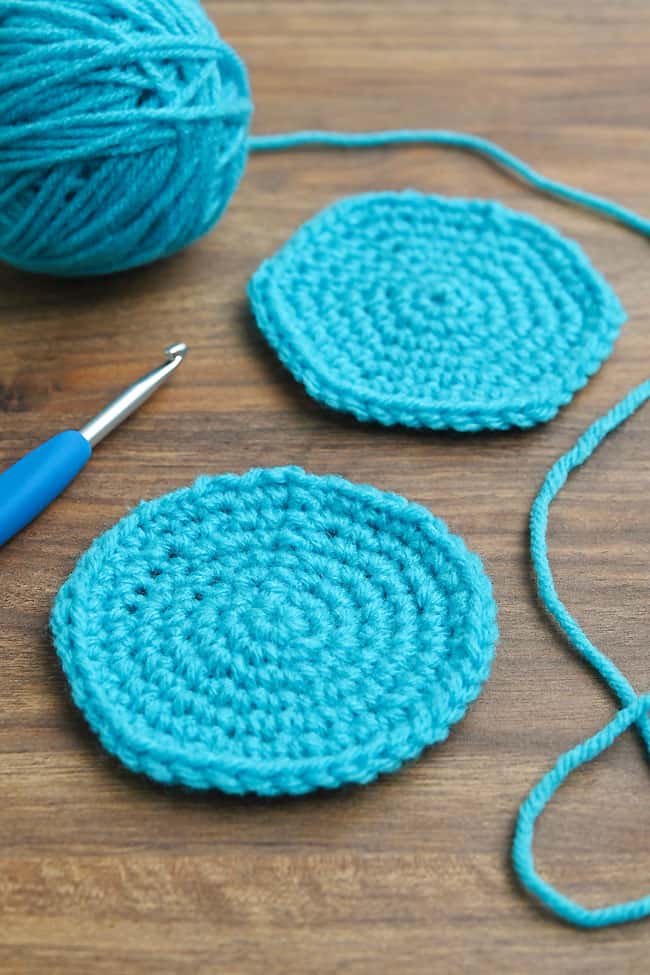
A circle that curls upward may have too few stitches, stitches that are too tight, or a hook that’s too small for the yarn. Check that you’ve worked all 6 increases and try loosening your tension or using a larger hook.
Why is my crochet circle ruffling?
A wavy or ruffled edge usually means the circle has too many stitches or the stitches are too loose. Check the stitch count and make sure you’ve only worked 6 increases in the round. If you have the right amount of stitches, try using a smaller hook.
How many stitches should I start with for a crochet circle?
The number of stitches in the first round depends on the height of the stitch you’re using. Taller stitches need more starting stitches and more increases in each round to help the circle lie flat.
- Single crochet: Start with 6 stitches and increase by 6 stitches in every round.
- Half double crochet: Start with 8 stitches and increase by 8 stitches in every round.
- Double crochet: Start with 12 stitches and increase by 12 stitches in every round.
For example, a double crochet circle will have 12 stitches in Round 1, 24 stitches in Round 2, 36 stitches in Round 3, and so on. These are helpful starting guidelines, but you may need to make small adjustments depending on your yarn, hook size, and tension.
Should I crochet in continuous or joined rounds?
You can make a crochet circle using either continuous rounds or joined rounds.
With continuous rounds, you don’t join at the end of each round. Instead, you work the first stitch of the next round directly into the first stitch of the previous round, creating a spiral. This method produces a smooth surface without a visible seam, but the final edge may have a small step where the last round ends. Always use a stitch marker to keep track of the first stitch.
With joined rounds, you finish each round with a slip stitch and begin the next round with a chain. This creates clearly defined rounds and makes it easier to keep track of your progress, but the joins will form a visible seam.
Either technique works for both crochet circle methods. Continuous rounds are common for amigurumi and smooth, solid-colour pieces, while joined rounds can be helpful when changing colours or when you want each round to begin and end at the same height.
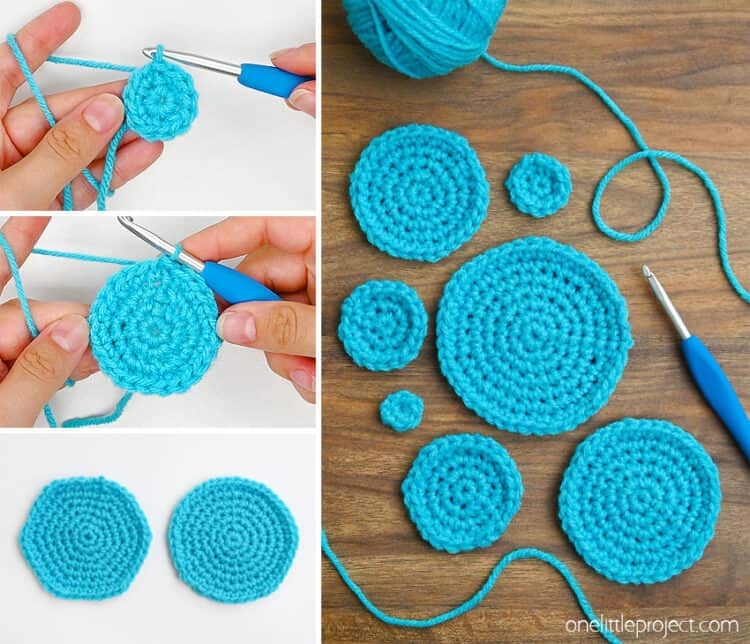
Once you know how to crochet a circle, you can use the same basic technique for so many different projects. It’s a simple skill to learn, and understanding where to place your increases makes it much easier to keep your circle smooth and flat as it grows.
With a little practice, crocheting circles will start to feel almost automatic. So grab your yarn and hook, follow the pattern round by round, and you’ll have a neat crochet circle in no time, ready to use in your next project!
Here’s even more crochet pattern ideas:

Now available
Low-Mess Crafts for Kids Book
72 cute and fun crafts that kids and parents alike can enjoy. All with as little mess as possible!
Where to buy:
You can purchase Low-Mess Crafts for Kids from Amazon, or wherever books are sold:
Amazon | Barnes and Noble | Books-A-Million | Indiebound | Amazon Canada







Leave a Reply