
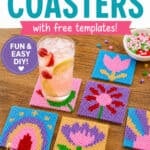
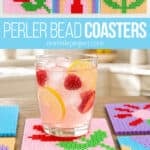
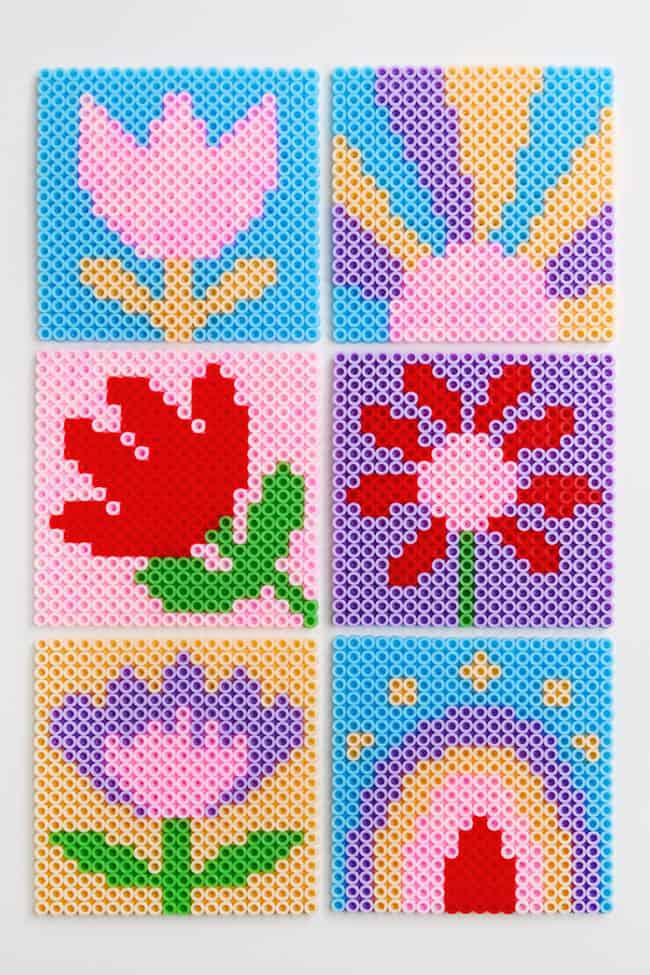
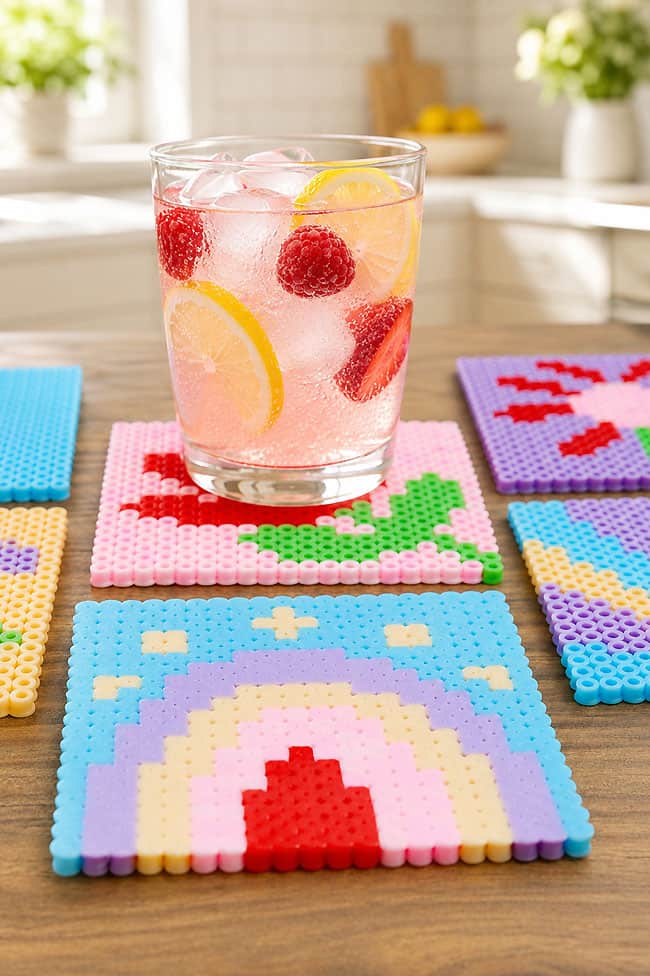
These Perler bead coasters are a bright and colourful way to protect your table while showing off your creativity! Arrange fuse beads into flowers, rainbows, hearts, and other cheerful designs, then iron them together to make a sturdy handmade coaster.
Our free Perler bead coaster patterns make it easy to recreate each design, whether you’re new to fuse beads or have been crafting with them for years. Mix and match your favourite colours, follow the printable templates exactly, or use the patterns as inspiration to create a completely unique set!
This post contains affiliate links. If you use these links to buy something, we may earn a small commission at no extra cost to you. This helps support our website and allows us to keep creating fun, free content.
How to Make Perler Bead Coasters
Materials:
Equipment:
See the craft in action:
Instructions:
Step 1: Find what you need
- Gather your supplies and materials.

Step 2: Prepare your pegboard and beads
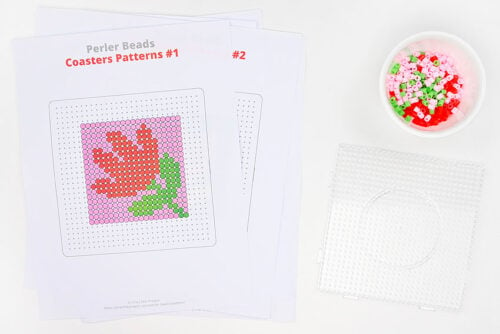
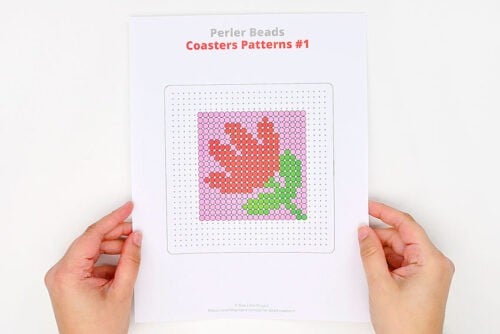
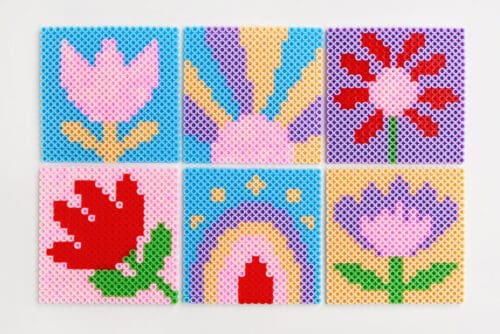
- Print our free Perler bead coaster patterns, or follow along with the template on your device’s screen. We have 6 coaster designs available.Find a link to the patterns in the materials list above with more details found below this tutorial.
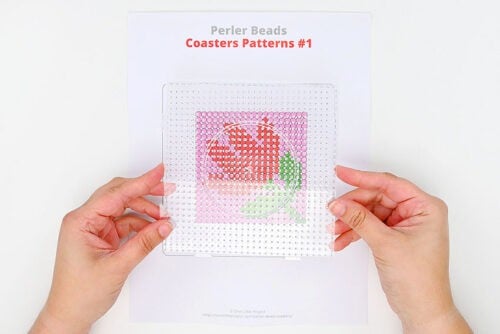
- To make these coasters you’ll need a large square pegboard. If you have a clear pegboard you can place it on top of the printed pattern to make it easier to follow along.
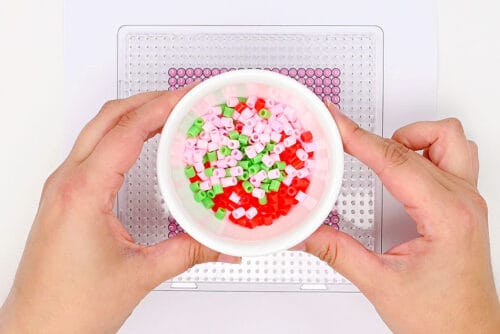
- You’ll also need to gather the colours needed for your specific coaster. Feel free to change up the colours to match your tastes or decor!
Step 3: Follow the pattern
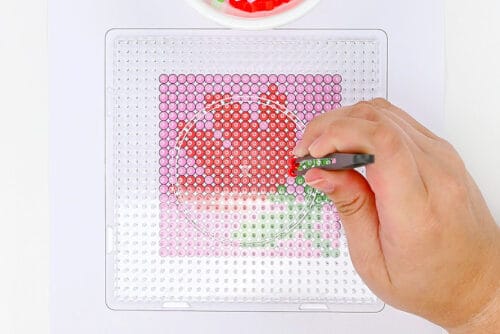
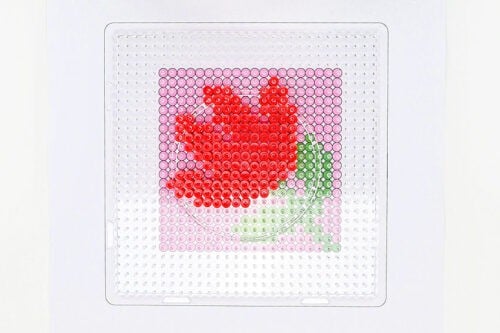
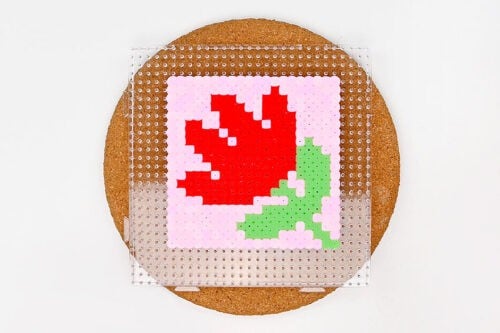
- Begin placing beads according to the pattern.Optional: Use tweezers to place the Perler beads. It makes it easier to add the beads on specific pegs.
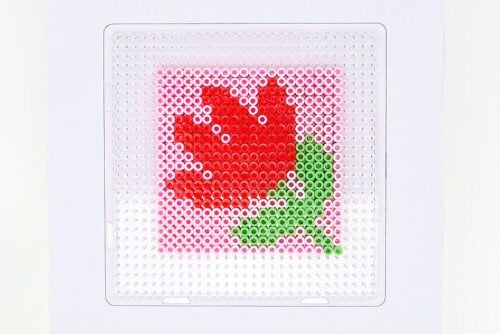
- Continue adding beads according to the pattern. We finished the flower bud on this coaster first, but you can add the beads in whatever order makes sense to you.

- Finish the design and compare it to the pattern one last time, to make sure it looks right and you’re happy with it.
Step 4: Iron the design
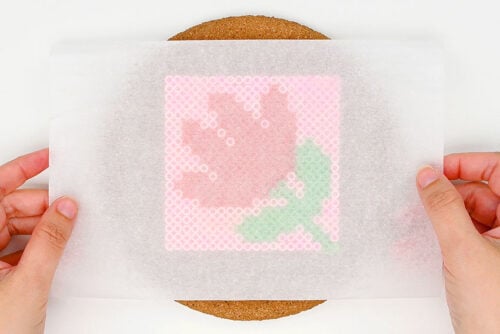
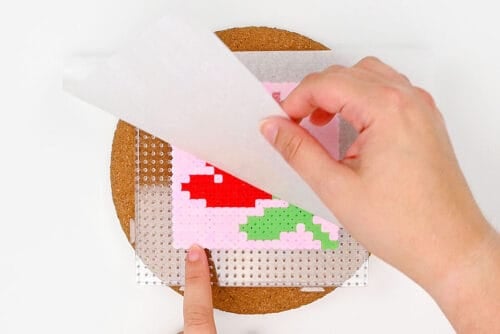
- Place the pegboard on an ironing board or other heat-safe surface. Cover the Perler bead design with a piece of parchment paper.
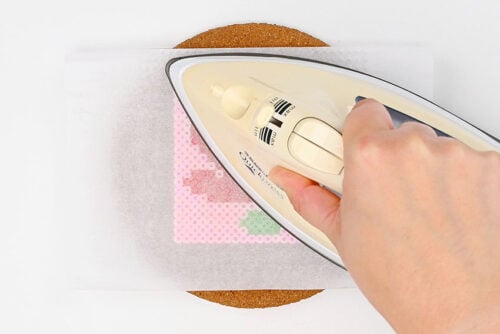
- Heat your iron to medium temperature, no steam. Place the iron on the parchment paper and move it around in circular motions for at least 15 to 20 seconds.
- Check the beads to see if they’re melted together. Continue to iron for another 10 to 20 seconds, if necessary.The beads are melted correctly when the parchment paper sticks to the beads and needs to be peeled away from them.
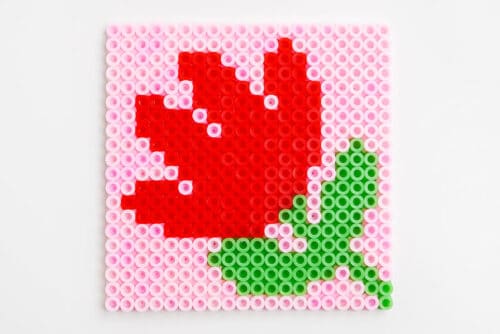
- Leave your design on the pegboard until it’s cool to the touch. When you remove it, place it under a stack of heavy books to stop it from warping as it cools completely.
- Your Perler bead coaster is complete!
- Have fun making a whole set! You can make all the different coaster designs, or make multiple of one pattern.
Helpful Tips:
- Use a clear pegboard: If you have a clear pegboard you can place the printable pattern underneath the pegboard so you can easily match the bead colours and follow the design.
- Change up the colours: Follow the colours shown in the templates or swap them for shades that match your decor. Just be sure there’s enough contrast between the main design and the background so the picture remains easy to see.
- Keep the coaster flat as it cools: Perler bead projects can curl while they’re still warm. To prevent this, place the coaster under a heavy book or another flat object for a few minutes after ironing.
Get our free printable Perler bead coaster patterns:
The text link below will take you to our free, printable Perler bead coasters templates! The 6 page PDF file will open in a new window.
Then simply follow along with the pattern on your device’s screen, or print the patterns in colour on 8.5 x 11 (letter size) printer paper.
>>> Patterns for Perler Bead Coasters <<<
What size pegboard do I need to make coasters from Perler beads?
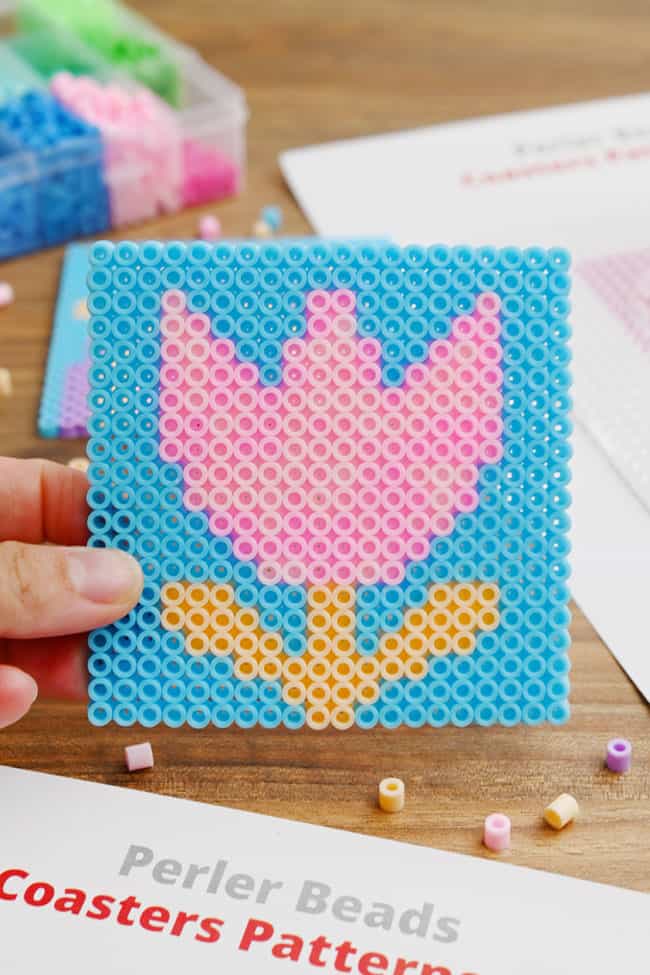
These coasters are made on a large square Perler bead pegboard (5.7 inches by 5.7 inches).
What size are these Perler bead coasters?
Our patterns make a coaster that’s almost 4 by 4 inches square, perfect for most cups and mugs. You can extend the coaster pattern to be larger, if you’d like.
Can Perler bead coasters hold hot drinks?
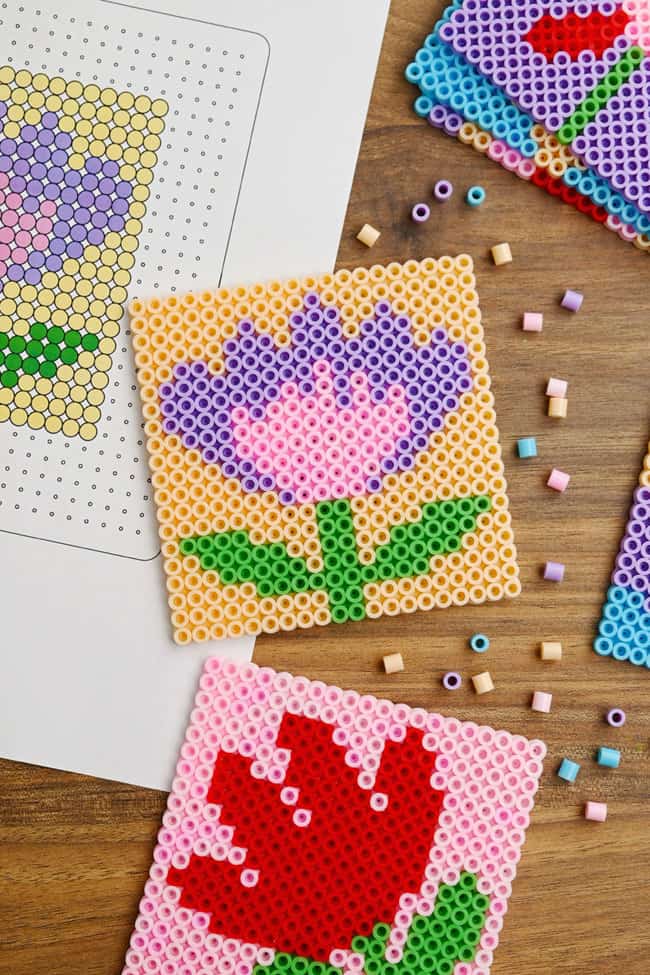
Perler bead coasters work well under cold drinks and warm mugs. But you should avoid using them under very hot cups, since high heat may soften or warp the plastic beads, melting them more.
Do I have to add a backing to my Perler bead coasters?
You don’t have to, but you can. Simply glue a piece of thin cork, felt, or craft foam to the bottom of the coaster. This creates a smoother surface and helps prevent the coaster from sliding or scratching the table.
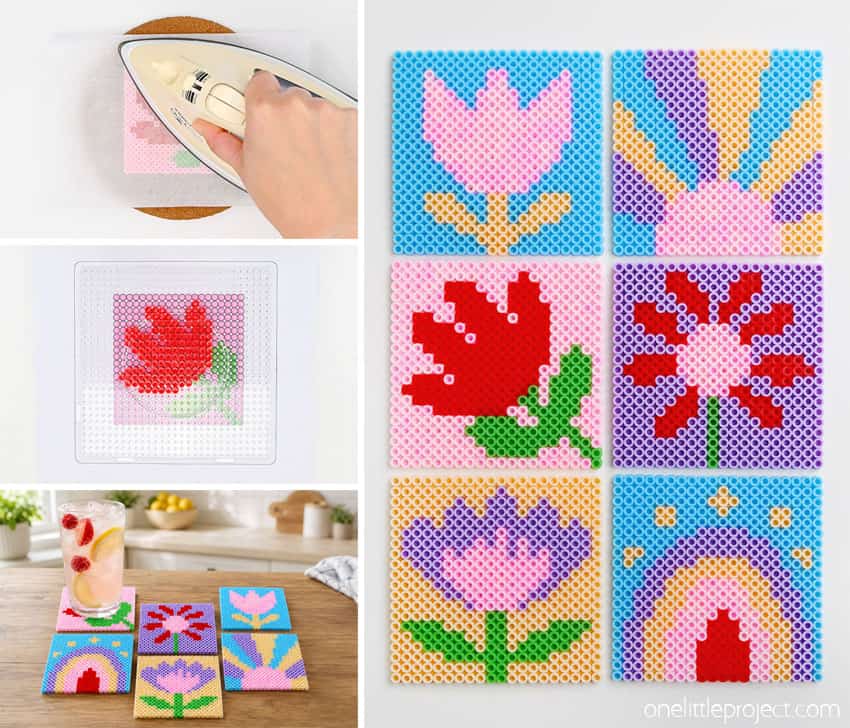
These Perler bead coasters are such a fun way to turn colourful fuse beads into something you can actually use! Make one design as a cheerful desk accessory, or create a whole matching set for your kitchen table, craft room, or coffee station.
Follow our free Perler bead coaster patterns or use the simple square format to create your own design. Either way, these bright handmade coasters are easy to personalize and make a great gift for anyone who loves unique and colourful crafts!
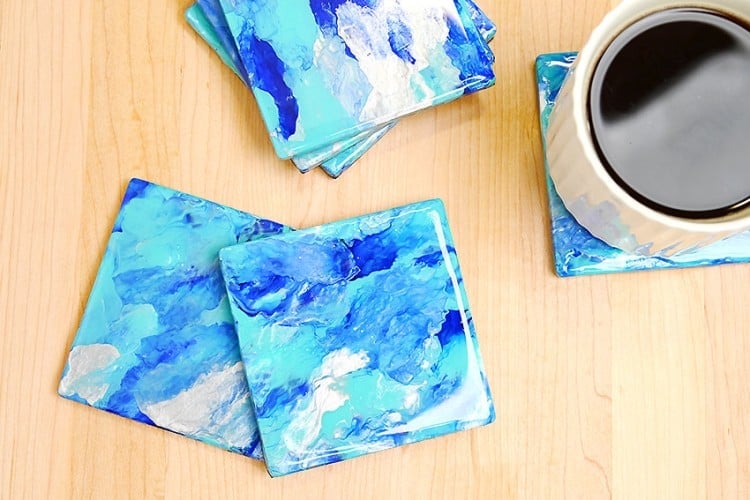
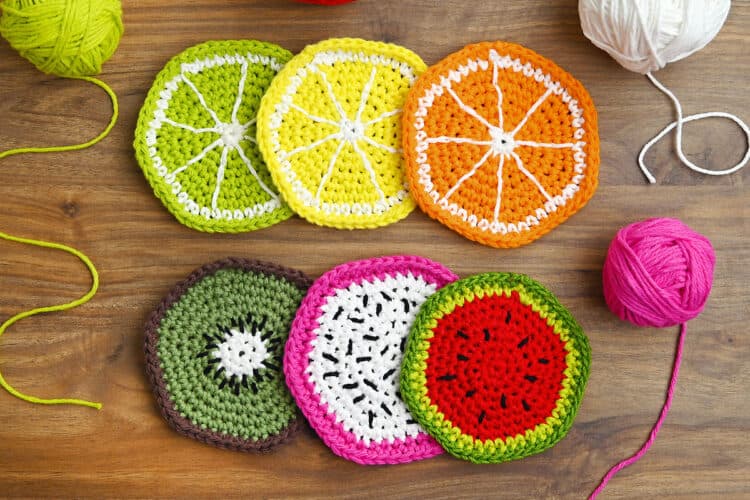
Here’s even more DIY coaster ideas:
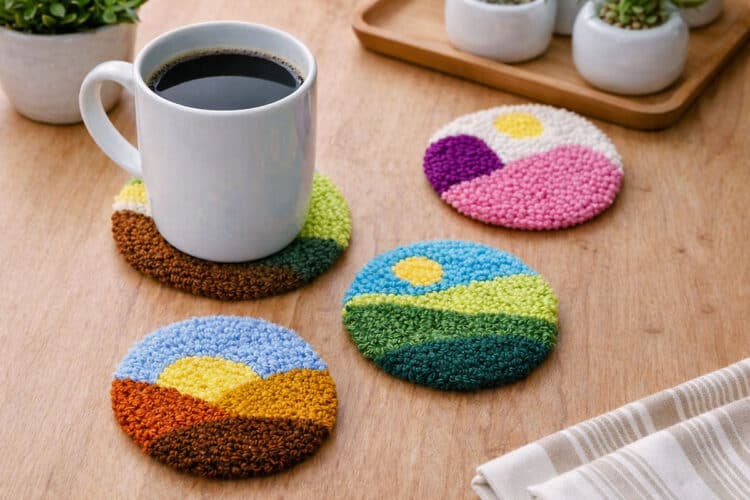
Punch Needle Landscape Coasters
Now available
Low-Mess Crafts for Kids Book
72 cute and fun crafts that kids and parents alike can enjoy. All with as little mess as possible!
Where to buy:
You can purchase Low-Mess Crafts for Kids from Amazon, or wherever books are sold:
Amazon | Barnes and Noble | Books-A-Million | Indiebound | Amazon Canada







Leave a Reply