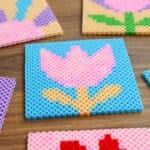
How to Make Perler Bead Coasters
Use our printable patterns to make these super cute Perler bead coasters. You can customize the colours to fit your decor, and they're really easy to make!
Yield: 1 Perler bead coaster
Cost: $2
Equipment
Materials
Instructions
Step 1: Find what you need
- Gather your supplies and materials.
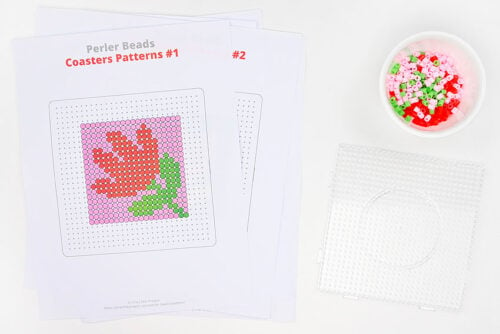
Step 2: Prepare your pegboard and beads
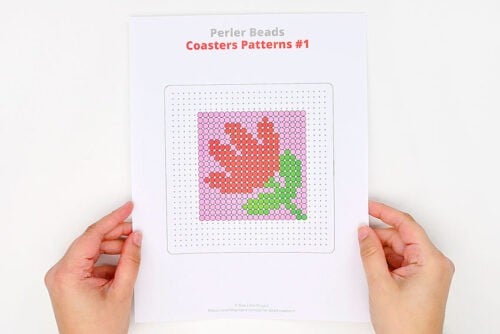
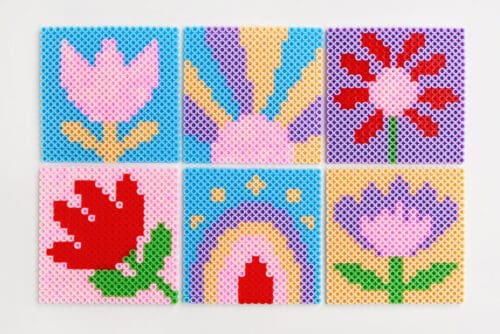
- Print our free Perler bead coaster patterns, or follow along with the template on your device’s screen. We have 6 coaster designs available.Find a link to the patterns in the materials list above with more details found below this tutorial.
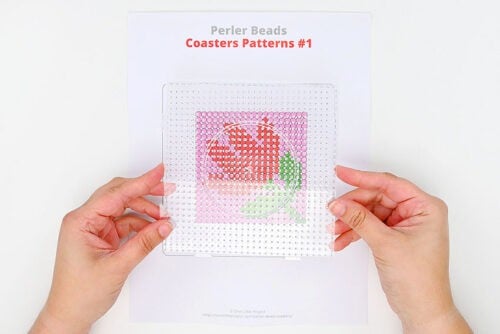
- To make these coasters you’ll need a large square pegboard. If you have a clear pegboard you can place it on top of the printed pattern to make it easier to follow along.
- You'll also need to gather the colours needed for your specific coaster. Feel free to change up the colours to match your tastes or decor!
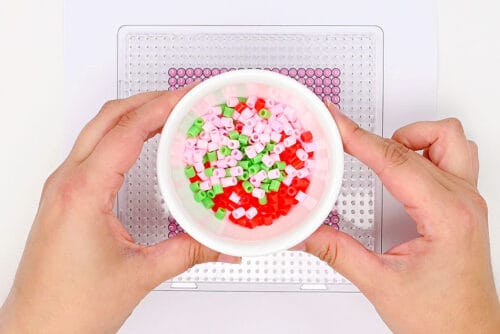
Step 3: Follow the pattern
- Begin placing beads according to the pattern.Optional: Use tweezers to place the Perler beads. It makes it easier to add the beads on specific pegs.
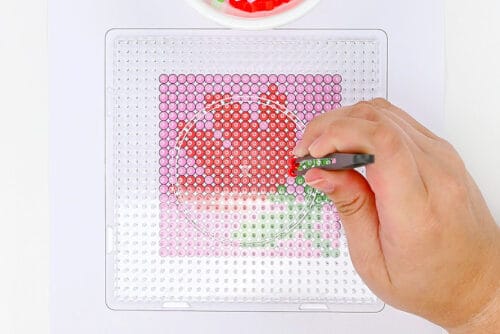
- Continue adding beads according to the pattern. We finished the flower bud on this coaster first, but you can add the beads in whatever order makes sense to you.
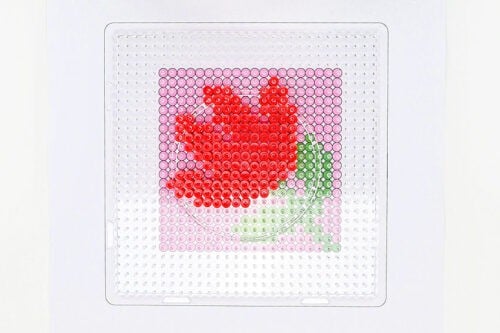
- Finish the design and compare it to the pattern one last time, to make sure it looks right and you’re happy with it.
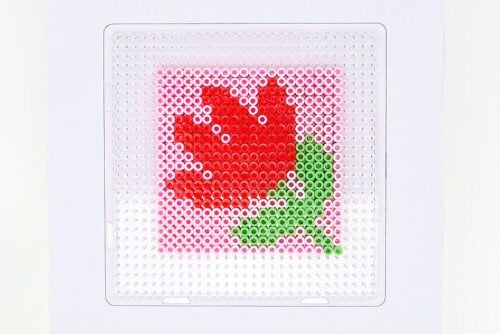
Step 4: Iron the design
- Place the pegboard on an ironing board or other heat-safe surface. Cover the Perler bead design with a piece of parchment paper.
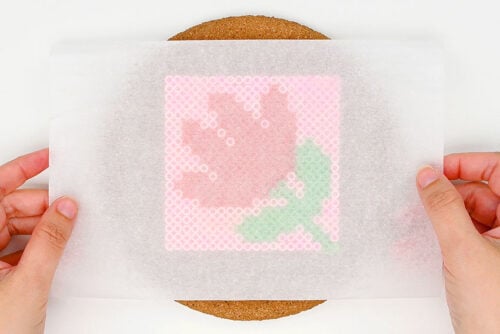
- Heat your iron to medium temperature, no steam. Place the iron on the parchment paper and move it around in circular motions for at least 15 to 20 seconds.
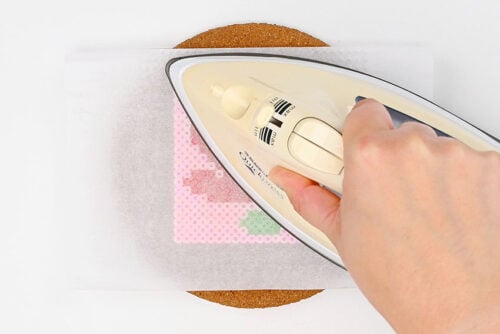
- Check the beads to see if they’re melted together. Continue to iron for another 10 to 20 seconds, if necessary.The beads are melted correctly when the parchment paper sticks to the beads and needs to be peeled away from them.
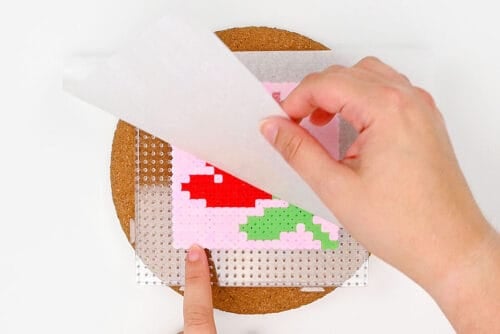
- Leave your design on the pegboard until it’s cool to the touch. When you remove it, place it under a stack of heavy books to stop it from warping as it cools completely.
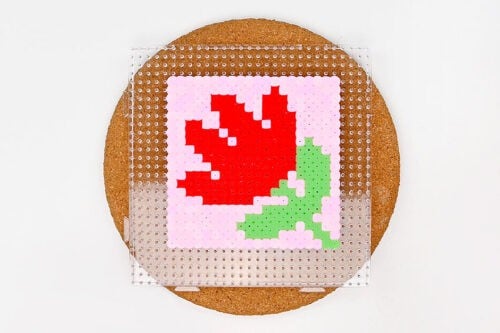
- Your Perler bead coaster is complete!
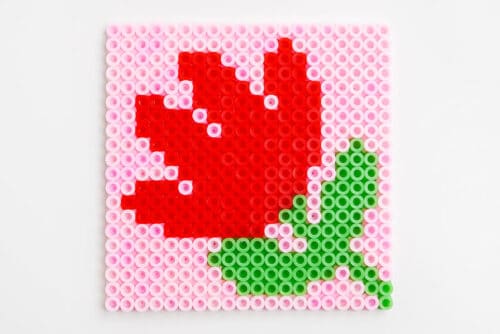
- Have fun making a whole set! You can make all the different coaster designs, or make multiple of one pattern.
Video
Notes
Looking for more ways to use your Perler beads? Here are a few of our favourite patterns:
Perler Bead Butterfly
Perler Bead Food
Mushroom Perler Beads