
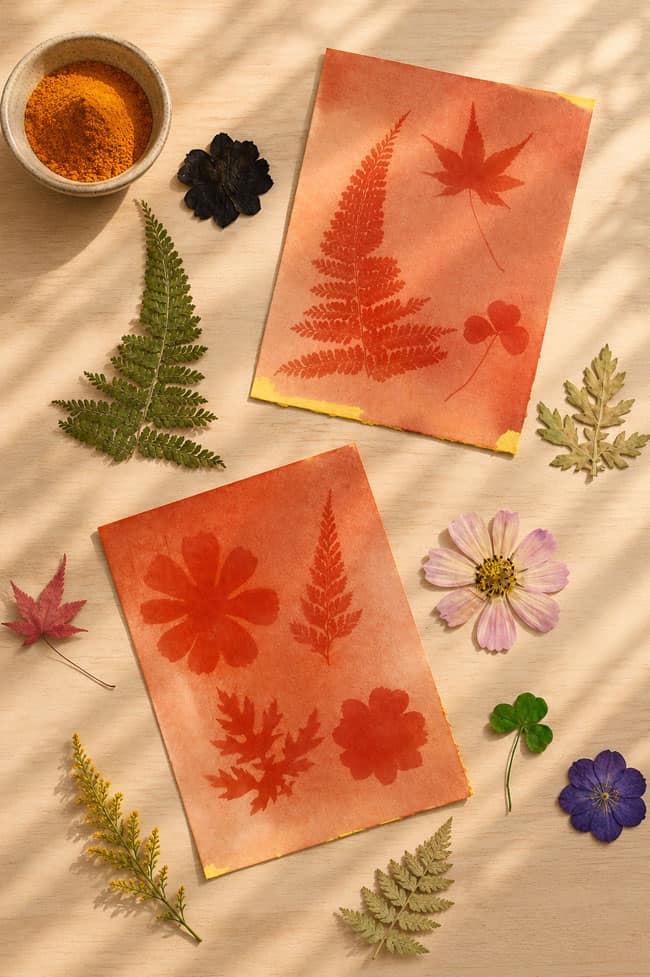
Turmeric sun printing is such a fun way to create your own beautiful botanical art! With only a few simple supplies, you can use turmeric’s bright colour and the power of sunlight to make gorgeous nature prints with soft red silhouettes of pressed flowers and leaves.
This easy and natural sun printing craft is part science experiment and part art project, perfect for kids, teens, and adults. Arrange items on the page and watch as the sun helps reveal their shapes on the turmeric-painted paper. The finished prints have a warm, earthy look and they make super pretty cards, gift tags, and wall art. So let’s get started on this simple nature craft!
This post contains affiliate links. If you use these links to buy something, we may earn a small commission at no extra cost to you. This helps support our website and allows us to keep creating fun, free content.
How to Make Turmeric Sun Prints
Equipment:
- Stir stick (or popsicle stick, or spoon)
Watch the step-by-step video tutorial:
Instructions:
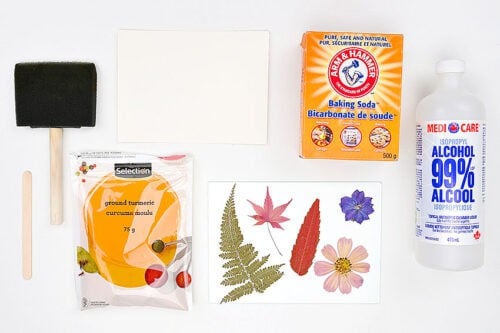
Step 1: Find what you need
- Gather your supplies and materials.

Step 2: Prepare the turmeric “paint”
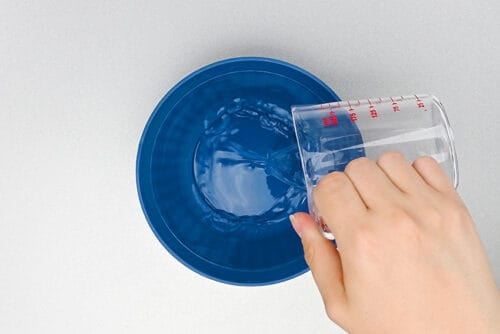
- Pour 25 ml (about 1-1/2 Tablespoons) of isopropyl alcohol into a bowl.

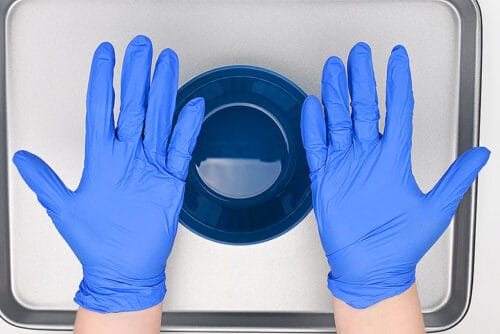
- Before working with turmeric we highly recommend wearing gloves and an apron. Turmeric likes to dye and stain everything it touches, so be cautious!
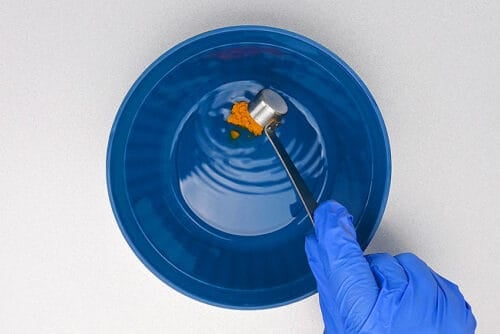
- Add 1/2 teaspoon turmeric powder into the rubbing alcohol.
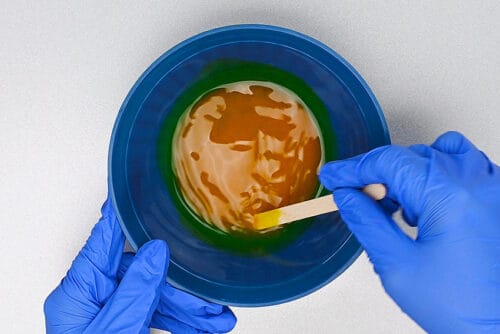
- Stir the turmeric into the alcohol using a popsicle stick or disposable spoon.
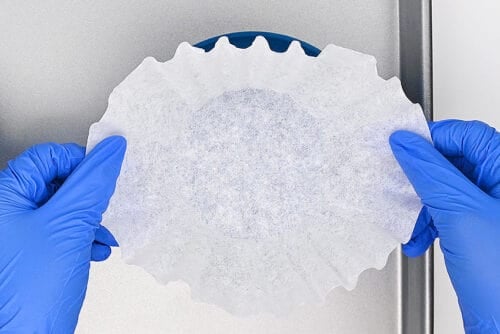
- Place a coffee filter over another bowl.
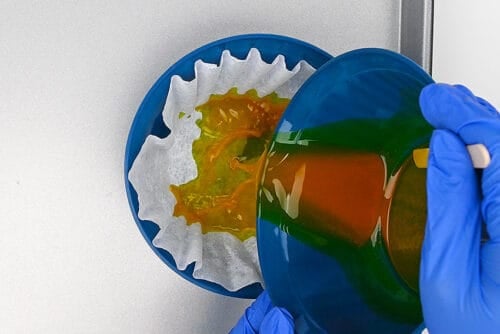
- Pour the turmeric mixture into the coffee filter.
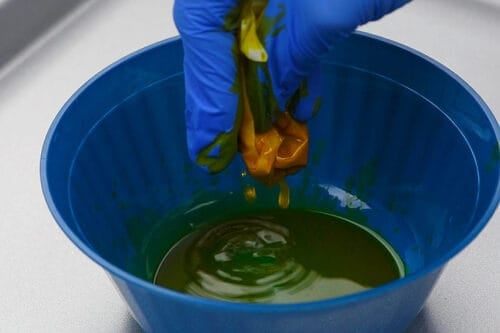
- Let the liquid drain through the coffee filter and squeeze out the excess moisture.The liquid in the bowl is what we’ll be using for this craft.
Step 3: Coat the paper
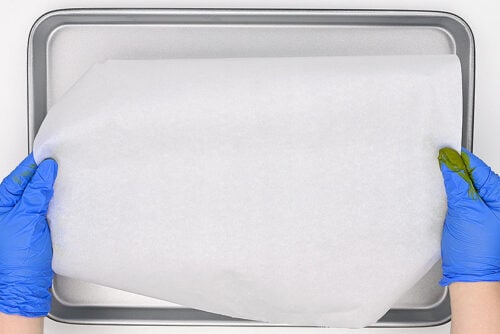
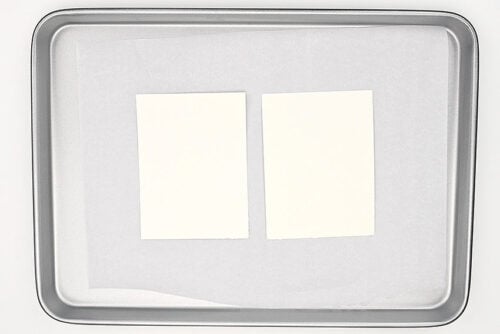
- Protect your working surface with a piece of parchment paper. (Again, turmeric likes to stain!)
- Cut watercolour paper to the size you’d like your prints to be and set them on the covered tray.
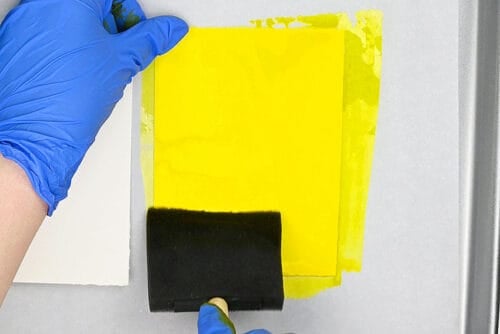
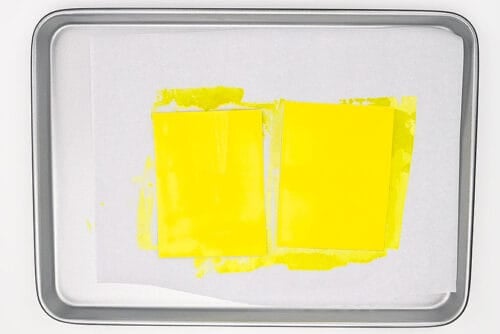
- Use a foam sponge brush to cover the paper in the turmeric “paint”. Cover the paper completely and evenly.
- Repeat with a second piece of paper (or however many prints you’d like to make) and allow the paper to dry completely. This should take about 30 to 45 minutes.Place the tray in a dark room or cupboard while the paper dries, so it doesn’t get exposed to too much light.
Step 4: Make and expose your design
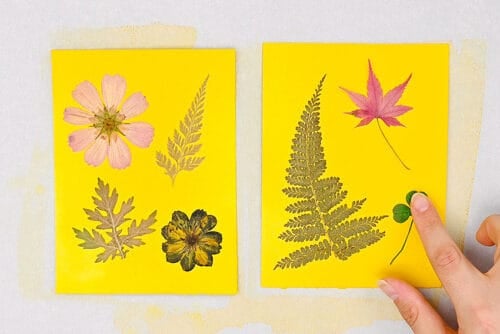
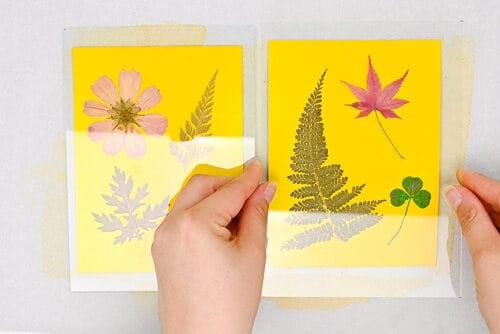
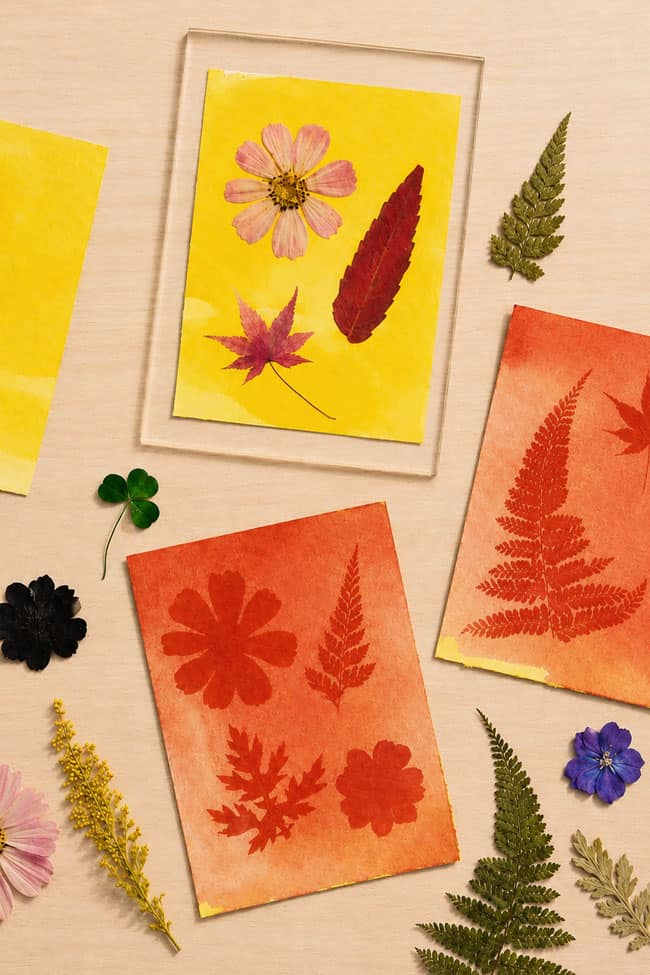
- Arrange pressed flowers or whatever else you’d like on the paper.
- Then cover the paper with pieces of glass. The glass should completely cover the paper.This will keep the flowers in place and press them down so no light gets under them.
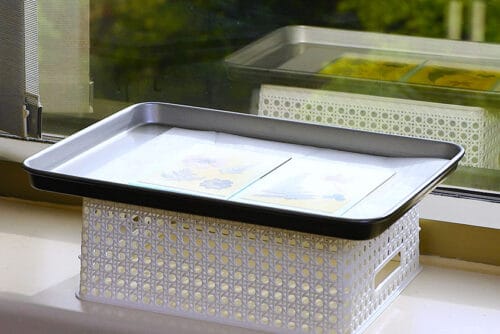
- Then set the tray in a sunny window (with direct sunlight) for at least 4 hours.
Step 5: Set the print
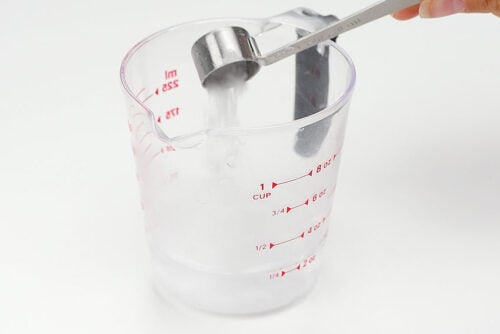
- Once your papers have sat long enough, add 1 teaspoon of baking soda into 1/4 cup warm water. Stir to dissolve it.
- Remove the glass and flowers from your papers.
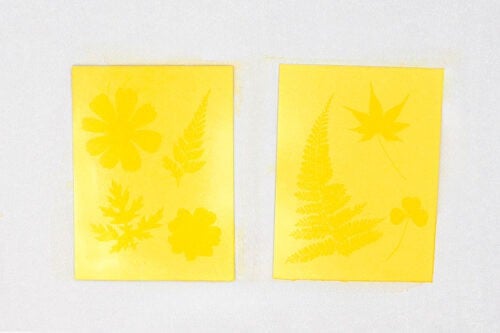
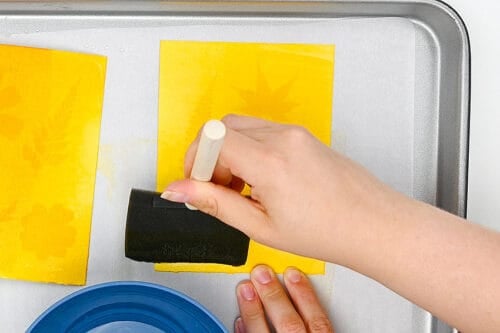
- Then use a sponge brush to apply the baking soda water onto the papers. Again, cover the entire paper and try to do this evenly.Allow to dry.
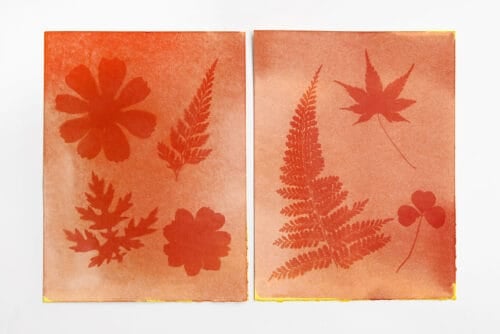
- Your turmeric sun prints are complete!
Helpful Tips:
- The amount of time your paper needs to sit in the sun will depend on how much direct sunlight you have. Bright, direct sunlight gives the best results, so try to make your turmeric sun prints when the sun is at its strongest. This will help create cleaner, crisper silhouettes.
- Use a sponge brush to apply both the turmeric solution and the baking soda or borax wash. A foam brush spreads the liquid more evenly across the paper, which gives the finished prints a cleaner look. Regular paintbrushes can leave streaks or uneven patches, creating blotchy areas on the print.
How does turmeric sun printing work?
Turmeric sun prints work because turmeric contains a natural pigment called curcumin, which changes colour when it reacts with a basic solution like baking soda or borax water. This is called a pH indicator reaction.
When the turmeric-coated paper sits in the sun, the uncovered areas are exposed to light, while the parts under the leaves, flowers, or other objects are protected. After you brush on the baking soda or borax wash, the turmeric changes colour and the covered shapes show up as botanical silhouettes. It’s a simple mix of art, sunlight, and science!
What items can you use to make sun prints with turmeric?
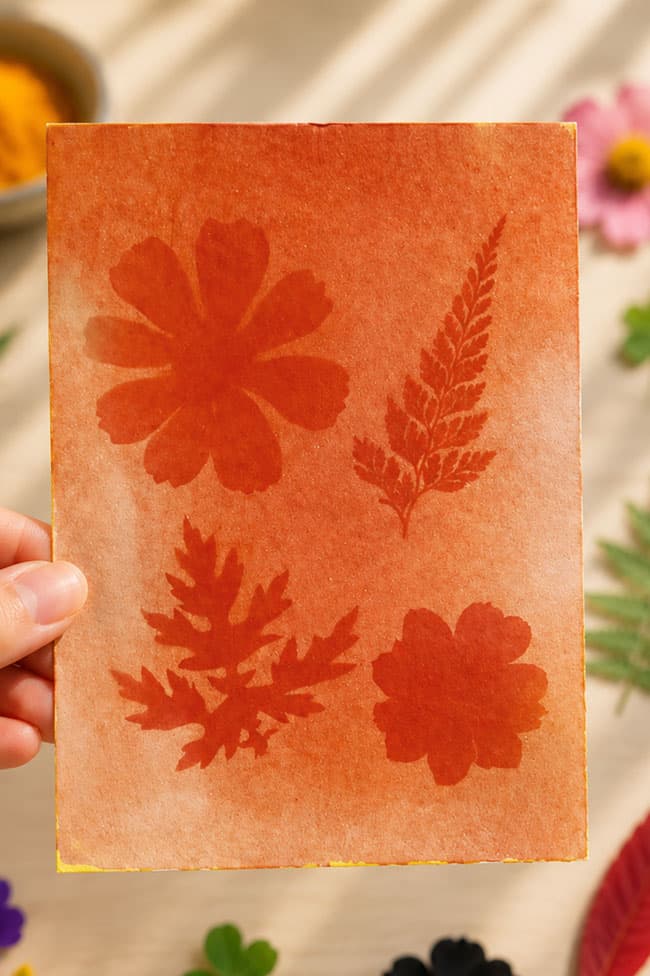
Pressed flowers and greenery work really well for turmeric sun prints because they create beautiful natural shapes. Ferns, leaves, clover, small flowers, and thin stems are all good options.
Flat items will give you the crispest prints, while thicker objects may leave softer, blurrier edges. You can also try using:
A picture printed on transparency film can also work, especially if it’s a strong, high-contrast image.
Should I use borax or baking soda to set my turmeric sun print?
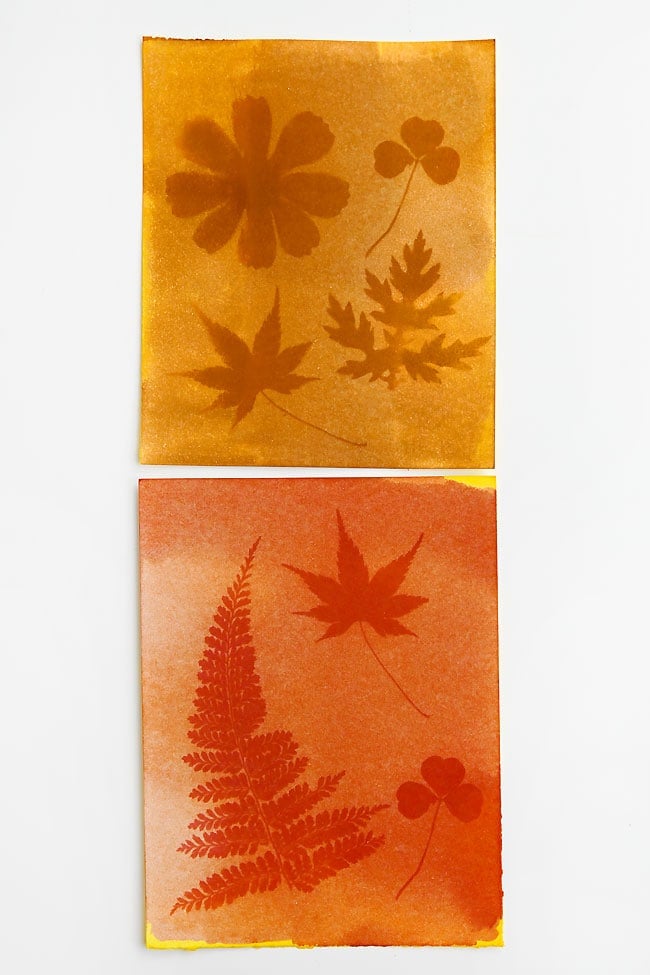
Both borax and baking soda work, but they give different results. Baking soda gave us a more even colour and turned the turmeric a pretty reddish-orange shade. Borax also worked, but the colour was more brown and the results were a little less even, which you can see in the picture below.
Can you use a UV light instead of the sun for turmeric sun painting?
Yes, a UV light can work for turmeric sun printing, but we found that real sunlight gave better results. The prints made in direct sunlight looked cleaner and less patchy, with crisper shapes.
A UV light is a good option if you want to try this craft indoors or if you don’t have much sunlight, but direct sun will usually give you the nicest finished print.
Do I need direct sunlight for turmeric sun printing?
Direct sunlight is highly recommended. A sunny window or outdoor spot with bright sunlight gave us the best results and the crispest transferred images.
You can place the paper in a window on a cloudy day and leave it for 24 to 48 hours, and it should still work. However, the finished print likely won’t be as clear or sharp as one made in direct sunlight.
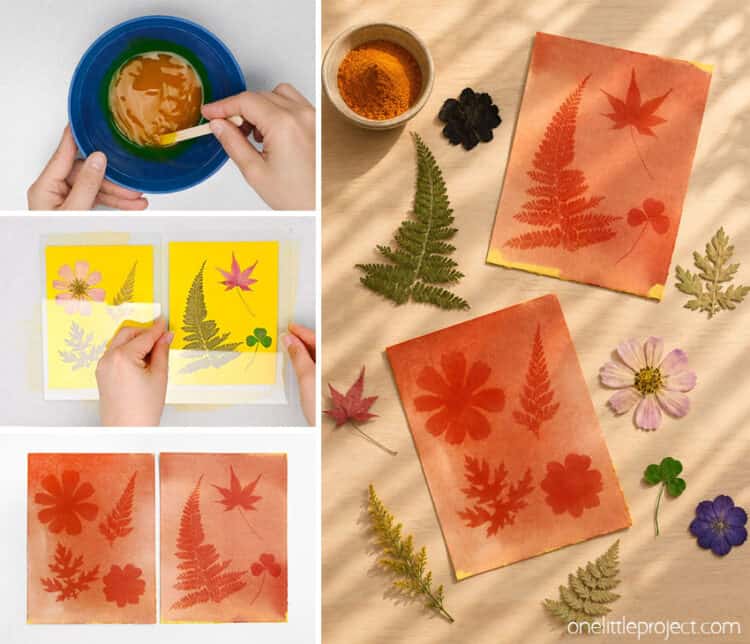
Turmeric sun printing is such a beautiful way to turn simple leaves and flowers into colourful botanical art. Each print turns out a little different depending on the sunlight, the shapes you use, and the way the turmeric reacts with the baking soda wash.
This is such a fun craft to experiment with on a bright sunny day. Try different pressed flowers, ferns, doilies, lace, or paper cutouts to see what kinds of silhouettes you can create!
Here’s even more pressed flower craft ideas:

Now available
Low-Mess Crafts for Kids Book
72 cute and fun crafts that kids and parents alike can enjoy. All with as little mess as possible!
Where to buy:
You can purchase Low-Mess Crafts for Kids from Amazon, or wherever books are sold:
Amazon | Barnes and Noble | Books-A-Million | Indiebound | Amazon Canada






Leave a Reply