
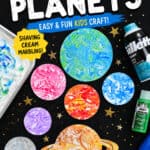
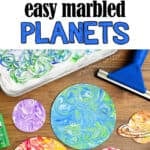
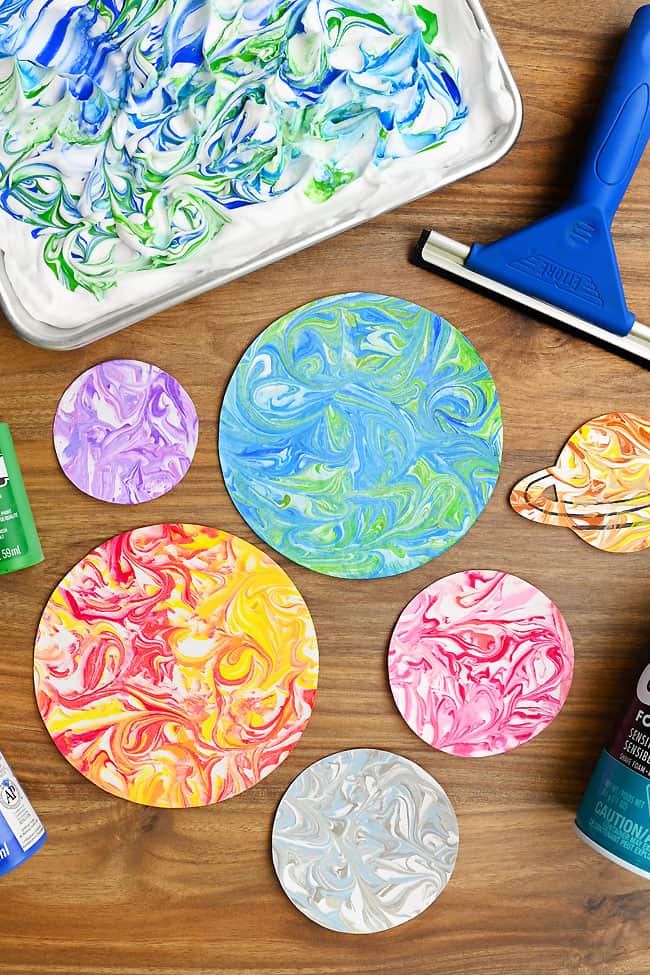
These marbled planets are colourful, swirly, and so fun to make with shaving cream and paint! Each cardstock planet has a one-of-a-kind marbled design, giving them a cool outer space vibe. Use our printable templates to make this kids craft that’s perfect for a solar system unit at school or a galaxy-themed art project.
This shaving cream planet art is simple enough for kids to make themselves, but the results look seriously amazing. Add your paint colours, swirl them through the shaving cream, and press your cardstock on top. Then enjoy the reveal: bright marble planets that look like they belong in the Milky Way or a galaxy far, far away.
This post contains affiliate links. If you use these links to buy something, we may earn a small commission at no extra cost to you. This helps support our website and allows us to keep creating fun, free content.
How to Make Marbled Planets
Materials:
- Free Printable Planet Templates
- Cardstock (or watercolor paper)
- Shaving cream
- Acrylic paint (several colours)
Equipment:
See the craft in action:
Instructions:
Step 1: Find what you need
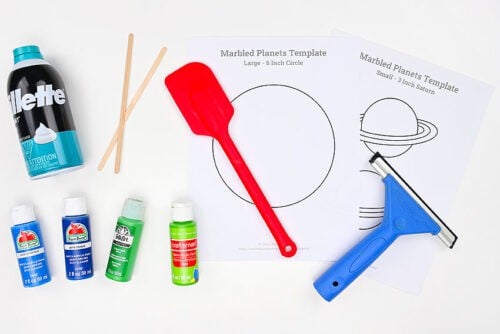
- Gather your supplies and materials.

Step 2: Print templates and prepare shaving cream
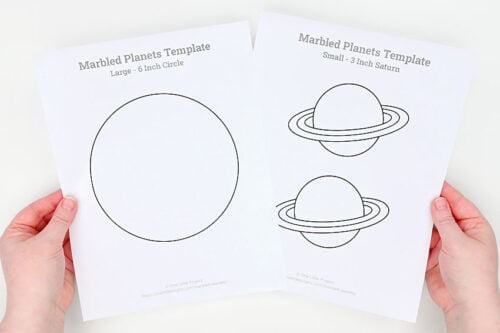
- Print one or more of our planet templates. Find one link in the materials list above, with more details below the tutorial.

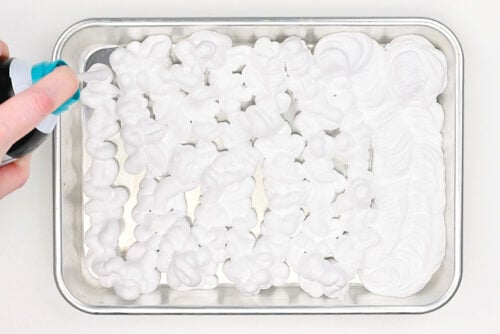
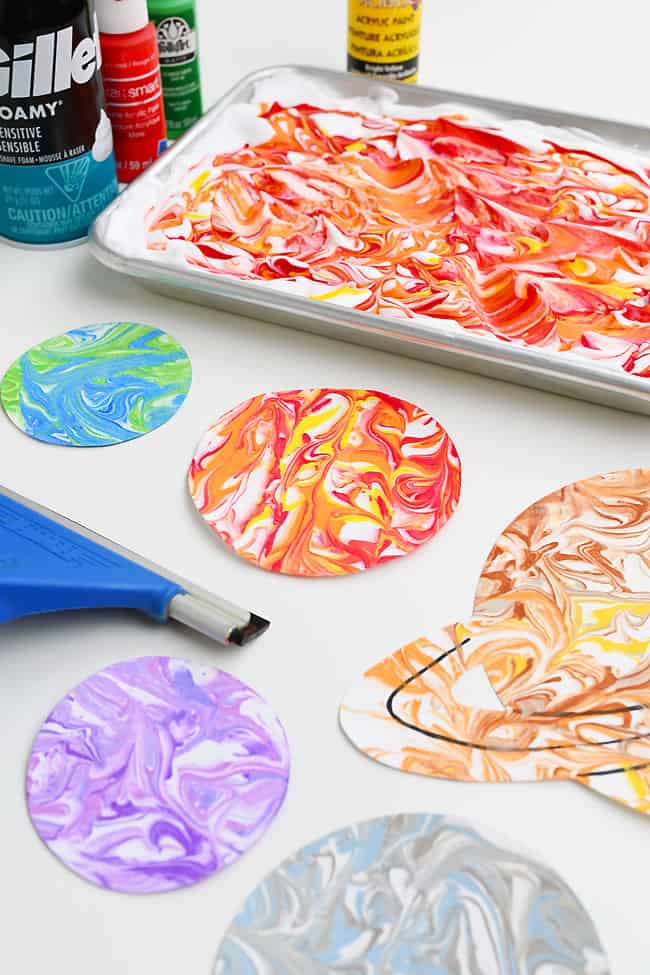
- Fill a baking sheet with foam shaving cream.
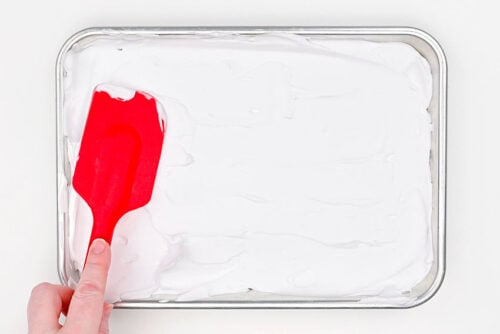
- Use a spatula to smooth out the top of the shaving cream, ensuring that it’s relatively level on the top.
Step 3: Add paint and swirl it
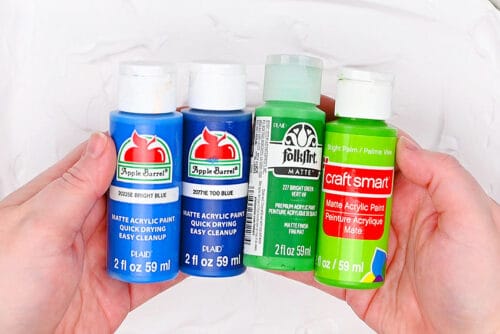
- Gather a few different colours of paint, or different shades of the same colours.
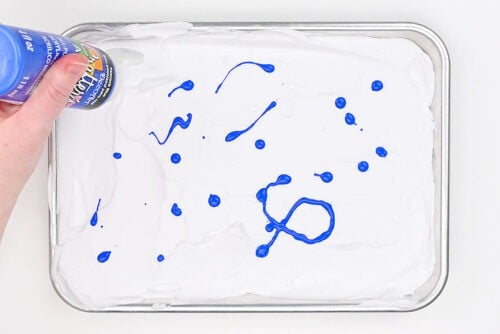
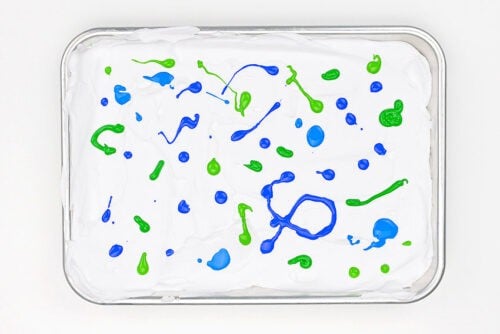
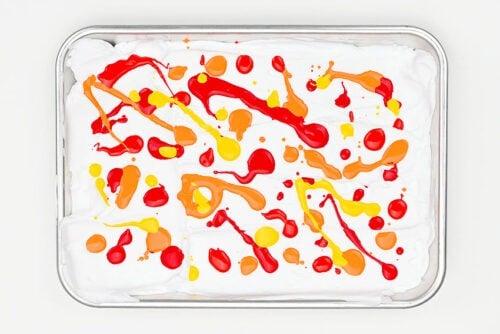
- Begin by adding one colour of paint to the tray. Add it in lines, dots, and globs, leaving some white space.
- Repeat, adding more colours to the shaving cream.(Note: We probably should have added a bit more colour to this tray. It’s definitely a fine line between leaving too much white space and not enough.)
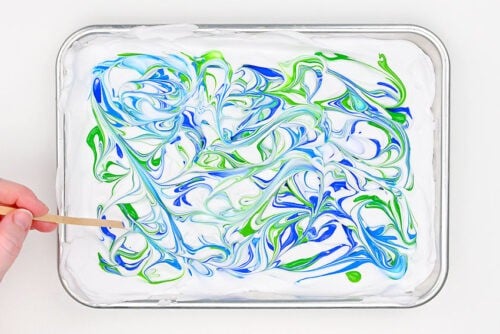
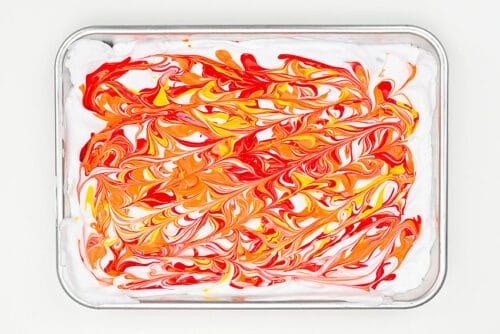
- Use a coffee stir stick (or popsicle stick) to swirl the paint into a marbled design.To do this, start by going back and forth in one direction (horizontally). Then repeat in the other direction (vertically).After that you can move your wrist around, almost like you’re conducting an orchestra or waving a magic wand. This will create the marbled swirls.
Step 4: Make a planet Earth print
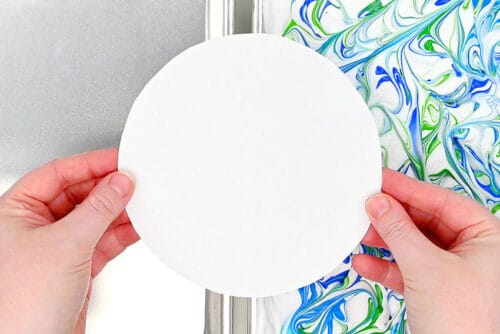
- Begin by tracing the planet template onto cardstock or watercolor paper and cutting it out.(You can also print the template on cardstock.)
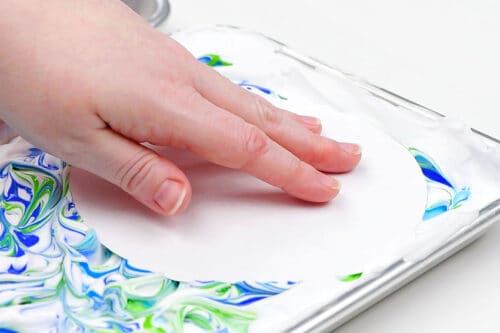
- Press the paper onto the marbled paint. Move your fingers around to ensure the whole paper gets covered and leave it for 5 to 10 seconds.(Hint: If your paper has a black outline or pencil marks, keep this side up!)
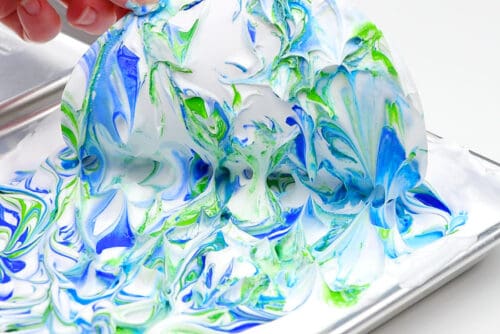
- Then gently peel the paper out of the shaving cream.
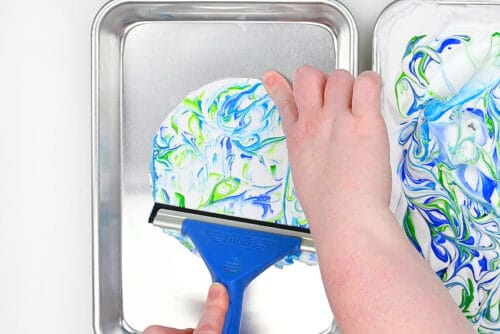
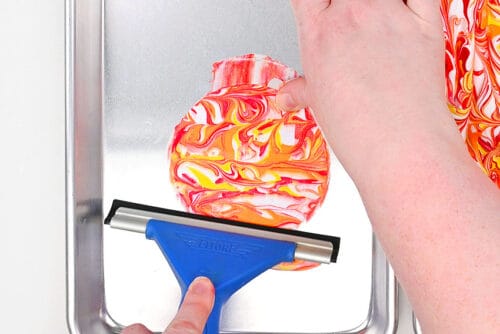
- Place the paper on another tray and use a squeegee to remove the shaving cream and excess paint. You’ll need to hold the top of the paper while you do this.With a little bit of pressure, slide the squeegee down the planet shape and see the colours revealed!
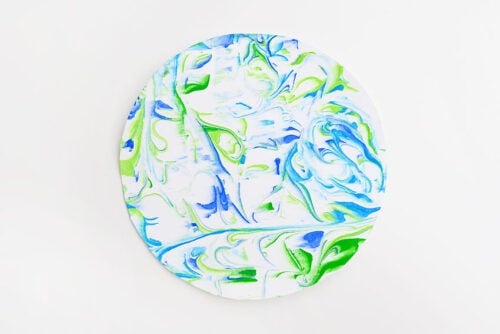
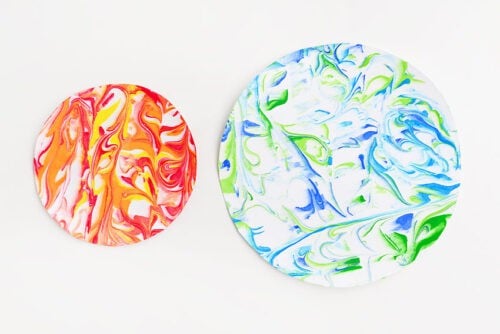
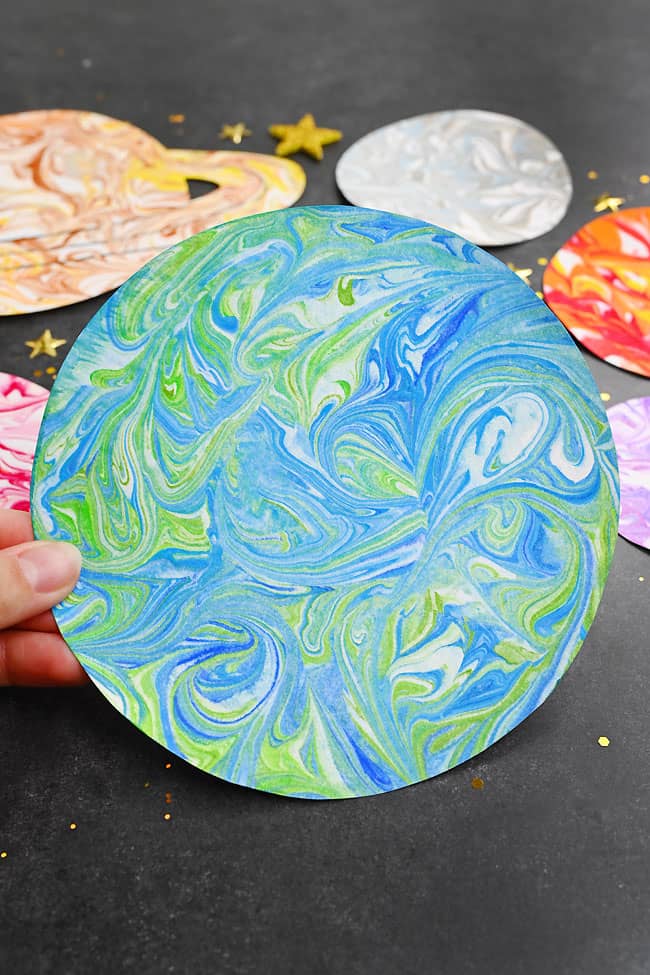
- Your marbled planet Earth is complete!
Step 5: Make planet Mars
- You can also use red, orange, and a bit of yellow paint to represent Mars.(Note: Don’t use too much yellow, because red and yellow make orange — meaning you’ll have a lot of orange on your planet.)
- Use the other side of the stir stick (or a new one) to swirl the paint.(You can see with this tray that we got a bit better coverage with less white space.)
- Place another planet shape in the paint and then use the squeegee to reveal the image.It’s very important to wipe off (or entirely clean) the squeegee before using new paint colours.
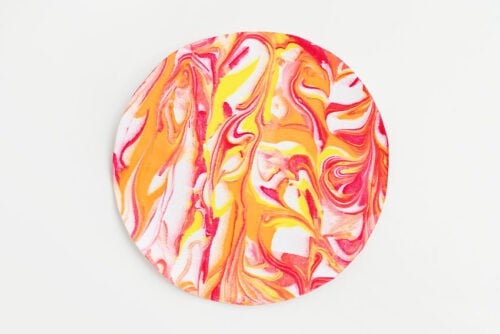
- Your marbled planet Mars is complete!
- Have fun making different sizes of marbled planets!
Helpful Tips:
- Have paper towels or a damp rag nearby while you work. This craft can get messy, especially when you’re scraping away the shaving cream and wiping off the squeegee between planets.
- Try adding metallic paint (like gold or silver) along with your colours to give the planets a shimmery outer space effect.
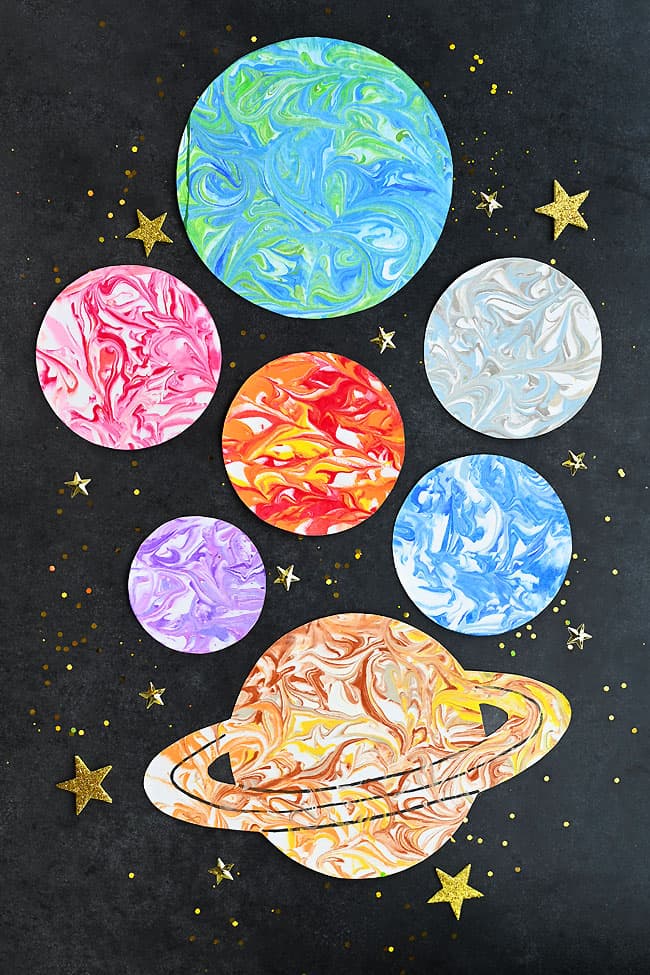
- You can make your marbled planet look like a real planet, such as Earth, Mars, Jupiter, or Saturn, or you can create your own colourful imaginary planet!
Download our free planet outlines:
Click on the links below to download our free, printable marbled planets templates! The 3 page PDF files will open in a new window. Then simply print the templates on 8.5 x 11 (letter size) printer paper or cardstock.
>> Planet Templates <<
>> Saturn Templates <<
For the Saturn templates you can use a marker to draw the ring details, either before or after the paint is added.
What type of paint should I use to make marbled planets?
Acrylic paint works really well for this shaving cream marbling activity. Inexpensive dollar store acrylic paint is a great option because it comes in lots of colours, and tends to be thin enough to spread nicely across the shaving cream.
You can also try tempera paint, liquid watercolour paint, or even food colouring. Just keep in mind that these paints and methods of colouring have different thicknesses, so they spread a little differently.
Can I make marble paint planets without a squeegee?
A squeegee gives you the best control because the handle is easy to grip, and it helps you apply even pressure as you scrape away the shaving cream. We do recommend grabbing one at the dollar store if you don’t already have one, but you can still make marbled planets without one.
A plastic ruler, old gift card, or putty knife will also work. Choose something with a straight edge that’s easy to hold and wide enough to scrape across the whole planet shape.
Can I reuse the paint and shaving cream?
Yes, you can press paper into the same shaving cream and paint mixture a few times.
However the marbled effect will be the boldest and most defined with the first print, right after the paint has been freshly swirled. As you keep reusing the same shaving cream, the colours will blend together more, creating softer or muddier designs.
What can I do with my marbled planets art?
You can use the finished marbled planets for all kinds of space crafts and art projects. Glue them onto black construction paper and add paper stars and moons to create a whole galaxy scene. You can turn them into a solar system display or mobile, or decorate a classroom bulletin board with them.
You can use this concept for an Earth Day craft, a fun part of an outer space unit at school, or as a STEAM activity for kids.
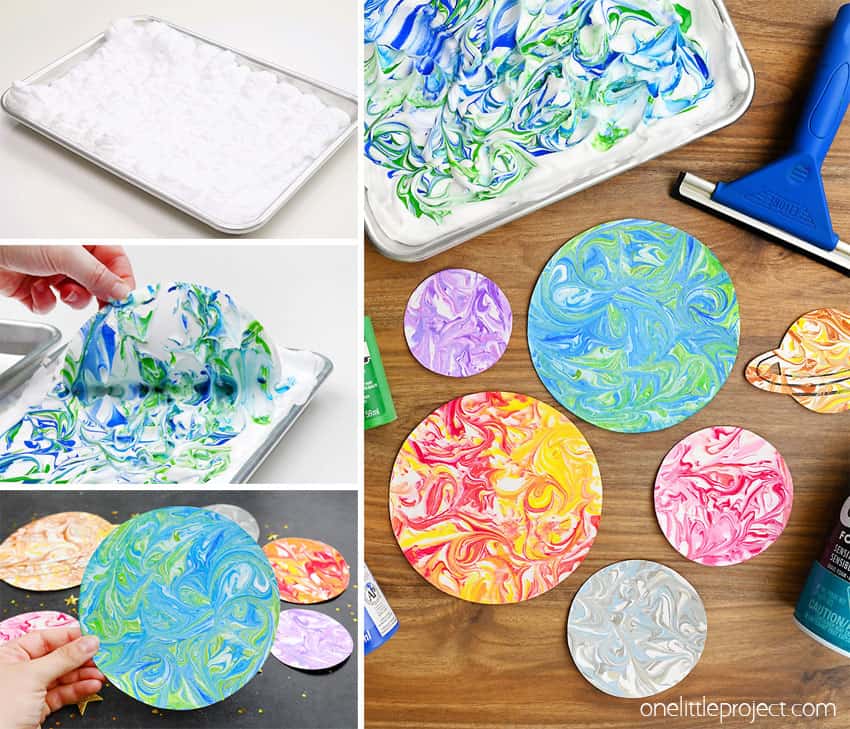
This marbled planets craft is such a fun way to mix art and outer space into one colourful project. Every planet turns out different, with swirls of paint that look like clouds, craters, storms, and faraway galaxies.
Whether kids make real planets or invent their own, this shaving cream marbling activity is easy, creative, and full of surprise. It’s a great space craft for home, school, or anytime you want a messy, hands-on art project with out-of-this-world results!
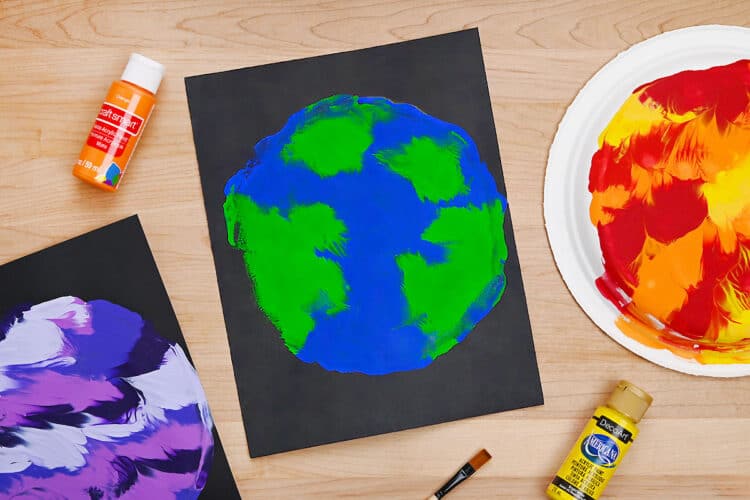
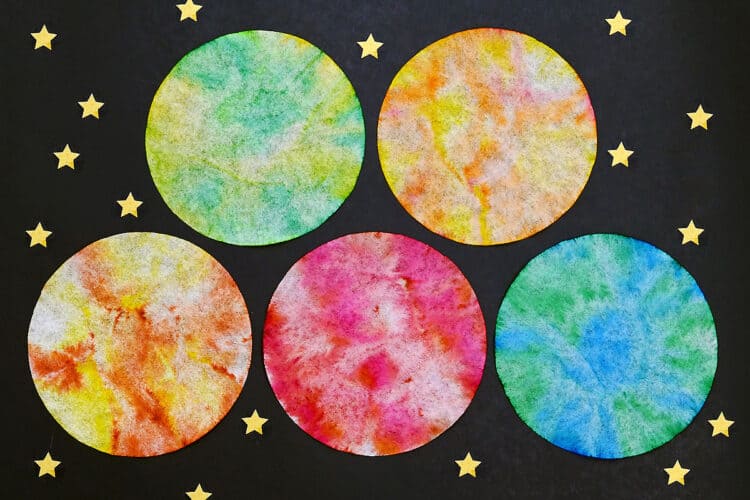
Here’s even more planet craft ideas:

Now available
Low-Mess Crafts for Kids Book
72 cute and fun crafts that kids and parents alike can enjoy. All with as little mess as possible!
Where to buy:
You can purchase Low-Mess Crafts for Kids from Amazon, or wherever books are sold:
Amazon | Barnes and Noble | Books-A-Million | Indiebound | Amazon Canada






Leave a Reply