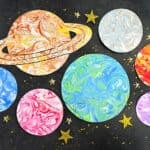
How to Make Marbled Planets
Use our printable templates and a few other simple supplies to make these pretty marbled planets. These paper planets are easy to make, and each one turns out different than the last!
Yield: 2 marbled planets
Cost: $1
Materials
- Free Printable Planet Templates
- Cardstock (or watercolor paper)
- Shaving cream
- Acrylic paint (several colours)
Instructions
Step 1: Find what you need
- Gather your supplies and materials.
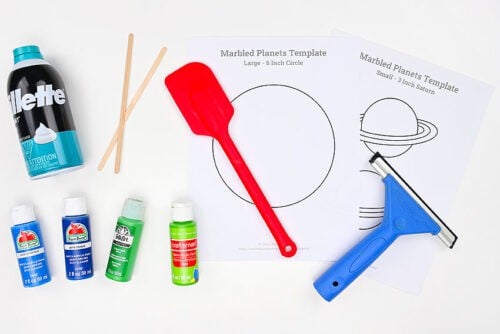
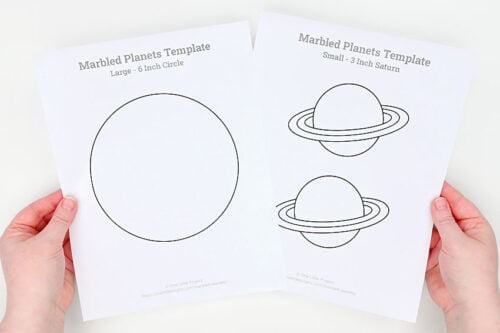
Step 2: Print templates and prepare shaving cream
- Print one or more of our planet templates. Find one link in the materials list above, with more details below the tutorial.
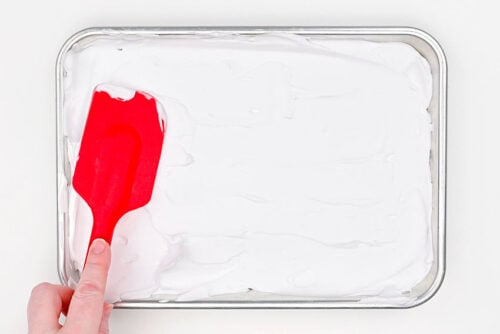
- Fill a baking sheet with foam shaving cream.
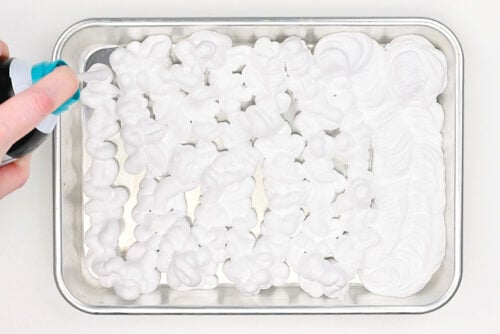
- Use a spatula to smooth out the top of the shaving cream, ensuring that it's relatively level on the top.
Step 3: Add paint and swirl it
- Gather a few different colours of paint, or different shades of the same colours.
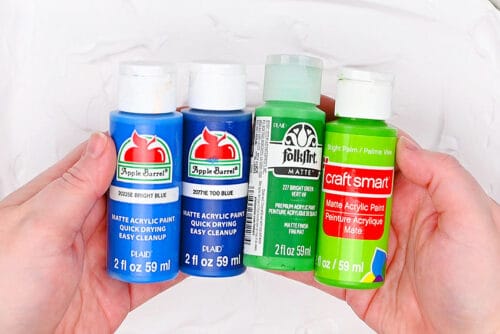
- Begin by adding one colour of paint to the tray. Add it in lines, dots, and globs, leaving some white space.
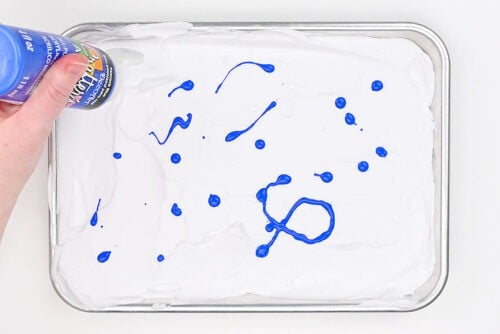
- Repeat, adding more colours to the shaving cream.(Note: We probably should have added a bit more colour to this tray. It's definitely a fine line between leaving too much white space and not enough.)
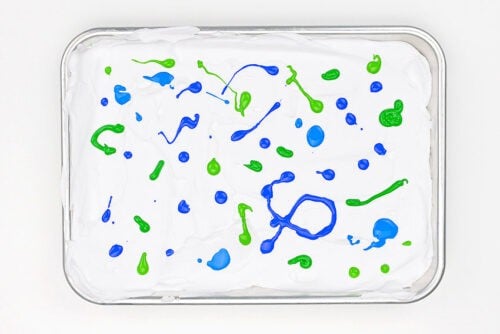
- Use a coffee stir stick (or popsicle stick) to swirl the paint into a marbled design.To do this, start by going back and forth in one direction (horizontally). Then repeat in the other direction (vertically).After that you can move your wrist around, almost like you're conducting an orchestra or waving a magic wand. This will create the marbled swirls.
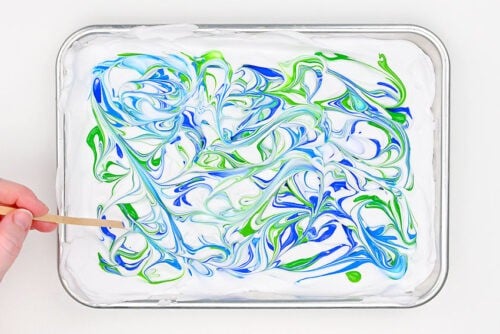
Step 4: Make a planet Earth print
- Begin by tracing the planet template onto cardstock or watercolor paper and cutting it out.(You can also print the template on cardstock.)
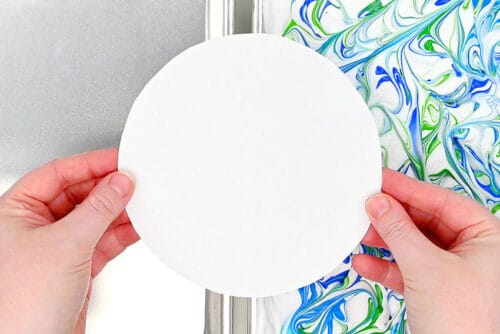
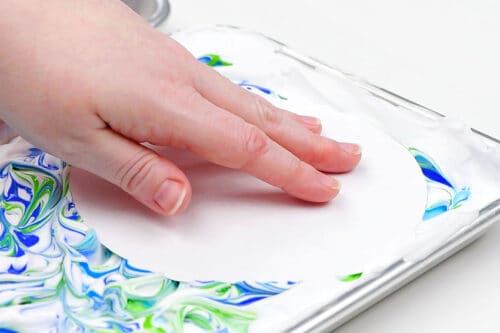
- Press the paper onto the marbled paint. Move your fingers around to ensure the whole paper gets covered and leave it for 5 to 10 seconds.(Hint: If your paper has a black outline or pencil marks, keep this side up!)
- Then gently peel the paper out of the shaving cream.
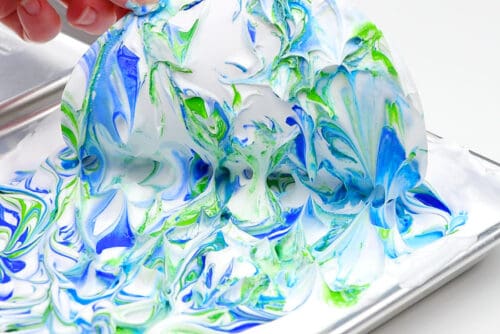
- Place the paper on another tray and use a squeegee to remove the shaving cream and excess paint. You'll need to hold the top of the paper while you do this.With a little bit of pressure, slide the squeegee down the planet shape and see the colours revealed!
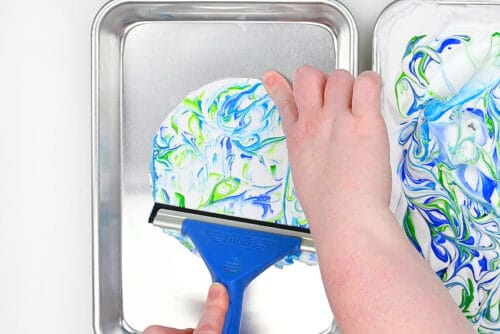
- Your marbled planet Earth is complete!
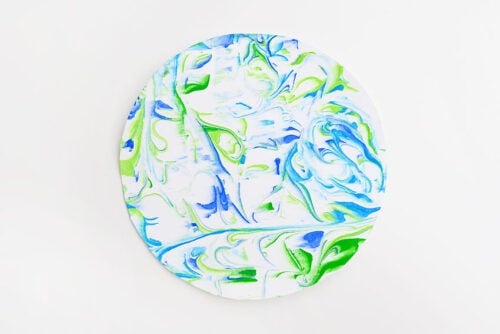
Step 5: Make planet Mars
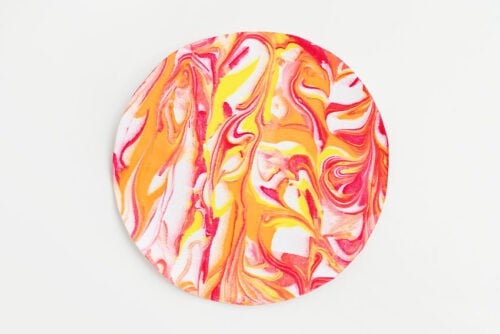
- You can also use red, orange, and a bit of yellow paint to represent Mars.(Note: Don't use too much yellow, because red and yellow make orange -- meaning you'll have a lot of orange on your planet.)
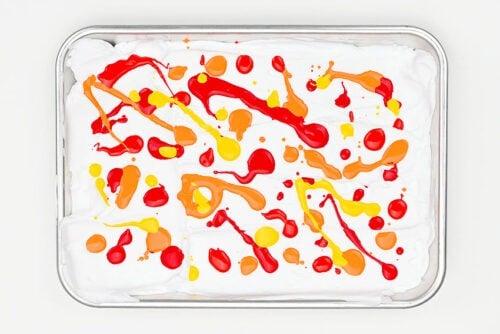
- Use the other side of the stir stick (or a new one) to swirl the paint.(You can see with this tray that we got a bit better coverage with less white space.)
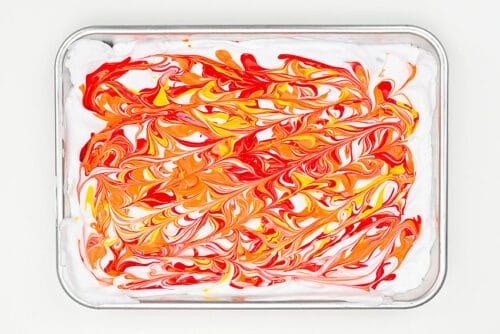
- Place another planet shape in the paint and then use the squeegee to reveal the image.It's very important to wipe off (or entirely clean) the squeegee before using new paint colours.
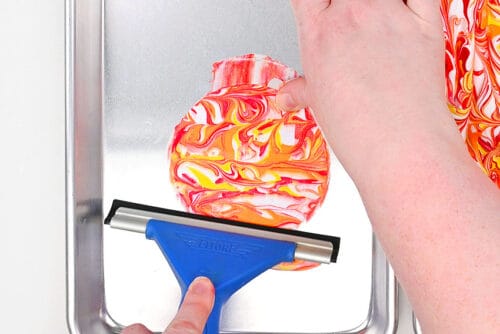
- Your marbled planet Mars is complete!
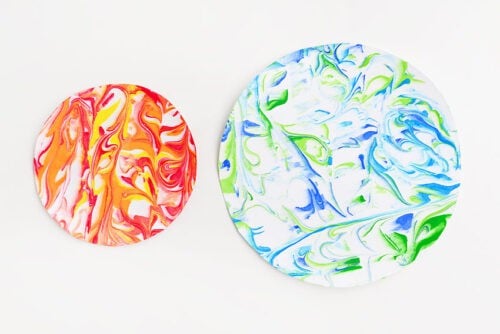
- Have fun making different sizes of marbled planets!
Video
Notes
Looking for more shaving cream art? Here's a few of our favourites:
Puffy Sidewalk Paint
Shaving Cream Fireworks
Marbled Shaving Cream Hearts