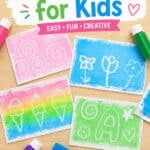
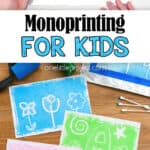
Monoprinting for kids is such a fun way to make colourful art, because every print turns out a little different! Kids can paint simple designs onto foil, then press paper on top to reveal a one-of-a-kind print filled with swirls, shapes, and bright colours.
This easy process art activity is perfect for experimenting with colour, texture, and print making. You can draw whatever design you like and capture the print on paper with this simple process that’s easy to do over and over. Just press, peel, and start again. It’s so much fun!

This post contains affiliate links. If you use these links to buy something, we may earn a small commission at no extra cost to you. This helps support our website and allows us to keep creating fun, free content.
How to Make Monoprints for Kids
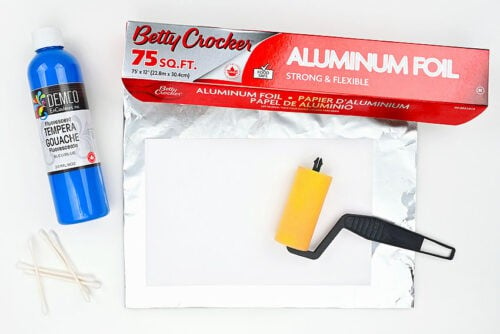
Materials:
See the craft in action:
Instructions:
Step 1: Find what you need
- Gather your supplies and materials.

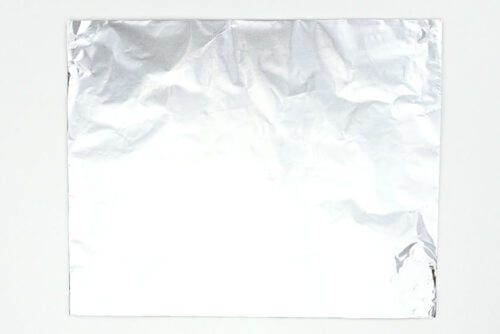
Step 2: Set up your paint surface
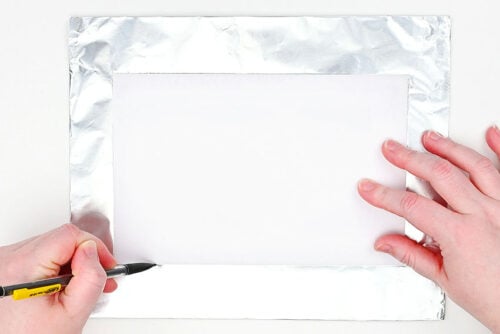
- Rip off a piece of aluminum foil for the printing surface. Make sure it’s big enough for your paper to fit on.We also folded the edges under so there weren’t any sharp edges.
- Next, trace your paper on the foil. You’ll need to use cardstock, watercolor paper, or mixed media paper for your printing.
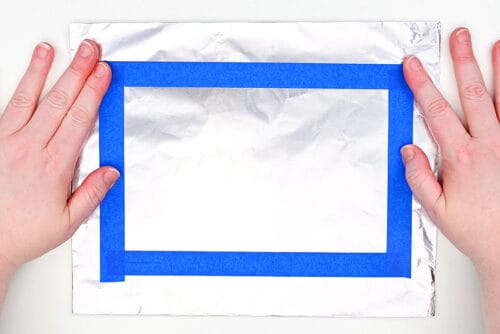
- Make a “frame” on the foil using painter’s tape. You can place the tape outside the traced lines or just a bit inside.
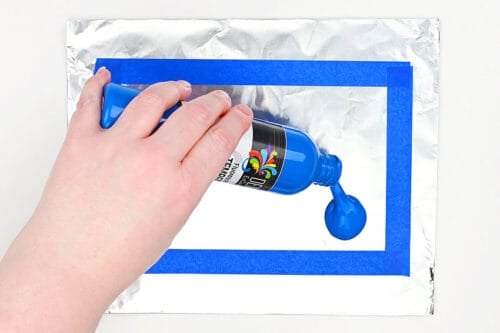
- Add tempera paint to the foil, inside the tape lines.

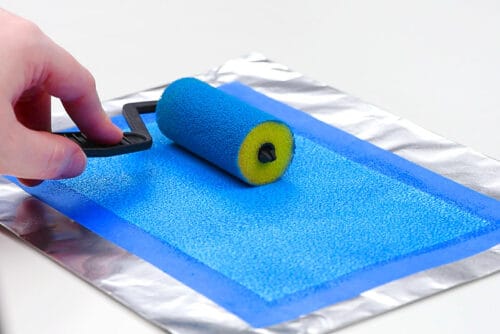
- Use a foam roller brush to spread the paint evenly inside the frame. You should have a nicely covered area, but not too thick a layer of paint.
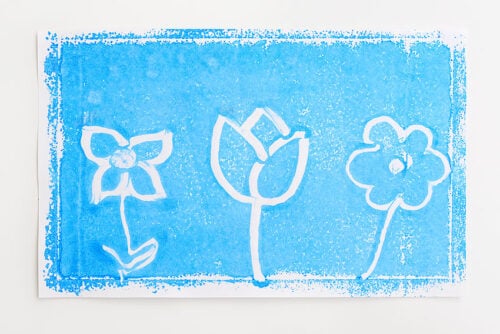
Step 3: Draw your picture
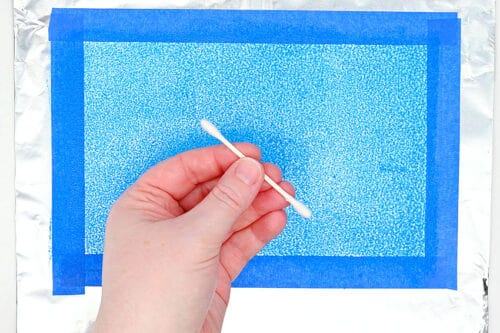
- To make your picture, grab a few Q-tips (cotton swabs).Keep in mind that Q-tips aren’t all the same. Some seem to have more cotton on the ends, giving you a thicker, soft “paintbrush”. Other Q-tips will have a more firm end, meaning you can do thin details.
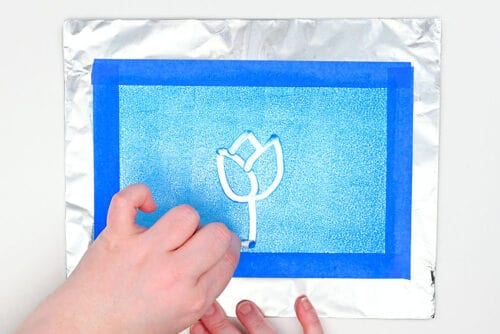
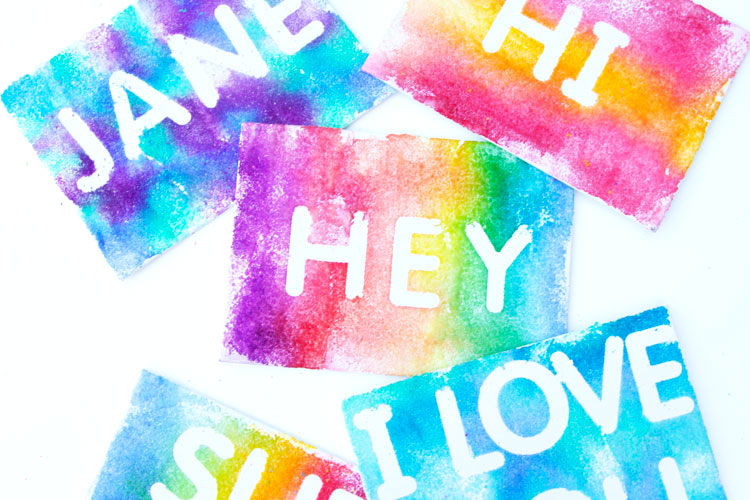
- Begin drawing in the paint with the Q-tip.Keep in mind that whatever you draw will be mirrored onto the paper, so if you want to draw your name or any specific details, they’ll need to be drawn backwards. That’s why it’s easiest to draw simple items that look good both ways.
- Try to use a different angle of the Q-tip for each line so the paint is removed cleanly.You can use both ends of the Q-tip to paint, or even switch to a new Q-tip partway through the picture if needed.

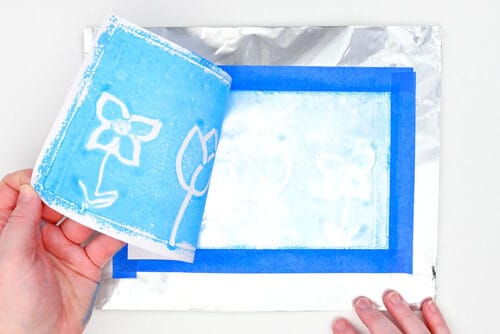
Step 4: Make the monoprint
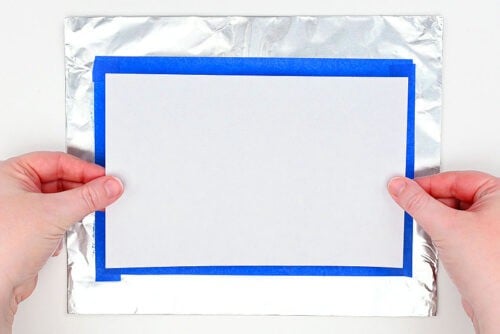
- Now line up the paper, centering it over your picture.
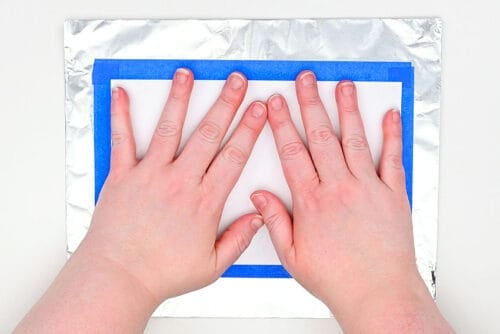
- Push the paper down onto the foil and use your hands to pat it down. Try to press down on all areas, but don’t swipe back and forth. That can move the paint around, covering your drawing.
- Now peel the paper up to reveal the transferred print.
- Your monoprint is complete!
Helpful Tips:
- The cardstock may curl up as the paint dries. You can flatten the finished monoprint by placing it under a stack of books or other heavy objects once the paint is dry. You can also place the print between pieces of parchment paper and iron it on low heat to help smooth it flat.
- You can reuse the same piece of foil for multiple prints! Add more of the same paint colour, wipe the foil clean and start again, or add new paint on top of the dried surface from a previous print for a layered effect.

What can I use as a base for monoprinting?
We used aluminum foil as the printing base for this monoprinting activity, but there are several other smooth surfaces that will work. You can also use a foam food tray (like a clean bakery tray or meat tray), an acrylic sheet, or the glass from a picture frame.
The best base is something smooth, flat, and non-porous so the paint stays on the surface long enough to transfer to the paper.

What type of paint is best for monoprinting with kids?
We highly recommend tempera paint or kids washable craft paint for monoprinting with kids. It’s thinner than acrylic paint, so it spreads easily across the foil and transfers well onto the paper.
Washable paint is also a great choice for younger kids because it’s easy to clean up and non-toxic. If you only have acrylic paint (which is also non-toxic), you can still use it, but we recommend watering it down slightly so it rolls on more smoothly without using too much paint.

Why didn’t my monoprint work?
Monoprinting takes a little experimenting to get right, and the amount of paint makes a big difference. If there’s too much paint on the foil, the design may smudge when you transfer it to the paper. If there isn’t enough paint, you may end up with a lot of blank spots in your print.
The way you press the paper also matters. Try not to slide your hands around or rub the paper too much, since this can blur the design. We found that pressing straight down with gentle, even pressure works best for making a clean print.
The good thing is, the process is so simple that it’s easy to try again until your print looks just like you want it to!

Monoprinting is one of those magical art activities where the best part is the surprise at the end. Lift the paper, peek at the print, and suddenly you’ve created something completely one-of-a-kind.
Make a few prints in different colours, try new designs, or layer one print on top of another to see what happens. This easy monoprinting activity gives kids the freedom to experiment, play with paint, and enjoy the process — smudges, surprises, and all.
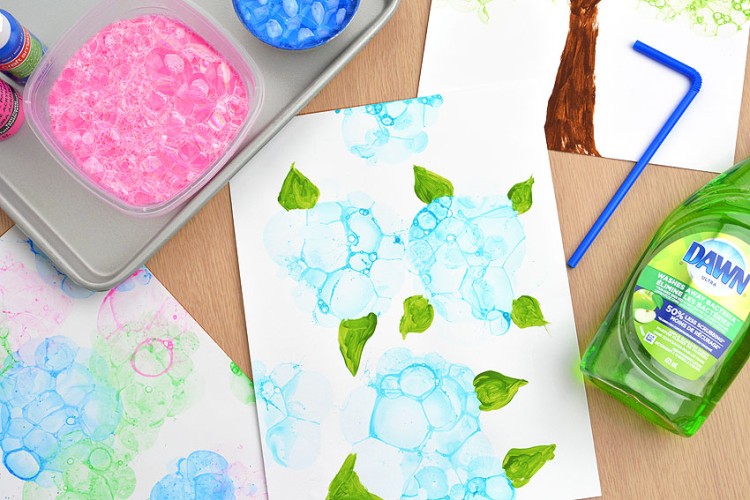
Here’s even more process art ideas:


Watercolor Printing using Markers

Now available
Low-Mess Crafts for Kids Book
72 cute and fun crafts that kids and parents alike can enjoy. All with as little mess as possible!
Where to buy:
You can purchase Low-Mess Crafts for Kids from Amazon, or wherever books are sold:
Amazon | Barnes and Noble | Books-A-Million | Indiebound | Amazon Canada


Leave a Reply