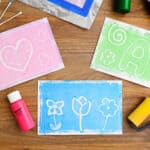
How to Make Monoprints for Kids
This simple monoprinting process art activity is easy for kids to try and gives every finished print its own surprise pattern and texture. Roll paint onto a smooth surface, draw a design in the paint, then press paper on top to create a colourful one-of-a-kind print.
Yield: 1 monoprint
Cost: $1
Materials
Instructions
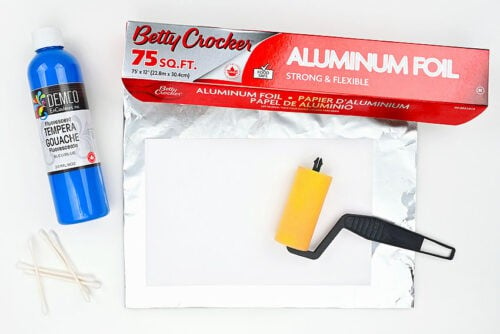
Step 1: Find what you need
- Gather your supplies and materials.
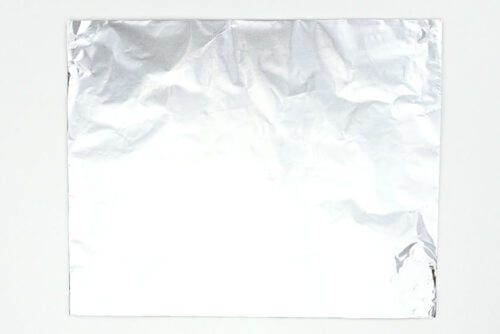
Step 2: Set up your paint surface
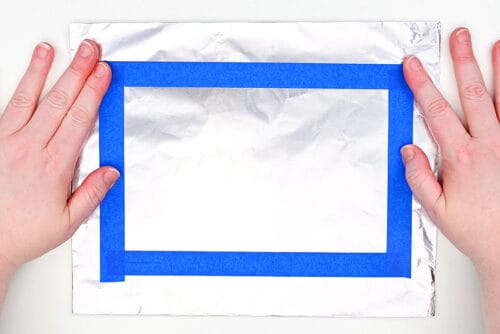
- Rip off a piece of aluminum foil for the printing surface. Make sure it's big enough for your paper to fit on.We also folded the edges under so there weren't any sharp edges.
- Next, trace your paper on the foil. You'll need to use cardstock, watercolor paper, or mixed media paper for your printing.
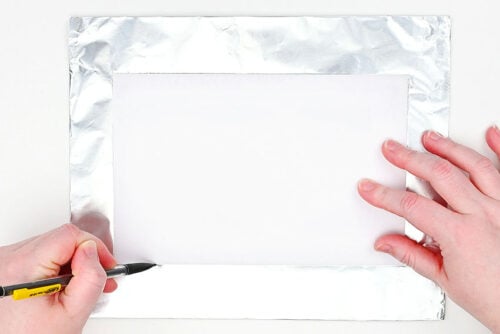
- Make a "frame" on the foil using painter's tape. You can place the tape outside the traced lines or just a bit inside.
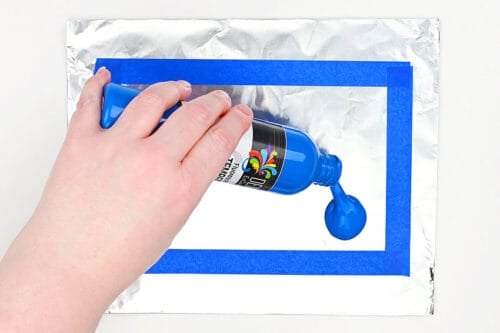
- Add tempera paint to the foil, inside the tape lines.
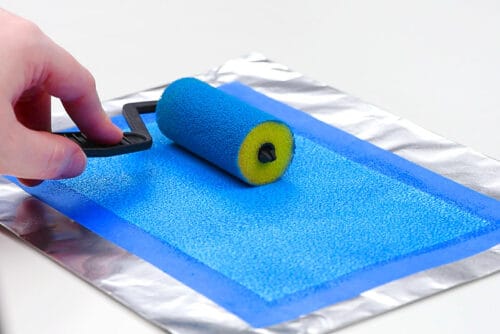
- Use a foam roller brush to spread the paint evenly inside the frame. You should have a nicely covered area, but not too thick a layer of paint.
Step 3: Draw your picture
- To make your picture, grab a few Q-tips (cotton swabs).Keep in mind that Q-tips aren't all the same. Some seem to have more cotton on the ends, giving you a thicker, soft "paintbrush". Other Q-tips will have a more firm end, meaning you can do thin details.
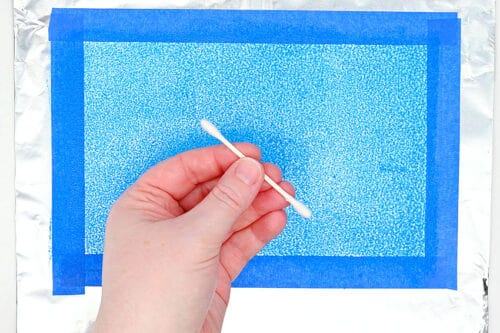
- Begin drawing in the paint with the Q-tip.Keep in mind that whatever you draw will be mirrored onto the paper, so if you want to draw your name or any specific details, they'll need to be drawn backwards. That's why it's easiest to draw simple items that look good both ways.
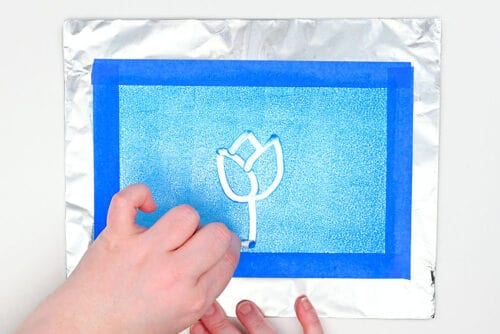
- Try to use a different angle of the Q-tip for each line so the paint is removed cleanly.You can use both ends of the Q-tip to paint, or even switch to a new Q-tip partway through the picture if needed.

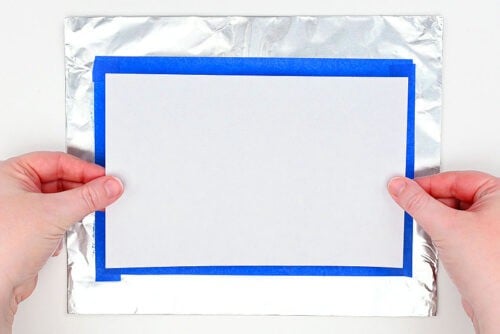
Step 4: Make the monoprint
- Now line up the paper, centering it over your picture.
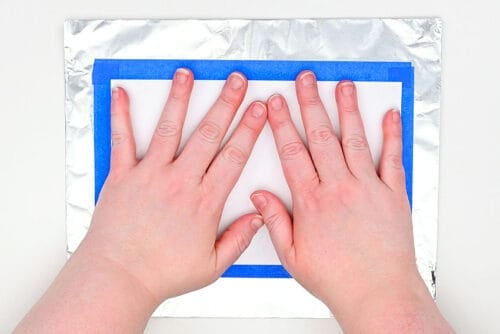
- Push the paper down onto the foil and use your hands to pat it down. Try to press down on all areas, but don't swipe back and forth. That can move the paint around, covering your drawing.
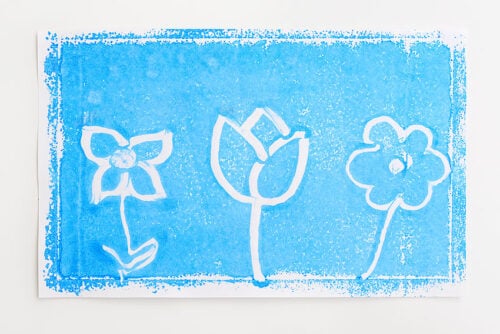
- Now peel the paper up to reveal the transferred print.
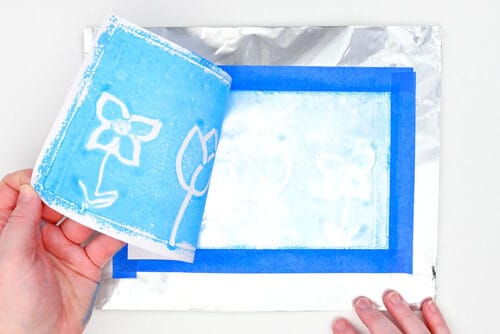
- Your monoprint is complete!
Video
Notes
Looking for more fun process art techniques? Here's a few of our favourites:
Monster Blow Painting
Squeegee Painting
Tissue Paper Art