
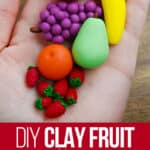
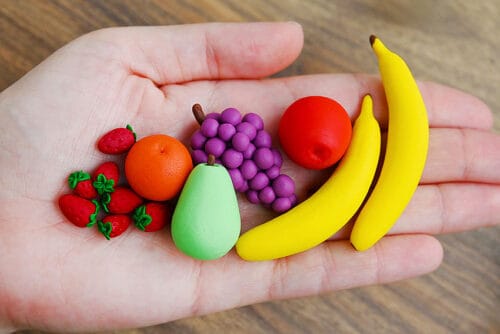
Clay food is always cute (evidence: clay pie and clay taco), but clay fruit?! It’s an extra type of adorable. You can shape polymer clay into tiny bananas, strawberries, apples, grapes, and more! These mini clay fruit pieces are bright, colourful, and so much fun to make.
This clay fruit craft is a great project for older kids, teens, and adults who love working with polymer clay. Use the finished mini fruit for dollhouse food, pretend play, charms, magnets, jewelry, or tiny decorations. They’re small, cheerful, and surprisingly easy to customize with your favourite colours, fruit shapes, and little details.

This post contains affiliate links. If you use these links to buy something, we may earn a small commission at no extra cost to you. This helps support our website and allows us to keep creating fun, free content.
How to Make Clay Fruit
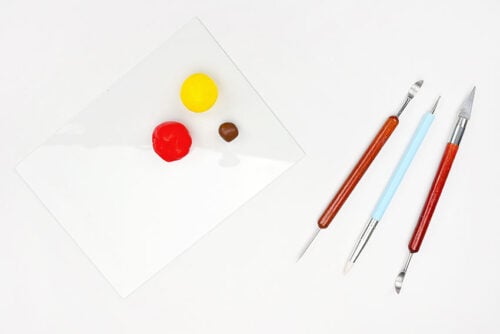
Materials:
- Polymer clay (red, brown, yellow)
See the craft in action:
Instructions:
Find what you need:
- Gather your supplies and materials.

Make a clay apple:
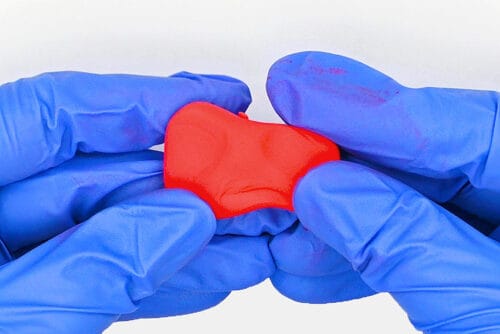
- Polymer clay is a magnet for fingerprints and dust, so we recommend wearing nitrile gloves when working with it. You’ll also want a lint-free surface to work on, like a piece of acrylic or glass.

- Begin by conditioning a piece of red clay.Conditioning means to roll the clay and work it with your hands so that it’s nice and soft and pliable.
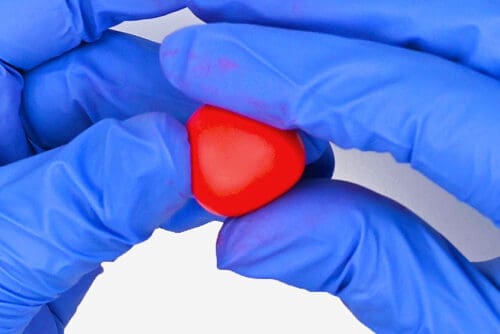
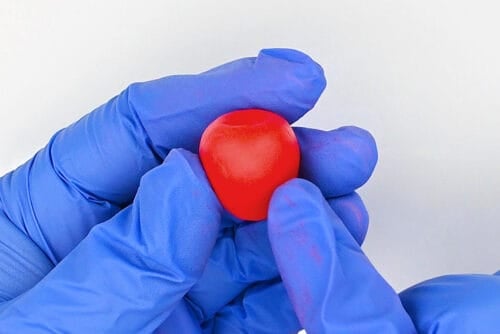
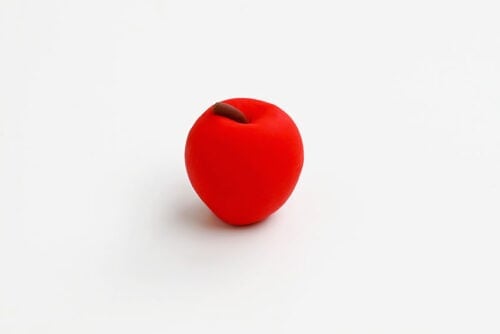
- Roll the clay into a ball and then use your fingertips to shape it like an apple, with a relatively flat top and a bottom section that’s narrower than the top.
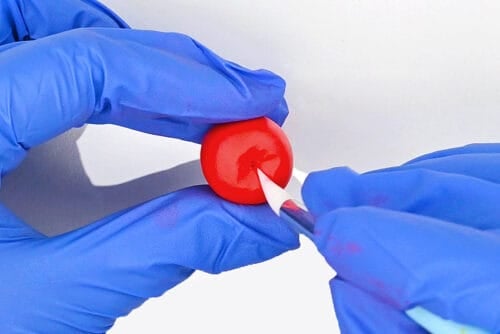
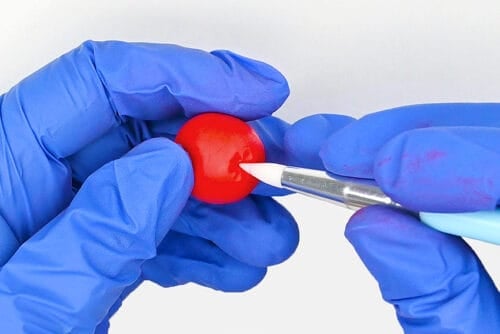
- Using a silicone brush, press into the top of the apple. With the point of the brush always in the middle, move the brush around to create the indent at the top of the apple, where the stem goes.
- Repeat on the bottom of the apple, making smaller indents this time.
- Use your fingertips and/or the silicone brush to smooth out the sides of the apple.
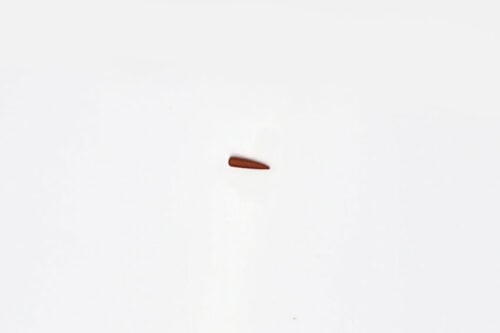
- Condition a small piece of brown clay.
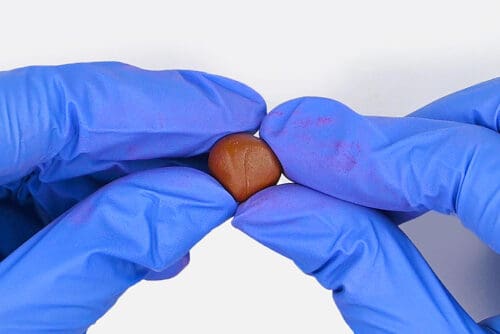
- Break off a very small piece and roll it into a stem that’s wider on one end.
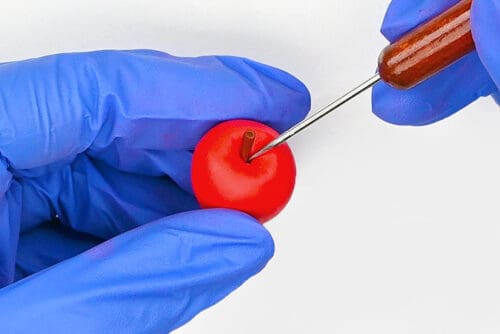
- Use the needle tool to place the stem on the apple (with the thinner end down) and push it into place, connecting the 2 pieces well.
- Place the apple on a parchment lined tray and bake according to package directions.Our clay recommends 275F for 15 minutes per 1/4 inch thickness.

Make a clay banana:
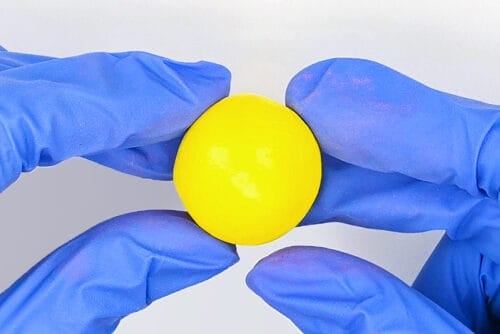
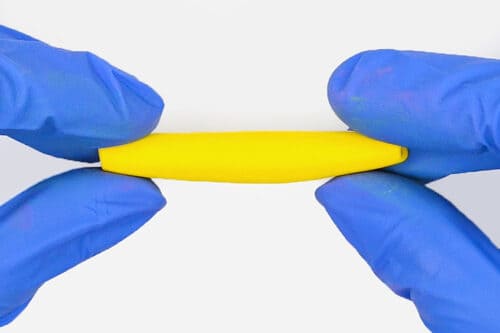
- Condition a piece of yellow clay.
- Roll the clay into a coil.
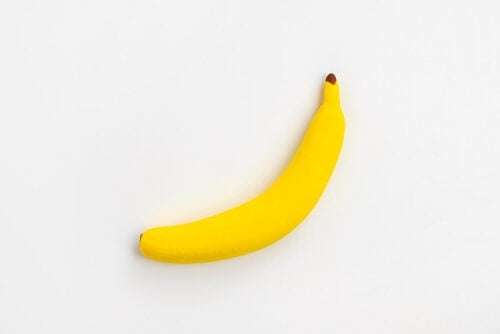
- Use your fingertips to shape the clay into a banana shape, with one thinner end for the stem
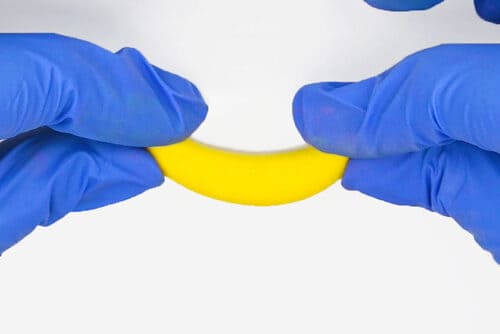
- Shape the banana into a curve.
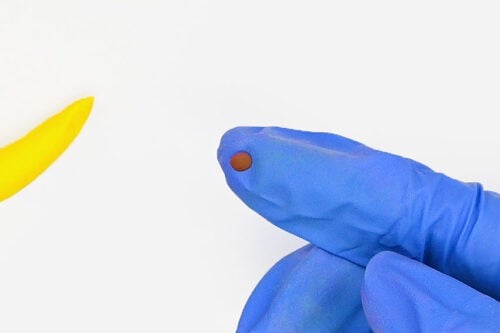
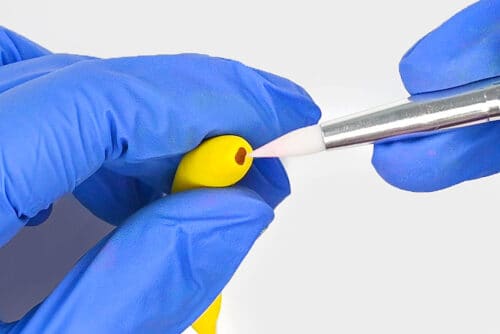
- Condition a small piece of brown clay. Pick a small piece off, roll it into a ball, and then flatten it.
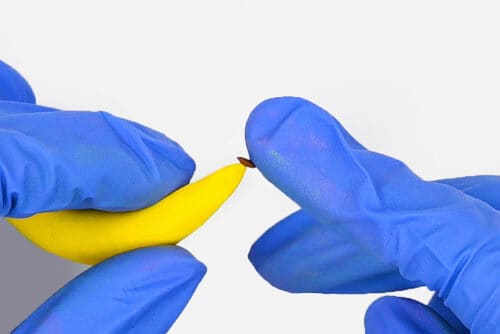
- Press the flattened ball onto the top of the banana stem. Use your fingers to smooth it down and shape the stem even more.
- Then place an even smaller piece of brown clay on the bottom of the banana. Use a silicone brush to smooth it into place.
- Place the banana on a parchment lined tray and bake according to package directions.Our clay recommends 275F for 15 minutes per 1/4 inch thickness.
- Your clay fruit is complete!Have fun making a whole collection of clay fruit. You could even make a tiny clay fruit bowl for them to sit in!

Helpful Tips:
- Make sure you work on a smooth, clean surface and wear nitrile gloves while working with polymer clay. Polymer clay is a magnet for dust, lint, and tiny fibers, so a clean workspace will help keep your mini clay fruit looking neat and smooth.
- Condition your clay before shaping it. Knead each colour until it feels soft and flexible, which makes it much easier to roll, blend, and shape into tiny fruit pieces without cracking.

Can I use air dry clay to make clay fruit?
Yes, you can use air dry clay to make clay fruit instead of polymer clay. Use the same basic shaping techniques, then allow the clay to air dry completely. A tiny bit of water on your finger can help smooth the surface while you’re working.
Once the clay is totally dry, paint the fruit with acrylic paint to add the colours and details. You can also use coloured modelling clay if you want to skip the painting step.
What can I do with this clay fruit?
There are so many fun ways to use mini clay fruit! Turn them into pretend play food, dollhouse props, or include them as part of a miniature display. You can also turn them into bag charms, keychains, jewelry (necklace or bracelet pendants), or magnets.
You can also keep the finished clay fruit together by placing them (or gluing them) into a tiny bowl. This looks super cute as a shelf display, or as part of a larger kitchen or picnic scene.

How do I make polymer clay strawberries?
Start by rolling a small ball of red clay. Shape it into a rounded pyramid or berry shape, with a wider top and a slightly pointed bottom.
Use a needle tool on an angle to press tiny seed marks into the strawberry. To make the leaves, roll small green balls of clay, then press them flat into oval shapes. Use the needle tool to attach the leaves to the top center of the strawberry, overlapping them slightly as you go.
How do I make a polymer clay orange?
Roll orange clay into a small ball. Use a needle tool to create small divots in the top and bottom of the orange.
To give the orange its peel-like texture, gently roll it on sandpaper or another rough surface. This adds a subtle bumpy texture that makes the mini clay orange look more realistic.

How do I make a polymer clay pear?
To make a clay pear, follow the same general directions as the clay apple, but use green clay and shape it into a taller pear shape. Make the bottom wider and rounder, then narrow the top slightly before adding the stem.
How do I make polymer clay grapes?
To make clay grapes, roll purple clay into a long, thin coil. Cut the coil into small pieces, then roll each piece into a tiny ball to make the individual grapes.
Press the little clay balls together into a grape bundle. Don’t press too hard, or the grapes may lose their round shape, but press firmly enough that they stay connected. If you want to use the clay grapes for jewelry, keychains, or anything that will be handled a lot, use liquid clay or a Bake and Bond type product to help attach the grapes more securely.

There’s something so satisfying about making tiny food by hand, especially when each piece starts as a simple ball or coil of clay. Once you add the little stems, seed marks, textured peels, and tiny bunches of grapes, the fruit really starts to come to life.
Make a full set in realistic fruit colours, or experiment with playful shades for a more whimsical look. Whether you add them to a dollhouse, turn them into charms, or display them in a tiny bowl, this clay fruit craft is a fun way to turn small pieces of polymer clay into colourful little handmade treasures.
Here’s even more clay craft ideas:


Now available
Low-Mess Crafts for Kids Book
72 cute and fun crafts that kids and parents alike can enjoy. All with as little mess as possible!
Where to buy:
You can purchase Low-Mess Crafts for Kids from Amazon, or wherever books are sold:
Amazon | Barnes and Noble | Books-A-Million | Indiebound | Amazon Canada


Leave a Reply