
If you’ve ever wondered how to put photos in resin without them wrinkling, fading, or turning cloudy, this tutorial walks you through the process step by step. Adding pictures to resin can feel intimidating at first, but with the right prep and a few simple tips, it’s much easier than it looks — and the results are incredibly rewarding.
In this post, we’re showing exactly how to seal and embed photos in resin while making these custom photo resin keychains. They’re small, meaningful, and perfect for turning favourite snapshots into keepsakes you can carry every day. Whether you’re preserving family photos, pet pictures, or special memories, this project focuses on both the how and a finished idea you’ll actually want to make.

This post contains affiliate links. If you use these links to buy something, we may earn a small commission at no extra cost to you. This helps support our website and allows us to keep creating fun, free content.
How to Put Photos in Resin
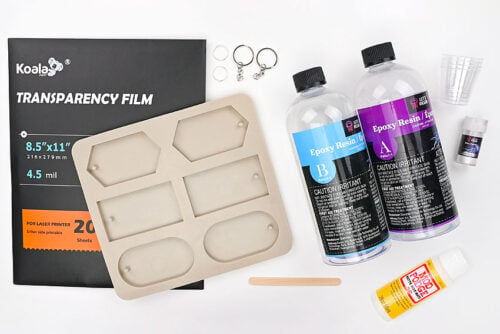
Materials:
- Casting resin
- Inkjet transparency sheet (or laser; whatever type of printer you have)
- Mod Podge
- Keychain mold
- Mica powder (white)
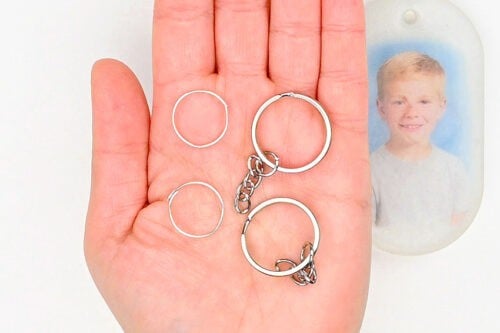
- Keychain findings
- Large jump rings (14mm)
Equipment:
- Popsicle stick (or reusable resin stir stick)
See the craft in action:
Instructions:
Step 1: Find what you need
- Gather your supplies and materials.

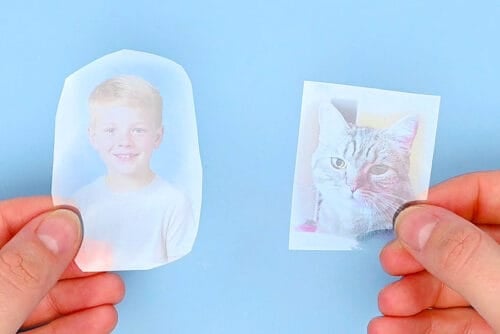
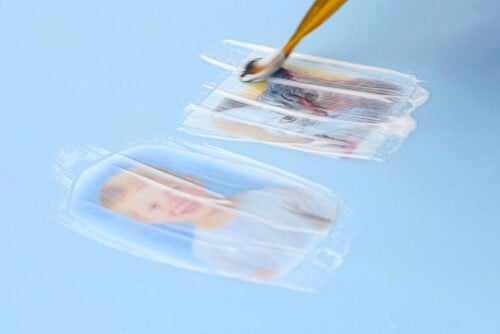
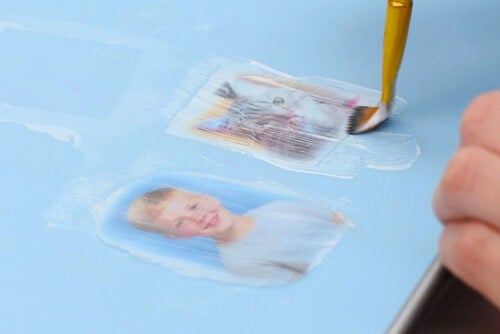
Step 2: Coat the pictures
- Print your pictures on a transparency sheet and cut them out.(The transparency sheet is optional; you can also use a regular picture printed on photo paper. Read more details below this tutorial.)
- Brush the pictures with a thin coat of matte Mod Podge. Allow to dry.
- Flip the pictures over and coat the back with Mod Podge as well.
Step 3: Mix the resin
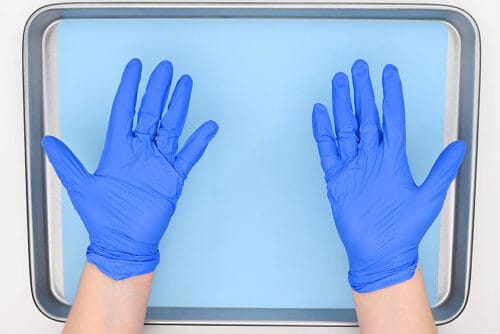
- Protect your working surface with a drop cloth or silicone mat before working with resin. Always wear protective nitrile gloves and eye protection.Work in a well-ventilated space and wear a respirator if your resin requires it. Read your resin’s label for safety requirements.
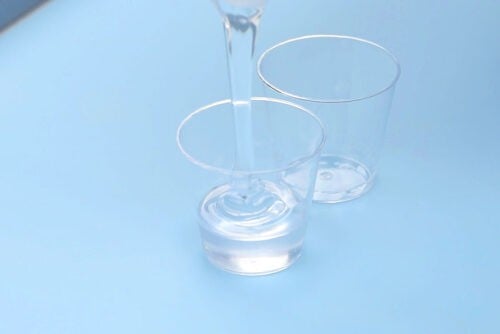
- Mix the amount of resin needed to make your keychain (or other project). We mixed 50 ml total, but had a bit left over after making 2 keychains.Begin by adding 1 part of Part A to a silicone measuring cup or a disposable mixing cup. The amount of Part A should be half the total amount needed. (In our case, 25 ml.)Follow your specific resin’s instructions for ratios, drying times, and curing times.
- Add an equal amount of Part B (or whatever ratio your brand of resin suggests) to the measuring cup or a separate mixing cup. In our case, we added 25 ml.(If you’re making 1 keychain, only mix about 20 ml total — 10 of each part.)
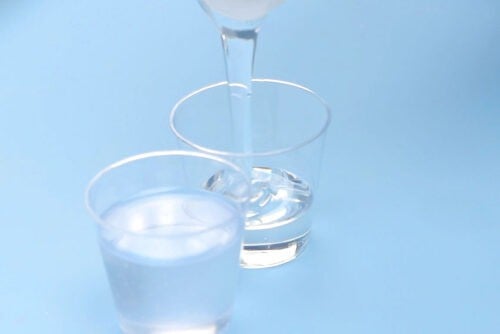
- Mix the resin and hardener together with a popsicle stick or reusable resin stir stick. (Since we used small mixing cups to measure the resin we combined them in a larger cup first.)Stir slowly, scraping down the sides and bottom of the measuring cup. Continue mixing for 3 to 5 minutes or until the mixture is clear.
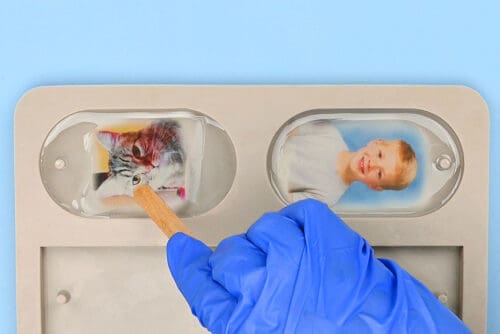
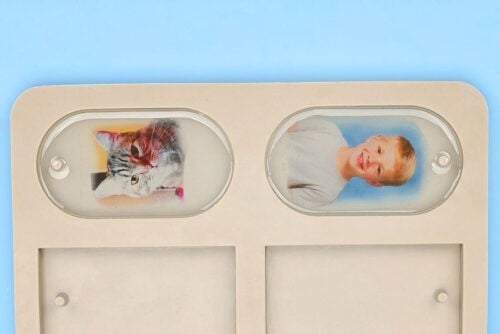
Step 4: Add the picture into the resin
- Pour the resin into a keychain mold or another silicone mold of your choice. Fill the sections about 1/3 of the way and ensure that the whole surface of the mold is covered.Let the resin sit for a few minutes and let any bubbles rise. Use a torch or a spray of rubbing alcohol to pop the bubbles.

- Add the pictures upside-down and push them down with a popsicle stick or stir stick. The coating should help the picture stay down and coated in resin, but you may want to check that it doesn’t float.
- Allow the resin to dry for at least 5 hours. (You can wait overnight, if you’d like.)
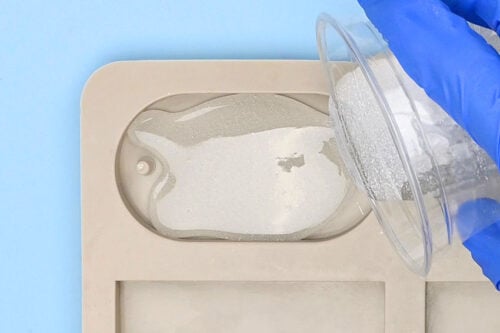
Step 5: Add an opaque background
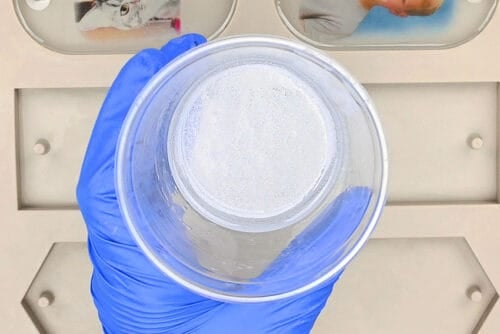
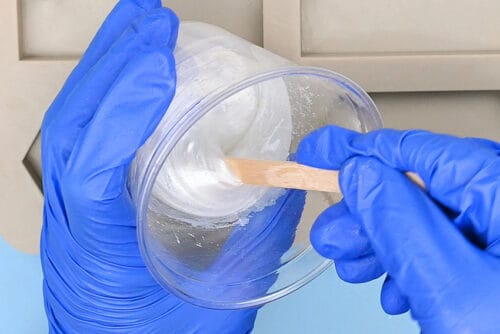
- Mix another 50 ml of resin.
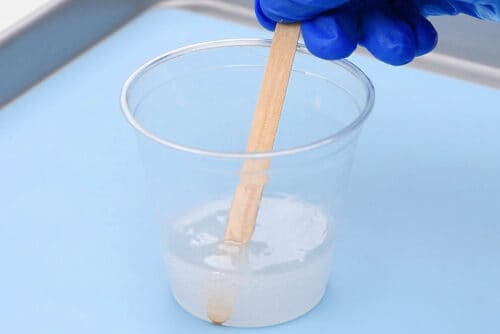
- Add white mica powder to the resin and stir well to combine.
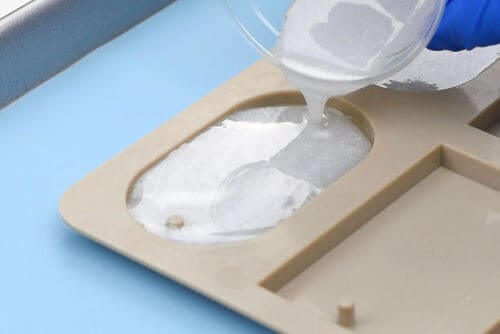
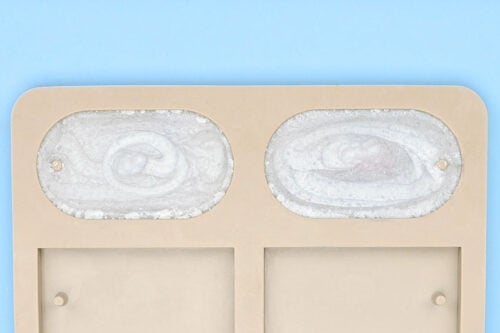
- Pour the white resin into the partially filled molds.
- Allow the resin to harden completely, about 18 to 24 hours.
Step 6: Add the keychain hardware
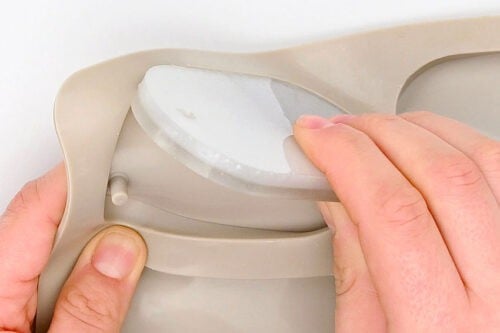
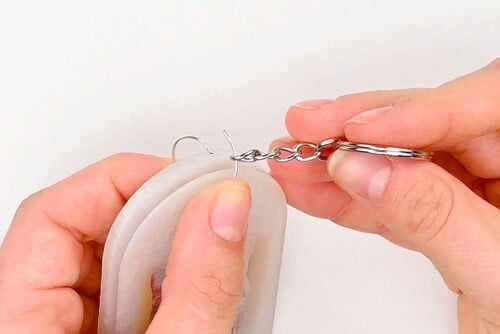
- Demold the keychains by grabbing the side of the mold and stretching it.
- To finish the keychain you’ll need a split ring with a chain and a large jump ring.
- Use pliers to open the jump ring and hook it onto the split ring chain. Then put the jump ring through the hole in the keychain before closing it off.
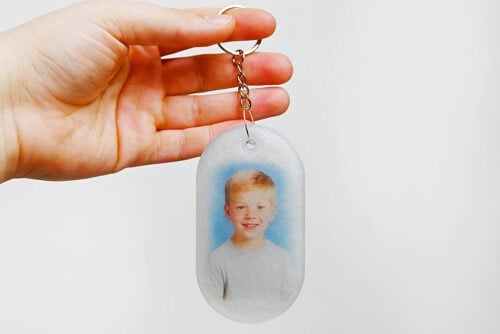
- Your photo in resin keychain is complete!
- Have fun adding all your favourite photos into keychains or other resin items.Don’t use your keychain until the curing time is complete (at least 72 hours). Once the curing time is finished, you can also sand any rough edges. Be sure to wear a dust mask or respirator when sanding.
Helpful Tips:
- Use proper PPE: Wear nitrile gloves, eye protection, and long sleeves. If your resin brand requires it, use a respirator as well (and always work in a well-ventilated space).
- Tint the back layer for extra pop: You can colour the back layer of resin with mica powder, glitter, acrylic paint, or alcohol ink.

Can I put a regular printed photo in resin?
Yes — you can use a regular printed photo and follow the same basic steps from the tutorial.
The most important thing is sealing it really well: apply Mod Podge or a clear spray sealer to the front, back, and edges of the photo so resin can’t soak in and cause bubbling or discolouration.
With regular photos, you usually don’t need an opaque backing unless you want the background hidden, or you prefer a cleaner, more finished look.
We’ve had good luck with the Mod Podge sealing method, but you can also laminate your picture to ensure none of the colour bleeds.

What else can I make when putting photos in resin?
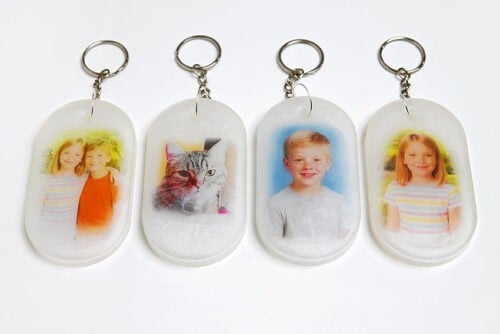
Once you know how to embed a photo, you can use the same technique in almost any mold you have. Photo inserts look especially nice in resin jewelry charms, bookmarks, coasters, serving trays, fridge magnets, Christmas ornaments, and more. They’re perfect for keepsake-style projects where you want the picture to stay protected and visible.

How can I stop my pictures in resin from floating?
Sealing the transparency sheet or photo with Mod Podge or clear spray helps a lot and prevents most floating issues. Properly sealing the front, back, and sides of the picture makes a big difference, since unsealed paper can trap air and lift.
If you still have trouble, another reliable method is to pour a thin first layer of resin and let it sit until it’s tacky (often around 3 to 6 hours, depending on your resin). Then press the photo down so it sticks in place before you pour the next layer. If it’s adhered to the tacky resin, it can’t float when you add more on top.

Once you get the hang of putting photos in resin, it’s hard to stop at just one. There’s something really special about sealing a favourite memory into a glossy little keepsake that’s both personal and durable — especially when it’s something you can actually use, like a keychain.
Have fun experimenting with different photos, backgrounds, and molds, and don’t be afraid to try out new colour combinations for the backing layer. Whether you’re making gifts or creating something just for yourself, this is one of those resin projects that feels extra meaningful once it’s finished.
Here’s even more resin craft ideas:


Now available
Low-Mess Crafts for Kids Book
72 cute and fun crafts that kids and parents alike can enjoy. All with as little mess as possible!
Where to buy:
You can purchase Low-Mess Crafts for Kids from Amazon, or wherever books are sold:
Amazon | Barnes and Noble | Books-A-Million | Indiebound | Amazon Canada


Leave a Reply