How to Put Photos in Resin
Preserve memories and learn how to put photos in resin! Use this simple technique to turn pictures into keychains, coasters, and more.
Yield: 1 photo in resin keychain
Cost: $1
Equipment
- Popsicle stick (or reusable resin stir stick)
Materials
- Casting resin
- Inkjet transparency sheet (or laser; whatever type of printer you have)
- Mod Podge
- Keychain mold
- Mica powder (white)
- Keychain findings
- Large jump rings (14mm)
Instructions
Step 1: Find what you need
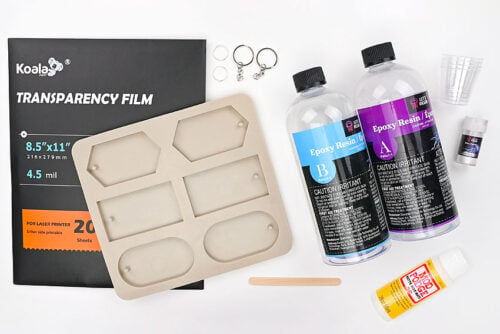
- Gather your supplies and materials.
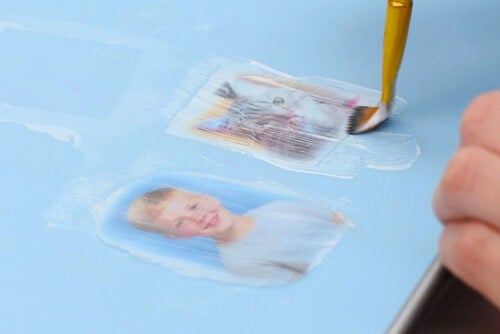
Step 2: Coat the pictures
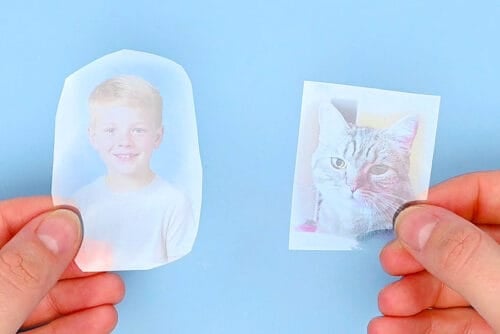
- Print your pictures on a transparency sheet and cut them out.(The transparency sheet is optional; you can also use a regular picture printed on photo paper. Read more details below this tutorial.)
- Brush the pictures with a thin coat of matte Mod Podge. Allow to dry.
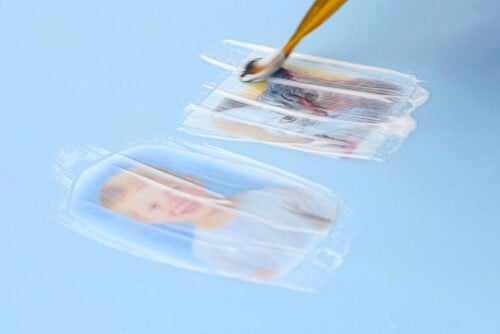
- Flip the pictures over and coat the back with Mod Podge as well.
Step 3: Mix the resin
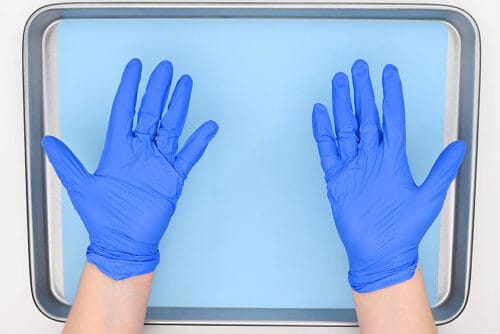
- Protect your working surface with a drop cloth or silicone mat before working with resin. Always wear protective nitrile gloves and eye protection.Work in a well-ventilated space and wear a respirator if your resin requires it. Read your resin’s label for safety requirements.
- Mix the amount of resin needed to make your keychain (or other project). We mixed 50 ml total, but had a bit left over after making 2 keychains.Begin by adding 1 part of Part A to a silicone measuring cup or a disposable mixing cup. The amount of Part A should be half the total amount needed. (In our case, 25 ml.)Follow your specific resin’s instructions for ratios, drying times, and curing times.
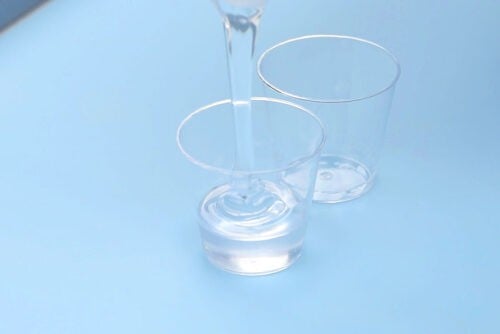
- Add an equal amount of Part B (or whatever ratio your brand of resin suggests) to the measuring cup or a separate mixing cup. In our case, we added 25 ml.(If you're making 1 keychain, only mix about 20 ml total -- 10 of each part.)
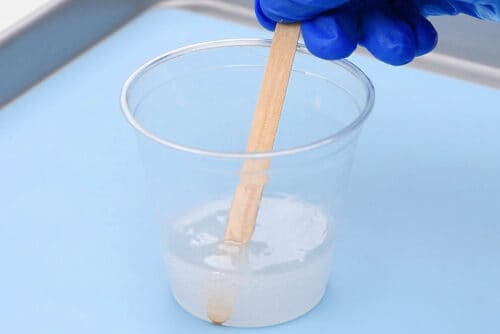
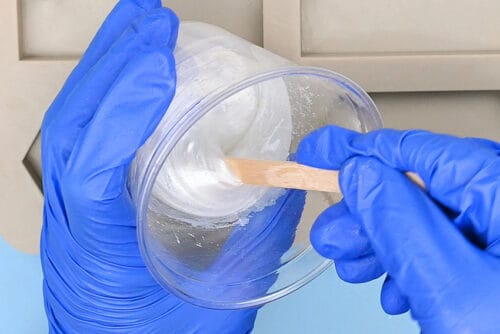
- Mix the resin and hardener together with a popsicle stick or reusable resin stir stick. (Since we used small mixing cups to measure the resin we combined them in a larger cup first.)Stir slowly, scraping down the sides and bottom of the measuring cup. Continue mixing for 3 to 5 minutes or until the mixture is clear.
Step 4: Add the picture into the resin
- Pour the resin into a keychain mold or another silicone mold of your choice. Fill the sections about 1/3 of the way and ensure that the whole surface of the mold is covered.Let the resin sit for a few minutes and let any bubbles rise. Use a torch or a spray of rubbing alcohol to pop the bubbles.
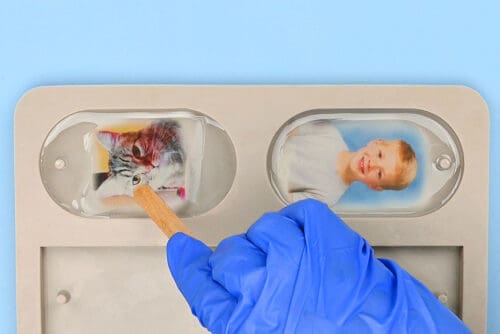
- Add the pictures upside-down and push them down with a popsicle stick or stir stick. The coating should help the picture stay down and coated in resin, but you may want to check that it doesn't float.
- Allow the resin to dry for at least 5 hours. (You can wait overnight, if you'd like.)
Step 5: Add an opaque background
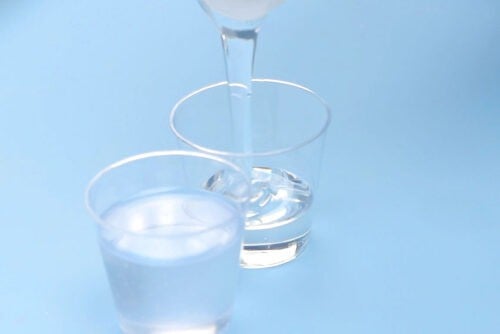
- Mix another 50 ml of resin.
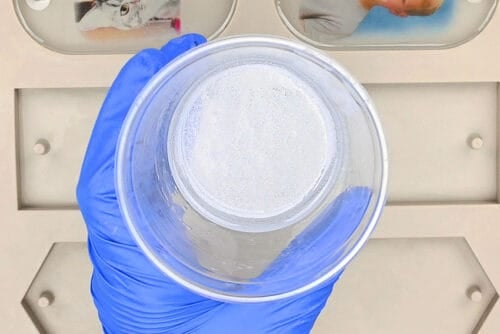
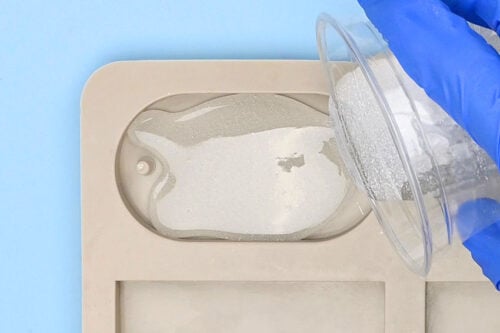
- Add white mica powder to the resin and stir well to combine.
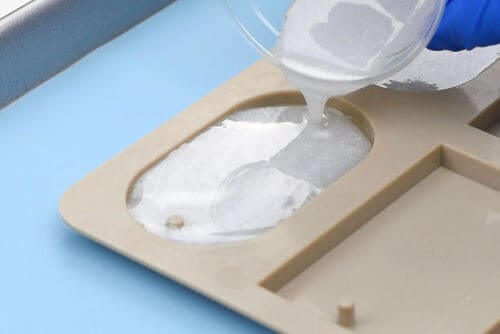
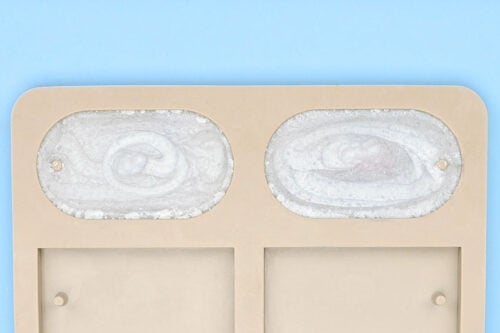
- Pour the white resin into the partially filled molds.
- Allow the resin to harden completely, about 18 to 24 hours.
Step 6: Add the keychain hardware
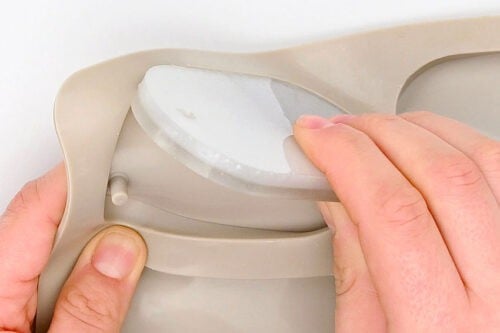
- Demold the keychains by grabbing the side of the mold and stretching it.
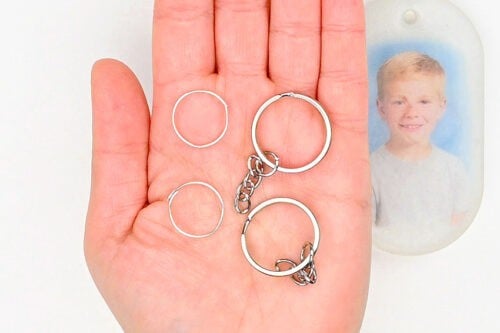
- To finish the keychain you'll need a split ring with a chain and a large jump ring.
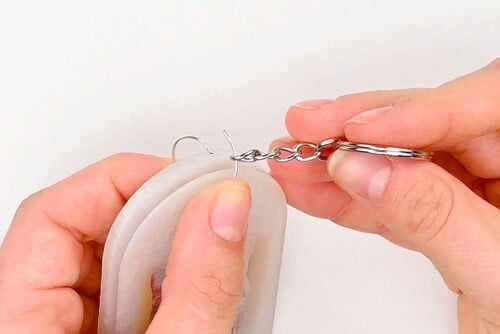
- Use pliers to open the jump ring and hook it onto the split ring chain. Then put the jump ring through the hole in the keychain before closing it off.
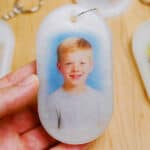
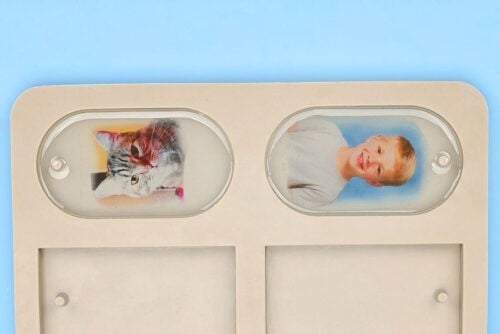
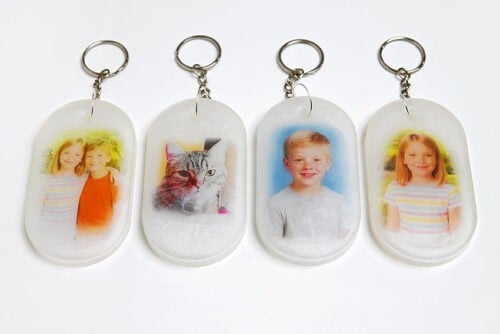
- Your photo in resin keychain is complete!
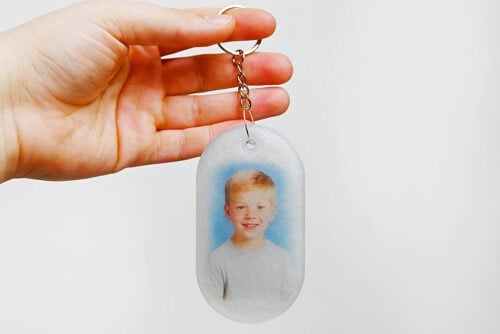
- Have fun adding all your favourite photos into keychains or other resin items.Don’t use your keychain until the curing time is complete (at least 72 hours). Once the curing time is finished, you can also sand any rough edges. Be sure to wear a dust mask or respirator when sanding.
Video
Notes
Don't want to work with resin? Here are some other fun DIY keychain ideas:
How to Make a Kandi Star
DIY Paracord Keychain
Shrinky Dink Keychain