
How to Make a Paper Hat Tutorial
Folding a paper hat is easy! It's a simple craft project for both kids and adults.
Yield: 1 paper hat
Cost: $1
Equipment
Materials
- 2 sheets Construction paper (9 x 12 inch, any color)
Instructions
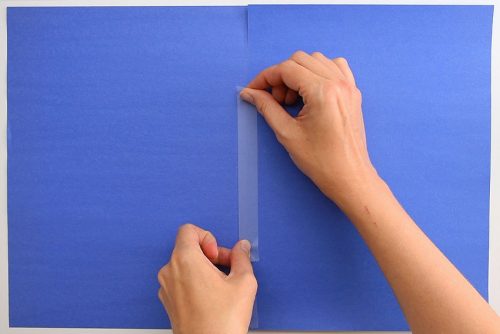
Step 1: Tape together 2 sheets of paper
- Line up the long edges of 2 sheets of construction paper and add a line of tape (on one side only). The tape will be hidden on the inside of the hat, so it doesn't need to be perfect.
Step 2: Fold the paper hat
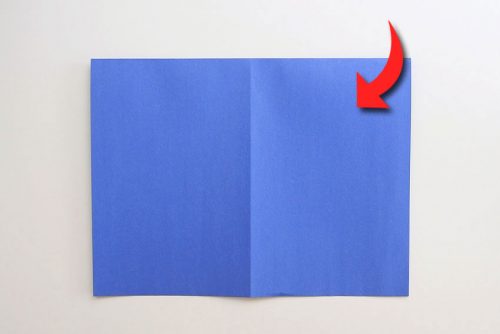
- Fold the paper in half lengthwise, then open it up again. Then fold it width-wise, as shown in the photo.
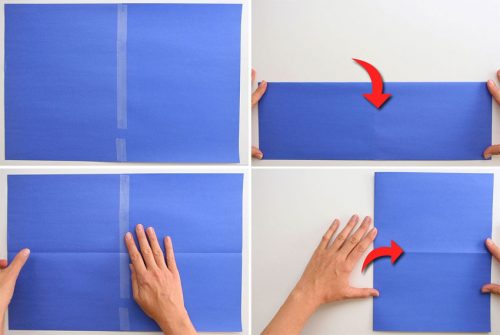
- Rotate the paper as shown in the photo, so that the fold is at the top.
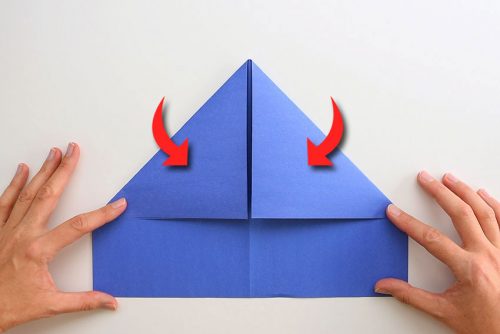
- Take each of the top corners and fold them downwards so that the edges line up with the center fold.
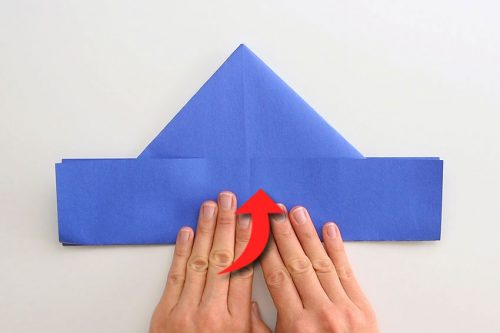
- Take one layer of the bottom flap and fold it upwards.

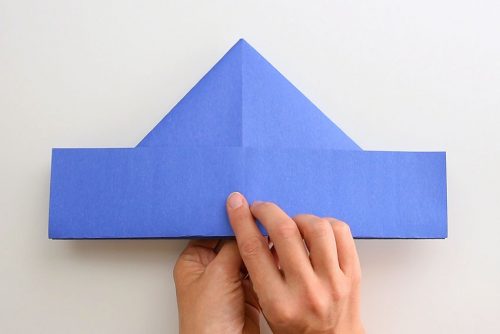
- Flip the folded paper over. Take the remaining bottom flap and fold it upwards.
- Pick up the paper hat and place your thumbs into the opening at the bottom. Pull the two sides apart slightly to make an opening for your head.
- Your paper hat can be complete at this point. Or...

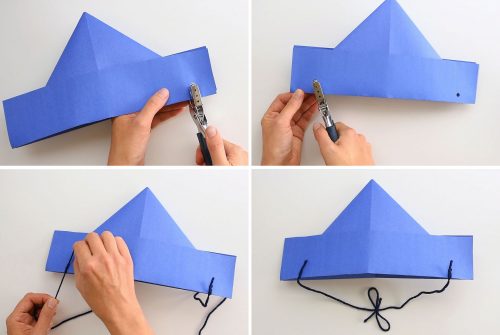
Step 3: (Optional) Add string
- If the hat isn't staying on your head, you can add string that you can tie under your chin to help keep it in place.Use a single hole punch to make 2 holes on one side of the bottom of the hat. Tie a piece of 12 inch long string through each hole.
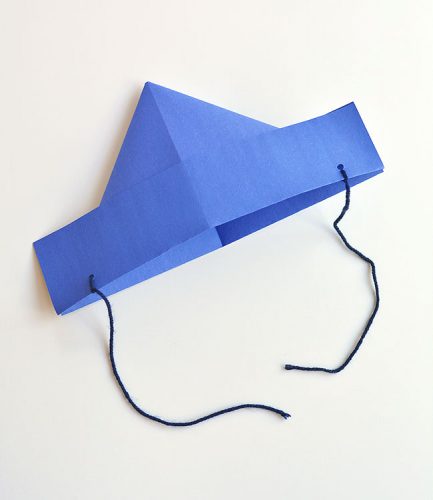
- Your paper hat is complete!
Video
Notes
Here's a few more of our favourite paper crafts:
How to Make a Paper Boat
How to Make Paper Spiderwebs
Simple Folded Paper Star
How to Make a Paper Pinwheel