
How to Tie Dye Socks
Add some colourful flair to your outfit with tie dye socks! These dyed socks are so fun and easy to make.
Yield: 1 pair of tie dye socks
Cost: $2
Equipment
- Nitrile gloves (or rubber gloves)
- Ziploc bags (sandwich size; or plastic wrap)
Materials
- White cotton socks
- Tie Dye kit (including dye, bottles, elastics, etc)
Instructions
Step 1: Find what you need
- Gather your supplies and materials.

Step 2: Soak the socks in soda ash water
- Make sure you wear gloves and an apron while tie dyeing.Protect your working surface or tie dye outside if possible.

- Follow the instructions of your specific tie dye kit.Mix 1 ounce of soda ash into 2 cups of water. Stir well.
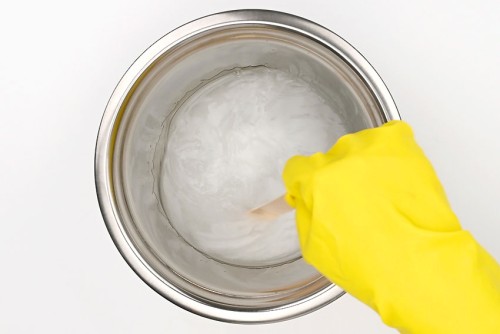
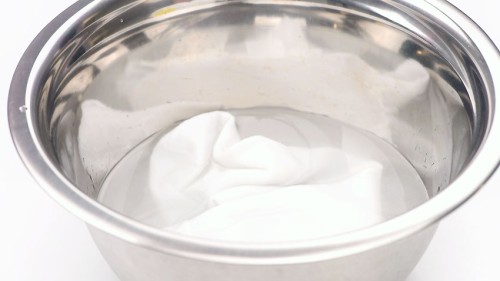
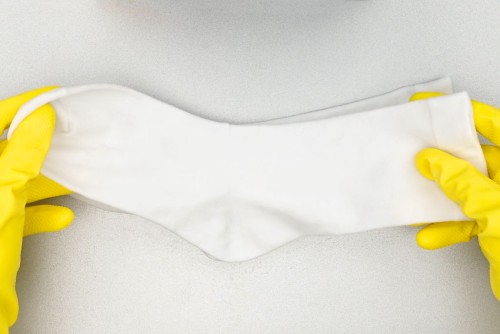
- Place your socks into the soda ash mixture and soak them, making sure they're well coated.
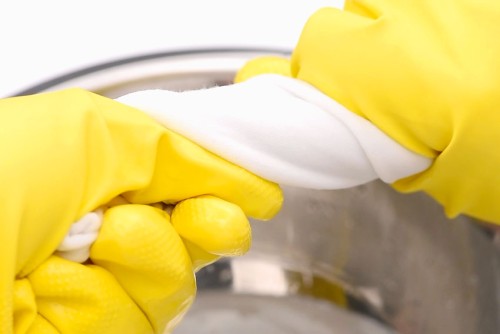
- Remove the socks from the soda ash mixture and wring them out well. The socks should be damp but not soaking wet.
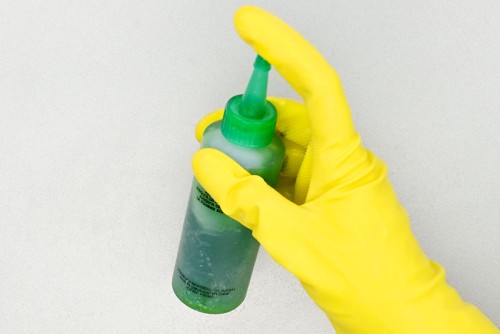
Step 3: Mix your dyes
- Pour water into the bottle with the tie dye powder in it. Your instructions should list a specific amount of water to add, or look for a fill line on the side of the bottle.
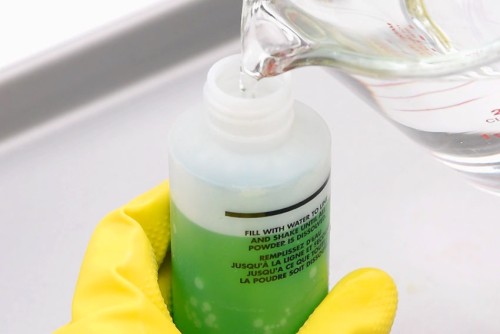
- Put the lid on the bottle and make sure it's nice and tight. Shake the bottle well to combine the dye.Make sure there aren't any clumps of powder remaining at the bottom.
Step 4: Fold and tie your socks
- Lay a sock flat on a tray and add your second sock on top.We'll be dyeing the socks together so that they have an identical pattern. But you can also do them separately if you don't mind the patterns being different.
- Accordion fold your socks together.
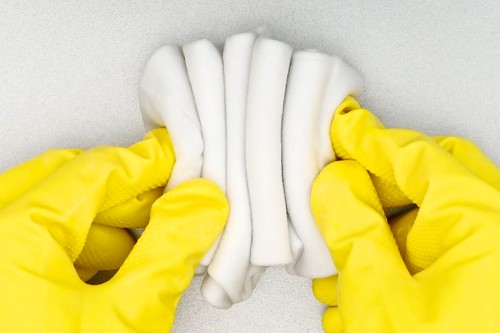
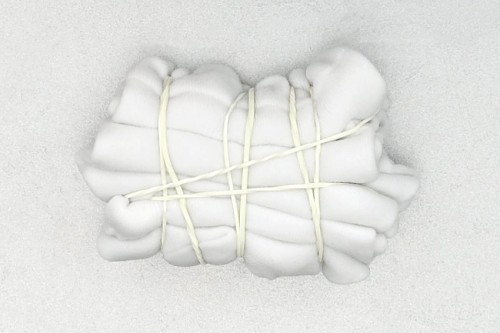
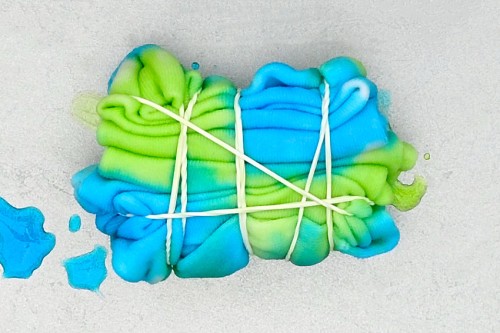
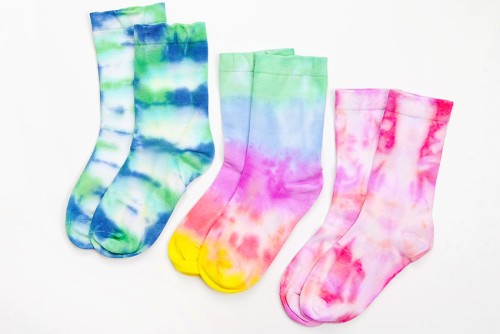
- Add a rubber band around the center of the socks to bundle them together. Place two more on either side and then add another elastic going the other way across the socks (perpendicular to the last ones).This accordion fold method results in a sock with multi-coloured stripes.
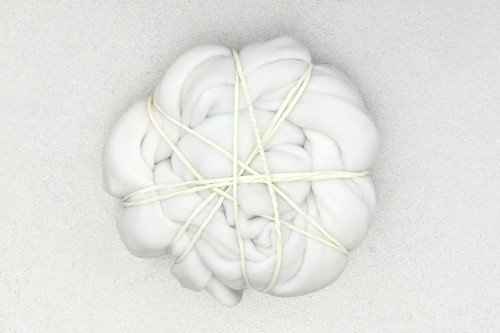
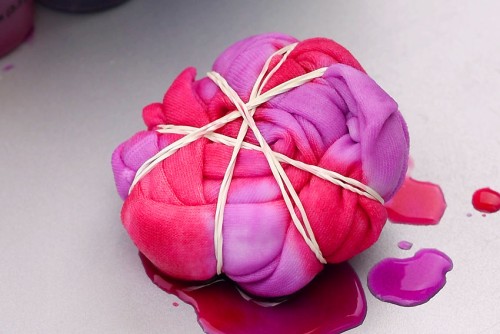
- You can also try a couple other different tying methods or experiment with your own design.Twist your socks together and then roll them together like a cinnamon bun.
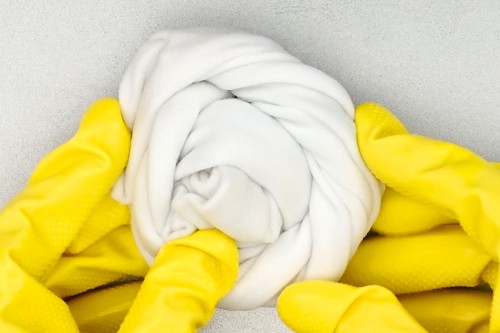
- Then add your rubber bands around the sock bundle at different angles, creating a "sliced pie" look.This method results in a sock with a swirl design.
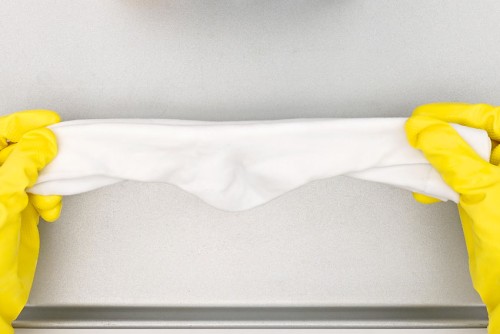
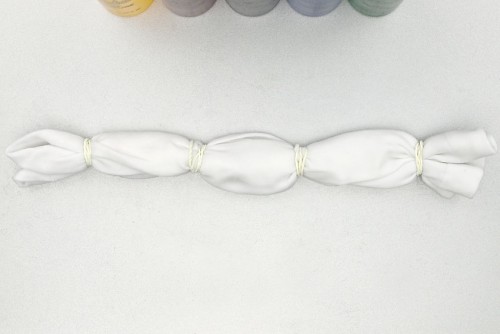
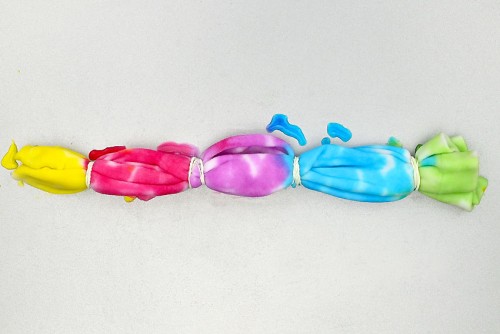
- Or you can simply fold each sock in half lengthwise before placing them together.
- Add elastics across the sock, creating equal sections.This sectioned sock will result in a sock with vertical stripes.
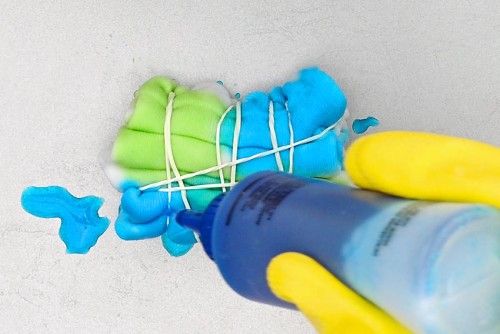
Step 5: Add dye to the socks
- Uncap the dye and squeeze the bottle to apply dye onto the socks. Add enough so that the dye will go through all the layers.Apply a second colour of dye (or as many colours as you'd like).(You can also set your socks on a cooling rack before applying the dye. This will stop the dye from pooling and going where you don't want it to.)
- Flip the socks over and add dye to the second side.
- You can add a colour to every other section of the "cinnamon bun" socks and use a complementary colour (or different shade) for the remaining sections.
- Add 1 colour to each section of the long socks to create a rainbow pattern, or whatever colour combination you'd like.
- Place each pair of socks in their own plastic Ziploc bag or wrap them in plastic wrap.Wait 24 hours.
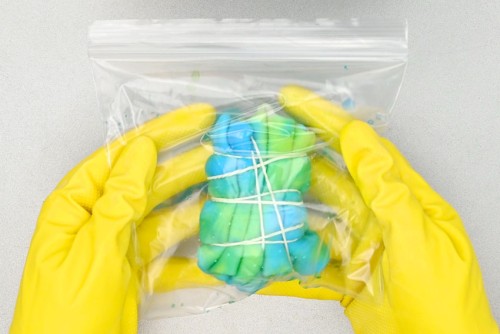
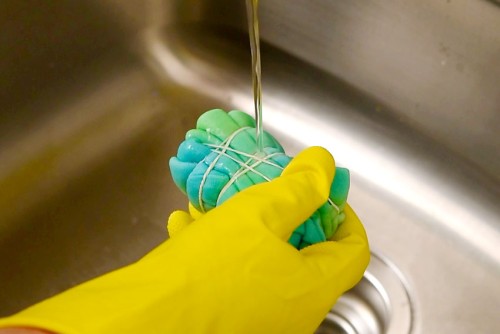
Step 6: Rinse out the excess dye
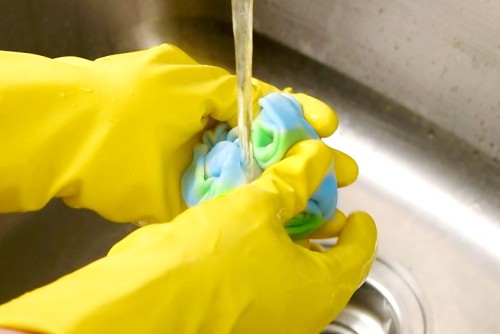
- Remove the socks from the bag and rinse them under cold water with the elastics still on.It's okay if dye is running out at this point -- it's better that the extra dye comes out now.
- Once the water runs clear you can remove the elastics and either wash the socks by hand, or place them in a washing machine with warm water and mild detergent.The socks should be washed by themselves or by hand the first few times to make sure the dye doesn't run.
- Your tie dye socks are complete!
Video
Notes
Looking for more fun DIY projects? Here's a few of our favourites:
Coffee Filter Dancers
How to Make a Bouncy Ball
Paint Pouring on Terracotta Pots