
How to Paint Tulips with a Paper Roll
Kids and artists of all ages will have fun making this simple paper roll tulip painting! Use a cut paper roll as a flower stamp and have fun decorating the page with these spring blooms.
Yield: 1 paper roll tulip painting
Cost: $1
Equipment
Materials
- Acrylic paint (flower colours & green)
- White cardstock
- Watercolor paints
Instructions
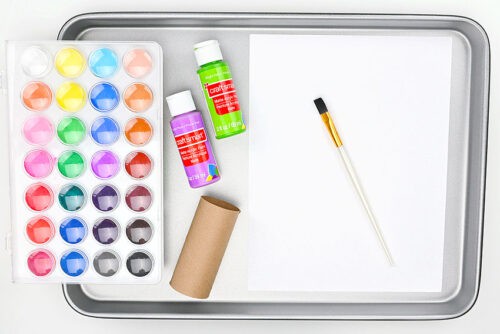
Step 1: Find what you need
- Gather your supplies and materials.
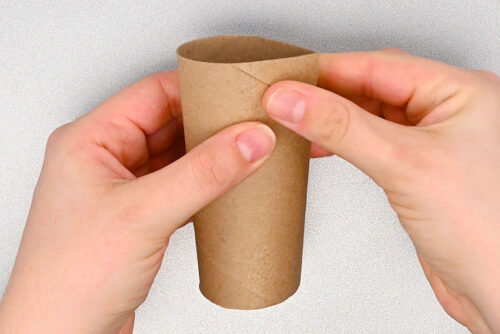
Step 2: Make the paper roll stamps
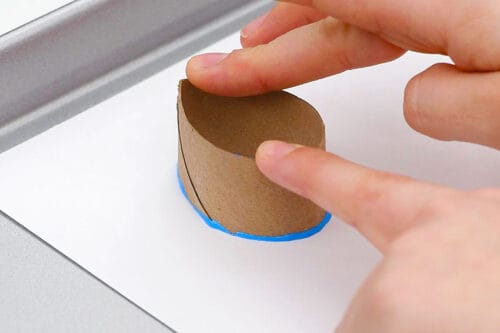
- Press down along one side of the paper roll, creating a point.
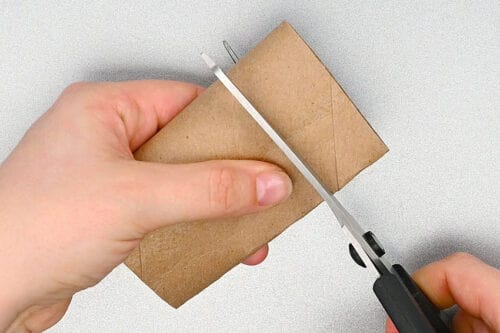
- Cut the paper roll into smaller pieces (at least 1 inch thick).
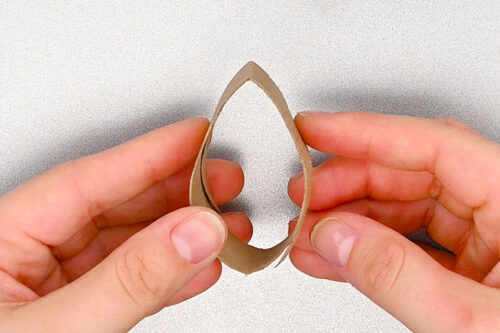
- This will give you several petal shaped stamps to make your tulip. You'll need 1 per colour you'd like to use.
Step 3: Paint the tulips
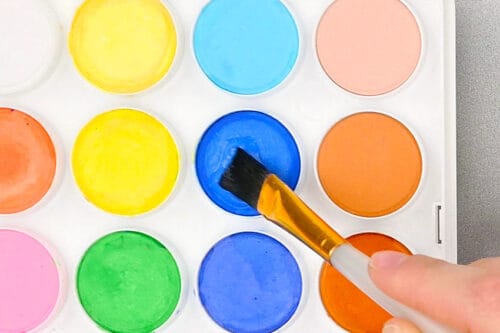
- Add 3 to 4 colours of acrylic paint to a paper plate or paint palette.
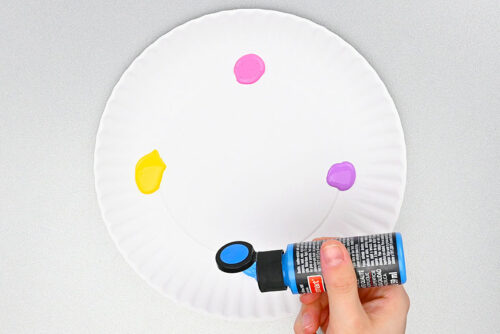
- Dip the bottom edge of a paper roll stamp into the paint. Move the stamp around until it's totally covered with paint.

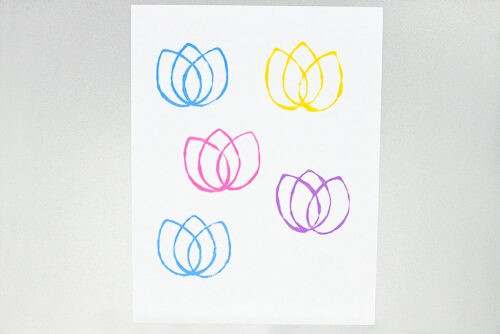
- Press the stamp onto the paper so that the point is at the top. Ensure that there's at least an inch of white space on either side of this first stamp.
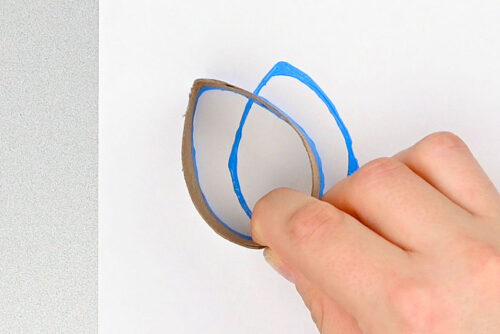
- Add more paint to the stamp. Line up the bottom with the first stamp mark and then rotate the top point to the left about 45 degrees. Stamp it down.
- Repeat on the right side to make the last part of the flower.
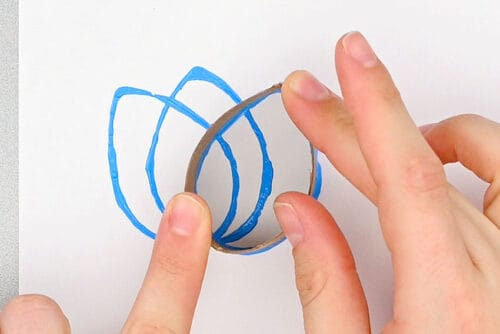
- Add more flowers to the page in all kinds of fun colours. Allow the paint to dry.
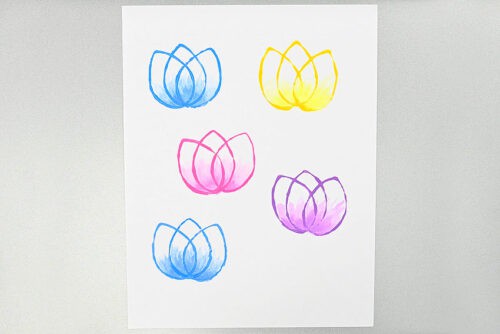
Step 4: Add colour inside the tulips
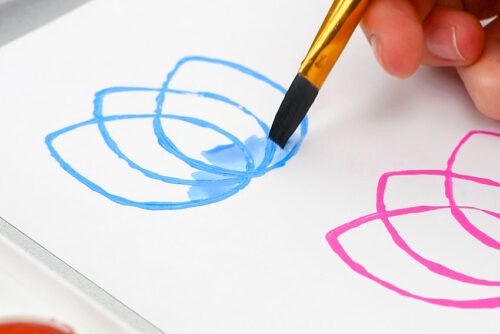
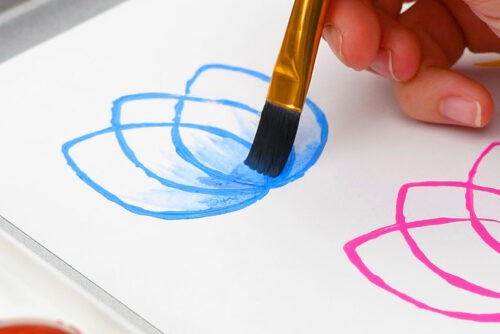
- Watercolor paint works well to add colour detail inside the tulips. Begin by adding a wet paintbrush into watercolor paint that's the same colour as (or a bit lighter than) one of your tulips.
- Add paint inside the tulip, starting at the bottom edge. Use small, careful strokes to spread the paint up about 1/3 of the way.
- Rinse your brush and then remove the excess water by dabbing it on a paper towel or cloth. Spread the paint up farther, going about 1/2 way up.
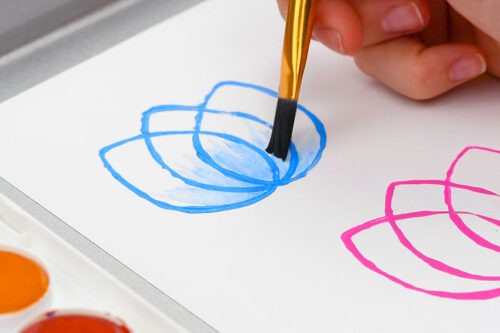
- Then grab more paint onto your brush and add more colour at the bottom of the tulip.
- Repeat with the rest of the flowers and allow to dry.
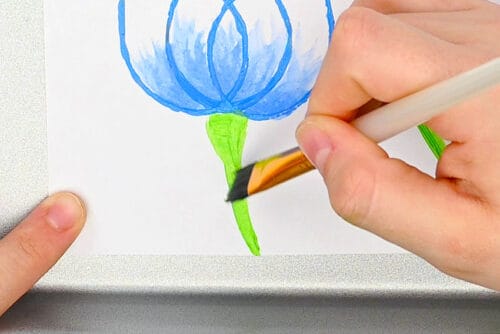
Step 5: Add stems
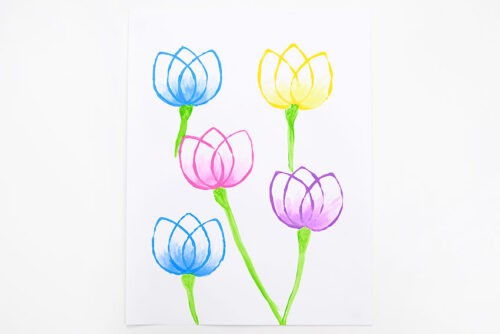
- Use green acrylic paint and a paintbrush to add stems to the tulips. Again, allow to dry.
- Your paper roll tulip painting is complete!
Notes
Looking for another way to use paper rolls? Here's a few fun ideas:
Paper Roll Flower Painting
DIY Confetti Poppers
Paper Roll Fireworks Painting