
How to Make Perler Bead Dinosaurs
These dinosaur perler beads are so much fun! Make a perler bead dino using our free, printable templates. It's such a fun kids craft!
Yield: 1 Perler bead dino
Cost: $1
Equipment
- Free Printable Dinosaur Perler beads template (get the 2nd template below)
- Tweezers (optional)
Materials
- Perler beads (multiple colours)
- Perler beads pegboard (small square)
Instructions
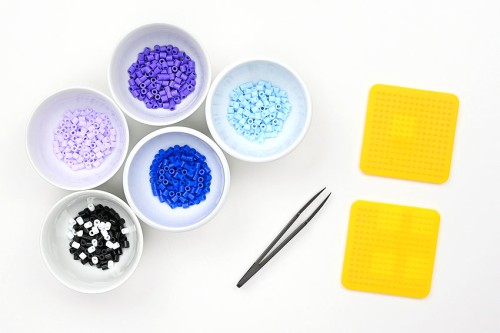
Step 1: Find what you need
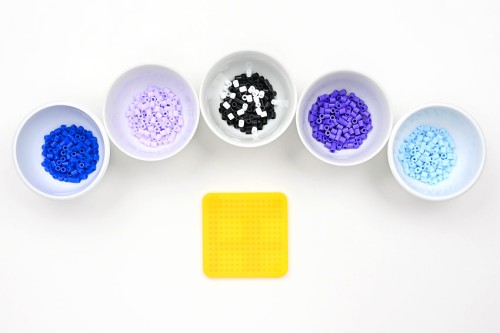
- Gather your supplies and materials.
Step 2: Make your Perler bead dino on the pegboard
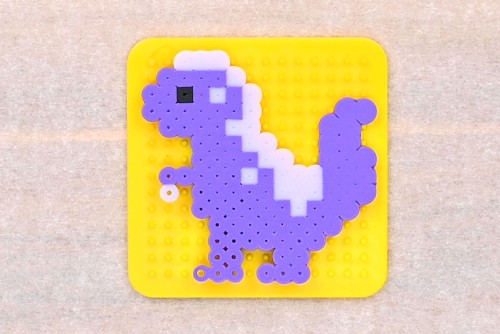
- To make a Perler bead dinosaur you'll need to use a small square pegboard.We also found it helpful to separate and set out the colours of Perler beads we wanted to use.
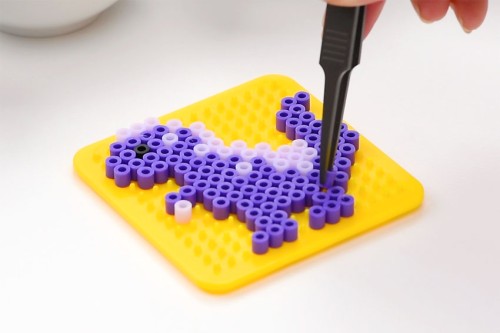
- Optional: Use tweezers to add the Perler beads to the pegboard. Little fingers probably don't need to do this, but it makes it a lot easier for adults!
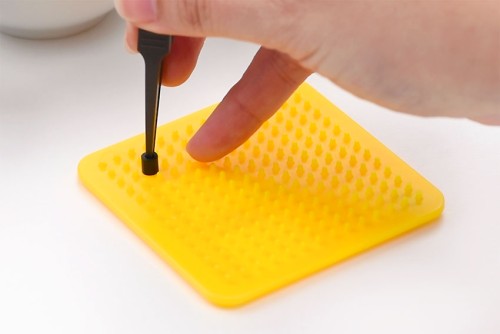
- Start by adding the dinosaur's eye and then begin adding Perler beads to make an outline of the dino's back.
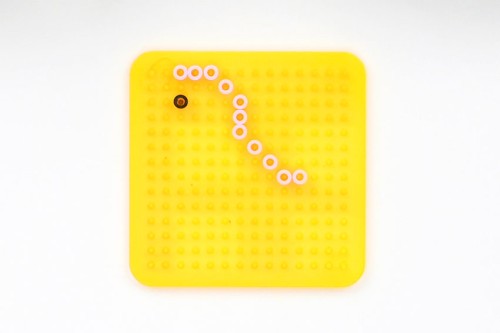
- Follow the template, using a different Perler bead colour to finish the outline of the dinosaur.(And don't forget its little claw!)

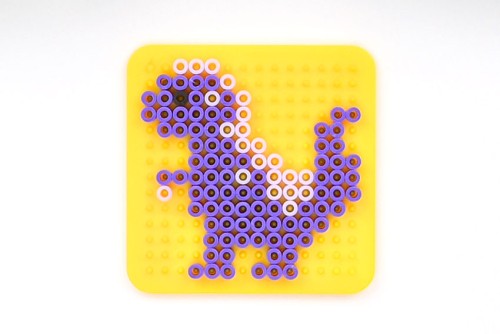
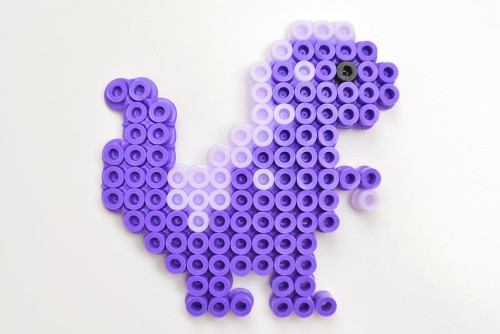
- Continue adding Perler beads according to the template until you've filled in the whole dinosaur.
- Double check your design. Compare the dinosaur to the template one last time to make sure it's exactly how you want it to look.
Step 3: Iron your dinosaur
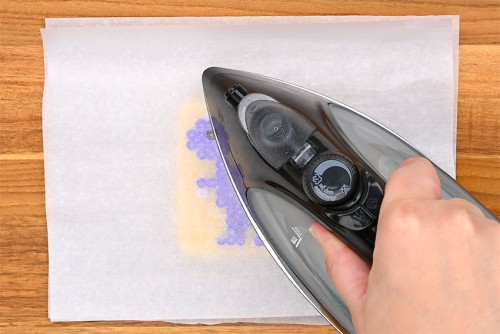
- Put the pegboard on an ironing board or a wood cutting board. Place a piece of parchment paper over top of the Perler bead dinosaur.Heat your iron to medium temperature, no steam. Place the iron on the parchment paper and move it around in circular motions for at least 15 - 20 seconds.
- Check the beads to see if they're melted together. Continue to iron for another 10 - 20 seconds, if necessary.The beads are melted correctly when the parchment paper sticks to the beads and needs to be peeled away from them.
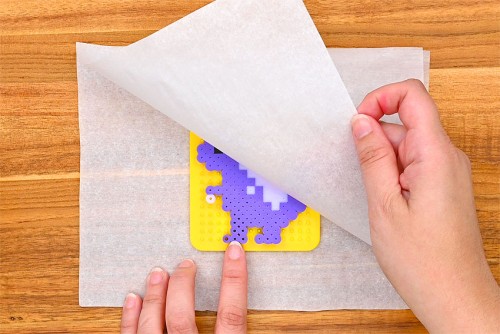
- Leave the dino design on the pegboard until it is cool to the touch.
- Remove it from the pegboard and your dinosaur Perler beads design is complete!
Video
Notes
Looking for more fun Perler bead crafts? Here's a few of our favourites:
Perler Bead Flower
Cat Perler Beads
Perler Bead Earrings