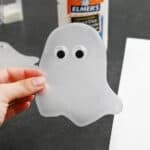
How to Make Ghost Window Clings
These ghost window clings are SO EASY to make! Have fun making DIY Halloween window clings using just glue and googly eyes. These glue ghosts are super cute, and you can use our printable outlines to create them in all different shapes and sizes.
Yield: 2 ghost window clings
Cost: $1
Equipment
- Cardboard
Materials
Instructions
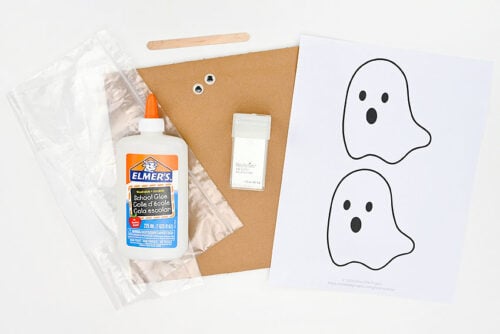
Step 1: Find what you need
- Gather your supplies and materials.
Step 2: Arrange the ghost templates
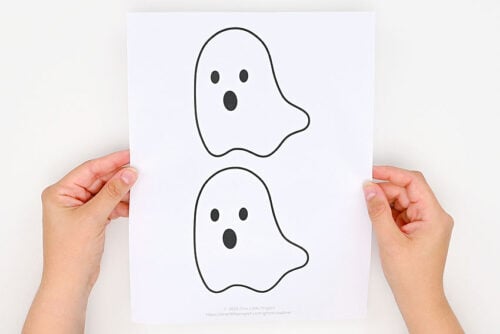
- Print one of our free ghost templates. You can find a link in the materials list above, with more details found below the tutorial.
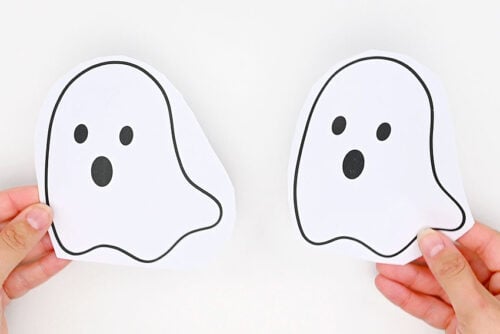
- Roughly cut out around the ghost shapes, leaving some white space around the outline.They just need to fit neatly in your plastic freezer bag.
- Place a scrap piece of cardboard in your freezer bag.It should be big enough for the ghost outlines to fit on. The cardboard stretches out the bag a bit and stops the glue from wrinkling as the ghost dries.
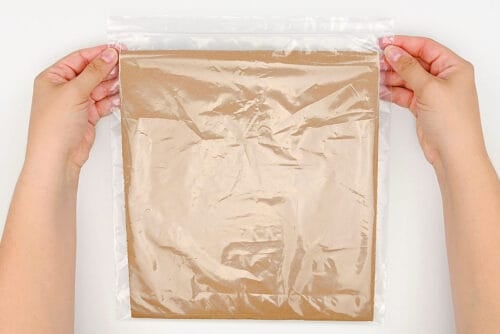
- Set the ghost outlines in the freezer bag on top of the cardboard.You can tape them in place or simply seal the baggy.
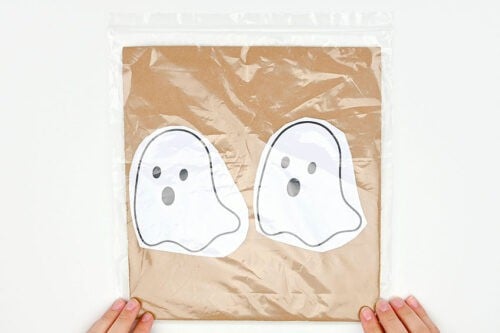
Step 3: Make glue ghosts
- Use white school glue to follow the outline of the ghost shape.
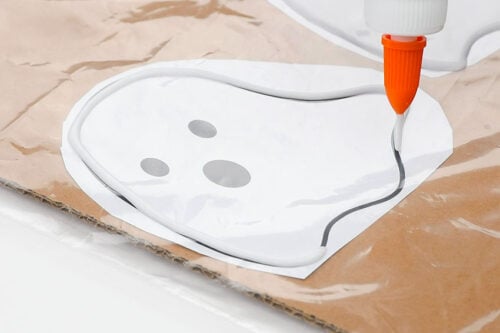
- Add glue to the middle of the ghost. It's okay if it's not completely covered at this point.
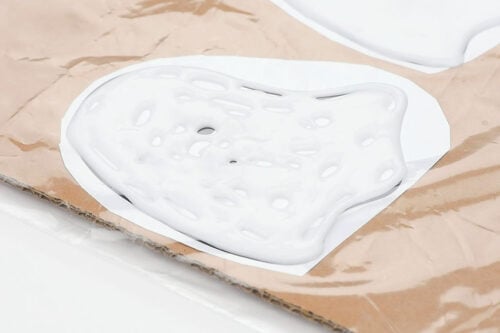
- Spread the glue with a popsicle stick so that it fills the whole outline in an even layer.
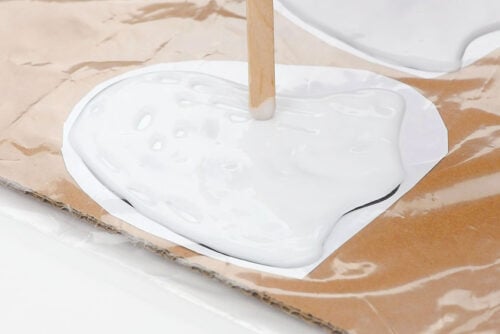
Step 4: Add glitter (optional)
- Optional: Sprinkle iridescent glitter on top of the glue.
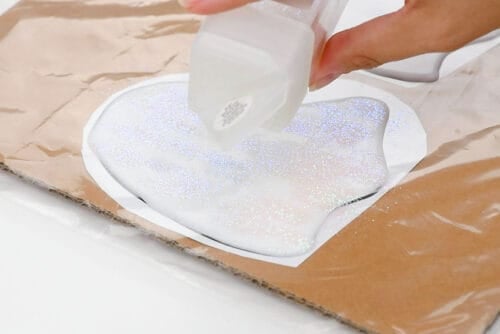
- Mix the glitter into the glue using a popsicle stick. This will give you less glitter "fallout" when the ghost dries.
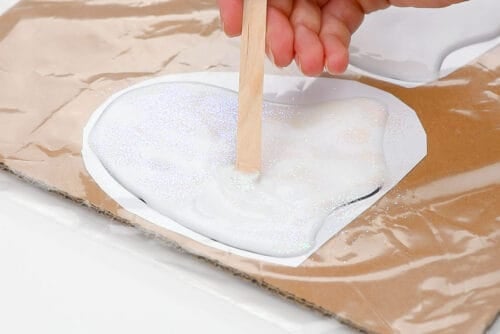
Step 5: Add googly eyes and allow to dry
- Place googly eyes into the glue.Really press them in so they're secure -- otherwise they can float away and give you a droopy eyed ghost. (Ask us how we know... 😔)
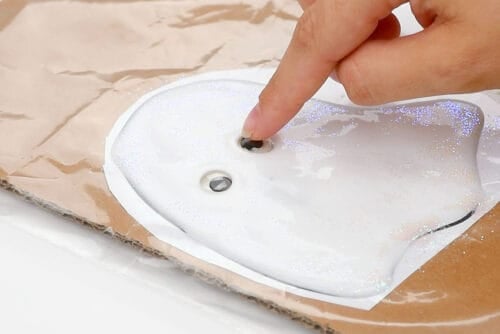
- Let the ghost dry for at least 24 hours.It can take up to 48 hours to dry if you've used a thick layer of glue.
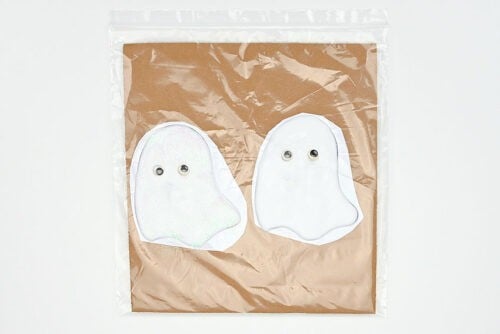
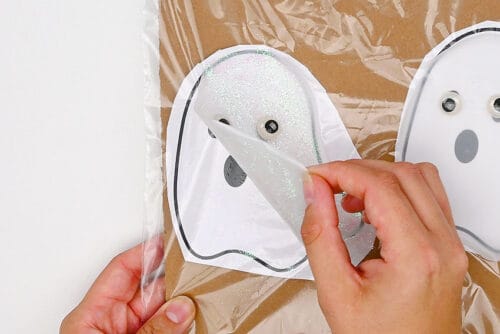
- Peel the ghost off the plastic.If the ghost is fully dry it'll come off the plastic very easily.
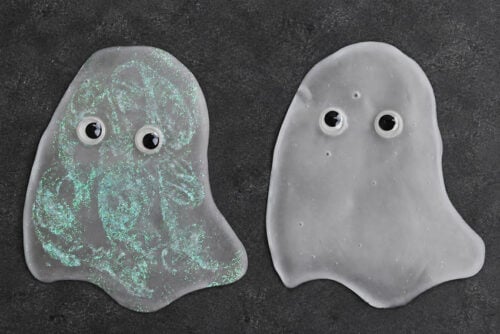
- Your ghost window clings are complete!
Video
Notes
Looking for more DIY window clings? Here's a few of our favourites:
Butterfly Window Clings
Snowflake Window Clings
Ladybug Window Clings