
How to Make Decoupage Easter Eggs
This Easter craft is so quick and easy to make! Decorate for Easter with DIY decoupage eggs.
Yield: 1 decoupage egg
Cost: $1
Equipment
Instructions
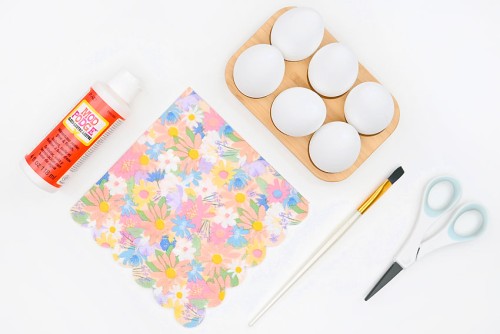
Step 1: Find what you need
- Gather your supplies and materials.
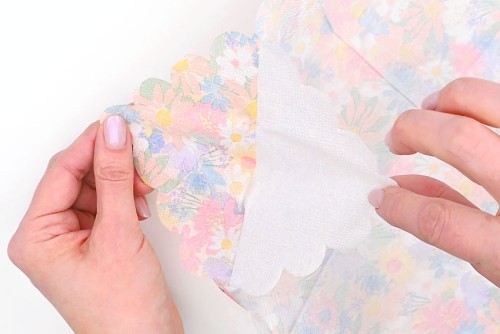
Step 2: Split the napkin and cut out the designs
- Unfold your napkin and carefully peel off the top printed layer.Napkins are usually 2 or 3 ply -- make sure you've separated the print from all other layers.
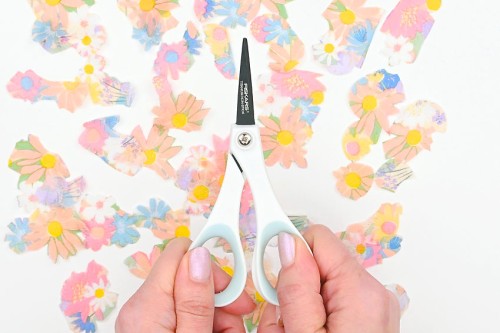
- Cut around shapes or objects on the napkin print. Make sure you cut a good variety and number of pieces.We used detail scissors, which work really well for cutting precisely, but any scissors will work.
Step 3: Attach the first design
- Add a thin layer of Mod Podge to the front of a faux Easter egg.Our eggs are dyable plastic, but you could also use paper mache, wooden eggs, or even a blown out egg shell.
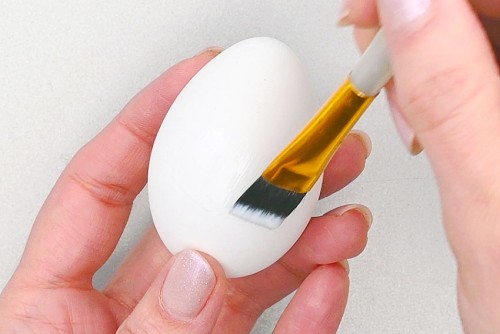
- Place your first piece of napkin onto the egg where the Mod Podge is. Smooth it down with your fingertips.
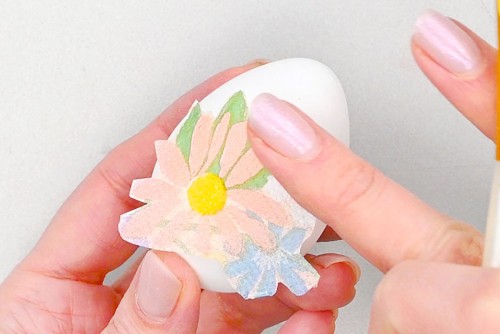
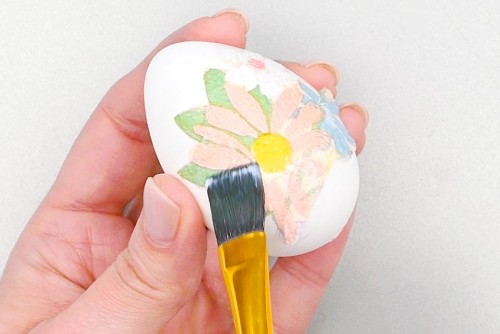
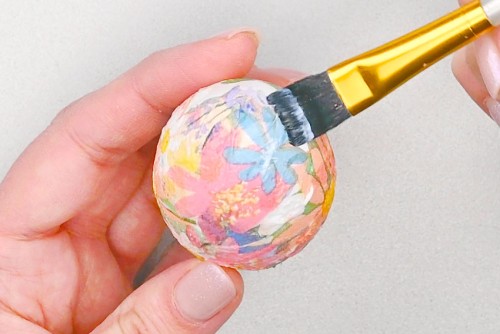
- Use the paintbrush to push the edges of the napkin piece down flat onto the egg.Brush more Mod Podge on top of the napkin, especially at the edges, to secure it in place.
Step 4: Continue gluing the napkin pieces to the egg
- Add more Mod Podge beside the first image and place your second piece of napkin onto the egg.Again, use the paintbrush and your fingertips to smooth out the napkin as much as you can -- but don't push too hard or the paper will tear.
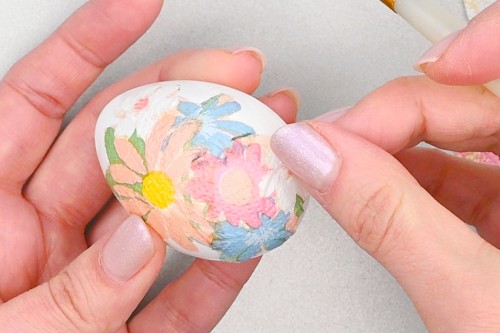
- Continue adding pieces of napkin to the egg with thin layers of Mod Podge.Hold pieces of napkin next to the egg to see how they'll fit with your design before gluing them down.
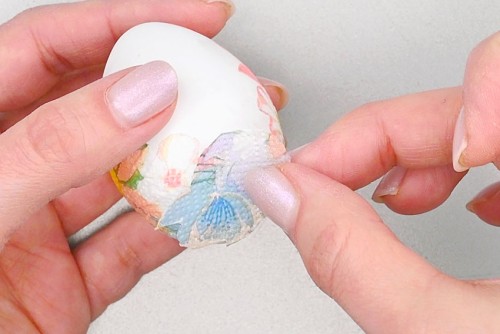
- Repeat, filling in the rest of the Easter egg.Make sure there aren't any white areas showing between pieces. It's okay, and even necessary, to overlap them a bit.
- When you're finished adding napkin pieces, add a thin coating of Mod Podge over the whole egg.Allow to dry.
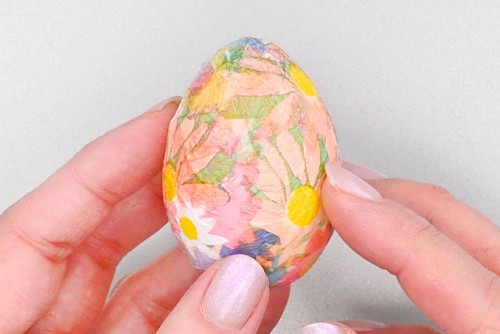
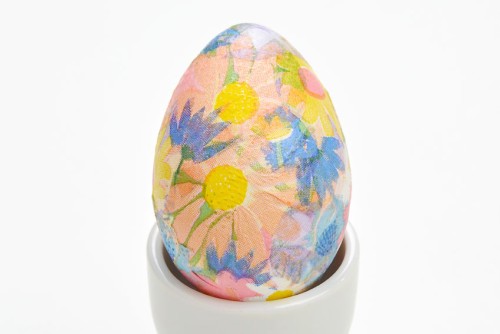
- Your decoupage Easter egg is complete!
Video
Notes
Looking for more Easter egg crafts? Here's a few of our favourites:
Yarn Easter Eggs
Pipe Cleaner Easter Eggs
"Watercolor" Easter Eggs