
How to Make a Ribbon Christmas Tree Ornament
Make a festive ribbon Christmas tree ornament using simple craft supplies! This easy DIY looks great on the Christmas tree and is fun to make for older kids, tweens, teens, and adults.
Yield: 1 ribbon Christmas tree ornament
Cost: $2
Equipment
Materials
Instructions
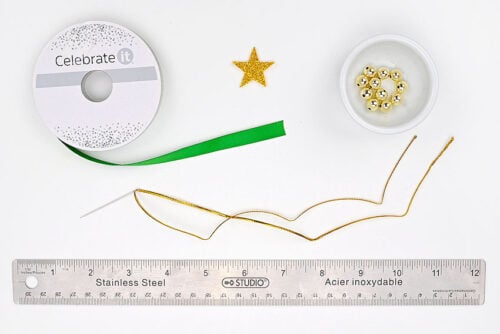
Step 1: Find what you need
- Gather your supplies and materials.
Step 2: Connect the cord and ribbon
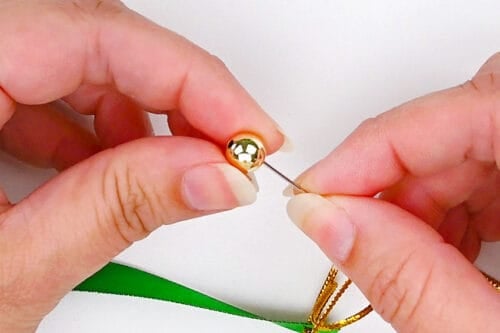
- Cut an 18 inch piece of gold cord and thread it onto a needle.
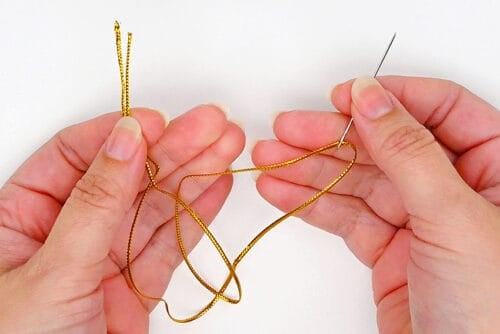
- Line up the ends of the cord and tie a knot, leaving about 1 inch free below the knot.

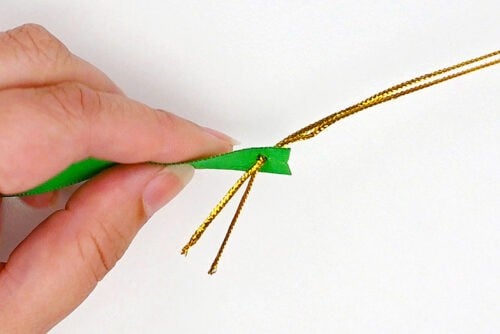
- Push the needle through the end of the 3/8 inch wide green ribbon (you can leave this ribbon attached to the spool). The ribbon should be going out to the left.
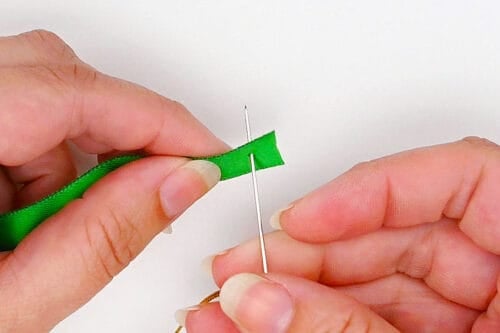
- Pull the needle and cord all the way through, so the ribbon sits against the knot.
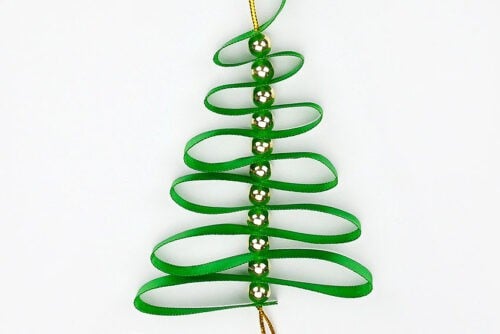
Step 3: Create the Christmas tree shape
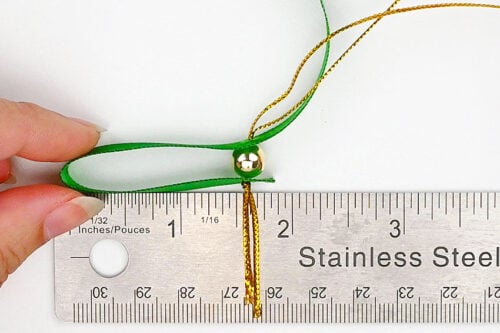
- Add a bead onto the needle, pushing it down next to the green ribbon.
- Grab a ruler and line it up so the bead (and cord end) are at the 1-3/4 inch mark.
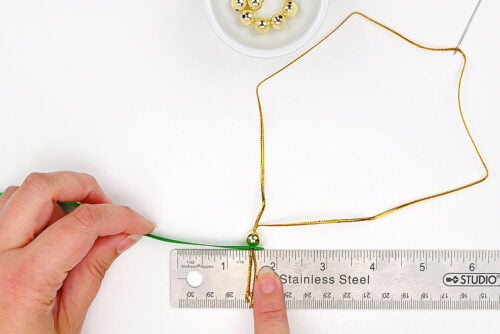
- Fold the green ribbon over at the zero mark, bringing it to the center and creating a 1-3/4 inch section.
- Then push the needle up through the green ribbon right above the bead.
- Pull the needle and cord up all the way.
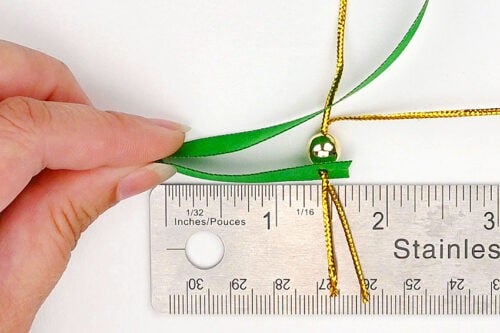
- Then add another bead onto the needle, once again pushing it down next to the ribbon.
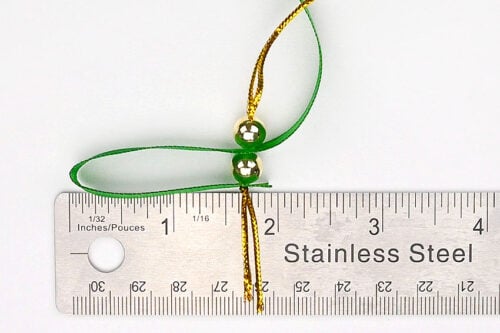
- Bring the bead to the zero mark on the ruler and measure the green ribbon out 1-1/2 inches to the right (1/4 inch smaller than the first fold).
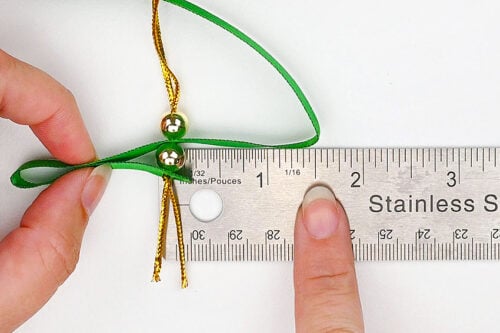
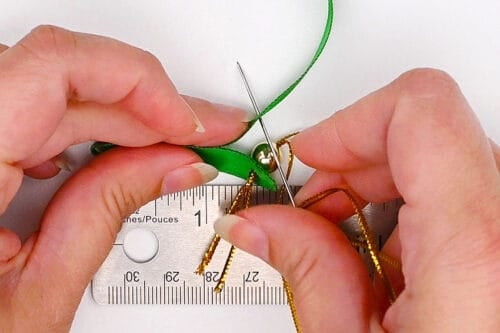
- Put the needle through the ribbon right above the bead, creating the second branch section.
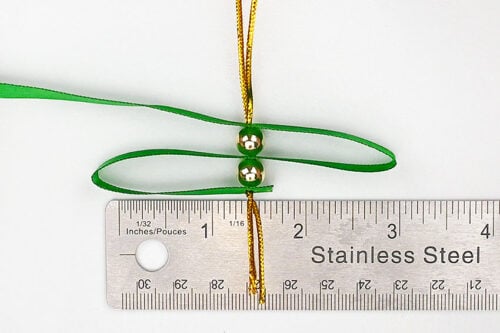
- Repeat these steps until you have 11 beads on the tree, making each fold 1/4 inch shorter than the previous one.End with plain cord at the top (the last bead should be below a layer of green ribbon).
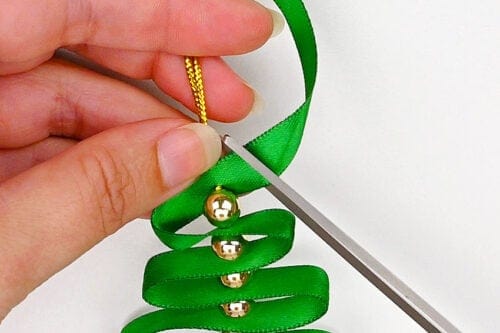
- Cut off the green ribbon 1/4 inch to the right of the cord and bead.
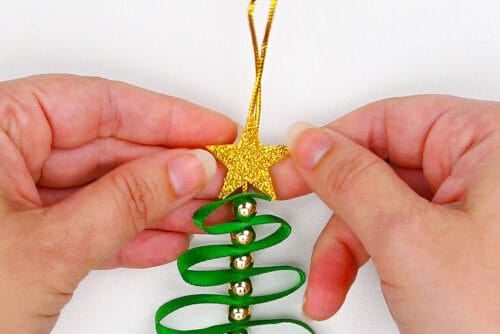
Step 4: Add a tree topper
- Add a star sticker to the top of the tree. To do this, pull up the backing from one side of the sticker and slide the cord in-between the backing and sticker.Once the star is centered, push the backing back against the sticker. This keeps the star in place without stickiness showing.
- Make a knot in the cord, creating an ornament hanger. Then cut the cord off the needle, just above the knot.
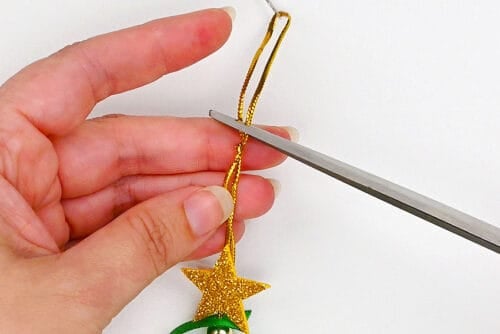
- Your ribbon Christmas tree ornament is complete!

Notes
Looking for more Christmas tree crafts? Here's a few of our favourites:
Pipe Cleaner Christmas Tree
Christmas Tree String Art
Marbled Christmas Trees