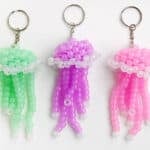
How to Make a Pony Bead Jellyfish
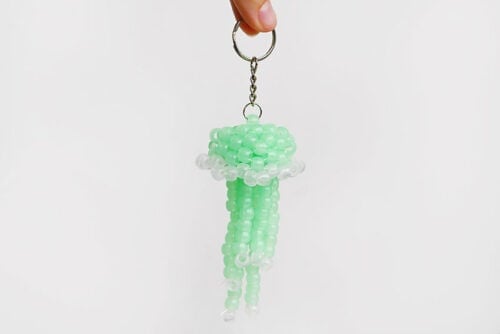
Put together this adorable pony bead jellyfish that's fun to make and easy to customize! This 3D beaded jellyfish makes a great keychain or bag charm, and is a fun DIY craft for kids and summer camp.
Yield: 1 pony bead jellyfish
Cost: $2
Equipment
Materials
Instructions
Find what you need:
- Gather your supplies and materials.
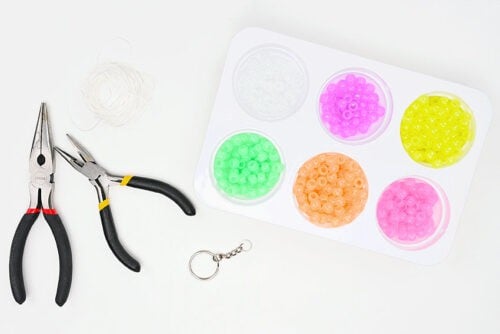
Tutorial explanation:
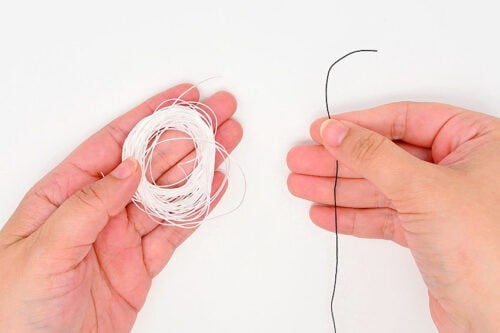
- Start by grabbing some 0.5mm white or clear elastic cord.For the purposes of this tutorial we're going to use black cord just so you can see it easily.
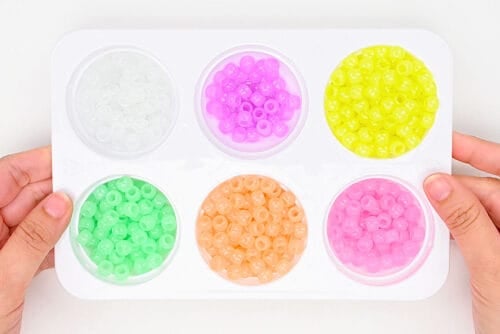
- Here are the beads we're using for this tutorial. We'll be using a different colour for each "row" of beads, so it's easier to understand which beads are added when.Again, you probably don't want to do this for your jellyfish. Like our pictures show, you'll want to use 1 main colour and then clear beads for the base of the head and the ends of the tentacles.
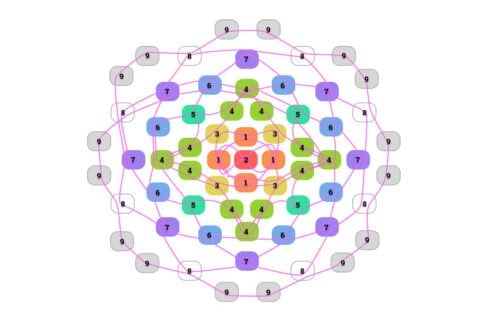
- And here's the pattern for the jellyfish, showing the different "rows" of beads. We promise it looks more complicated than it is! Once you get going you'll understand how the pattern works and how easy the jellyfish is to build.You can find a link to the printable pattern in the materials list above, with more details below this tutorial.
Rows 1 & 2 (The very top of the jellyfish):
- Add 4 beads to the cord (row 1).
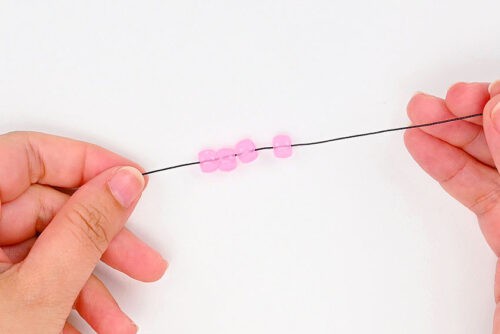
- Tie the cord end and the cord on the other side of the beads together, trapping the 4 beads in place and leaving a tail of about 2 inches on the end. Make a double knot.
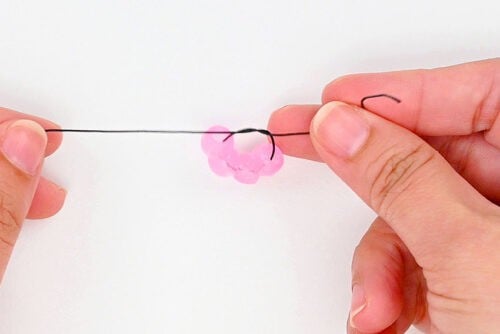
- Add 1 bead to the cord end (row 2).
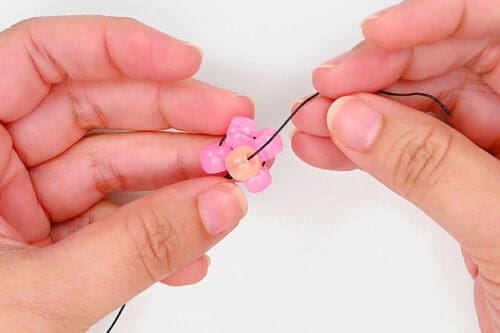
- Bring the cord end down through one of the beads in row 1. Then bring the cord back up through the row 2 bead, so it comes out the opposite direction from which it started.
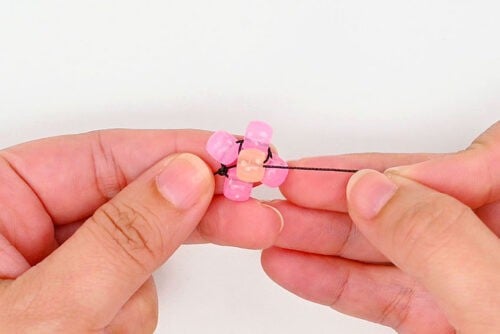
- Put the cord end through another row 1 bead, so it comes out near the long cord. Tie the 2 cord pieces together in a double knot to secure the top bead.
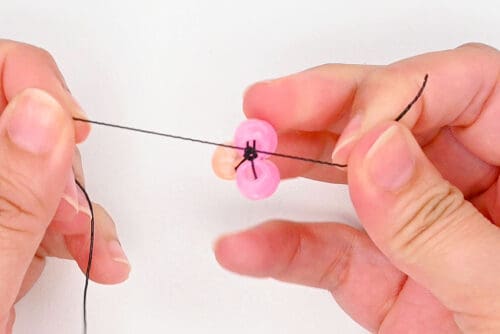
Row 3:
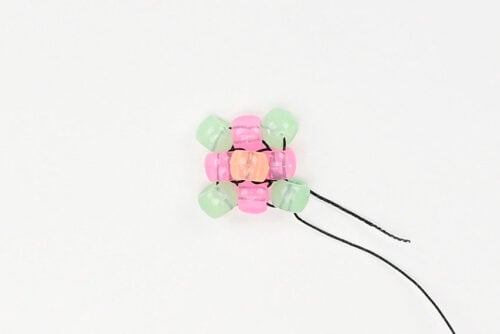
- Next we're going to add 4 more beads in stages, connecting them to row 1.
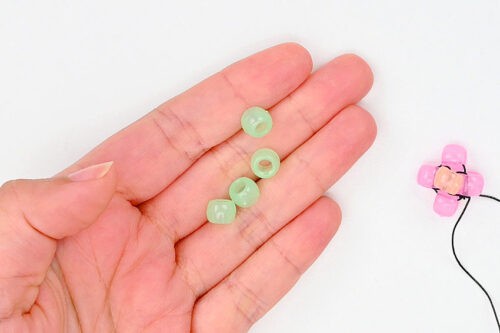
- Add 1 bead to the long cord, letting it fall down next to the other beads. Then push the cord through the next row 1 bead.
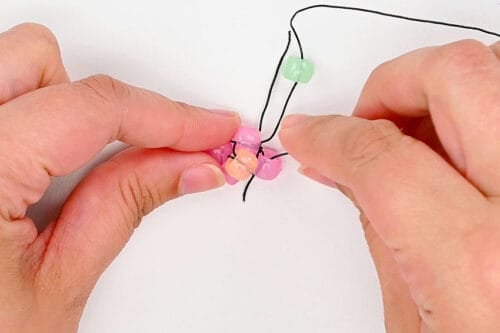
- Repeat, adding the other 3 beads in the same way, making your way around. Bring the cord back through the first row 3 bead to end this row.
Row 4:
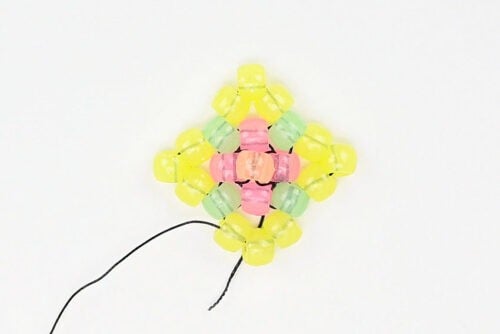
- This row is made up of 12 beads, added in different sections. Begin by adding 3 beads to the cord.
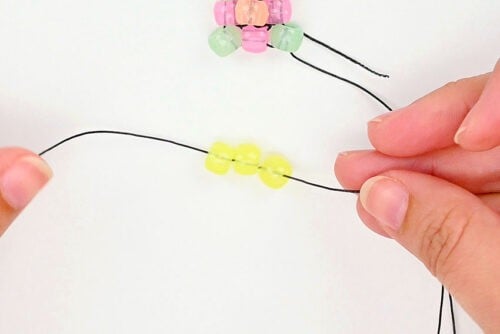
- Arrange the beads so the center one is on the outside and push the cord through the next bead from row 3.
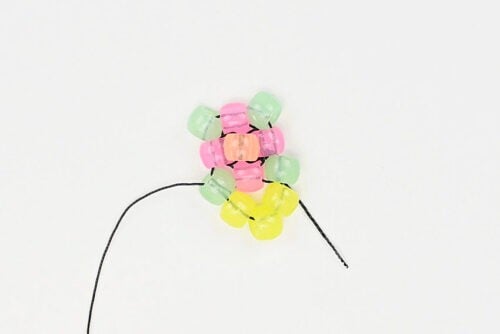
- Repeat 3 more times, and finish the row by bringing the cord back through the first 3 beads of row 4.
Row 5:
- This row is made up of 4 beads total. Add 1 to the elastic cord and bring the end of the cord through the next 3 beads (from row 4).
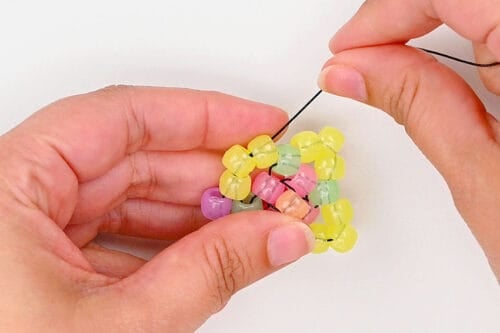
- Repeat, adding 3 more beads in stages. Finish the row by passing the cord through the first 2 beads of row 4, not all 3.
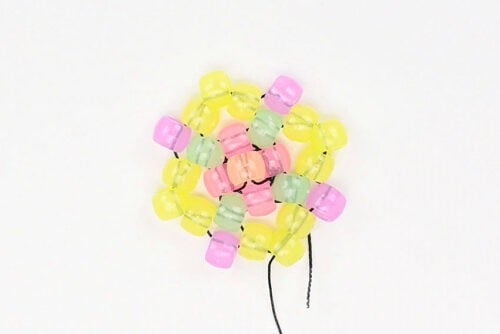
Row 6:
- This row is made up of 8 beads, adding 1 at a time, connecting through row 5 and the outer beads of row 4.Begin by adding 1 of the beads and putting the cord end through the first row 5 bead.
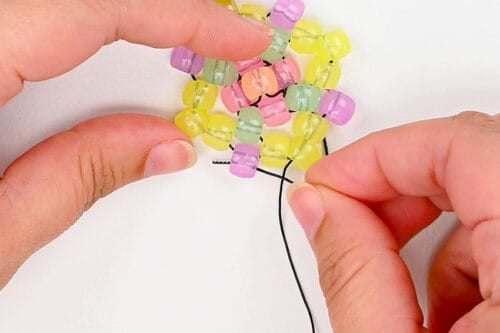
- Add the next bead and go through the outer bead from row 4.
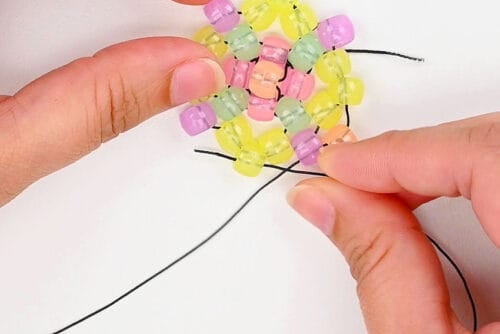
- Repeat this process around until you've added all 8 beads.Finish by bringing the cord through the last outside bead of row 4 and the first bead of row 6.
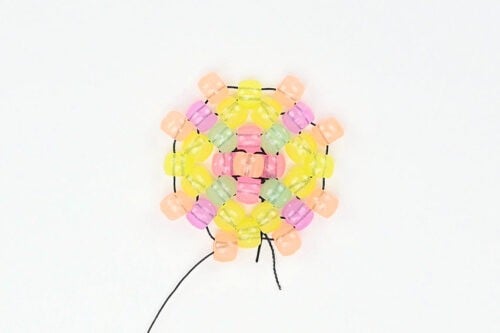
Row 7:
- Add another 8 beads in this row, one at a time. Each one will connect through the beads in row 6.
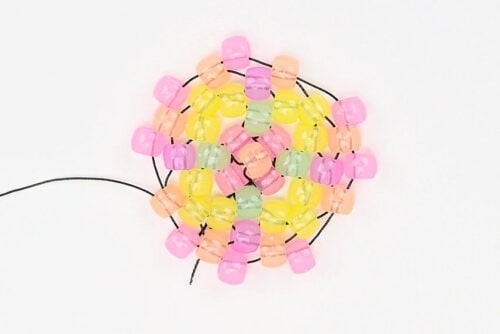
- Pull the elastic tight so that the bell shape of the jellyfish body forms.
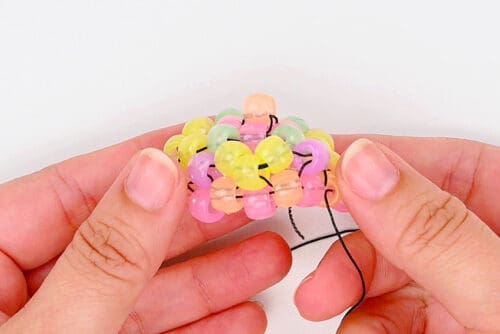
- Once you're happy with the jellyfish shape put the elastic through the first bead of row 7.
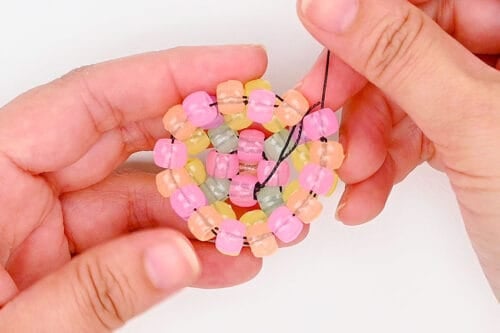
Row 8:
- This begins the edge of the jellyfish body, made with clear beads.Add 8 beads in this row, connecting them through the beads of row 7. Finish by putting the elastic through the first bead of row 8.
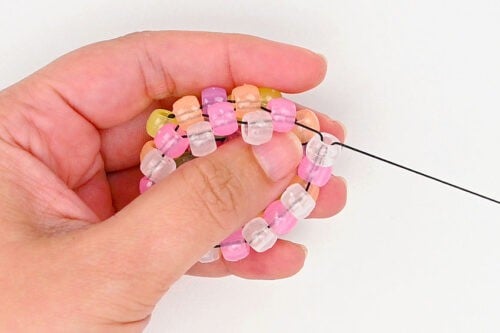
Row 9:
- For the last row of the jellyfish body you'll finish with 16 more clear beads, adding 2 at a time.
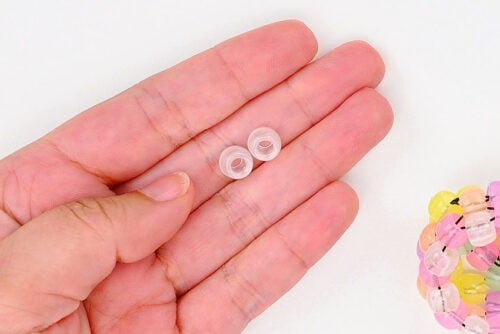
- Add 2 beads and go through the next bead in row 8. Repeat around.
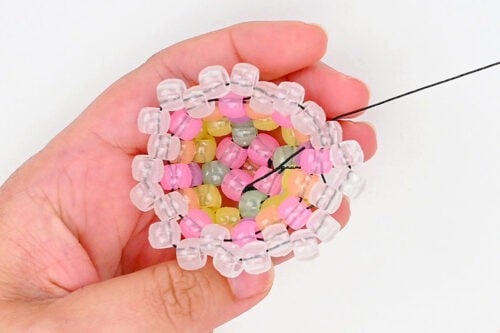
Secure the jellyfish body:
- Bring the cord up through each row, making your way back to the top center of the jellyfish.
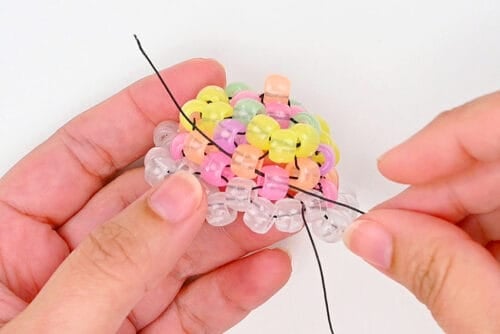
- You should end up next to the first cord end.
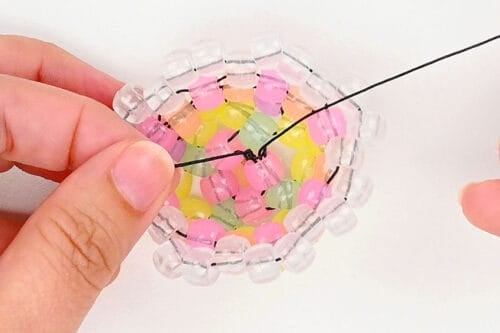
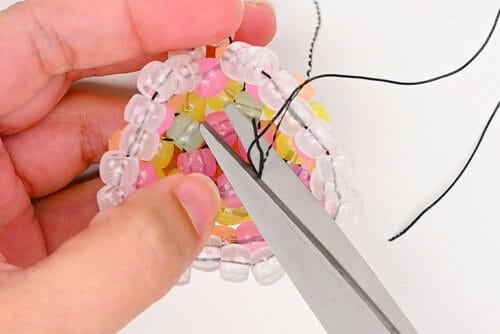
- Tie the two ends into a secure double or triple knot and cut off the excess elastic.
Tentacles:
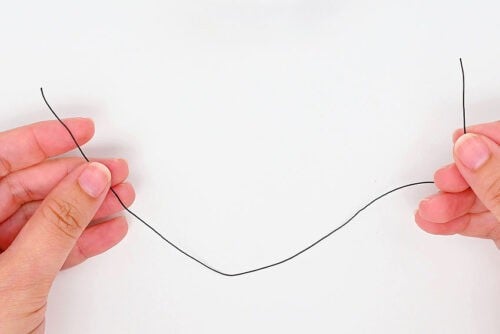
- Cut a piece of elastic cord about 10 to 12 inches long.
- Begin by tying a clear bead onto one end of the cord.
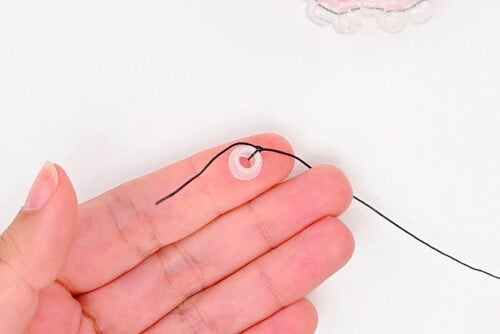
- Add 10 to 15 beads to the cord.
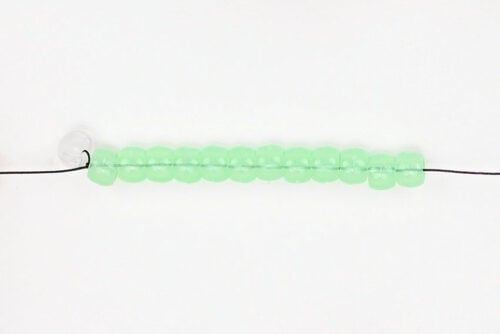
- Put the cord end through one of the first beads (in row 1) and pull the beads up next to the jellyfish body.
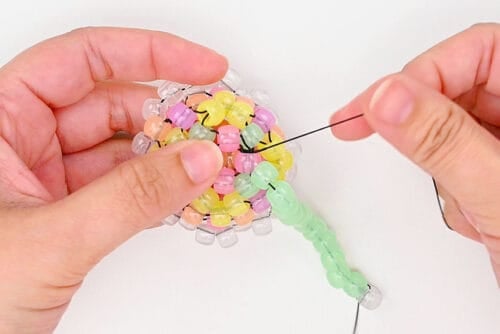
- Add another 10 to 15 beads to the same cord.
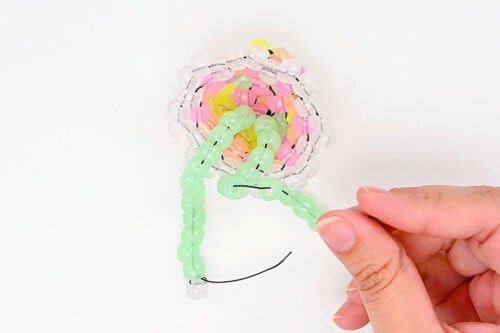
- Then tie another clear bead to this end of the cord.
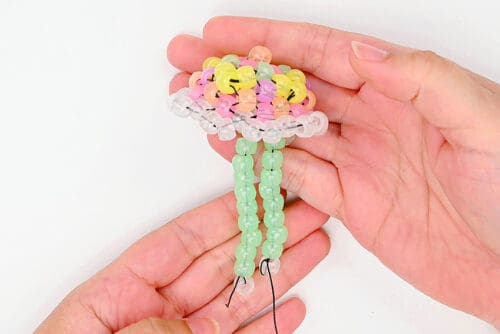
- Repeat with 2 more cords, varying the number of beads and lengths of cords. You should have 6 tentacles hanging down.
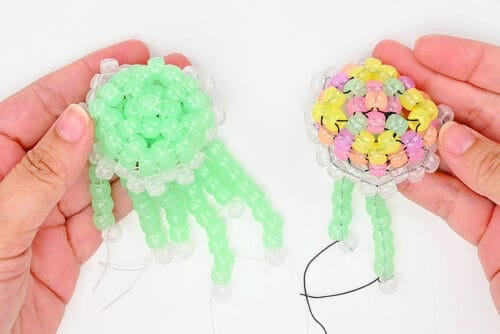
Finish the keychain:
- Cut off the excess cord ends on the tentacles.
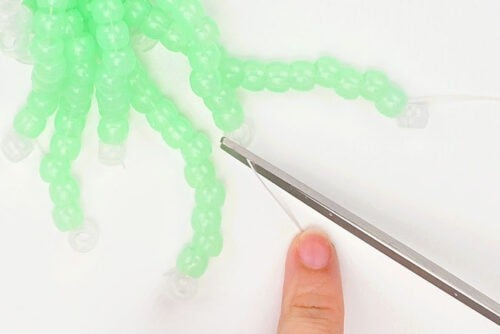
- Use pliers to open the jump ring on a keyring and attach it through the top center bead (the one from row 2).
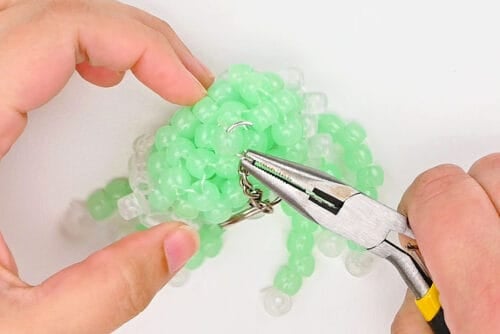
- Close the jump ring tightly using 2 pairs of pliers.
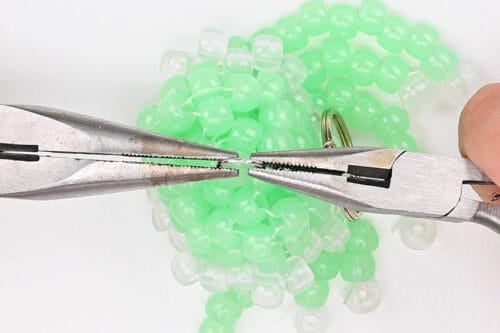
- Your pony bead jellyfish is complete!
Video
Notes
Looking for more fun ways to use your pony beads? Here's a few of our favourite patterns:
Pony Bead Ice Cream Cone
Pony Bead Turtle
Kandi Star