
How to Make a Pony Bead Bunny
Have fun using our simple pattern to make this cute pony bead bunny. This DIY keychain is easy to make, and it's such an adorable Easter craft for older kids, tweens, and bead-lovers of all ages.
Yield: 1 pony bead bunny
Cost: $2
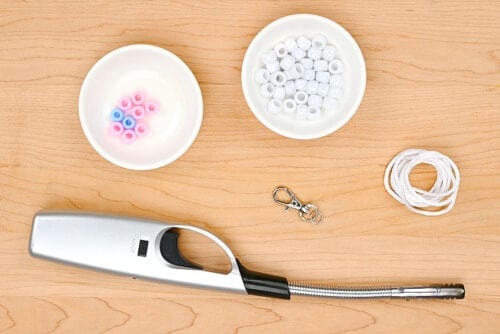
Equipment
Materials
- Rattail cord
- Swivel keychain clasp
- Jump rings
- Pony beads (white, pink, blue)
Instructions
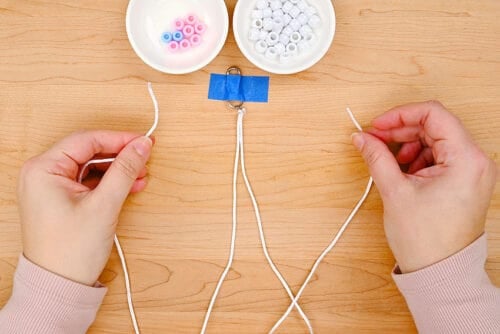
Step 1: Find what you need
- Gather your supplies and materials.
Step 2: Set up your cord
- Cut a piece of rattail cord about 4 feet (48 inches) long.
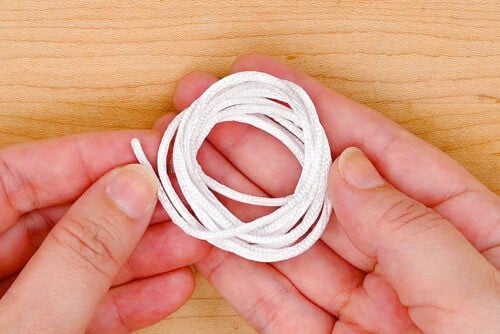
- Fold the cord together so that 1 end is about 6 inches longer than the other.

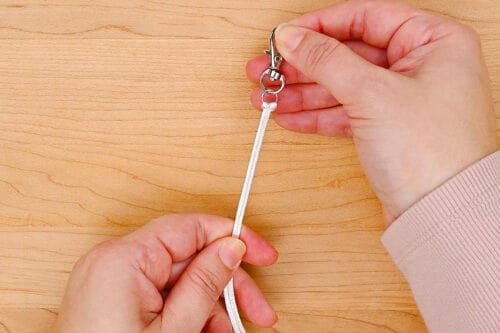
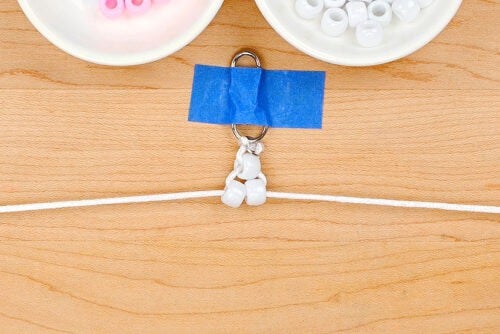
- Attach the loop end of the cord to the jump ring on the keychain hardware using a lark's head knot.To do this, slide the loop up through the jump ring and bring it over the swivel keychain. Then pull down on the cords to tighten the knot.
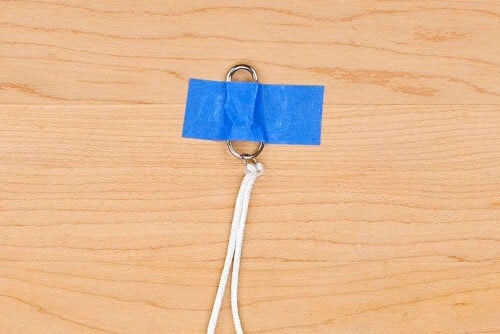
- Tape the keychain piece to your working surface. This makes it a lot easier to make knots and work with the beads.
Step 3: Make the first bunny ear
- To make the pony bead bunny you'll be working with the ends of the cords, first attaching bead(s) to one strand, and then the other.
- Begin by adding 1 white bead to the left cord. (You can also do the right cord if it's more comfortable to you.)
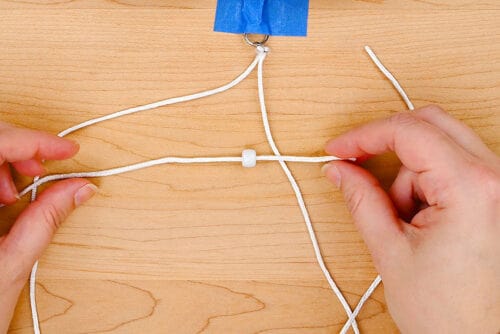
- Now take the end of the right cord and push it through the right side of the bead, so it's attached to both cord ends.
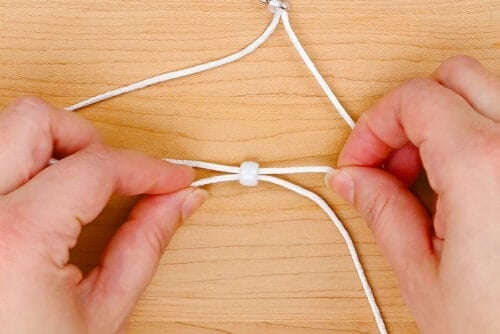
- Pull the cord ends so that the tip of the ear ends up right against the knot.

- For the next row add 2 white beads to the left cord. Again, bring the right cord through the beads.
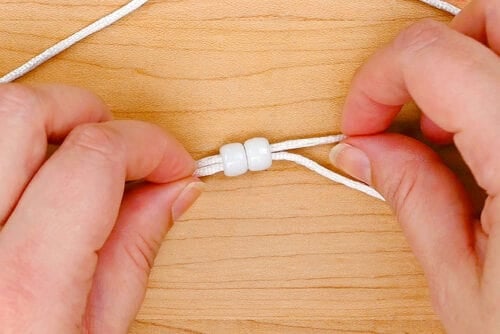
- Pull the cord ends again, so this row of beads is snug against the first. You want the cords to be tight enough that they don’t sag, but not too tight that the beads end up buckling.
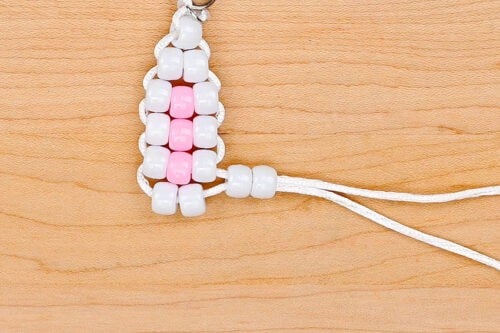
- Add the next few rows (3, 4, 5) of the ear following the same steps and adding beads in the following order: white, pink, white.
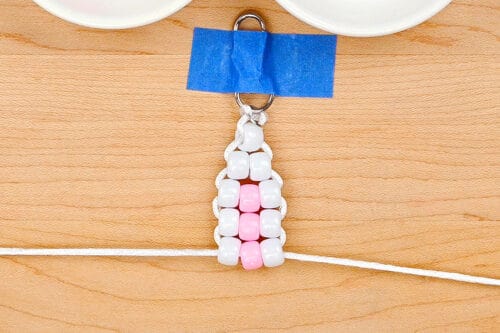
- Now add 4 white beads to the left cord. Separate the beads into 2 parts of 2 beads each.
- Bring the right cord over in-between the 2 sets. String the right 2 beads onto the right cord, sliding the cord in from the left this time.
- Pull the cords so you have the first ear finished and 2 beads that will be the center of the bunny's head.Now you'll have a top and bottom cord. Make sure the longer cord is on the top.
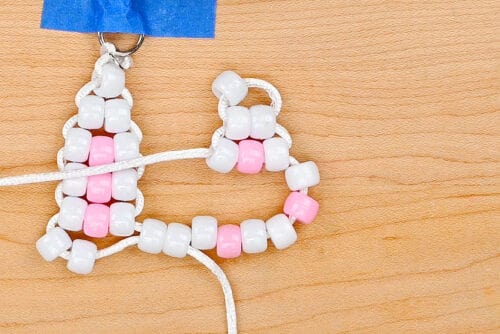
Step 4: Make the second ear
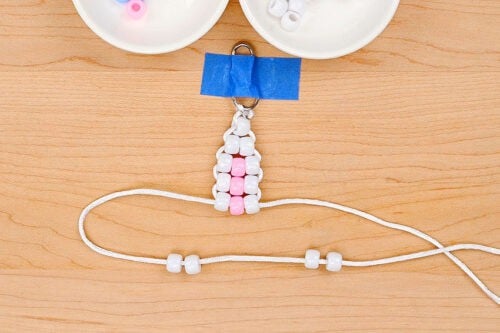
- Add the following beads to the longer cord: 1 white, 1 pink, 2 white, 1 pink, 2 white, 1 pink, 4 white.
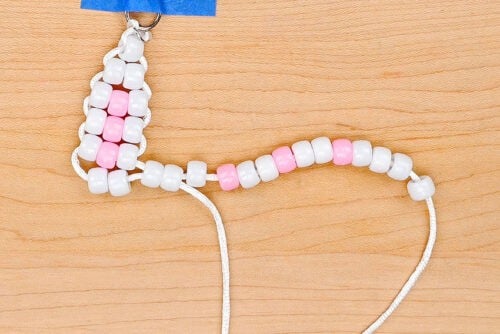
- Loop the same long cord up. You'll be using it to form the second ear shape.
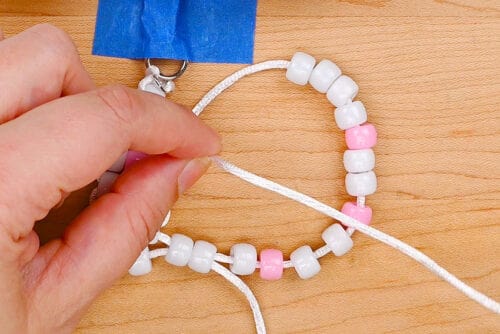
- Bring the cord end back through the second and third white beads from the end, going in the same direction. As you pull the cord, center the last white bead added so it becomes the tip of the ear.
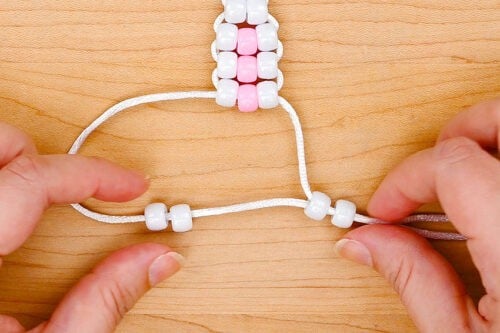
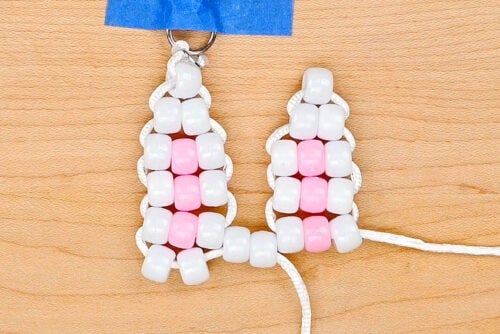
- Bring the same cord back through the next 3 beads: white, pink, white.
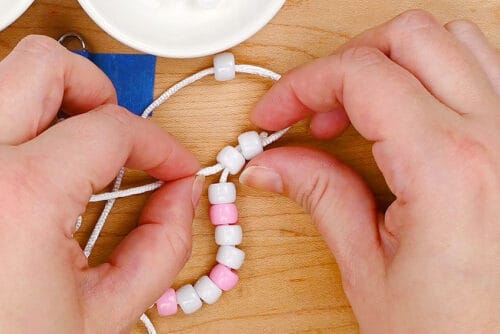
- Repeat another 2 times so there are 2 rows formed of white, pink, white. Pull on the cords if necessary to tighten up the rows on the ear.
- Now we're going to work with the 2 cord ends again. Add 2 white beads to the left (bottom) cord.
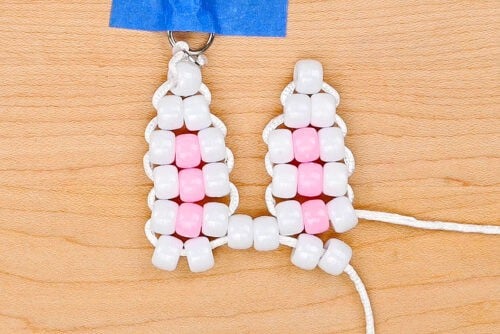
- Bring the right cord through not only these 2 white beads, but also the 2 white beads between the ears and the 2 at the bottom of the left ear.

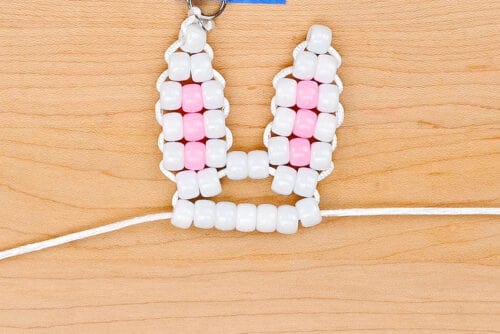
Step 5: Form the bunny's face
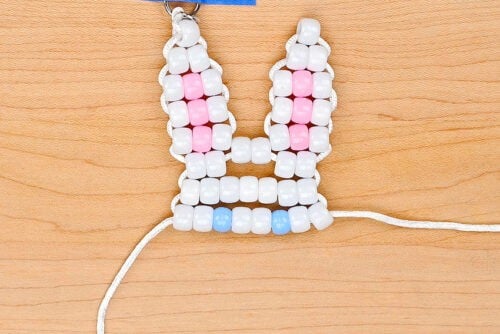
- The next row (the forehead) will be made with 7 white beads. Follow the standard adding the beads to the left cord and bringing the right cord back through them.
- Add the next row with the eyes in the same way: 2 white, 1 blue, 2 white, 1 blue, 2 white.
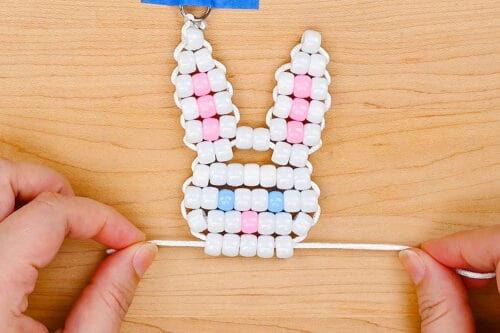
- Now make a row with the nose: 3 white, 1 pink, 3 white.

- Finish off with a row of 5 white beads for the chin.
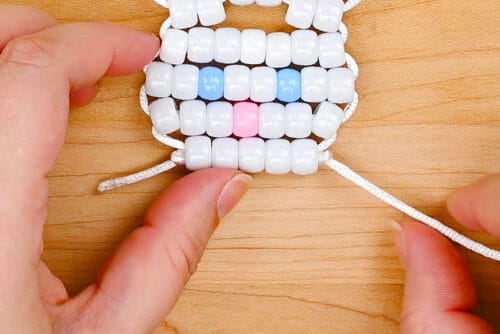
Step 6: Finish off the keychain
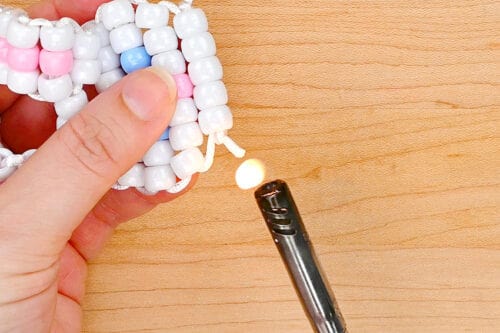
- Tie knots on both cords, placing them as close to the beads as possible. Make a double knot, if necessary.
- Cut the cord ends close to the knots, leaving about 1/4 inch extra.
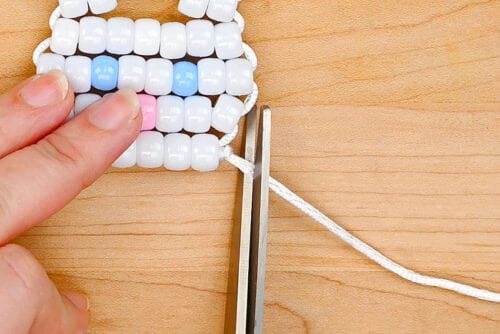
- Hold a BBQ lighter next to the cord end and light it. This will melt the end of the cord, keeping it from unraveling. Repeat on the other cord end.
- Your pony bead bunny is complete!

Video
Notes
Looking for more pony bead crafts? Here's a few of our favourites:
Kandi Star
Pony Bead Football
Pony Bead Flower Keychain