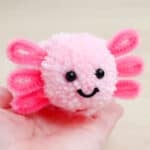
How to Make a Pom Pom Axolotl
Fit tons of axolotl personality into one pom pom creation! Make this adorable pom pom axoltol using yarn, pipe cleaners, and other simple craft supplies. It's a great way to celebrate this fun aquatic creature!
Yield: 1 pom pom axolotl
Cost: $1
Materials
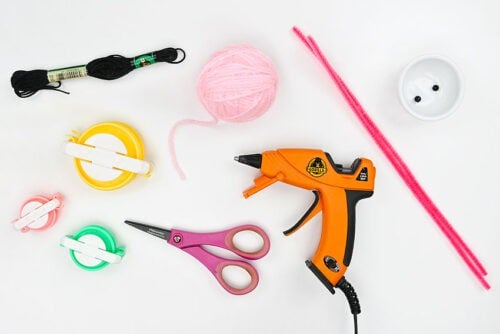
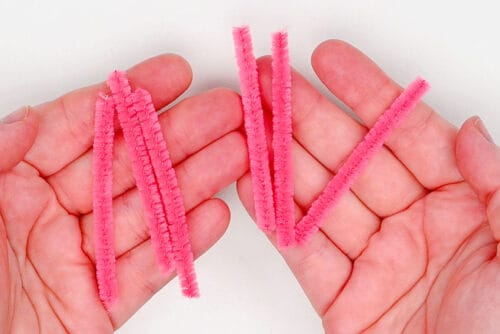
- Yarn (pink or colour of choice)
- Pipe cleaners (to match yarn colour)
- Black beads (6mm)
- Embroidery floss (or yarn; black)
Instructions
Step 1: Find what you need
- Gather your supplies and materials.
Step 2: Make the axolotl head pom pom
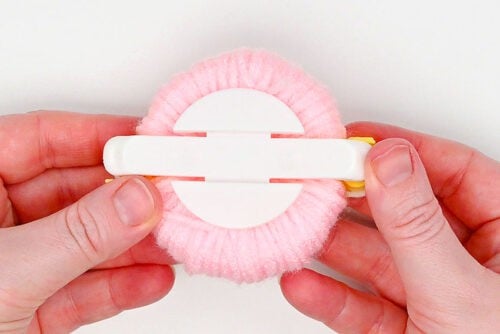
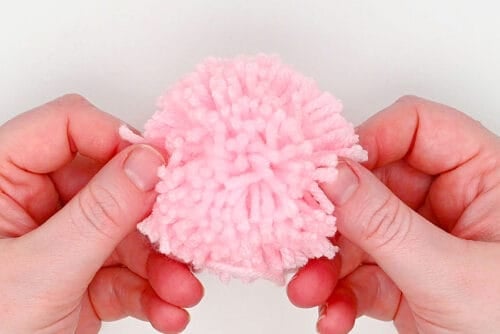
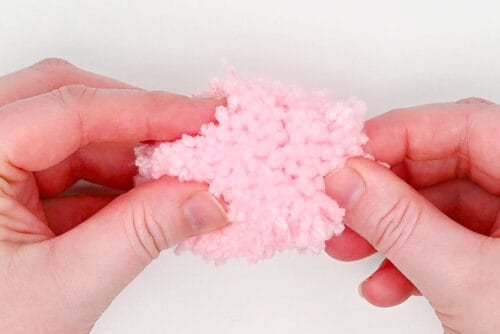
- Wrap pink yarn around half of a 2-1/4 inch pom pom maker.
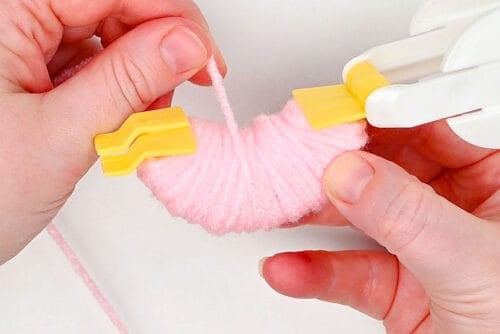
- Cut the yarn from the ball and secure the end. We used a latch hook tool, but you can also use a crochet hook or the end of your scissors.
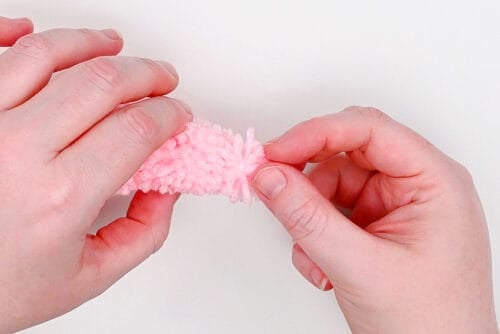
- Wrap the other side of the maker with the same pink yarn and close it.
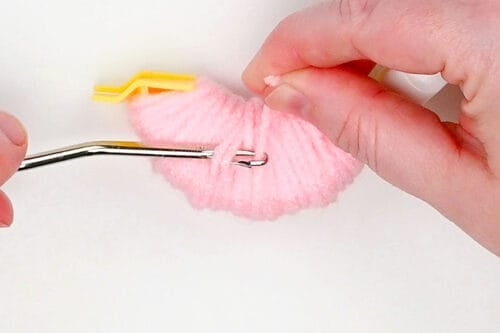
- Cut a 12 inch piece of yarn.
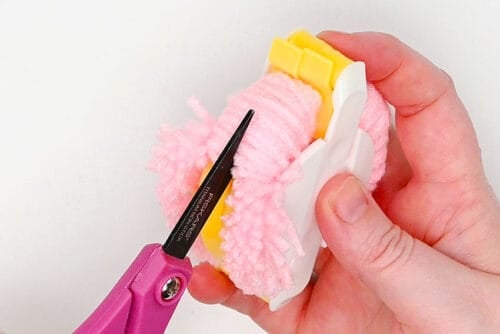
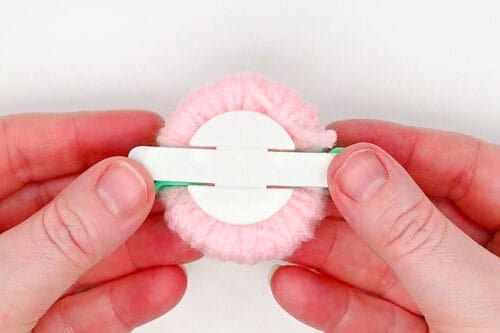
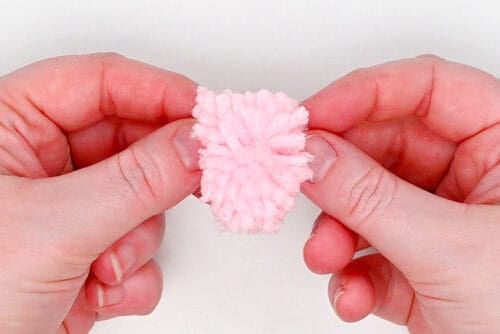
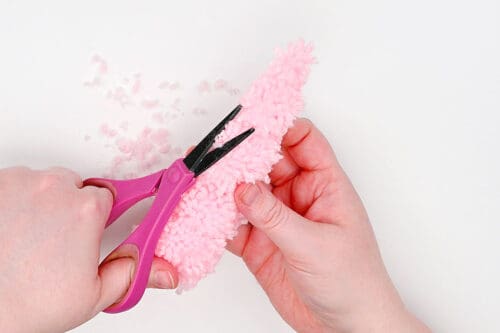
- Slide sharp scissors into the gap between the two sides of the pom pom maker and cut through the middle of the yarn.
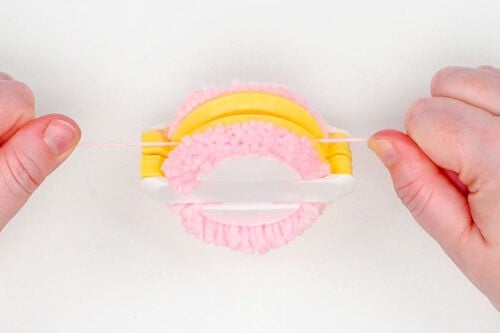
- Insert the yarn into the center of the maker (where you just cut). Wrap the yarn around a couple times, pulling it tight and securing it with a double knot.
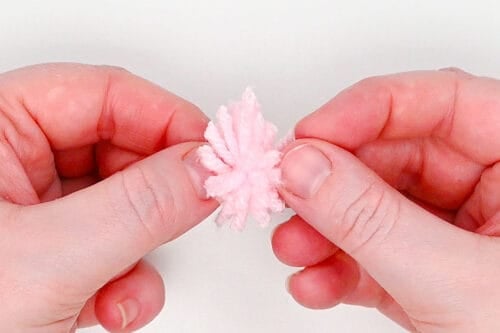
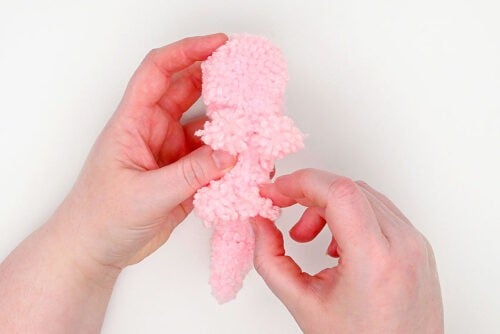
- Remove the pom pom from the maker. This will be the axolotl's head.
Step 3: Make the rest of the pom poms
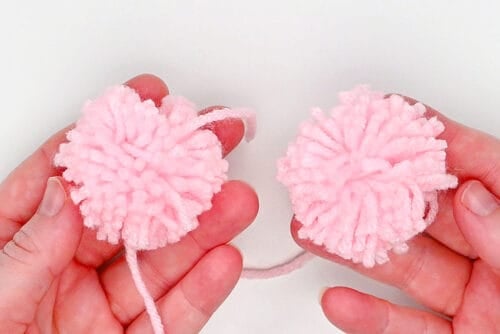
- Wrap pink yarn around both halves of a 1-1/2 inch pom pom maker.
- Follow the steps above to make a pom pom.Then repeat, making another one the same size. These will be the body of the axolotl.
- Use a 1-1/4 inch pom pom maker to make a pom pom for the tail.
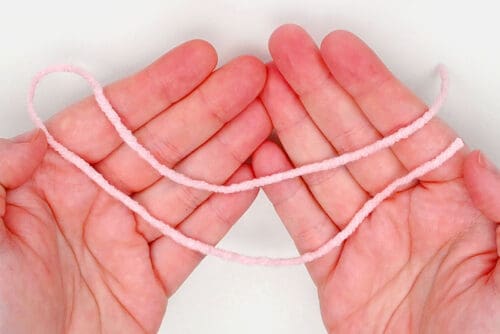
- To make the tip of the tail, wrap yarn 10 times around 2 fingers.
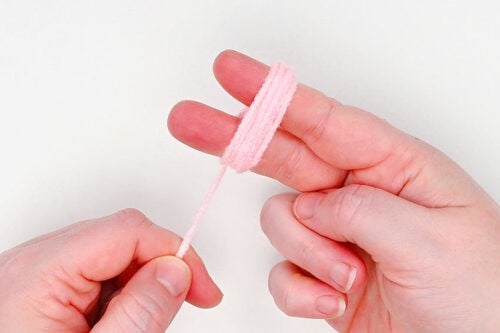
- Place a 6 inch piece of yarn between your fingers and tie it around the bundle.
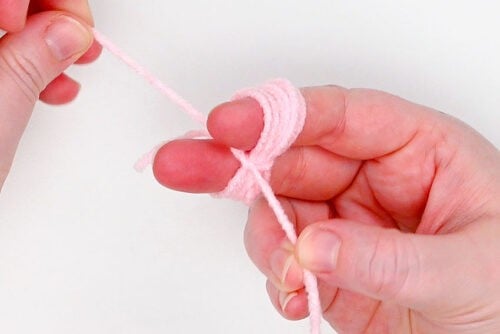
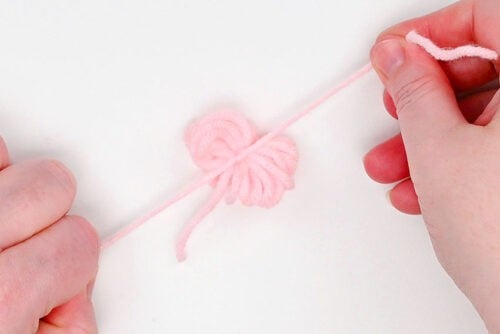
- Slide the yarn off your fingers and tie the yarn tight in a double knot. Then cut through the loops.

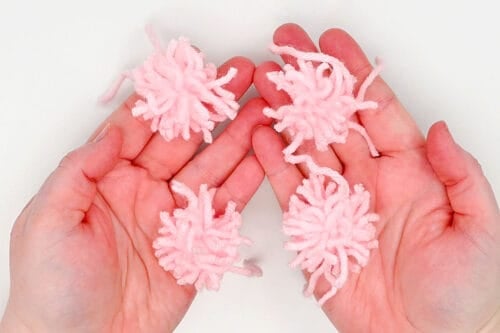
- To make a leg for the axolotl wrap yarn 15 times around 2 fingers. Tie yarn around the bundle and secure it before cutting the loops.
- Repeat 3 times so you have 4 leg pom poms.
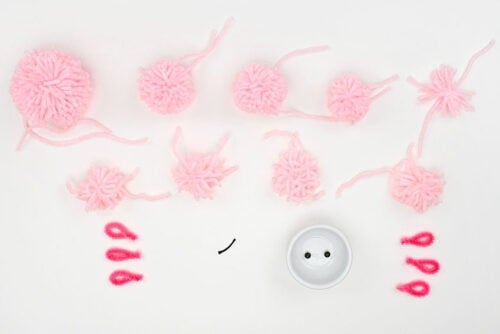
Step 4: Make the gills and gather pieces
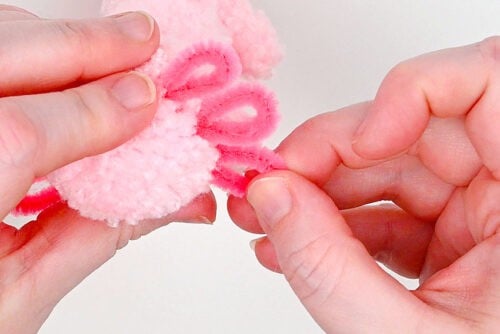
- Cut six 2-1/2 inch pieces of pink pipe cleaner.
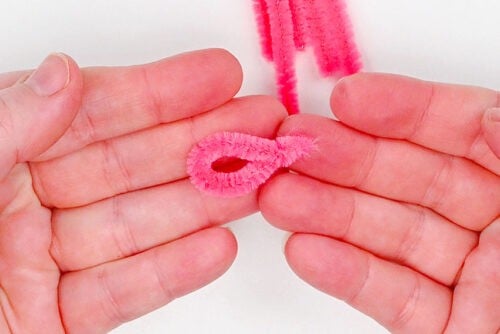
- Gently fold the pipe cleaner in half so that the center stays rounded.
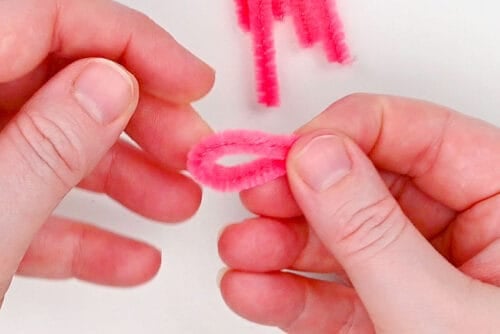
- Twist the ends together several times. This will be one of the axolotl's gills.Repeat with the rest of the pipe cleaner pieces.
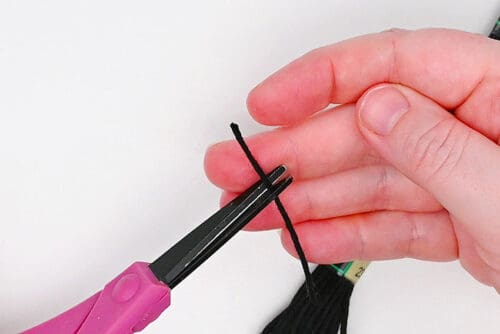
- Cut a piece of black embroidery floss or yarn for the axolotl's mouth. The size will depend on what style of mouth you want to add, but try cutting a piece between 1/2 and 3/4 inch.
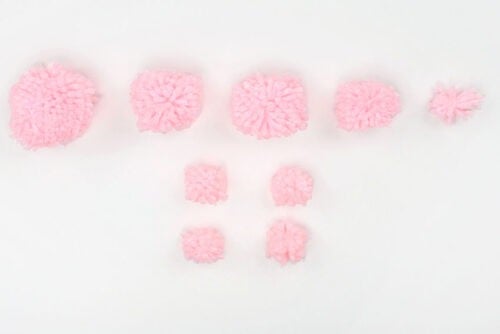
- Here's a look at all the pieces we've made so far. This plus your scissors and hot glue is all you'll need to finish your axolotl.
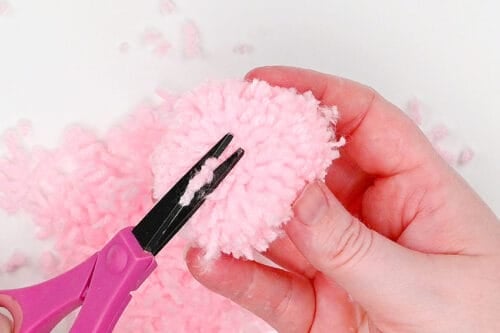
Step 5: Trim the pom poms
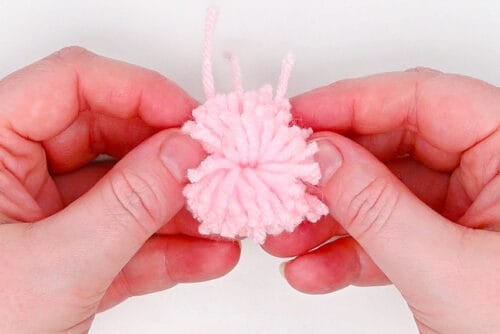
- Begin by giving the head pom pom a "haircut", trimming it down a bit.At this point you don't have to trim it perfectly, but you do want to shape it a bit into an oval, where the front of the face is wide horizontally.
- Next we're going to trim the first body pom pom. It should have 2 relatively flat sections so that it can be glued to the head and the 2nd body section. The middle should be rounded.
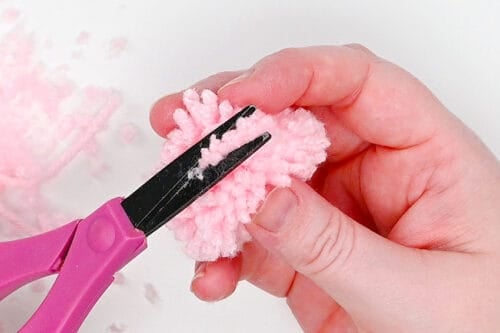
- Cut the 2nd body section to the same shape.
- Now for the tail you want to create a shape that's flat on one end, where it tapers down to a more narrow point.
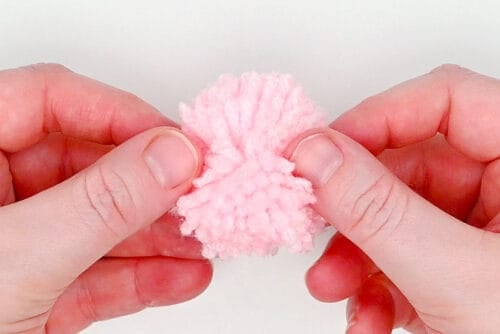
- Trim the 2nd tail pom pom (the one you made on your fingers) down a bit. It should go to a point, but it's okay if it doesn't look like much yet. You'll trim it down properly once the pom poms are all connected.
- Finally, cut the 4 leg pom poms so they're mostly flat on one end and rounded on the other.Here's what all your pom poms should look like at this point and how they'll all fit together.
Step 6: Connect the body
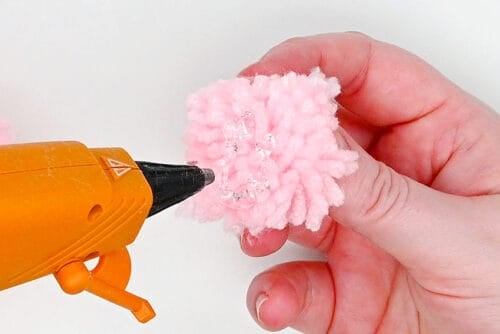
- Add hot glue to one side of the first body pom pom.Try to add the glue in the middle, and don't add too much. It's easier to add more later where needed, rather than have the hot glue spill out and burn you.
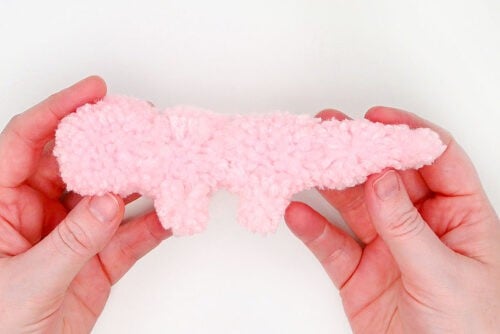
- Connect the head and body pom poms together. Really squish them together and hold them while the glue dries.
- Repeat, gluing the next body pom pom and then the 2 tail sections.
- Trim the body a bit more so that it looks fairly streamline. You can add more glue to areas that aren't well connected and shape the pom poms a bit more at this point.
- Glue the legs to the bottom of the body.
- Trim the legs and the yarn on the belly so they stand out nicely. Add more glue where needed.
Step 7: Add the final details
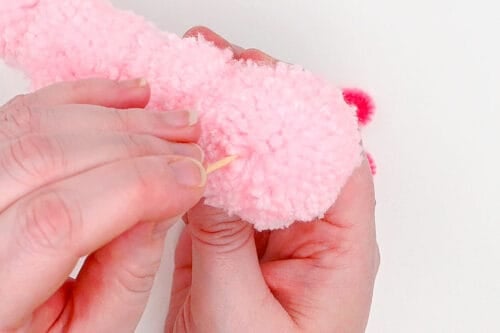
- Now it's time to add the gills. We found it helpful to use a toothpick to create a little "trench" on the side of the head for the pipe cleaner piece to fit into.You can then place the gill and check the placement before gluing it.
- Glue 3 gills on each side of the head, spacing them as evenly as you can.
- Then glue 2 beads to the front of the head for the eyes. Again, it's useful to use the toothpick to make a little area for them to sit in and then use the toothpick to place them.At this point you may want to trim down the face even more.

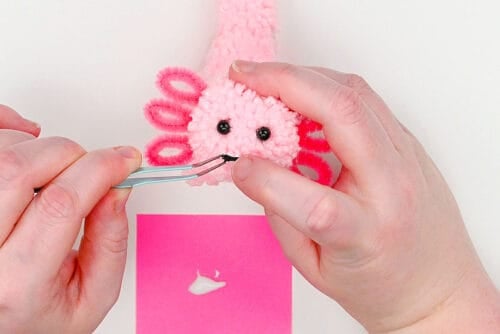
- To add the mouth we're using tacky glue. Add a bit of glue to a scrap piece of paper.
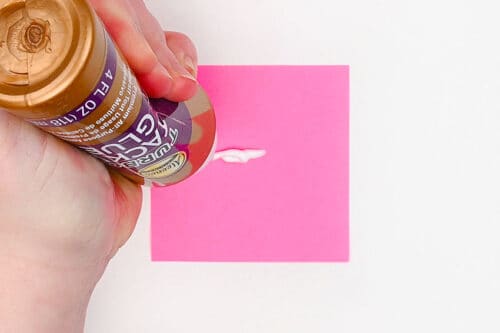
- Use tweezers to place the embroidery floss piece into the glue.You can also just add a small dot of glue to the center of the mouth -- this gives you more leeway for placing it.

- Use the tweezers to place the floss on the face as a mouth. Use the tweezers or your fingers to shape it into a smile or other mouth shape.
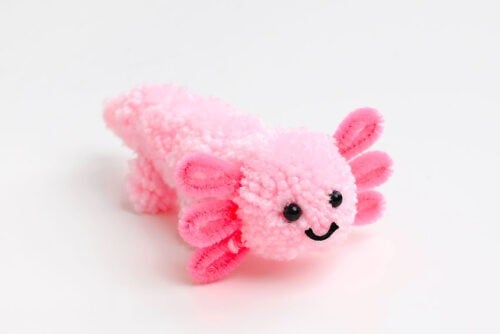
- Your pom pom axolotl is complete!
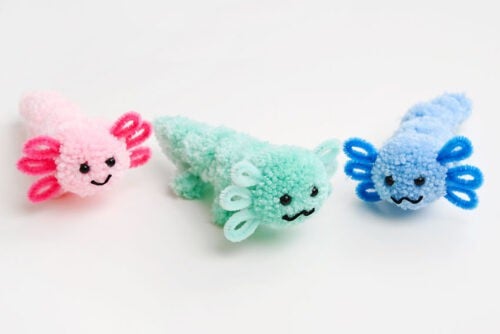
- Have fun making axolotls in all different colours of yarn. They look super cute, whether you're going for a realistic colour morph or a cartoon-style animal.
Video
Notes
Looking for more kawaii crafts? Here's a few of our favourites:
Paper Squishy
Kawaii Perler Beads
Paper Bunny Gift Box