
How to Make a Paper Quilled Heart Card
Turn simple paper strips into a detailed, textured heart design with these paper quilling heart cards. This handmade craft is a sweet and thoughtful way to show your love for Valentine's Day, Mother's Day, or any other special occasion!
Yield: 1 paper quilling heart card
Cost: $2
Instructions
Step 1: Find what you need
- Gather your supplies and materials.

Step 2: Prepare the card
- Cut a piece of cardstock in half, so it's 5-1/2 inches wide and 8-1/2 inches long.(You can use any paper size you'd like, but keep in mind that larger quilling projects take a long time to do!)

- Fold the paper in half to make a greeting card.

- Print one of our heart templates and cut the heart of your choosing.

- Use pencil to trace the heart on the front of the card.

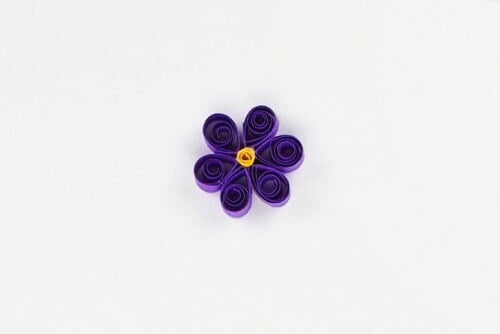
Step 3: Make paper quilled flowers
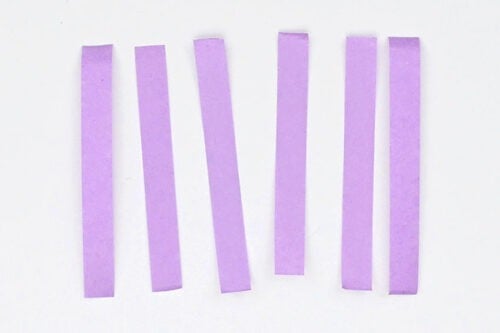
- Cut 3 pieces of purple quilling paper in half, so you have 6 pieces 4-1/2 inches long.

- Place a toothpick on top of the paper and begin rolling the paper around the toothpick.

- Once the roll will stay on its own, remove the toothpick and continue rolling until the end.

- Loosen the tension on the roll until it makes a circle about 1 cm across. Add glue to the end.

- Secure the circle with the glue and then pinch one side of it, creating a teardrop (petal) shape.

- Repeat with the other 5 sections of quilling paper.

- Cut a yellow piece of quilling paper to be 2 inches long.

- Use the toothpick to roll the yellow paper into a tiny circle. Secure the end with glue.

- Add glue along the pointed edge of one of the petals.

- Attach the petal to the yellow circle.

- Repeat, gluing the rest of the petals evenly around the flower.
- Choose a lighter shade of purple quilling paper. Grab 2 pieces and cut each into 3 even sections (giving you 6 pieces that are 3 inches long).
- Repeat the flower making process with these pieces. This time the circles will be about 1/2 cm.

Step 4: Make quilled circles
- Choose a main colour for your heart (we chose pink). You'll need between 30 and 40 strips to fill a 3-1/2 inch heart.Leave some strips full length, and cut the rest into a variety of sizes, with 1-1/2 inches being the smallest.

- Use the same rolling technique to make circles in many sizes. Keep some of the circles tight, and loosen the tension on others.You'll probably need to make more rolls as you work, but it helps to start with a variety of sizes.

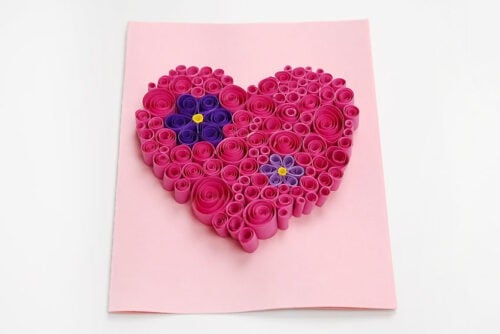
Step 5: Attach quilled pieces to the card
- Begin by adding glue to the back of one of the flowers.

- Set it in place on the card, inside the heart.

- Next, glue the second flower in place.

- Then begin adding circles to the card. It's best to add the first ones right against the flowers so you get a snug fit.

- Fill the heart shape with different sized circles, placing them where they fit best. You can add the glue to the card directly, or to the back of the circles -- whatever works best for you.

- Continue until the heart shape is filled in with quilled circles.

- Your paper quilling heart card is complete!
Notes
Looking for more paper quilling crafts? Here's a few of our favourites:
Paper Quilling Cactus
Quilled Paper Chicks
Paper Quilled Easter Eggs