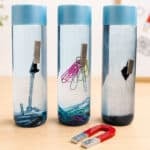
How to Make a Magnetic Sensory Bottle
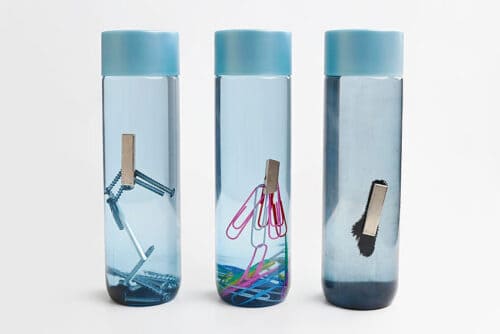
Explore magnets and magnetism in this cool activity that's part STEM and part sensory craft. Add magnetic items to a bottle and see how a magnet affects their movement. It's a lot of fun to explore!
Yield: 1 magnetic sensory bottle
Cost: $2
Equipment
Instructions
- Gather your supplies and materials.
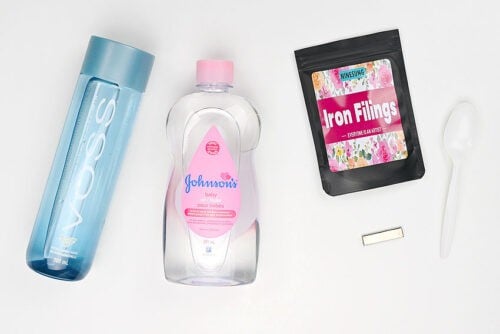
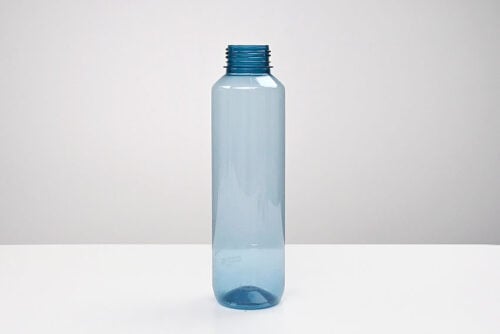
- Clean out a water bottle and remove the label.
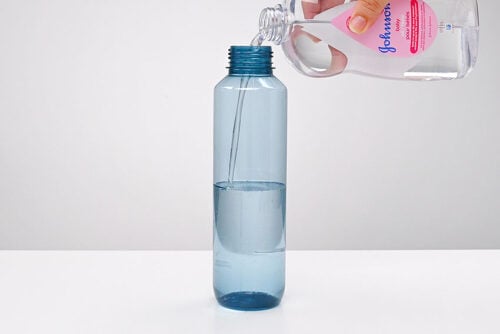
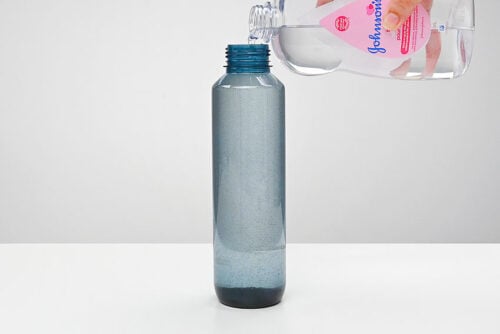
- Pour baby oil into the bottle until it's about 1/2 or 3/4 full.
- Use a plastic spoon to add 1 to 2 spoons of iron filings.
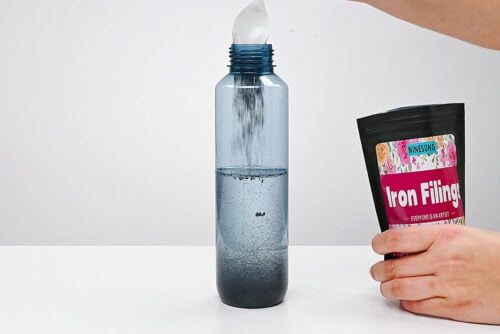
- Fill the rest of the bottle to the top with baby oil.
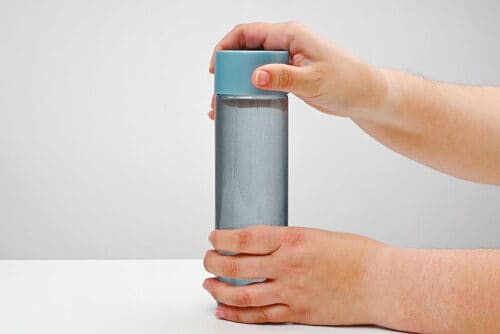
- Screw the cap on tight. If you have younger kids you may even want to glue the lid shut.
- Your magnetic sensory bottle is complete!
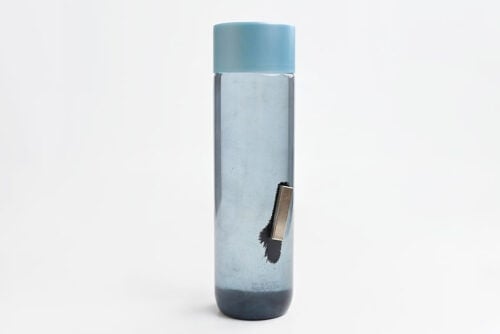
- Have fun adding different magnetic items into the sensory bottles. Read more below about what items work well!
Video
Notes
Looking for more sensory bottle fun? Here's a few of our favourites:
DIY Glitter Jar
Weather Sensory Bottles
Anti-Gravity Galaxy in a Jar