
How to Make a Loom Knit Cat
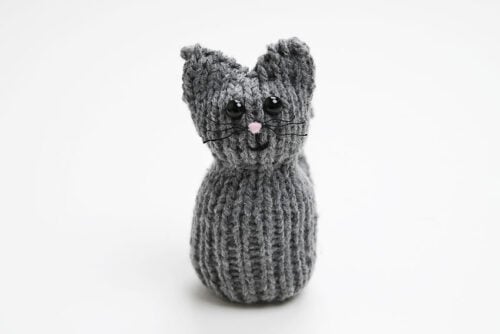
Have fun making this adorable loom knit cat! This DIY cat plushy is a fun and beginner-friendly project, perfect for anyone learning to loom knit or looking for a satisfying yarn craft. Use a bit of yarn in your favourite colour and follow our detailed step-by-step pattern to create your own tiny cat friend.
Yield: 1 loom knit cat
Cost: $2
Equipment
- Knitting loom (18 pegs)
- Row counter (optional)
Materials
- Worsted weight yarn (cat colour of choice)
- Safety eyes (8 mm)
- Felt (pink)
- Embroidery floss (black)
- Tacky glue
- Polyester fiber fill
- 20 gauge Wire
Instructions
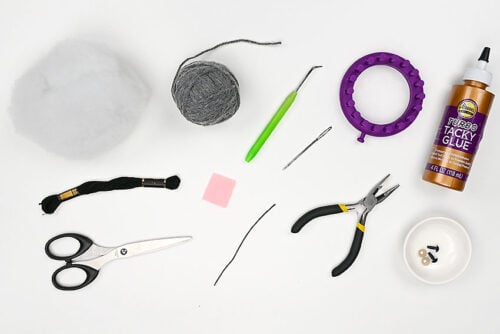
Step 1: Find what you need
- Gather your supplies and materials.
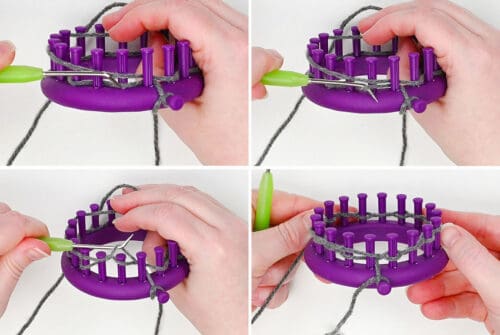
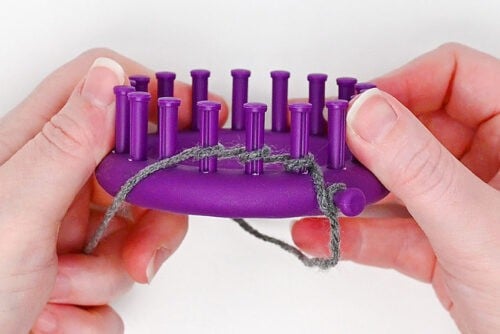
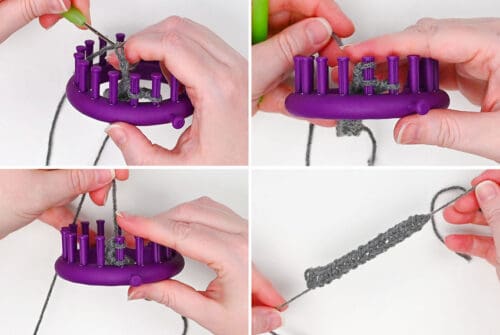
Step 2: Cast-on
- Make a slip knot and add it to the anchor peg on the side of the loom.
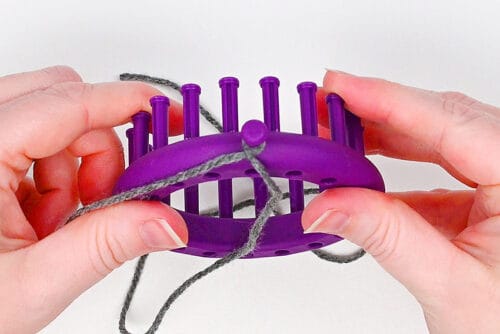
- Use a drawstring cast-on to attach the yarn. To do this, weave the yarn behind the first peg, in front of the second peg, behind the 3rd, etc.I’m left handed, so I’m going around the loom clockwise, starting with the peg to the left of the anchor peg. If you’re right handed you may prefer counter-clockwise — the pattern works either way.
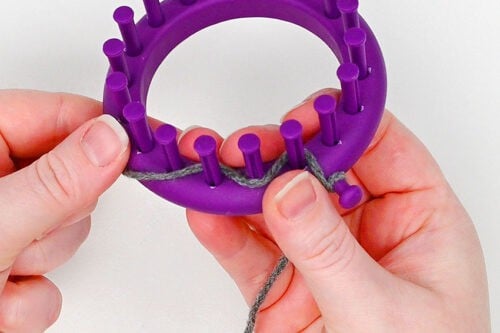
- Repeat around and finish by going behind the first peg.(If your loom has an even number of pegs.)
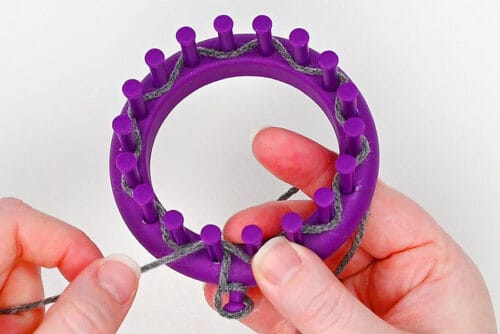
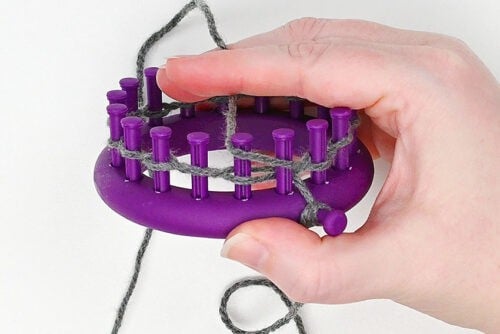
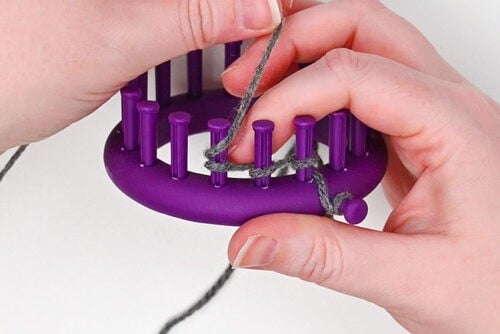
- Complete the cast-on by wrapping the working yarn around the loom.For every peg that has 2 loops in front, knit over (i.e. use your loom hook to lift the bottom loop up and over the top loop, and off the peg — to the back).
Step 3: Knit the cat
- The whole cat is made with u-knit stitches. You can choose to do a different knit stitch if you'd like -- e-wrap knit is a looser stitch, while true knit is tighter.To begin the u-knit, bring the working yarn across the peg. Hold it loosely with your non-dominant hand.
- Use your loom hook to grab the bottom loop.

- Bring this loop over to the back of the peg.
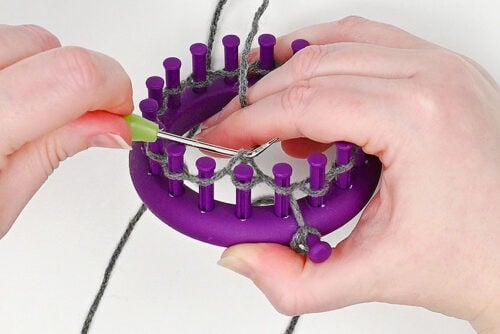
- Repeat around. This creates 1 row of knitting.
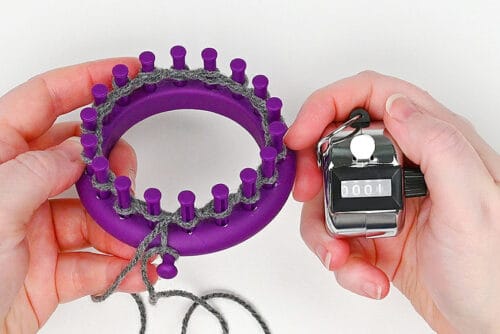
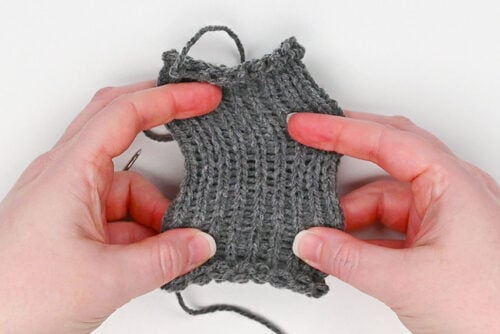
- Repeat for a total of 35 rows. It's that simple!
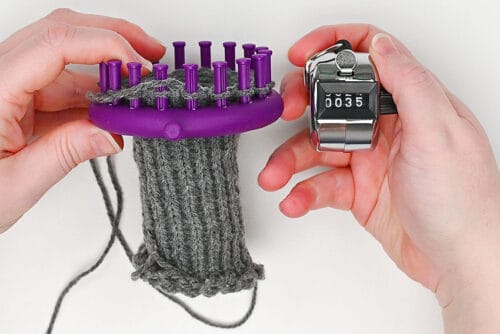
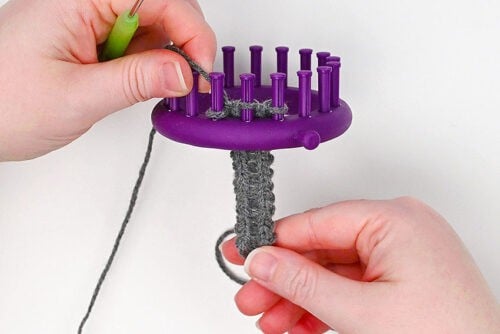
Step 4: Gather bind-off
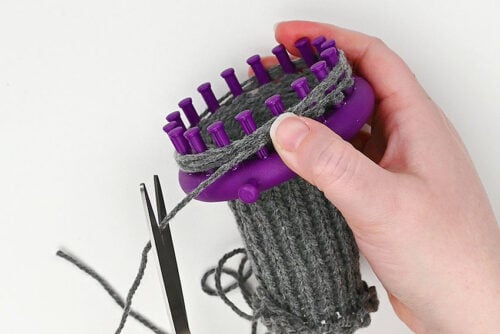
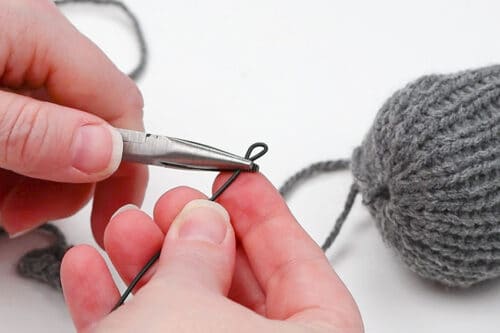
- Wrap the working yarn around the loom 3 times and then cut it off.(You'll need the long tail later on, so don't cut it too short!)
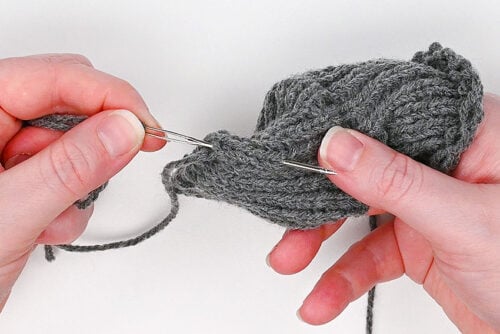
- Attach the end of the yarn to a yarn needle. Bring the needle up through the loop on peg 1.
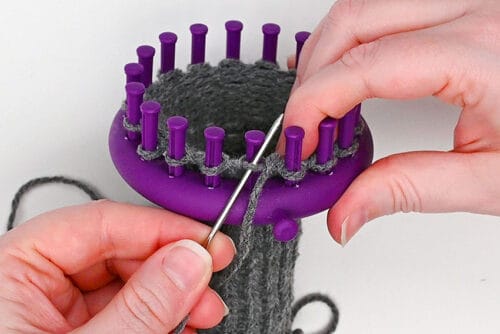
- Pull the tail all the way through the loop and then remove the loop from the peg.
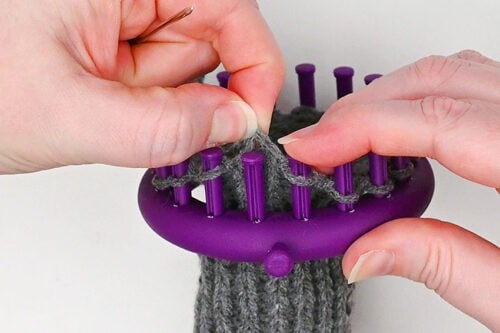
- Repeat around until you've removed every loop from the loom. Stretch out the stitches.
Step 5: Knit the tail
- E-wrap 3 pegs on the same loom to make the tail. Knit over each loop to finish the cast-on.
- Knit flat, going back and forth across the 3 pegs
- Repeat for 25 rows.
- Finish with a basic bind-off. To do this, take the first loop off the peg and place it on the next peg. Knit off. Then remove this loop and put it on the third peg. Knit off again.Cut the yarn, leaving a 10 inch tail. Slide the tail through the last loop and remove it from the peg.
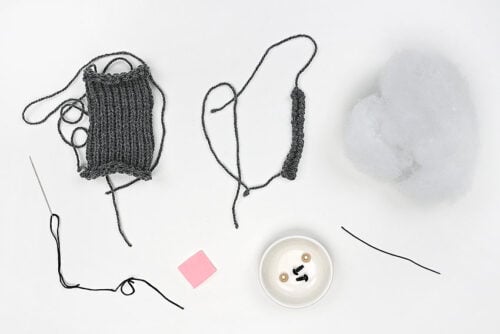
Step 6: Make the cat's ears
- Here's all the pieces you'll need to make the rest of the cat. We'll discuss each one in turn, but this gives you a visual of what materials to gather if you haven't already.
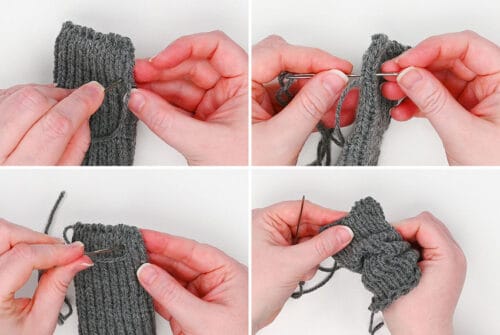
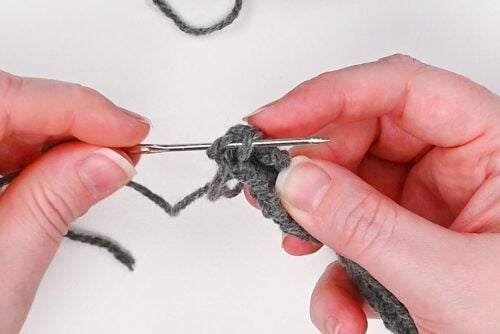
- Begin by sewing the top of the cat closed. This should be the side with the gather bind-off.To close it, fold the tube so the tail is at one side. Thread a yarn needle with the tail and bring it through 1 loop at the back and 1 loop at the front.
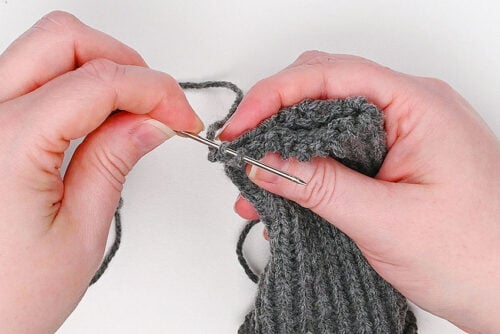
- Repeat, sewing from back to front, back to front, until you reach the other side.
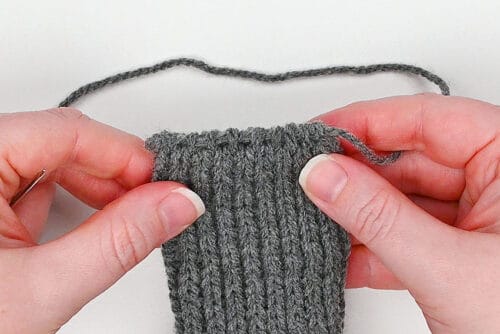
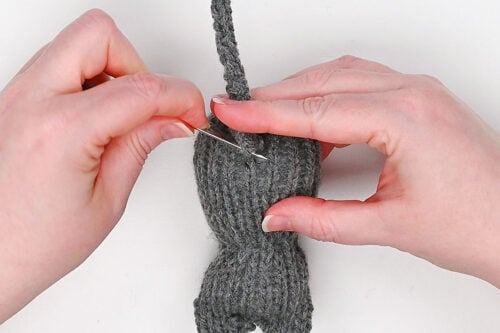
- Bring the yarn down through the top corner and up through the side, going about 6 stitches down.
- To make the ears, bring the needle through the fabric half a stitch over and 1 stitch up. Sew through both layers.Repeat this, flipping the fabric back and forth, moving your way up and over until you get to the top center. You've made 1 ear!Then use the same process to go back down and out, creating the 2nd ear on the other side.Finish with the yarn on the inside and keep the tail long.
Step 7: Add the cat's face
- Attach safety eyes about 5 or 6 stitches down from the top middle.
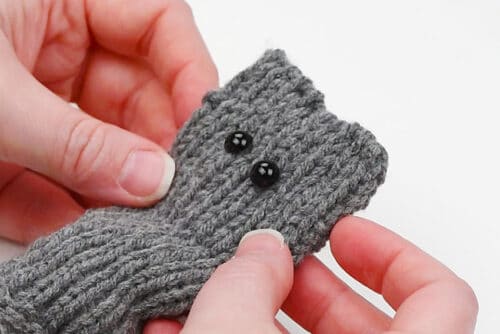
- Secure the eyes with the backings inside.
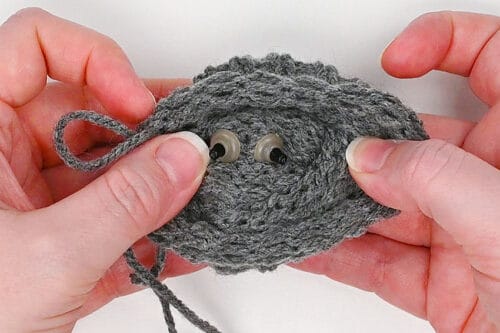
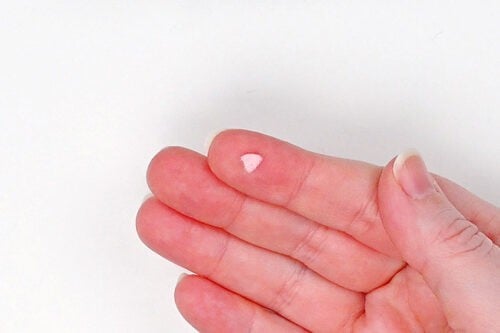
- Cut a teeny tiny rounded triangle nose from pink felt.(Ours is just less than 1/4 inch across.)
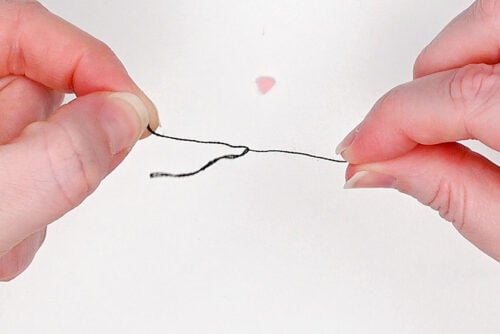
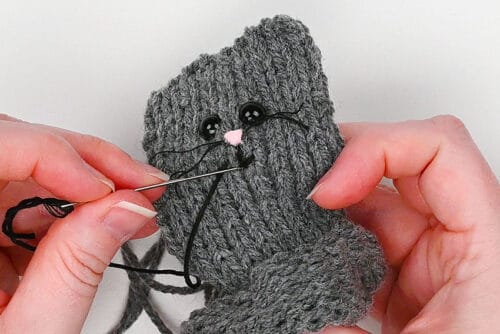
- Next, cut a 2 inch piece of black embroidery floss. Separate it into strands. (You'll need 3 of them.)
- Use a toothpick to attach tacky glue to the nose. Then attach 3 strands of embroidery floss at different angles, creating the whiskers.
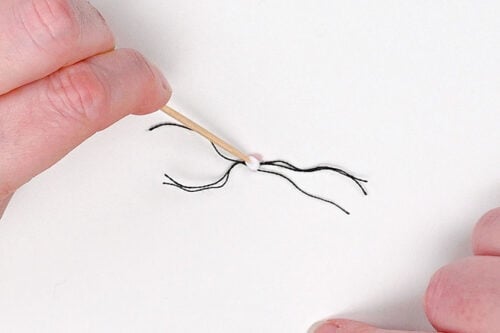
- Glue the nose to the cat's face and cut the whiskers shorter, if needed.
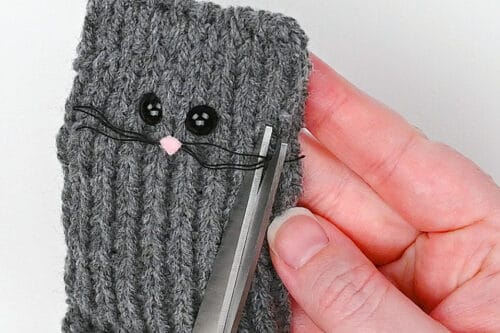
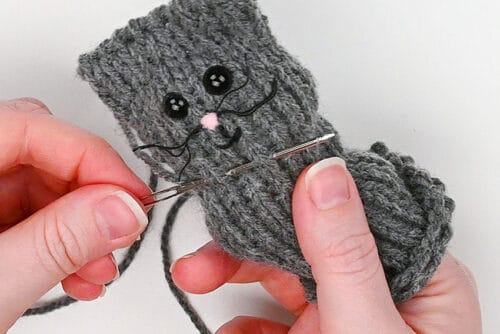
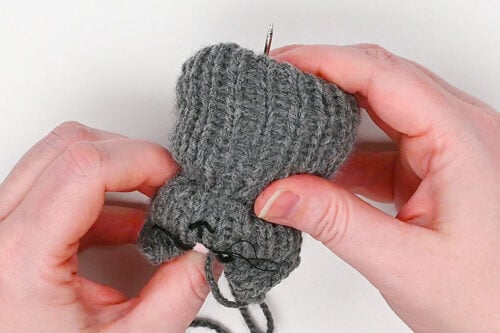
- Then use a full strand of black embroidery floss (all 6 threads) to stitch the mouth.
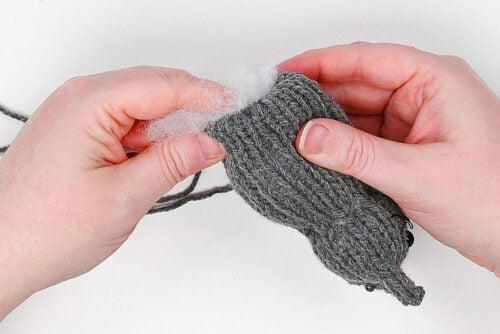
Step 8: Stuff the cat and form the head
- Add a bit of stuffing to the cat, just enough for it's head.

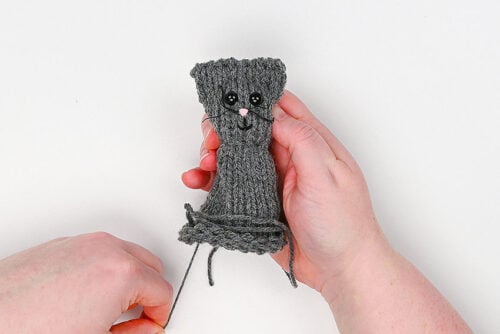
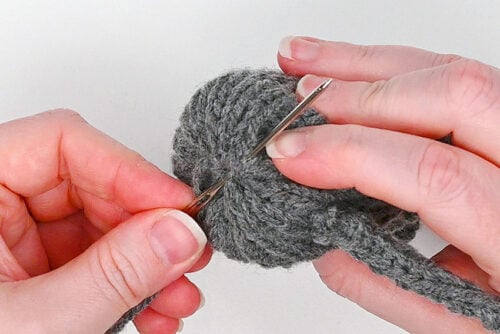
- Then bring the yarn tail down from the ears so it comes out at the side of the cat's "neck". Use a running stitch around the whole outside of the tube, working to keep the stitch straight across.
- Then pull the tail to tighten the running stitch. This will shape the cat's head, making the head and body distinctive parts.Tie a knot inside to keep the gathering in place and cut off the excess yarn.
- Now stuff the rest of the body. Then pull the drawstring end to close off the cat.
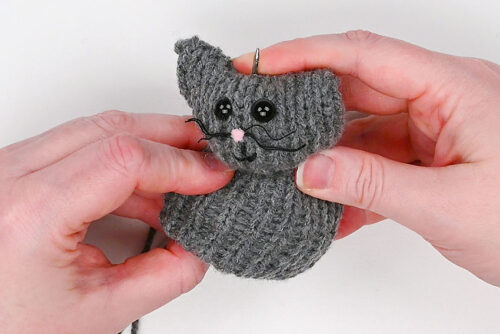
Step 9: Make the ears more pronounced
- Next we want to make the ears more pointed and create a bit of a gap between them at the top.To do this, thread a yarn needle with the drawstring tail and bring it up through the cat's body so it comes out the top center of the head at the front. (Poor kitty... 😿)
- Bring the yarn over the top center of the head and down at the back (still near the top of the head). Push it back down through the body so it comes out the bottom.
- Pull the yarn down. You should see 2 distinctive ears form!
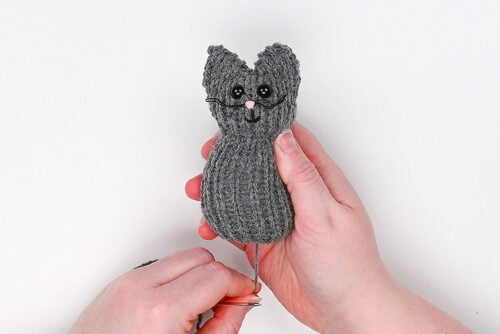
Step 10: Add the tail
- Cut a 4 inch piece of craft wire.
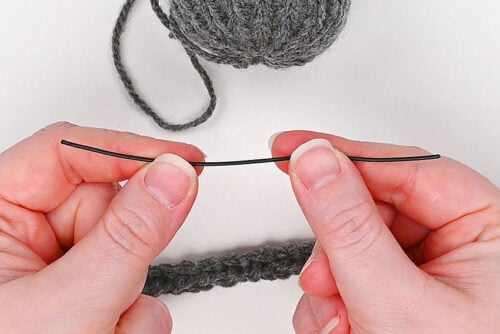
- Use pliers to make small loops or hooks on either end.
- String a yarn tail from the cat's tail through one of these loops. Hold the wire in place as you sew across the loops, enveloping the wire inside the tail.
- Repeat until you get to the other side. Connect the yarn through this loop and weave in both ends, cutting off the excess.

- Use the rest of the drawstring tail to attach the cat's tail. Sew the base of the tail to the back of the cat, sewing around until the tail feels secure.
- Then go back down through the bottom of the cat and sew around until the bottom is nicely closed off.
- Your loom knit cat is complete!
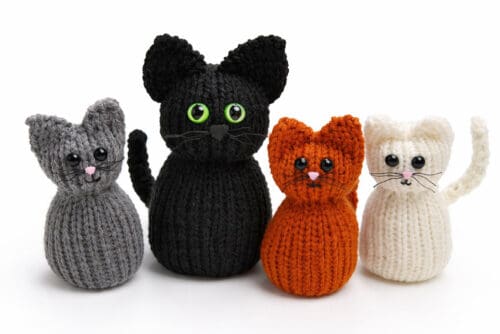
- Have fun making these adorable kitties in all your favourite coat colours, or use a different loom to create a larger cat! (Read more about this below.)
Video
Notes
Looking for more cat crafts? Here's a few of our favourites:
Paper Roll Cat
Cat Squeegee Painting
Cat Perler Beads